SaveMyTrip is now complete, and you’re really quite satisfied with it. So much so that you recently launched it on the Play Store... and it was a hit! 😎 Now you need to hire several developers to maintain and upgrade it. Of course, working in teams isn’t easy; especially since you've got to constantly check that your developers aren’t breaking the code that has already been created! Ah! Well, this can easily be avoided, thanks to continuous integration! 🙂
Discover continuous integration
Continuous integration refers to integrating changes to your code base, then testing them immediately and often. The purpose is to detect integration problems early in development. It also allows you to automate the execution of test suites and see the evolution of your development.
In fact, you’ve already created a few tests that protect your code to some extent, and which will enable you to continue development in relative peace, but it's good practice to automate these.
Why? Isn't just having the tests there good enough?
When you're all by yourself - maybe. When you’re working on a team, a developer could modify a feature, forget to run tests, then publish your app for release...and disaster could strike! You can avoid this scenario if you run automated tests. For that reason, in this last chapter, I’ll be showing you how to automate your tests with Travis-CI, which is a free software for continuous integration, combined with Codecov software for generating code coverage reports.
Installing Travis
First, open a browser and log into your account on the GitHub site.
Then, open another tab in your browser and create an account on the Travis website, signing in with your GitHub account credentials.
Wait, why does Travis need my GitHub login?
For the simple reason that Travis is heavily integrated with GitHub! In fact, as soon as you are going to send a commit on your GitHub repo, Travis will automatically launch the tests present inside your project to alert you if the commit in question involves any problems or not. 🙂
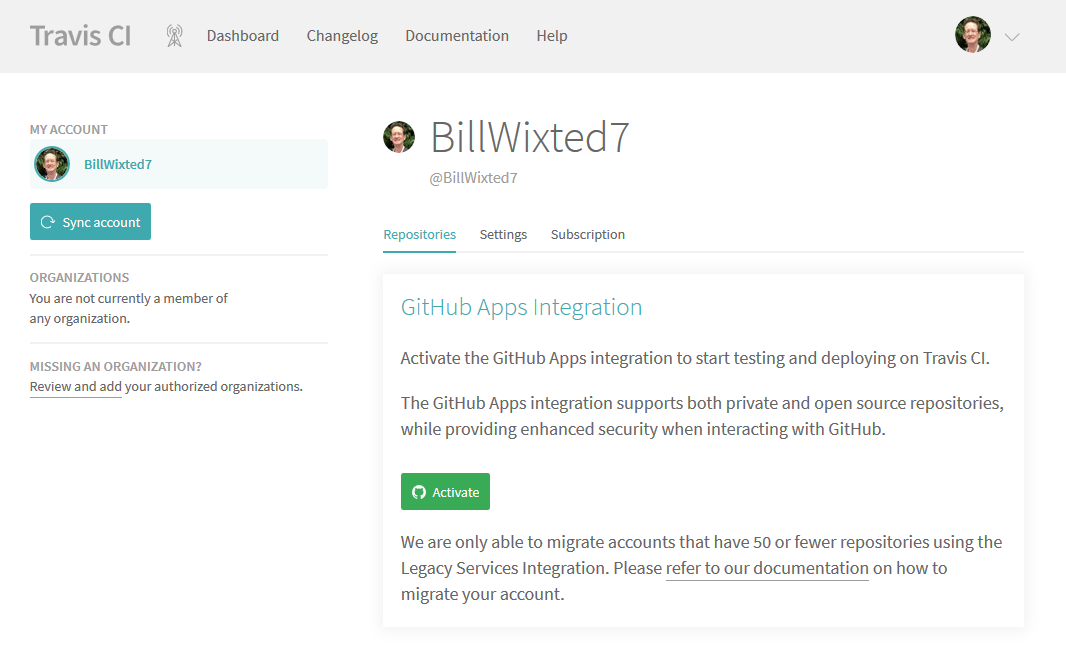
Once you’ve logged in to Travis, the following page appears:

Enable Travis’ GitHub integration by clicking the green Activate button.
This will redirect you to this GitHub page:
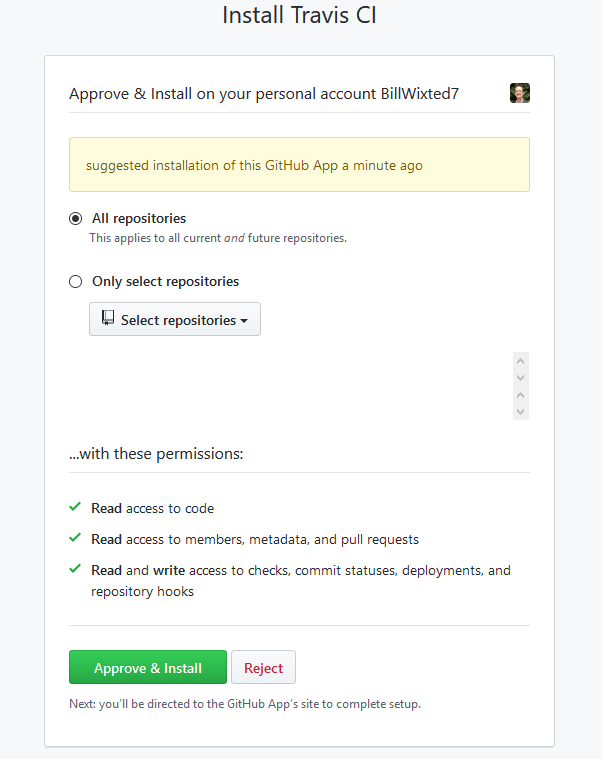
Click the Approve & Install button.
Once you’ve signed in using your GitHub account, click on your profile picture in the upper- right and select Settings from the drop-down menu.
Now, click the Sync account button so that Travis can retrieve a list of your repos.
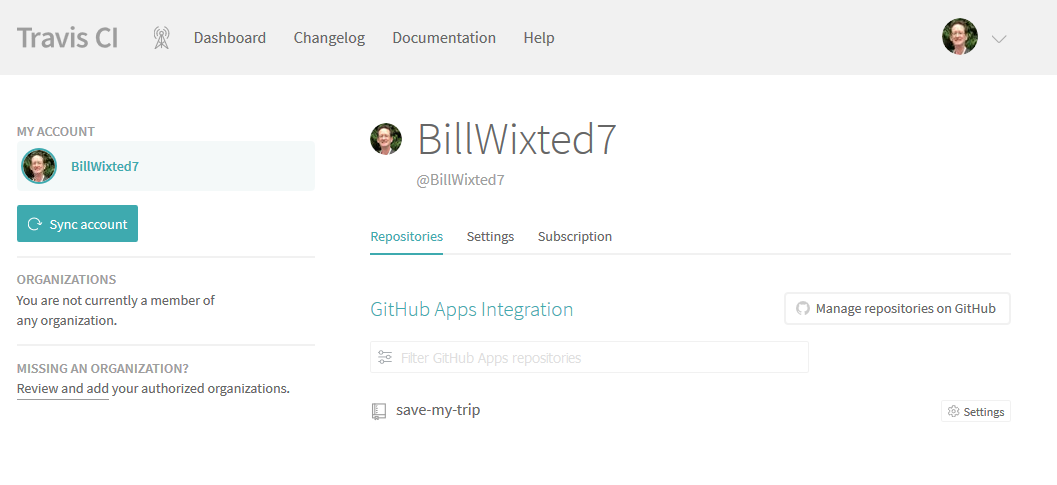
You should see the repository for our SaveMyTrip app as shown above. Remember, your GitHub repo must be in public mode if you want to use the free version of Travis.
Now, we’re going to configure a service allowing us to automatically generate code coverage reports so we can accurately measure the percentage of our code covered by our tests. This service is called Codecov. Log in again using your GitHub account credentials, and click on the button Add a repository:
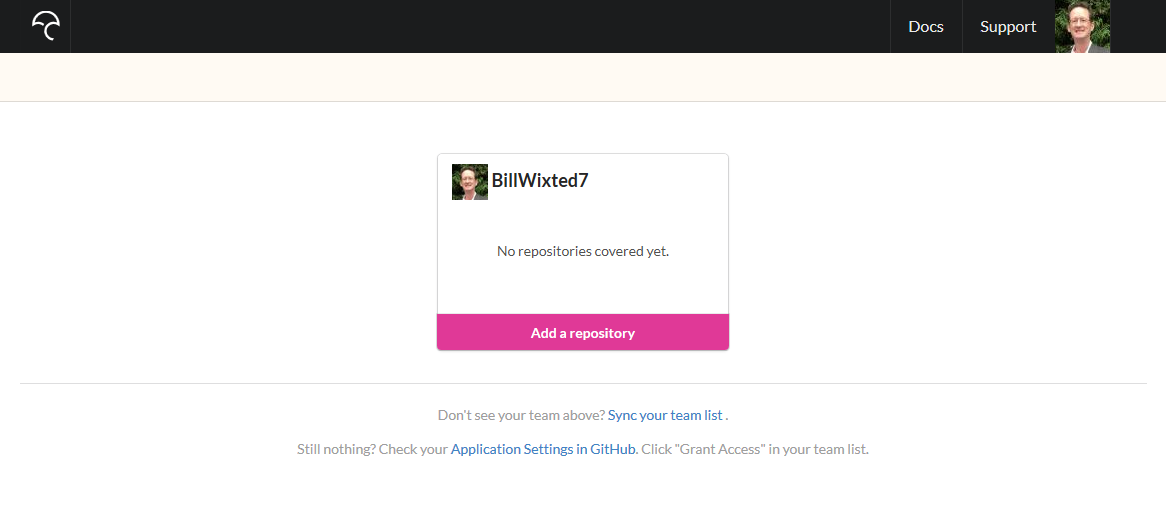
Select the repository containing the source code of SaveMyTrip, and that’s it. 🙂 No need to configure anything on this end!
Configuring the Android app
We have to configure SaveMyTrip so that it can generate code coverage reports for each of its builds. For this, we’re going to install the Jacoco-Android library.
File build.gradle on your project level
buildscript {

   repositories {
      google()
      jcenter()
   }

   dependencies {
      ...

      classpath 'com.dicedmelon.gradle:jacoco-android:0.1.1'
   }
}
File build.gradle on your app level
apply plugin: 'jacoco-android'


android {
   ...
   buildTypes {
      ...
      debug {
         testCoverageEnabled true
      }
   }
   ...
}
And there you go! Jacoco is installed. We also remembered to enable the generating of coverage reports thanks to the line testCoverageEnabled true. We will now be able to configure Travis, creating the following configuration file at the root of our GitHub repository: . travis.yml.
File .travis.yml
language: android
jdk: oraclejdk8


env:
 global:
  - ANDROID_API_LEVEL=27
  - EMULATOR_API_LEVEL=22
  - ANDROID_BUILD_TOOLS_VERSION=28.0.3
  - ANDROID_ABI=armeabi-v7a


android:

 components:
   - build-tools-$ANDROID_BUILD_TOOLS_VERSION
   - android-$EMULATOR_API_LEVEL
   - sys-img-armeabi-v7a-android-$EMULATOR_API_LEVEL


before_install:
 - yes | sdkmanager "platforms;android-27"


before_script:
 - chmod +x gradlew
 - ./gradlew build jacocoTestReport assembleAndroidTest
 - echo no | android create avd --force -n test -t android-$EMULATOR_API_LEVEL --abi $ANDROID_ABI
 - emulator -avd test -no-skin -no-audio -no-window &
 - android-wait-for-emulator
 - ./gradlew connectedCheck


after_success:
 - bash <(curl -s https://codecov.io/bash)
This file will be read by the Travis service directly from your GitHub repository. This is also why you must place it at the root of the repo.
To summarize, Travis will automatically launch project tests on a virtual emulator using the command ./gradlew build jacocoTestReport assembleAndroidTest. Once they are completed, a code coverage report will be sent to the site Codecov.io, thanks to the parameter after_success and the bash command below.
Once this file is completed, perform a commit of your Android project on GitHub, so that Travis can run. You should see the image corresponding to your commit on the GitHub web interface:

The small orange disc indicates that Travis is currently analyzing your code and running all your tests. This may take around fifteen minutes because Travis must launch a virtual emulator to run your tests. 😉
As soon as Travis has finished running tests, the disc will change to green or red, depending on whether they succeeded or failed.
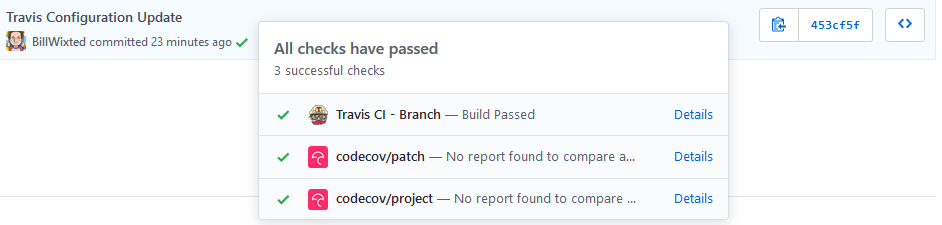
If you click on the service codecov, you’ll be able to view the entire code coverage report. 🙂
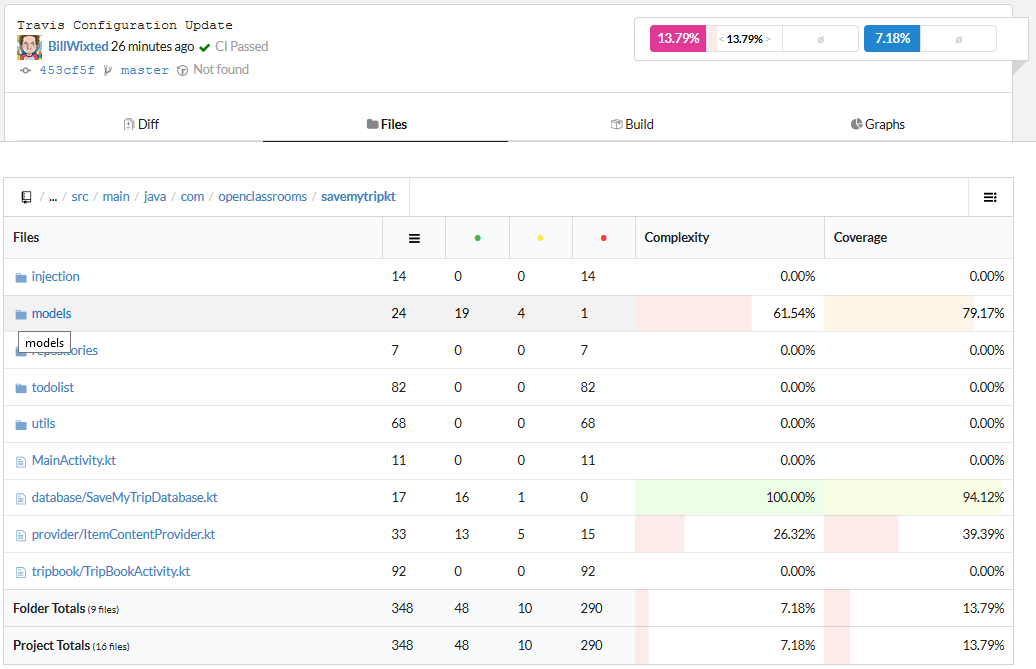
As you can see, the tests cover approximately 14% of our code. That’s good, but we can do better! 😉 While the goal isn’t necessarily to reach 100%, we do want to cover all the business features of our code through testing. Challenge yourself to run through the code and see where we can add more tests!
Let's recap!
Continuous integration ensures that you detect issues early in your code by regularly submitting and automatically testing changes.
You can use Travis to help automate tests, and practice continuous integration.
