Install VirtualBox

Preparing Your Environment
As mentioned, type 2 hypervisors are designed for technical and non-technical users. VirtualBox is no exception. You should be able to use it with most modern computers.
Here is the configuration required for the tests we’ll be running:
A Windows, Linux, or Mac computer.
A minimum of 4GB of RAM: VirtualBox only needs 512MB to function, but don’t forget that you’ll be creating VMs! You need to consider what they use.
30GB of disk space: VirtualBox is very lightweight and only needs 30MB of disk space, but once again, the VMs will take up space. For instance, a Windows VM needs around 20GB.
A processor suitable for virtualization – It allows several different machines to use it simultaneously. This option has the name VT-x for Intel processors and AMD-v for AMDs.
You can check if you need to activate this option on this page, depending on the operating systems you want to use.
Your VM won’t launch if you try to start it in Windows 10 without turning on the virtualization option in the BIOS.
How do I turn on this option?
It’s generally located in the Advanced and CPU Configuration sections. This option may be switched off by default. For example, it could be under Intel Virtualization Technology (if you have an Intel processor), SVM (for AMD processors), or VMX. The name might differ slightly depending on your BIOS. In this case, look for the virtualization option, and you should find it.
If you can’t find an option that looks like this, it means your processor is not compatible. But don’t give up! You can still use VirtualBox, but only with operating systems without this requirement (The documentation on this option is accessible via this page).
Configure the Installation
If you want to install VirtualBox on a Windows 10 host machine, the procedure is very similar to other operating systems:
Download the installation file from the official VirtualBox website.
Run the file.
You might have to install drivers, as VirtualBox will create one or more virtual network cards.
Follow the procedure, selecting the default settings.
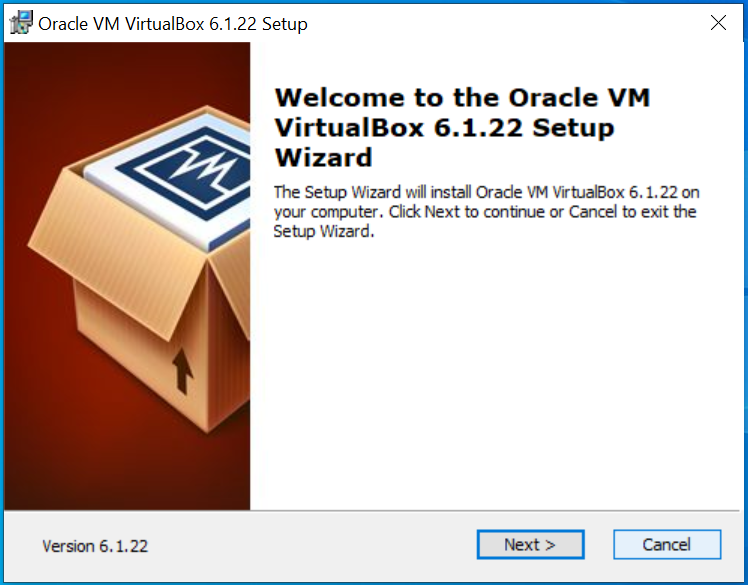
This is what you should see when you launch the VirtualBox Setup:
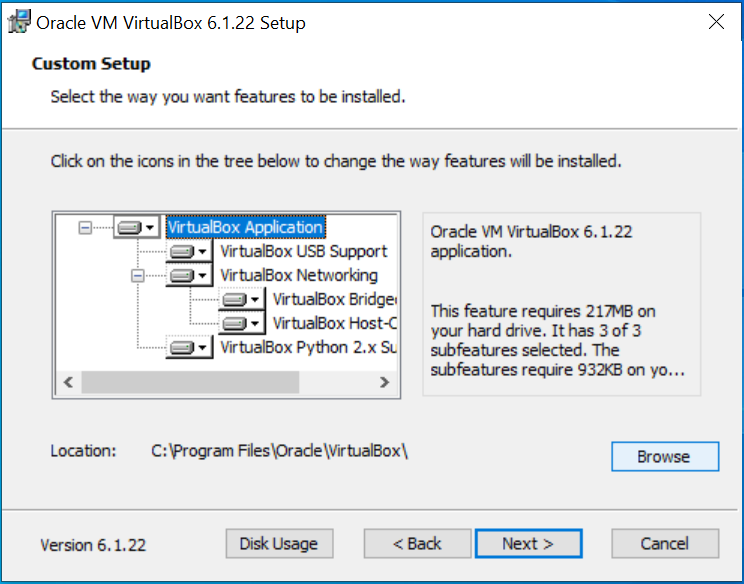
Make any changes to your setup (if needed) in the Custom Setup menu:
Finalize the installation. Keep in mind that your internet connection will be interrupted as your new VirtualBox network is being added.
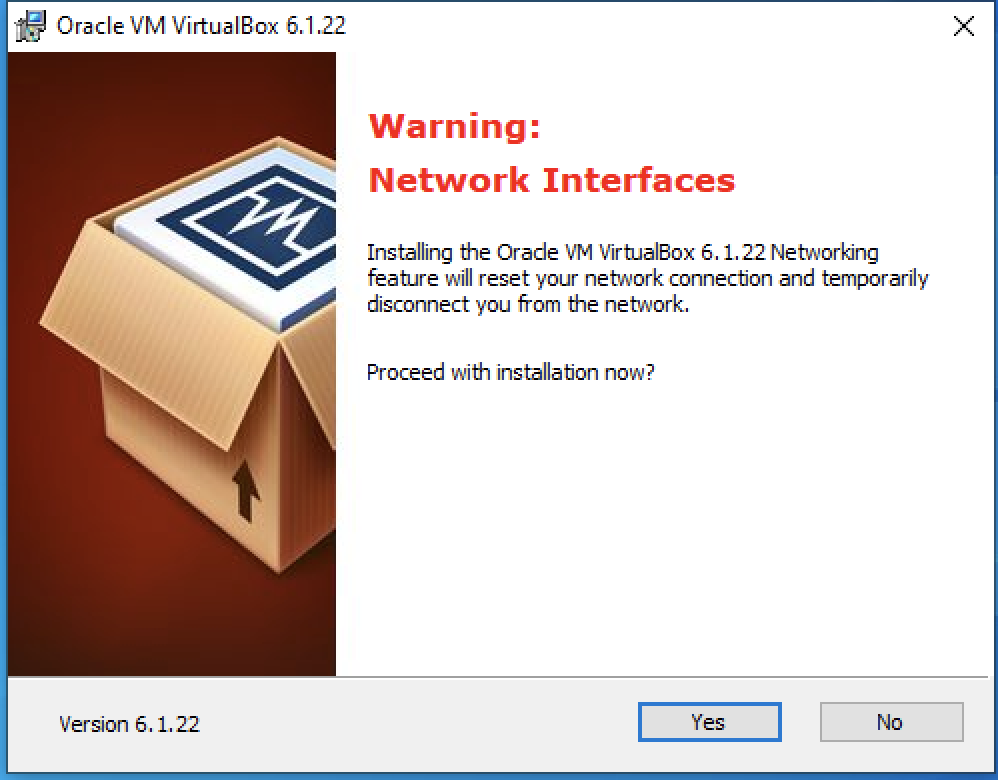
There will be a new network available specifically for your VirtualBox.
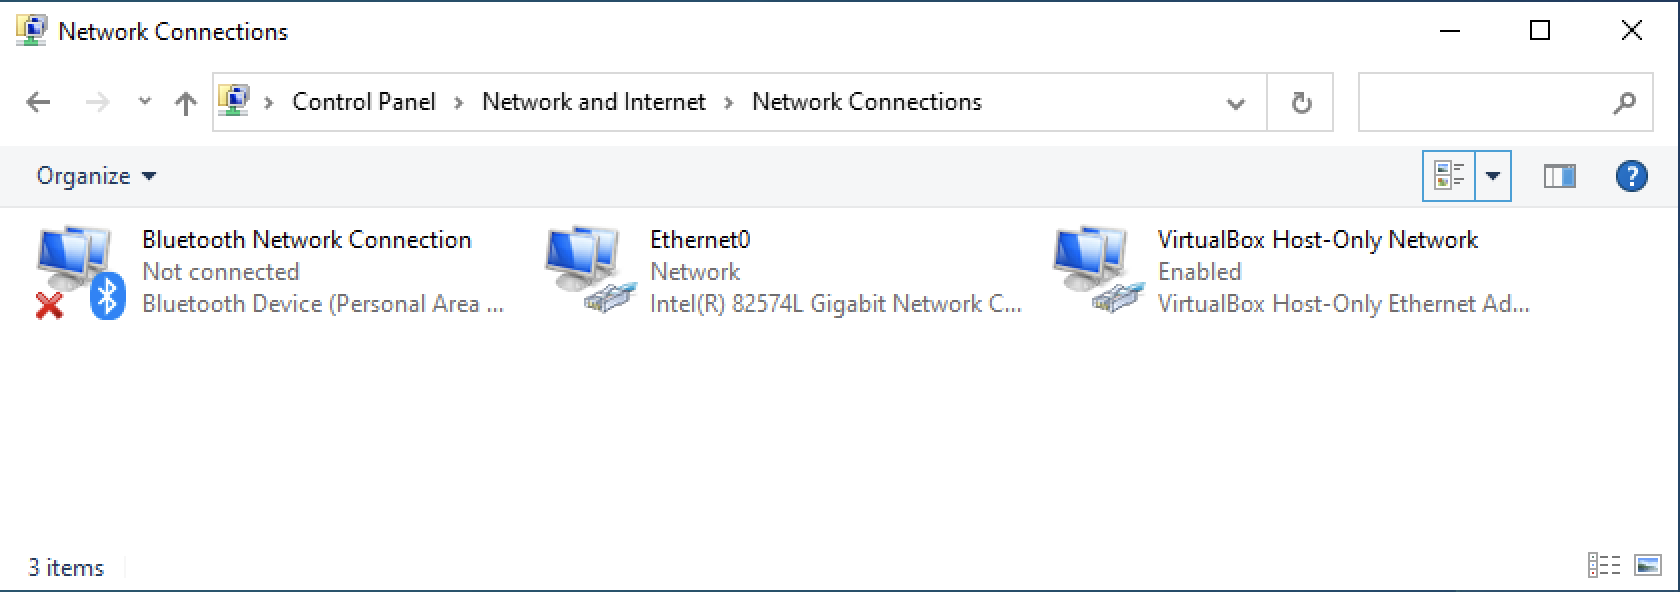
Once the installation is complete, you’ll see a new connection, VirtualBox host-only network, in your network connections. It comes in handy when “host-only” mode is used for a VM’s network. It allows you to set up a private network between the host machine and the VM (we’ll come back to this later).
And there you have it, VirtualBox is ready to use! You’re just a step away from creating your first VM.

Take a Closer Look at Installing VirtualBox
Watch the video below to see how I install VirtualBox on my Windows 10 host computer.
Now, before continuing, consider the following for your new environment:
The operating system you’re going to use.
How many vCPUs your VM will have.
The amount of memory.
Disk size/type.
Type of network connection.
Although you can change these settings later on, it’s good to think about them beforehand and clearly define what you need. From experience, I can tell you that this will save you time and ensure that the VMs are more likely to perform without issues. But, of course, this doesn’t stop you from making adaptations if your requirements change.
Let’s Recap!
The minimum specifications required to run a type 2 hypervisor are:
Minimum 4GB of RAM.
30GB of disk space.
A processor suitable for virtualization.
You can download the latest version of VirtualBox from their official website.
To install the program on your computer accept the default settings.
Although you can change the configuration settings of a VM later, it is best to consider the specification you need ahead of time.
Great work! You have gone through the actions to install a type 2 hypervisor on your computer. This is the first step in creating your first VM. Let’s move on to the next chapter, where you will create your first virtual machine.
