Get Some Practice by Creating a Kanban Board Using Trello
It's Your Turn!
To get some practice, do the following exercise step by step. In this activity, you are going to create a personal Kanban board using Trello!
It is an excellent way to put Kanban into practice on a personal level before using it within your team. Although a board can have different columns to reflect the status of any given team, here are the columns (statuses) that I use for my personal Kanban:
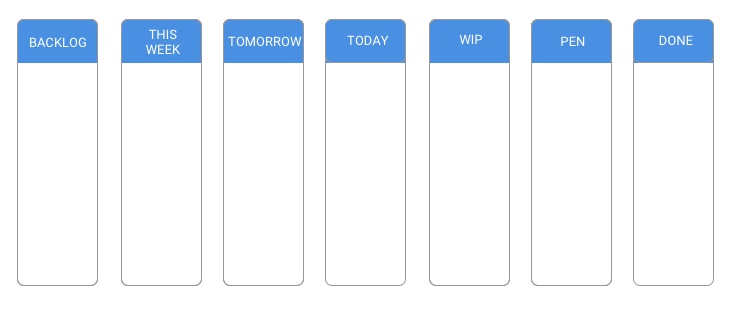
Backlog
This week
Tomorrow
Today
WIP
Pen
Done
You'll use these statuses in this activity for creating a personal Kanban board of your own.
Here is what those columns mean:
Backlog - Items that you have to do at some point in the future.
This week - Items that you intend to do this week.
Tomorrow - Items that you intend to do tomorrow.
Today - Items that you intend to do today.
WIP - Work in Progress - as soon as you start working on an item, move it into WIP.
Pen - If you action an item but it is not complete until someone else gets back to you (reply to an email, confirm something is done, then the item goes into the “pen” until they reply, at which point maybe the item is “done” or maybe you have some other action to do).
Done - This item is now complete and you don’t have to worry about it any more.
Now use these statuses to create your personal Kanban board in Trello.
Instructions
Trello is a tool that enables you to use the Kanban framework. It is simple, effective, and easy to use. You can create a free account on Trello right now! Please go ahead and do so now 😊
Confirm your account by clicking the link that Trello sent to your email address.
You will see that Trello has created a default board for you. You can use this one if you wish, but you should rename it as “Personal Kanban.” Alternatively, you can create a new board with this name.
The first step is to create seven lists in Trello:
Backlog
This week
Tomorrow
Today
Work in progress (WIP)
Pen
Done
The next step is to add the items from a spreadsheet. It will give you the items to place on your board. You can do this by creating a card for each item and then adding it to the appropriate list (and make sure to add the correct label to your card).
Following this, install the Chrome plugin for “Kanban WIP for Trello.” Installing this will enable you to access and amend your board.
Take a screenshot after all the items are added to the board (correct lists - right labels).
You have not yet set any limits for how many items can be on each list. But you know that Kanban limits work in progress. Rename the WIP column to “WIP[2].” By doing so, you are telling the Kanban WIP plugin that this list in Trello has a limit of two items. Because there are three items in this list (if you filled in the board correctly from the spreadsheet), this list now shows as red. Take another screenshot.
Let's Recap: Check your work
Your work is correct if the following criteria are met:
You have created all seven columns.
All the tasks are present from the Google spreadsheet.
They are in the appropriate list.
They have the appropriate labels/colors.
The tickets in the WIP column are in red.
Going Forward
After completing this exercise, why not consider creating a new board with the same columns representing your own real-life to-do list?
