Deploy Windows 10
 Welcome to this final chapter on deploying Windows 10. There are just two steps left before the deployment is complete, and your company can take full advantage of computers equipped with Windows 10.
As you recall, there are several different methods for deployment. This chapter will look at how to do a classic deployment by collecting the image prepared in the previous chapter and installing it on your computer using installation media.
Collect the Generalized Image
In the previous chapter, you launched the generalization process, but how can you get an ISO image that you can use to install Windows 10 on other computers?
You will have to capture the hard drive to transform it into an ISO image. Several software pieces can help you to do this, but we will be using DISM, the same tool used earlier to convert install.esd to install.wim, in order to stick with Microsoft technology.
The operation should be carried out as follows:
Start the computer on the installation disk and not the main drive.
Launch Windows PE, which is a small OS that enables you to install and fix Windows 10 (we'll use the command line).
Create an image of the hard drive with DISM.
Burn this image onto a DVD or create a bootable USB drive.
Install Windows using this new ISO image.
Start Windows on the Installation Disk
To copy the edition of Windows, you must not use the drive partition the OS is stored on. This is why you will have to boot into Windows using the installation disk.
When a computer does not yet have an OS installed, the BIOS starts up on an installation disk, if one exists. But when an OS has been installed, it is normally set to boot into the drive the OS has been installed on. Therefore, you must change your BIOS settings so that the computer boots into the new installation media you have inserted and not the hard drive.
This operation is very easy, all you need to do is hit F2 while your computer is starting up, whether you are using a virtual machine (VM) or a physical computer.
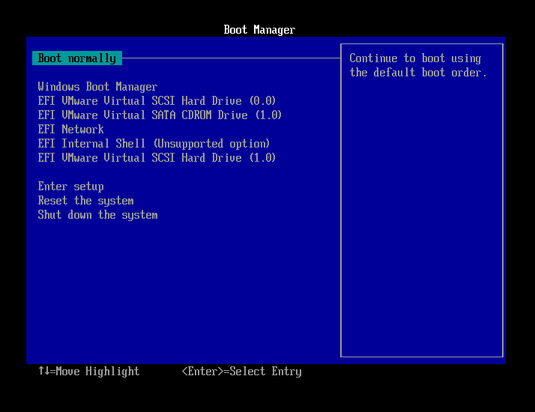
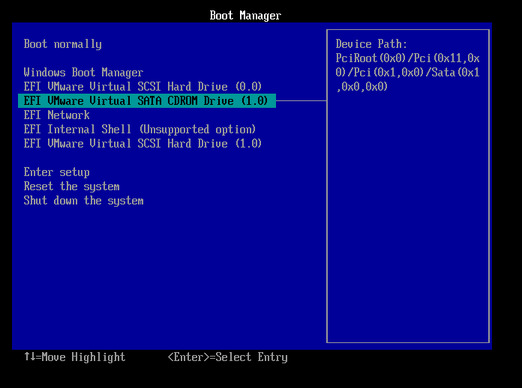
Select the CD-ROM option (here it is called VMware Virtual SATA CDROM Drive), then press Enter.
Windows now starts from the installation DVD.
Capture the Hard Drive With DISM
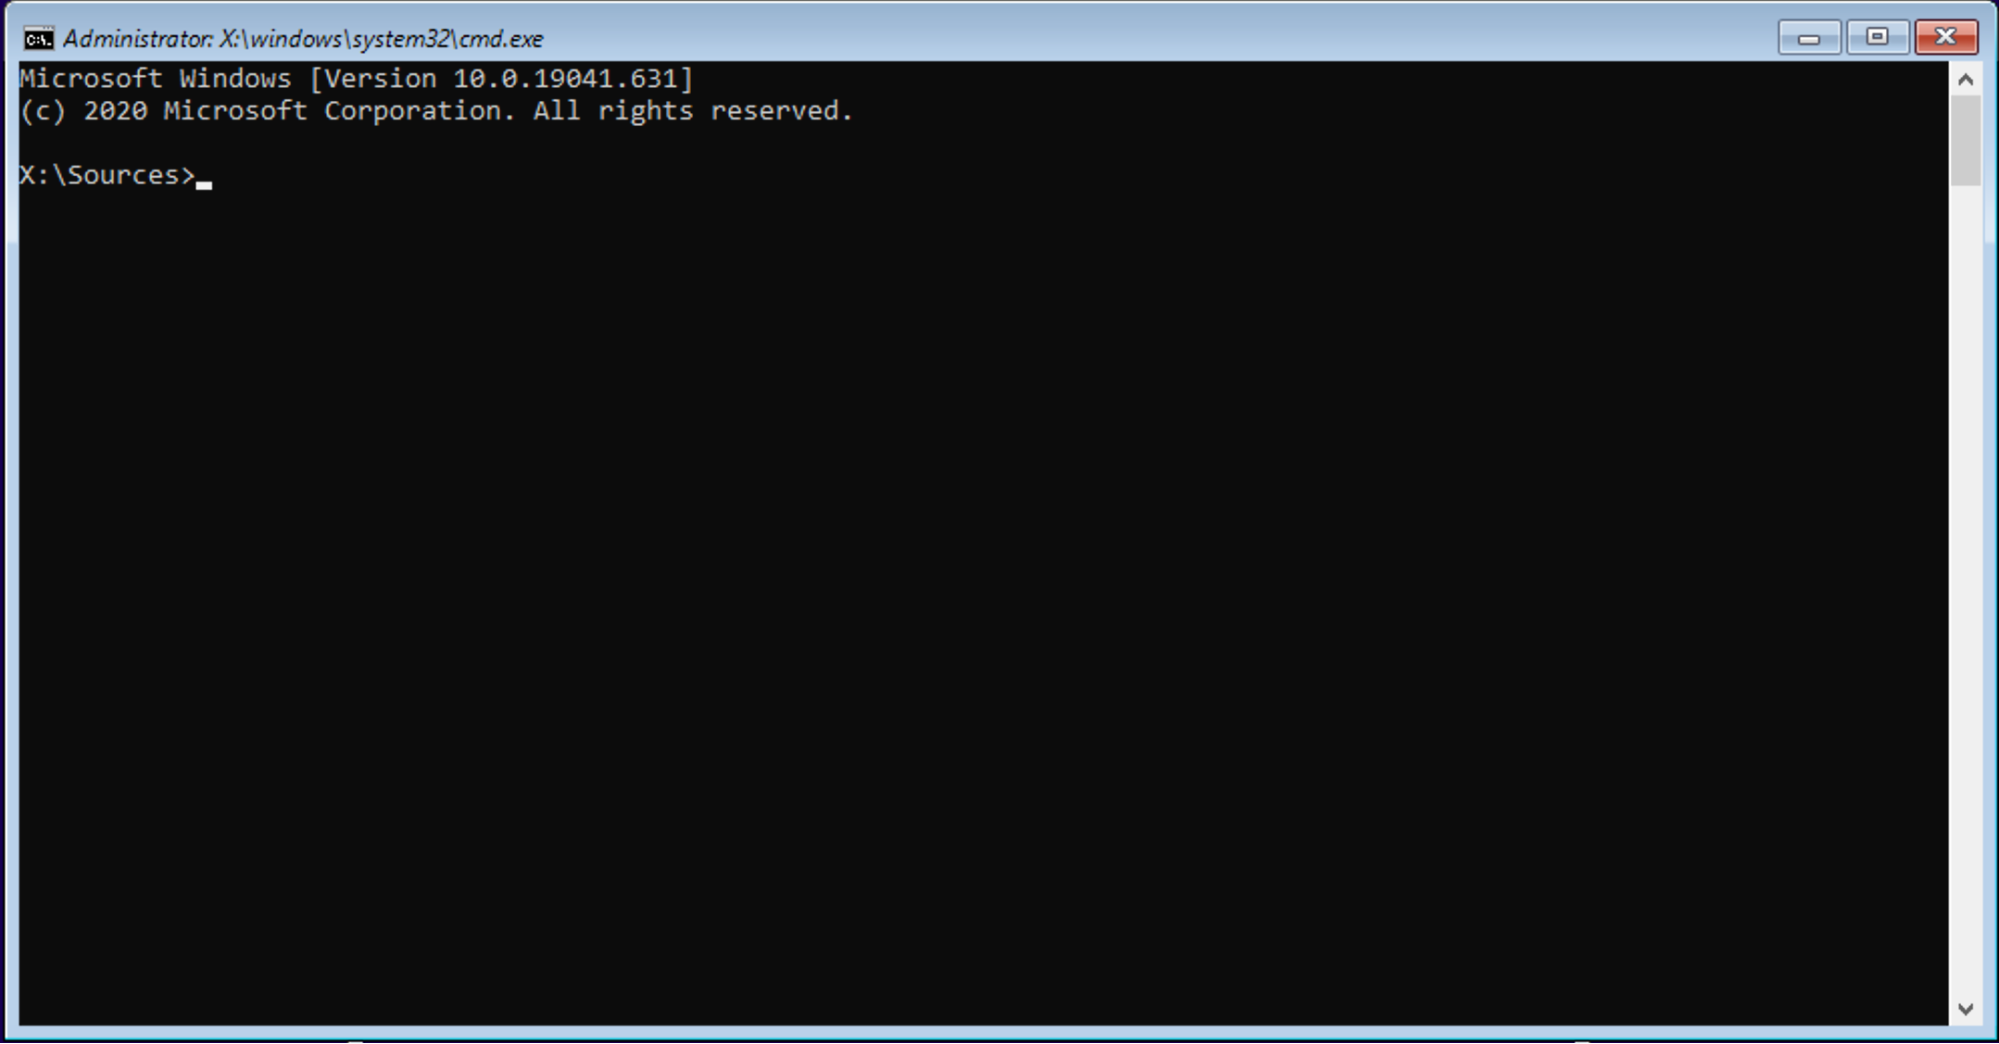
Once Windows has been launched, press Shift+F10 to open Windows PE.
The first thing you need to do is to find the letter of the partition Windows is installed on.
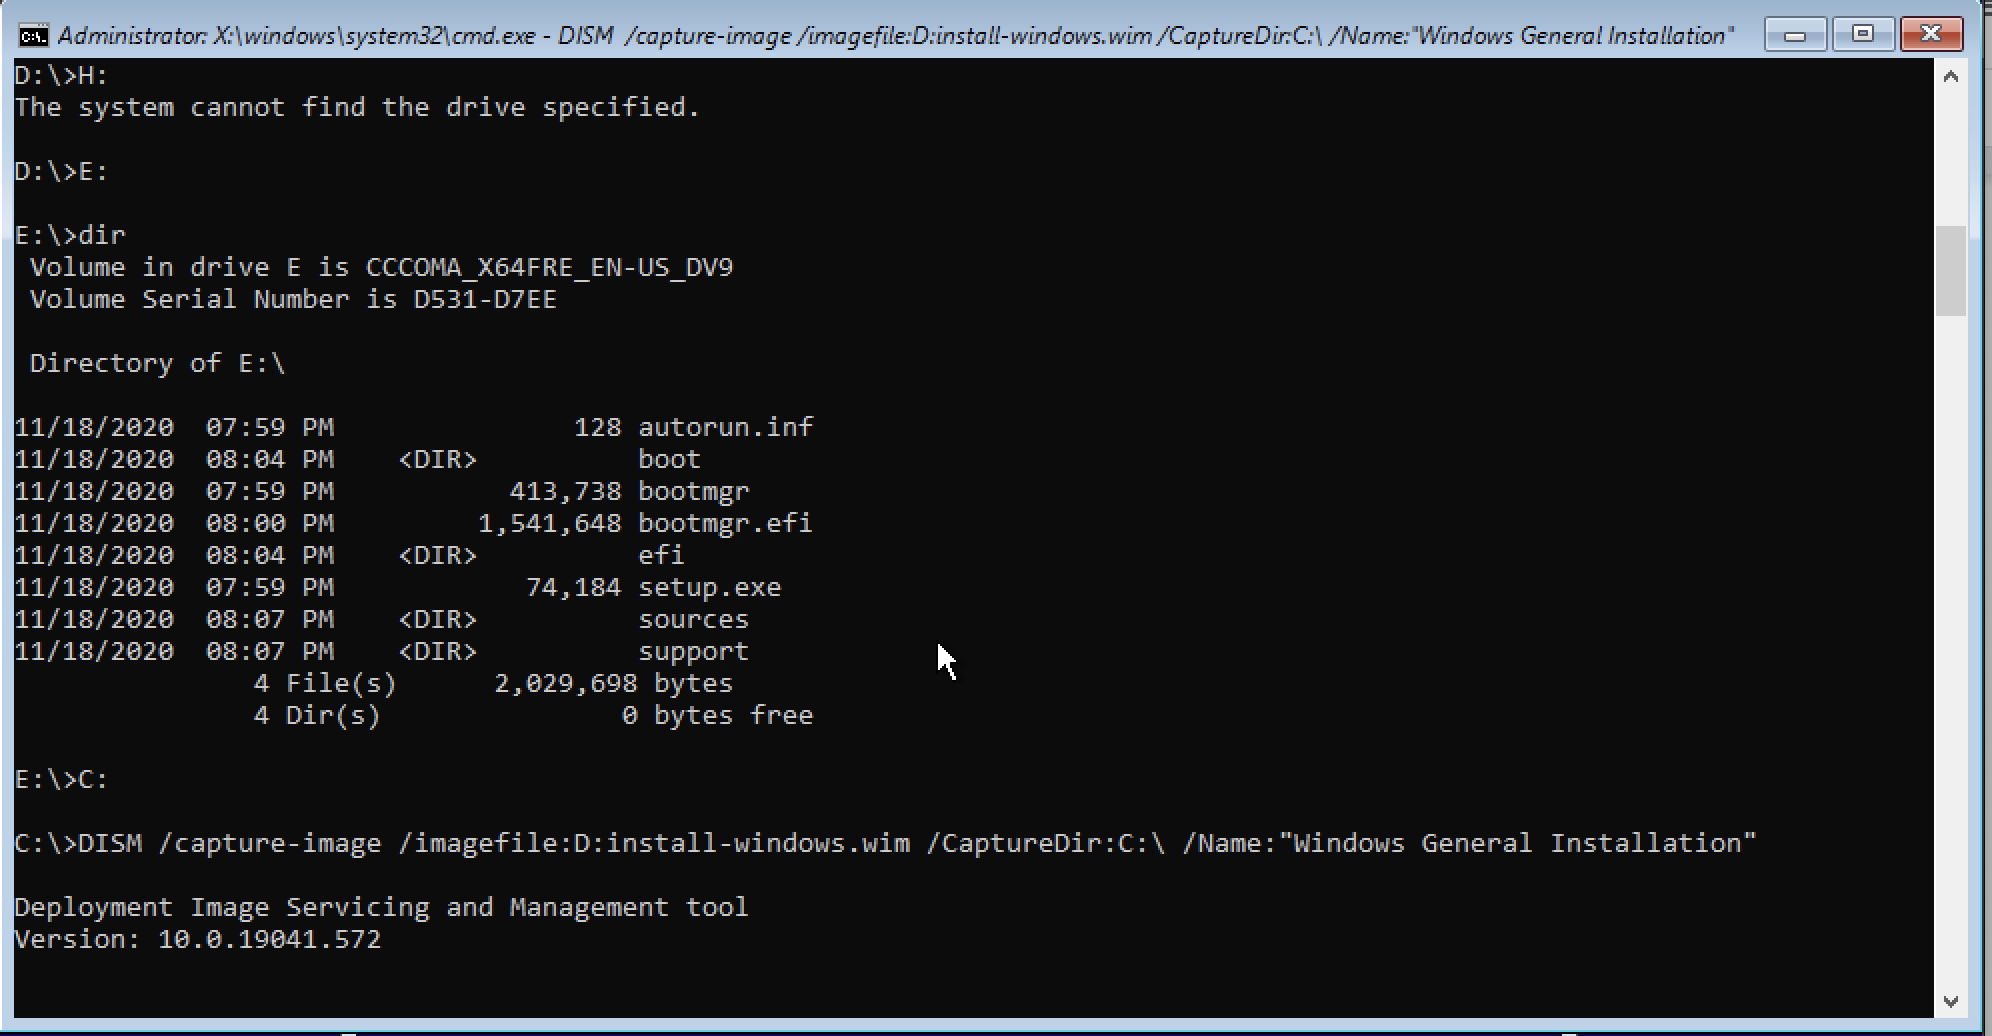
To access partition C, type in:
c:
Then to see what this partition contains type in:
dir
To capture the image, use DISM’s /Capture-Image option.
To see how this option works, type in:
DISM /Capture-Image /help
You should see that your command includes the following:
Dism /Capture-Image /ImageFile:c:\my-windows-partition.wim /CaptureDir:C:\ /Name:"My Windows partition"
/ImageFile: the name and the pathway for the ISO image you’re trying to create.
/CaptureDir: the partition you wish to capture.
/Name: the name that you wish to give it.
To copy the image onto another disk, use the following command:
Dism /Capture-Image /ImageFile:D:\install-windows.wim /CaptureDir:C:\ /Name:"Windows General Installation"
This process can take between 20-25 minutes to complete.


You should see the following when you look at the folder where you created the image:
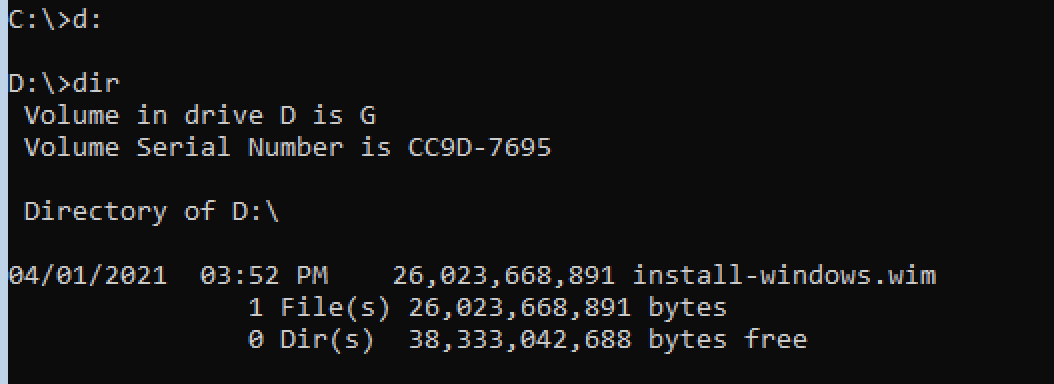
Great! Your installation image is now ready. All you need to do is gather the elements and put them on a DVD or USB drive.
Create Installation Media
You have created an install.wim file. Don’t forget that the original is in the ISO image of the Windows 10 installation media.
The last step is to replace the original with the image you have created and create your own installation media.
If you’re using a virtual machine and have stored your install.wim on another hard disk or another partition, then you can start Windows at this point.
Copy the entire image or the Windows installation DVD into the partition containing install-windows.wim, except for install.esd.
Rename install-windows.wim as install.wim if you haven’t done so already (I always give it another name to ensure I don’t confuse it with the original).
Place it in the sources folder.
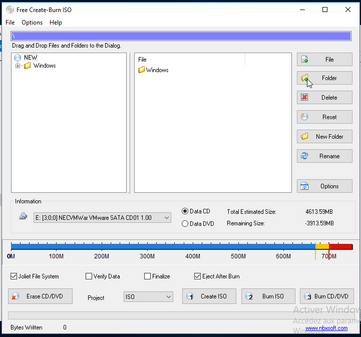
You now have to convert your folder into an ISO image. Windows 10 doesn’t have an application for this, so you need to use a separate one. Thankfully, several such apps exist. You can choose any of them, but I prefer: https://free-create-burn-iso.en.softonic.com/
Once you have downloaded and installed the application, click on Folder and add the folder, which includes the copy of the Windows installation and your install.wim file.
Click on Create ISO (at the bottom) and save your ISO image.
All you need to do now is to create your own installation media containing your image. You have two options; you can either burn this image to a DVD (using the same application) or create a bootable USB drive.
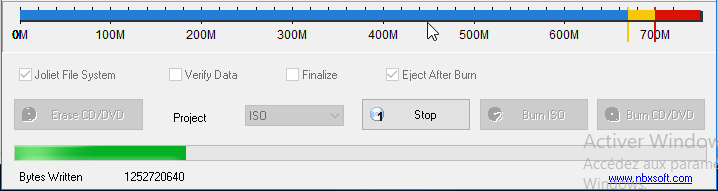
To burn the DVD, simply click Burn CD/DVD with a blank DVD drive inserted into the computer.
To create a bootable USB drive, first, make sure you have a USB drive inserted into your computer. Next, download a tool called Rufus from https://rufus.ie/en. Once downloaded, open the software, make sure the boot selection is set to ISO image and then click Select.
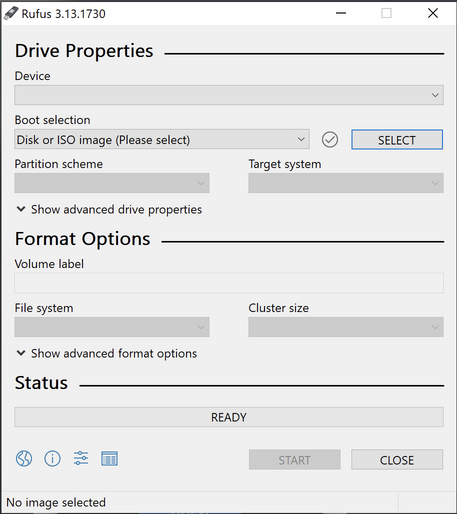
Choose your ISO file, run the tool, and it converts your USB drive into a bootable drive.
In this chapter, you learned how to start your computer on removable media, capture a partition containing a Windows installation, and create an ISO image of this customized Windows 10 installation process. Now you can deploy Windows 10 with ease in your company without repeating the various installation steps, saving you time and reducing the probability of mistakes.
Let's Recap!
To change the start-up order of your computer, hit F2 before Windows starts.
You can launch Windows PE by hitting Shift+F10 while Windows is installing.
Once you have found the letters of the partitions, all you need to do is enter the following command: Dism /Capture-Image /ImageFile:DRIVELETTER:\my-windows-partition.wim /CaptureDir:DRIVELETTER:\ /Name:"My Windows partition."
Then start Windows normally and copy the files on the installation DVD into another folder (except install.esd or install.wim).Add the install.wim file you have created to the sources folder.
This must all be converted into an ISO image.
Burn the image to a DVD or USB drive and install Windows on your computers.
Head over to the final chapter for a last round of practice before completing the course.
