Check the Motherboard Standoffs
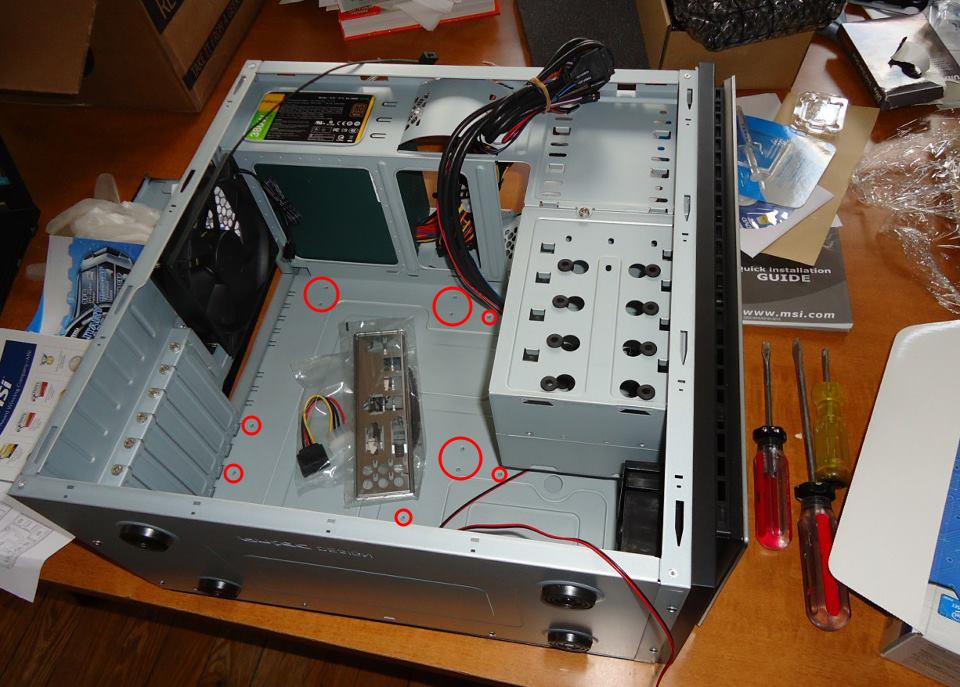
You will see mounting holes on the floor of the case. Some of these might already be fitted with metal or plastic standoffs to hold the motherboard in place:

The holes are in a standard pattern designed to match a range of board sizes. You need to ensure that the position of the standoffs matches your motherboard, so try carefully placing the board into position and see whether you need to add, remove, or relocate any of the standoffs.
You should have received a bag containing more standoffs with the case. They can be screwed in place until finger-tight, or you can use an M3 (6/32“) nut driver to add or remove them. If you use pliers, take care not to slip as you work.
Check the Routing of the Case Connector Wiring
Notice in the picture above there is a large bundle of wires at the top of the case. These wires are attached to the sockets and switches (USB, sound, power and reset, etc.) on the front of the case and will eventually connect to the motherboard.
Make sure this bundle is out of the way from where the motherboard will be fitted - otherwise, you’ll have to remove the board later to get to the cables!
Fit the Cooling Radiators/Fans (if Relevant)
You may need to remove or relocate some or all of the rear case fans to fit the radiator (heat exchanger) for your liquid cooling system (if applicable).
Check the screw type needed for your fan(s). The traditional type is a self-tapping one, but if in doubt, use the ones supplied with the fan or fan assembly.
Fit the Motherboard Shield
If the motherboard shield is not already fixed to the board, snap it into place at the rear of the case. Make sure you install the shield the right way up - otherwise, the motherboard will not fit.

Fit the Motherboard
Carefully lift the motherboard into place, double-checking that all case standoffs are in the correct positions and the shield hasn’t popped out.
Secure the motherboard into position using the screws supplied with the case. It’s best to fit the screws loosely at first, checking and adjusting the position of the motherboard as you go.
Once you are happy with how the motherboard is sitting, gently finish tightening the screws, working from the back (motherboard shield) of the board toward the front.
For a demonstration of installing a motherboard, watch the following video from Builds with V:
How to Install a PC Motherboard
Hook Up the Case Header Connectors and Motherboard Fan Wiring
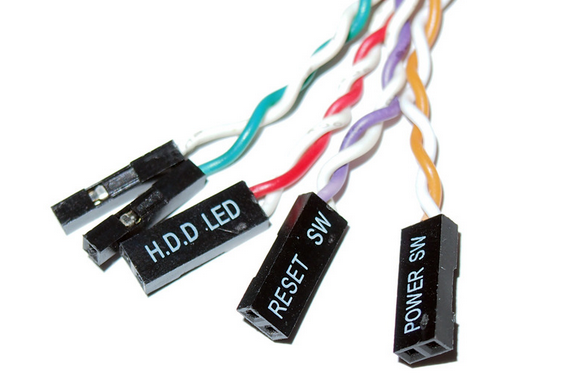
Locate all the case wiring (power switch, reset switch, etc.) and the fan(s) wiring.
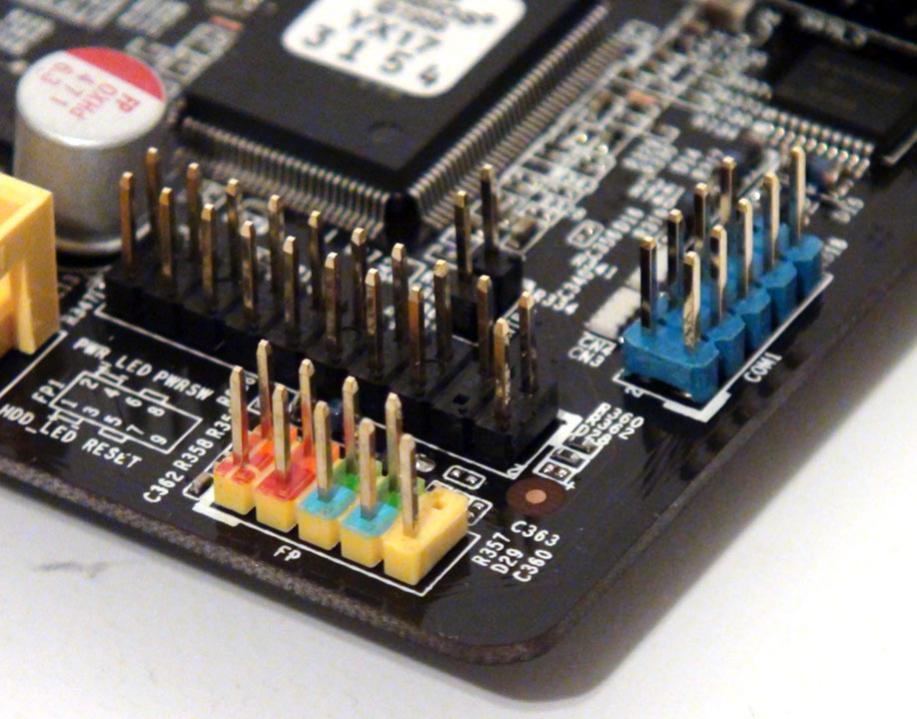
Connect the wiring according to the motherboard instruction manual.


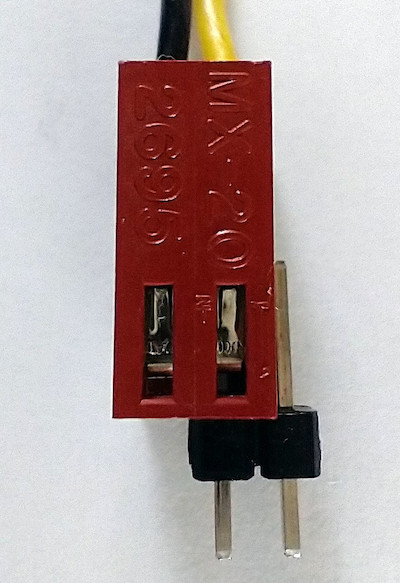
Double-check the header wiring when it’s done. For example, make sure the reset and power switch connectors have not been swapped over. Connections to LEDs have to be correct, so if the power or HDD/SSD LEDs on the front of the case do not light up later, this is the first thing to check.
For a demonstration of installing a case fan, watch the following video from Builds with V:
How to Install a Case Fan in Your PC
Let’s Recap!
With the motherboard in place, you can complete a lot of the internal wiring.
Check whether there are any more parts of the cooling system to fit.
Refer to the motherboard manual to identify the location and polarity of relevant connectors.
Always check your work as you go, and then check when done - never assume!
With the motherboard securely in place, we can now turn our attention to the bigger parts and head towards completing our PC assembly tasks.
