Fit the Storage, Power Supply Unit, Graphics Card, and Remaining Items
Now is the part where some of the larger items are put in place. Be careful not to drop anything on the motherboard as this could damage it.
Fit the Storage Devices
Unpack your storage devices and check their size.
Match the devices to internal (HDD/SSD) and external-facing bays.
Repeat for any other bay-fitting units, such as optical disc drives, card readers, and sound card interfaces.
See if the devices need to have mounting rails fitted or be screwed into caddies/frames (as supplied with the case). If so, complete this work.
Fit all devices.
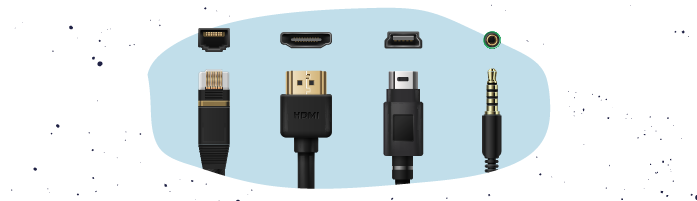
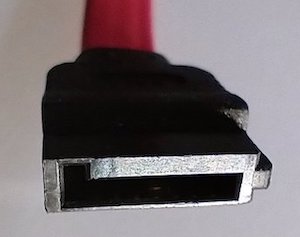
Fit motherboard data cables to the storage devices - these will almost certainly be SATA cables:
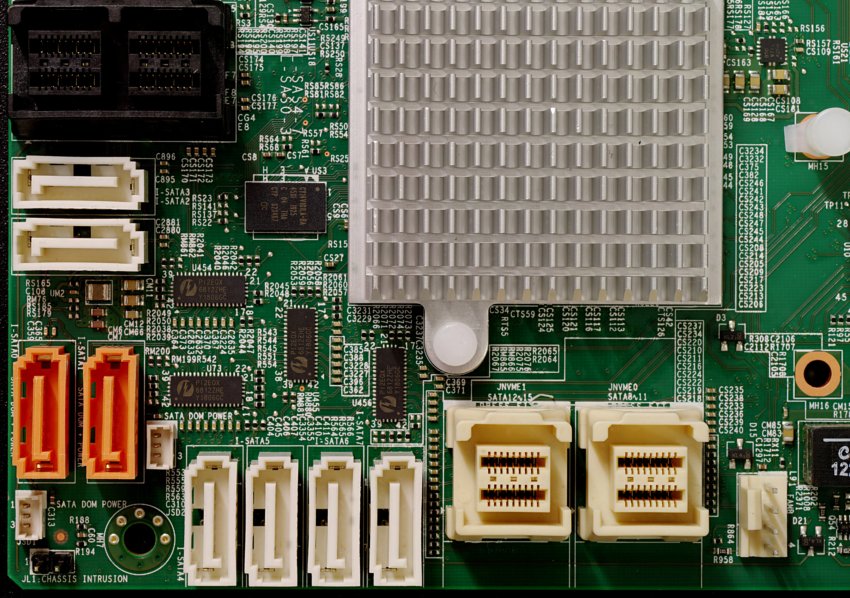
If you purchase a SATA600-compatible storage device, but the motherboard only has SATA300 headers, the device will work, just not at its top interface speed.
For a demonstration on installing a SATA hard drive, watch the following video from Digital Trends:
How to Install a SATA Hard Drive
Fit the Power Supply
Fitting the power supply comprises positioning it into place and securing it with (usually) four screws, then connecting the power leads to the right places and parts. Let's get to work!
Unpack the power supply.
If the power supply is a modular design, identify which internal power cables need to be connected, ready for later.
Slide the power supply into the case at the appropriate location.
Usually, the PSU fan points into the case, although it might be fitted the other way up if the top of the case is perforated.
The goal is to ensure that a cooling airflow runs into and out of the case meaning you don’t want to have all the fans pushing air into the case. That could create a build-up of stalled air and cause one or more components (especially the CPU or graphics card) to overheat and affect computer performance or stability.
The convention is to have the airflow leave at the back of the case, which keeps the user from being exposed to a stream of hot air.Fix the PSU to the case using the screws provided.
Attach the required modular cables to the PSU (if relevant).
Connect the PSU power leads to all internal storage devices and to the motherboard.
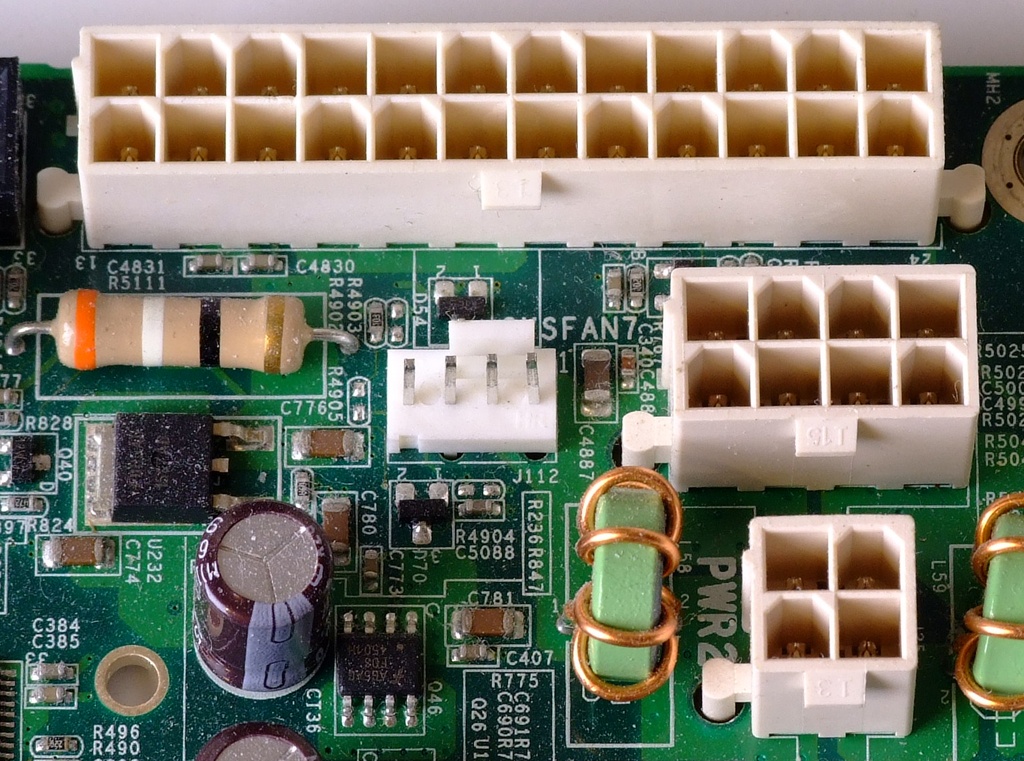
Connect power leads to any fan assemblies that aren’t supplied through motherboard headers, such as SYSFAN7 in the picture below.
For a demonstration of installing a PC PSU, watch the following video from Builds with V:
How to Install a PC PSU
Fit the Graphics Card
This step is only necessary if you are using a separate graphics card.
Unpack the graphics card.
Identify the motherboard graphics card slot(s).
Remove any blanking plates at the rear of the case to suit the size and location of the graphics card.
Open the motherboard’s slot’s retaining clip (if applicable)
Insert the card into the correct motherboard slot carefully, and confirm that the connector retaining clip is closed properly.
Fix any screws or clips into place to secure the card to the back of the case.
Connect the PSU power lead to the graphics card (if required).
Make sure that no internal wiring will touch the card’s fans during operation.
For a demonstration of installing a graphics card, watch the following video from Builds with V:
How to Install a Graphics card into your PC
Fit the Remaining Add-in Options
If you have any other plug-in cards to install, follow the process above to identify a slot, remove a blanking plate, fit the card, and secure it.
Some add-in cards might require a power connector too.
Let’s Recap!
All the storage is now in place.
You’ve hooked up all the internal data and power wiring.
The graphics card is the last major item to be fitted, together with any other expansion options.
Re-check everything as you go!
The body of your computer is now assembled and ready to test, so let’s see what happens!
