In the previous chapter, you saw how to use Git to make good commits, create a README that reflects your project, and use Read the Docs to publish your documentation.
In this chapter, you will learn how to write documentation for a specific case: APIs.
Write Documentation for Your API
APIs are designed to be used by many different developers, often external to your project or company. In this context, accessible and easy-to-use documentation is vital for developing APIs. Therefore, it’s essential to update your documentation when the code/features of the API change.
This is particularly important when the development model is based on teamwork, whether within a company (private) or in the open-source (public) world. In other words, always sync the changes made to the API with the related documentation!
What Should Your API Documentation Contain?
As an example, take a look at the API documentation of the well-known Dropbox website. You can see all the required information: the endpoints (HTTP reference, authentication), examples of code and parameters (API Explorer), and the changelog (for changes made since previous versions).
The Lifecycle of API Documentation
As in all design projects, API documentation follows a particular lifecycle:
Creation: you can easily share the structure of an API with clients or colleagues using online tools to get their feedback and requests for upgrades to features, even before they’re coded.
Testing: it’s easy to evaluate the consistency of responses from API endpoints using forms.
Sharing documentation: linking your Git repository to the documentation provides full synchronization within the team. In this way, the documentation is developed alongside the code, which is an undeniable advantage nowadays. Finally, the team can agree on syntactic and semantic rules when writing documentation to ensure consistency.
Publish Your Documentation With Apiary
Without spending too much time on this tool, let’s look at some best practices you can implement with Apiary in the documentation lifecycle.
Apiary’s workflow follows the API documentation lifecycle, which you saw in the previous section. Let’s go through the main points.
Create Your Documentation With Apiary
When a new API is created, Apiary allows you to view it in two ways. There is a generic public API documentation template (without authentication) on the left, and on the right, a live preview shows the changes in real-time.
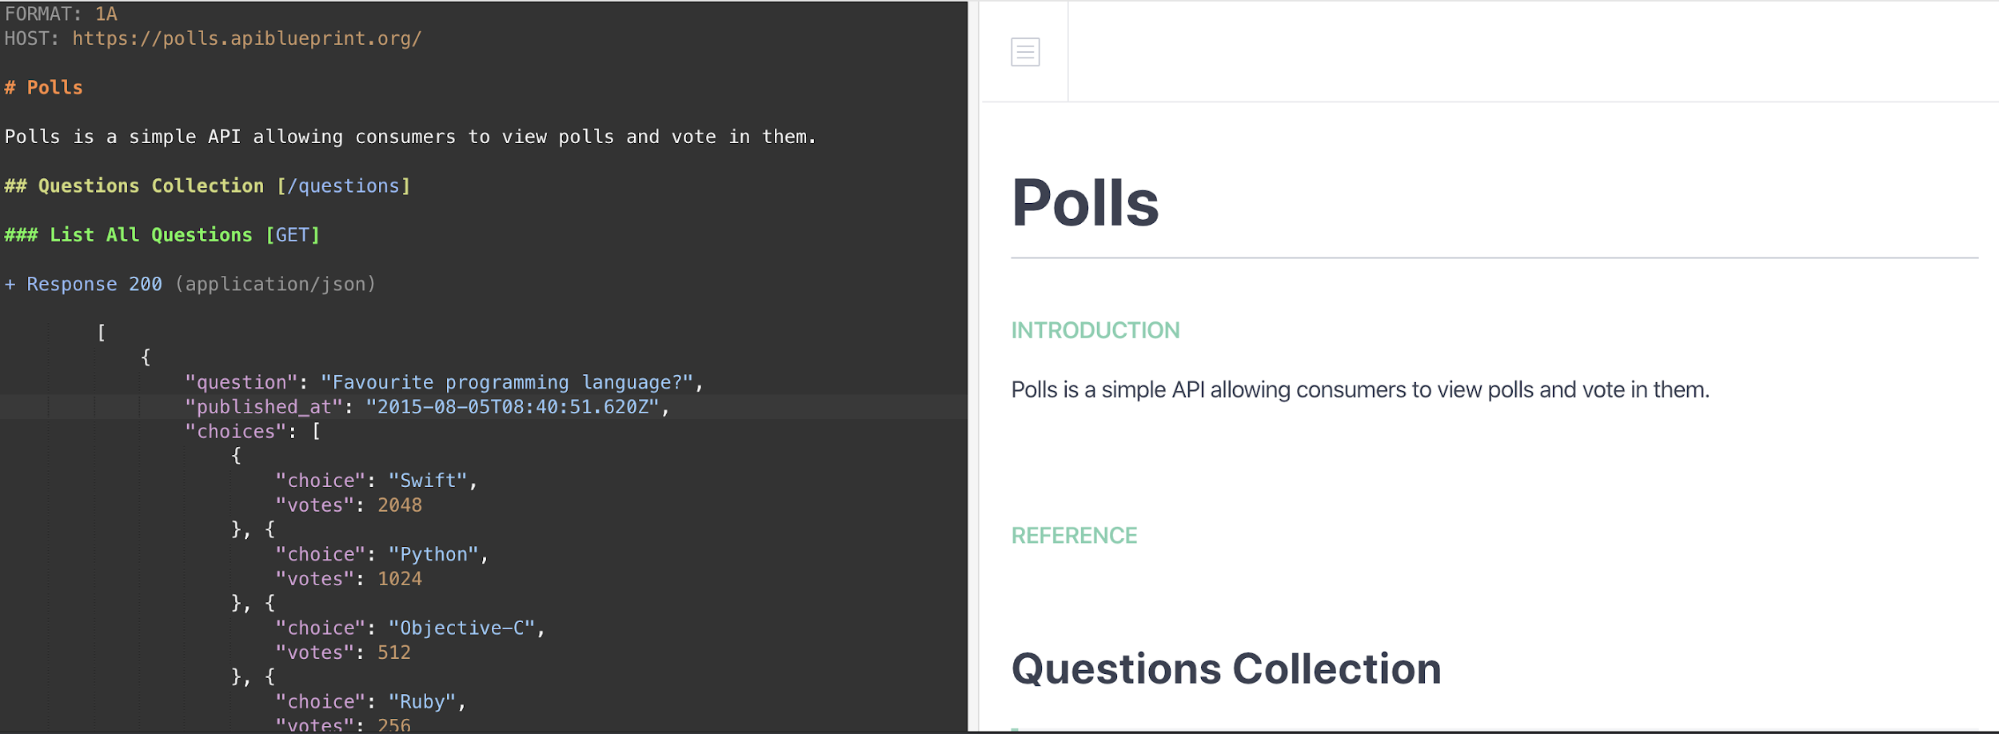
Let’s find out more about the left side.
This interface provides a pre-filled code with the following information:
The type of format that can be used to describe the API (in Apiary, this can be JSON or Markdown, for example).
The type of hosting for the API (Apiary offers three).
A quick title and description.
The information needed to query the API’s GET and POST endpoints.
FORMAT: 1A
HOST: https://polls.apiblueprint.org/

# Polls

Polls is a simple API allowing consumers to take part in polls and view their results.

## Questions Collection [/questions]

### List All Questions [GET]

+ Response 200 (application/json)

        [
            {
                "question": "Favourite programming language?",
                "published_at": "2015-08-05T08:40:51.620Z",
                "choices": [
                    {
                        "choice": "Swift",
                        "votes": 2048
                    }, {
                        "choice": "Python",
                        "votes": 1024
                    }, {
                        "choice": "Objective-C",
                        "votes": 512
                    }, {
                        "choice": "Ruby",
                        "votes": 256
                    }
                ]
            }
        ]

### Create a New Question [POST]

You may create your own questions using this action. It takes a JSON
object containing a question and a collection of answers (called “choices”)

+ Request (application/json)

        {
            "question": "Favourite programming language?",
            "choices": [
                "Swift",
                "Python",
                "Objective-C",
                "Ruby"
            ]
        }

+ Response 201 (application/json)

    + Headers

            Location: /questions/2

    + Body

            {
                "question": "Favourite programming language?",
                "published_at": "2015-08-05T08:40:51.620Z",
                "choices": [
                    {
                        "choice": "Swift",
                        "votes": 0
                    }, {
                        "choice": "Python",
                        "votes": 0
                    }, {
                        "choice": "Objective-C",
                        "votes": 0
                    }, {
                        "choice": "Ruby",
                        "votes": 0
                    }
                ]
            }
Try completing this first template using the necessary information (authentication, parameters, etc.) to see the changes directly in the live preview.
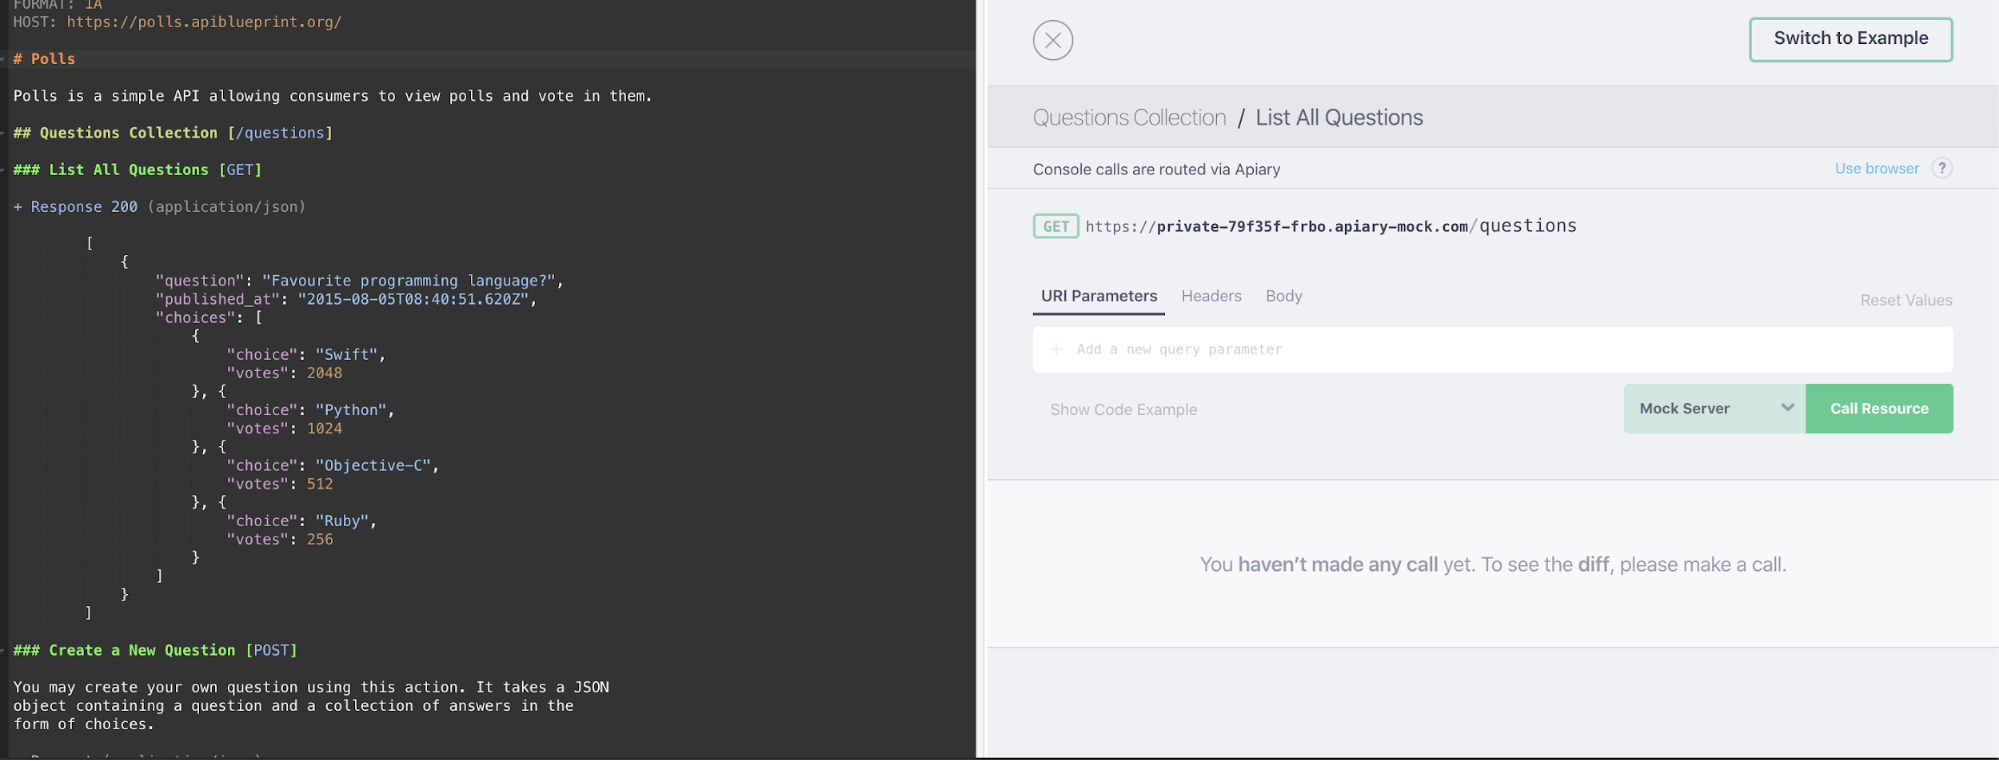
Test Your Documentation With Apiary
Once the documentation has been created, the next stage of the cycle is to test it to assess whether it corresponds to the intended uses.
Apiary provides this possibility natively, which is very practical. In addition, the interface allows you to test API endpoints using an advanced form. You can access this option directly from the Apiary editor.
Work on Documentation on a Team With Apiary
A popular feature in Apiary is the ability to sync API documentation with a public Git repository in just a few clicks.
Once synchronization is up and running, the Apiary editor changes its appearance slightly. It shows a “Push” button in the top right, which allows you to commit your changes, and a “Branch: master” button, which tells you which branch of your code you’re in.
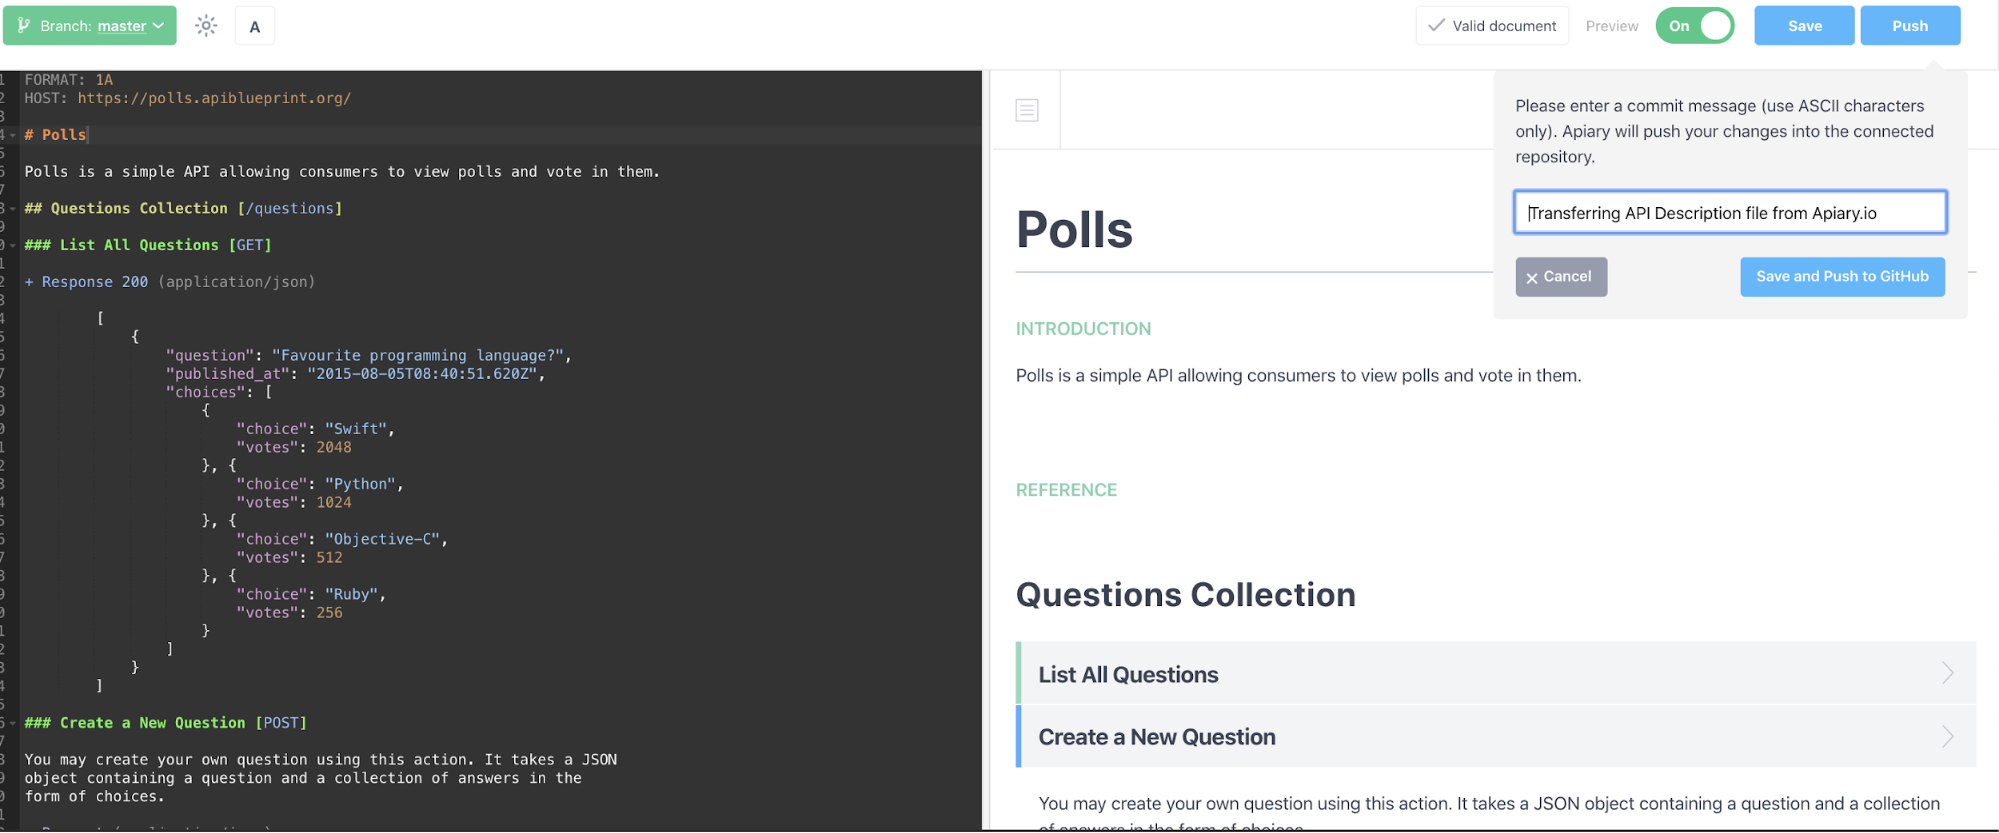
Here, you can see an infobox appear in the top right for the next commit.

The documentation file is now in the repository. This is how Apiary provides complete integration with Git to make teamwork easier.
Let’s Recap!
In this chapter, you saw that:
Documenting your API is essential to share it with your team or potential users.
It should include:
The means of authentication, if it’s a private API.
A definition of the endpoints.
Any parameters.
Some code samples.
Some examples of requests and responses.
The documentation lifecycle consists of creating, testing, and sharing.
Apiary is a platform for managing this cycle for your APIs. When integrated with Git workflows, it provides a very effective tool for improving team productivity.
You've now come to the end of the first part of this course. You saw an overview of how to write documentation for greater readability and scalability of code while also facilitating teamwork.
In the second part of the course, we will look at how to write technical documentation for your projects.
