Let’s take a look at how you can help your student assess their progress. In our teaching model, a student’s skills are assessed at several points during their training:
At the beginning of a project, to establish a baseline for your student’s skills.
Throughout the training program, to verify their acquisition of skills from project to project.
Before the project assessment, to verify their progress level.
During the project assessment with an assessor.
As a mentor, you can take part in the first three!
Establish the Student’s Baseline Skills
Ask Questions to Help Your Student Establish a Baseline
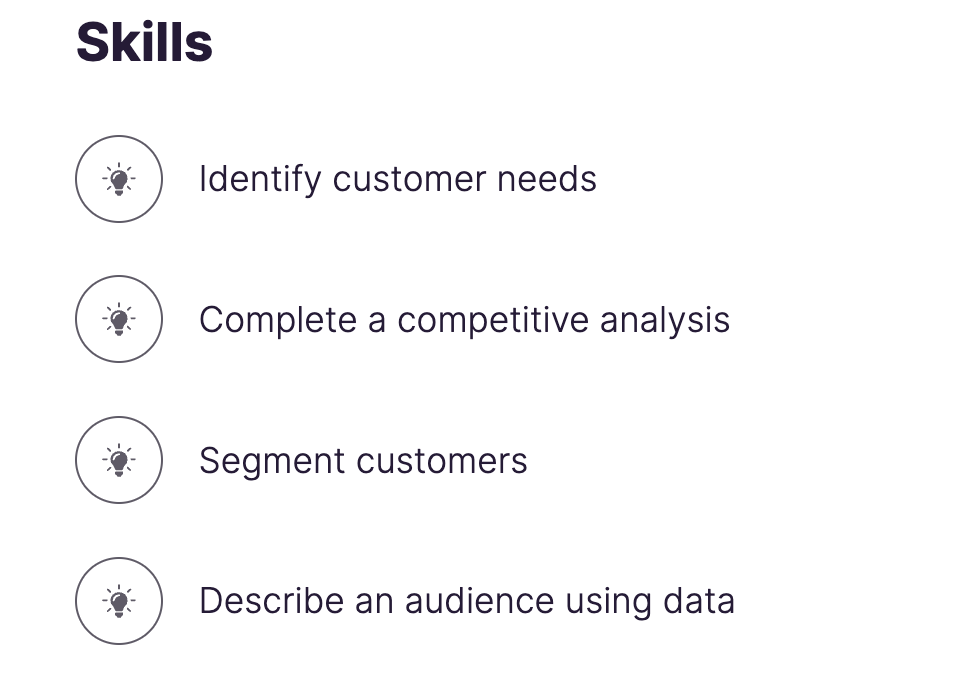
As a mentor, it’s essential that you familiarize yourself with the skills that will be assessed during the project. They are listed at the bottom of the Project Brief on the platform.
Don’t hesitate to ask the student questions to help them establish a baseline in relation to the skills on which they’ll be assessed. Here are some questions you could ask:
What are the skills you already have?
What are the skills you’ll be developing during this project?
What do you already know about these skills?
What tools or knowledge do you need to master in order to complete this project?
What is your current level of proficiency with these tools or knowledge?
By asking questions, the student engages in reflective learning (see this article from effectiviology).
Reflective learning? What does that actually mean?
For the student, it means two things:
Being aware of the path they’re on—knowing where they are and where they want to go.
Identifying what they need to work on—assessing what they still don’t know and planning what they need to do.
Use Tools to Visualize the Student’s Progress
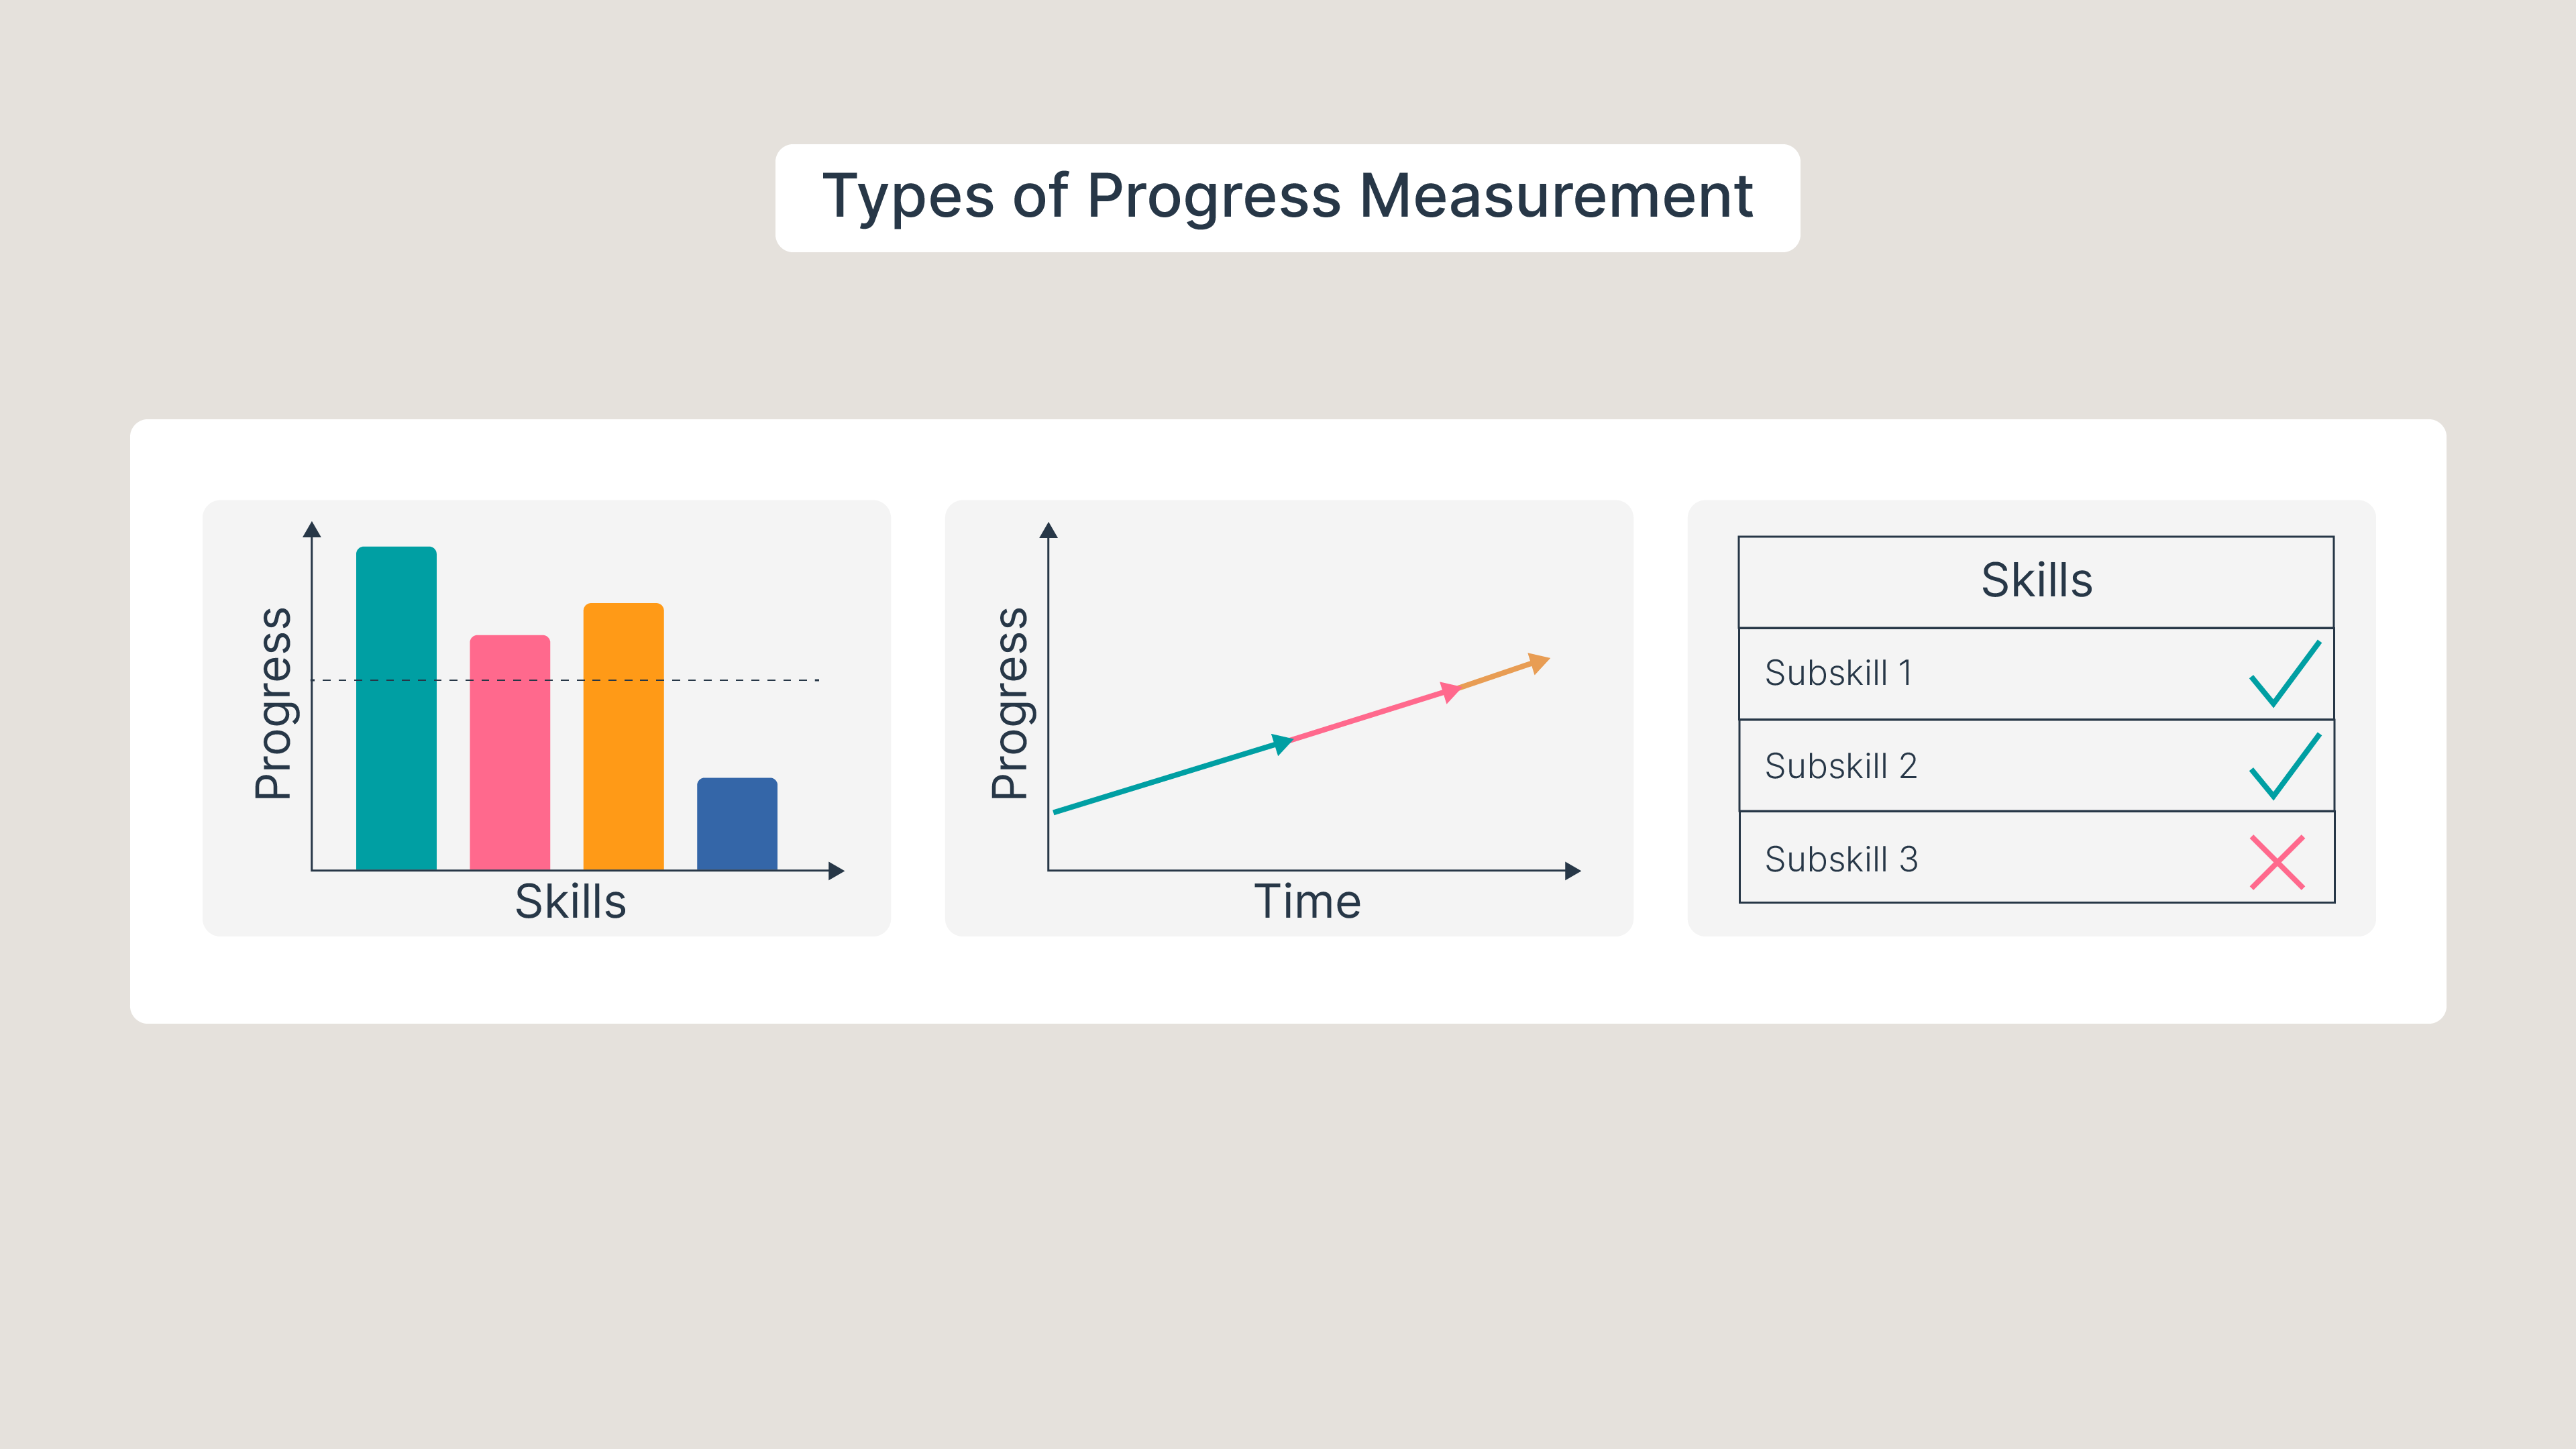
You can also ask the student to define a progress scale for each skill they’ll be learning. How they choose to visualize that scale should be up to them. They could use color coding, graphs or charts, keywords, a checklist, etc.
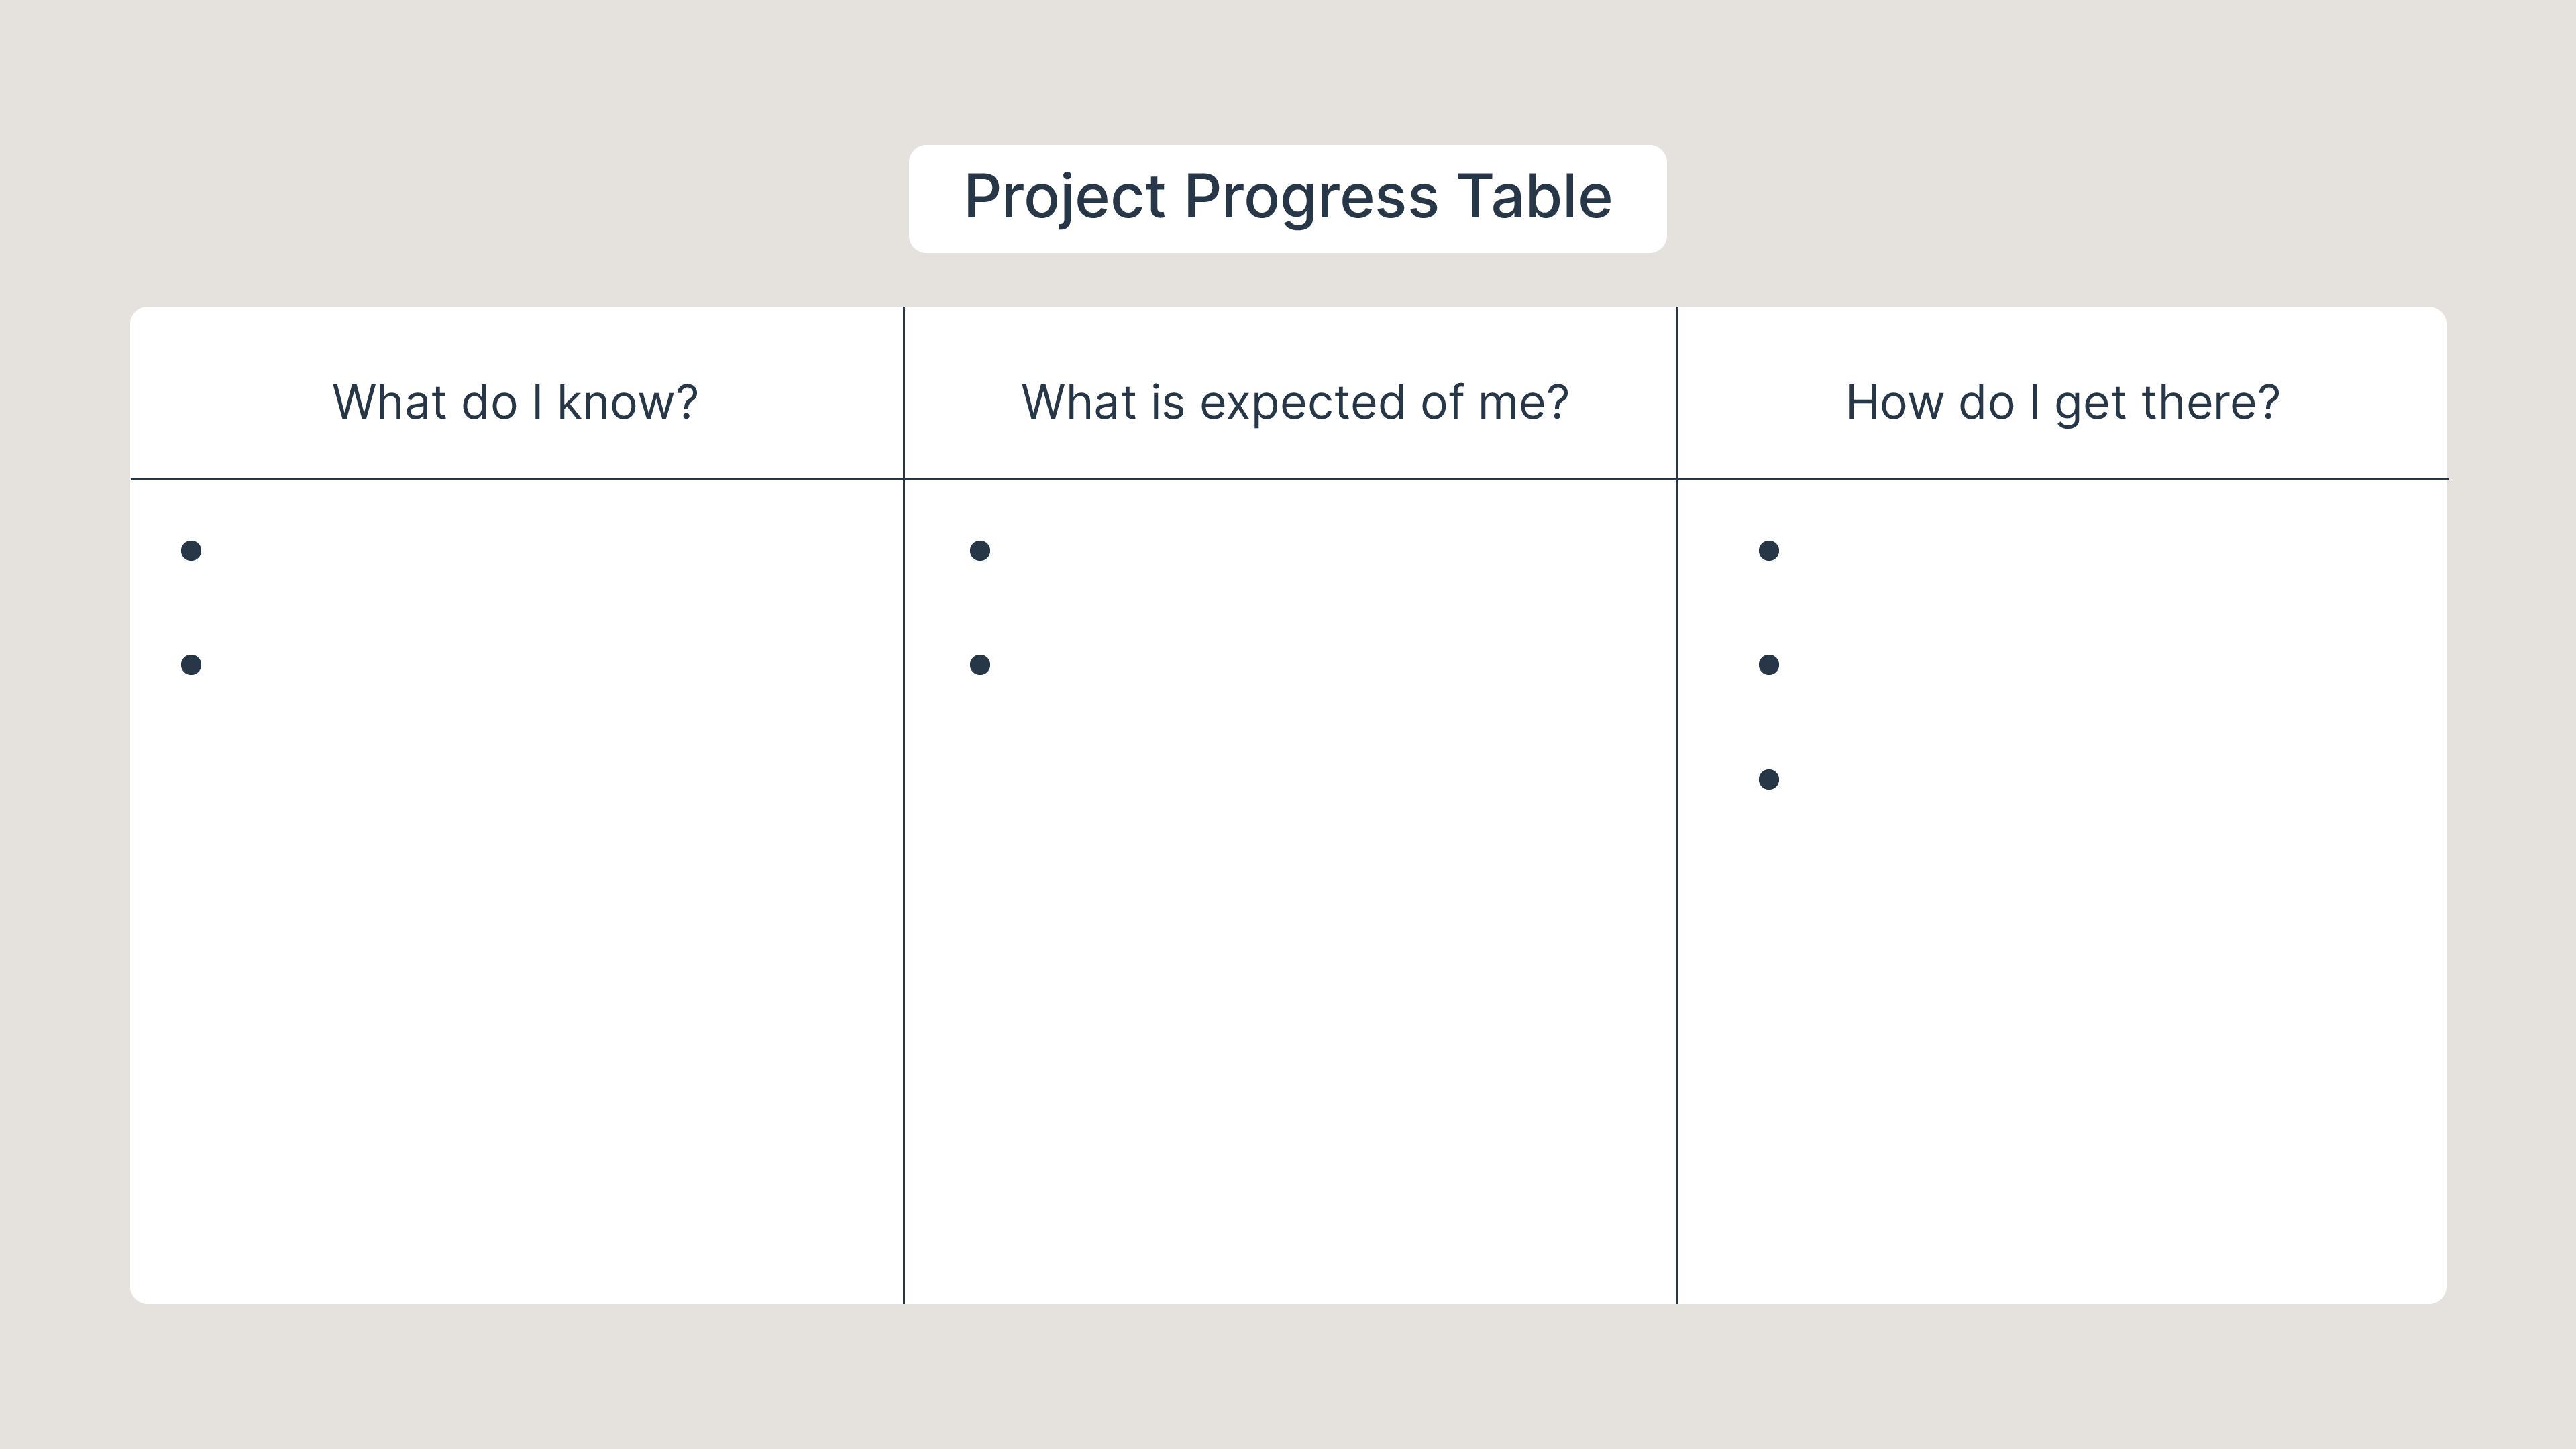
You can also suggest that your student track their progress in a table. That way, they can monitor how they’re doing as the project goes along. Feel free to use this table, excerpted from the book Design for How People Learn by Julie Dirksen, if you choose this type of approach.
Do Formative Assessments
Great! How do I do that? 😀
As I explained in the first part of this course, there’s no magic recipe, and there’s certainly no single best approach. But I’ll give you a few ideas to try out in your mentoring practice. 😉
Ask the Student Questions
Answering questions demands reflection. It requires recollecting information from memory and doing so repeatedly.
Sure, I can ask questions, but does that actually help the student?
Actually, it’s best to ask one question at a time, and above all, give the student time to respond. The process of retrieving the information is just as important as the response. Some studies in the cognitive sciences (such as Make It Stick: The Science of Successful Learning by Peter C. Brown, Henry L. Roediger, and Mark A. McDaniel) have shown that waiting three seconds has a positive impact on the quality and complexity of the response given.
What do I do if the student doesn’t come up with the response?
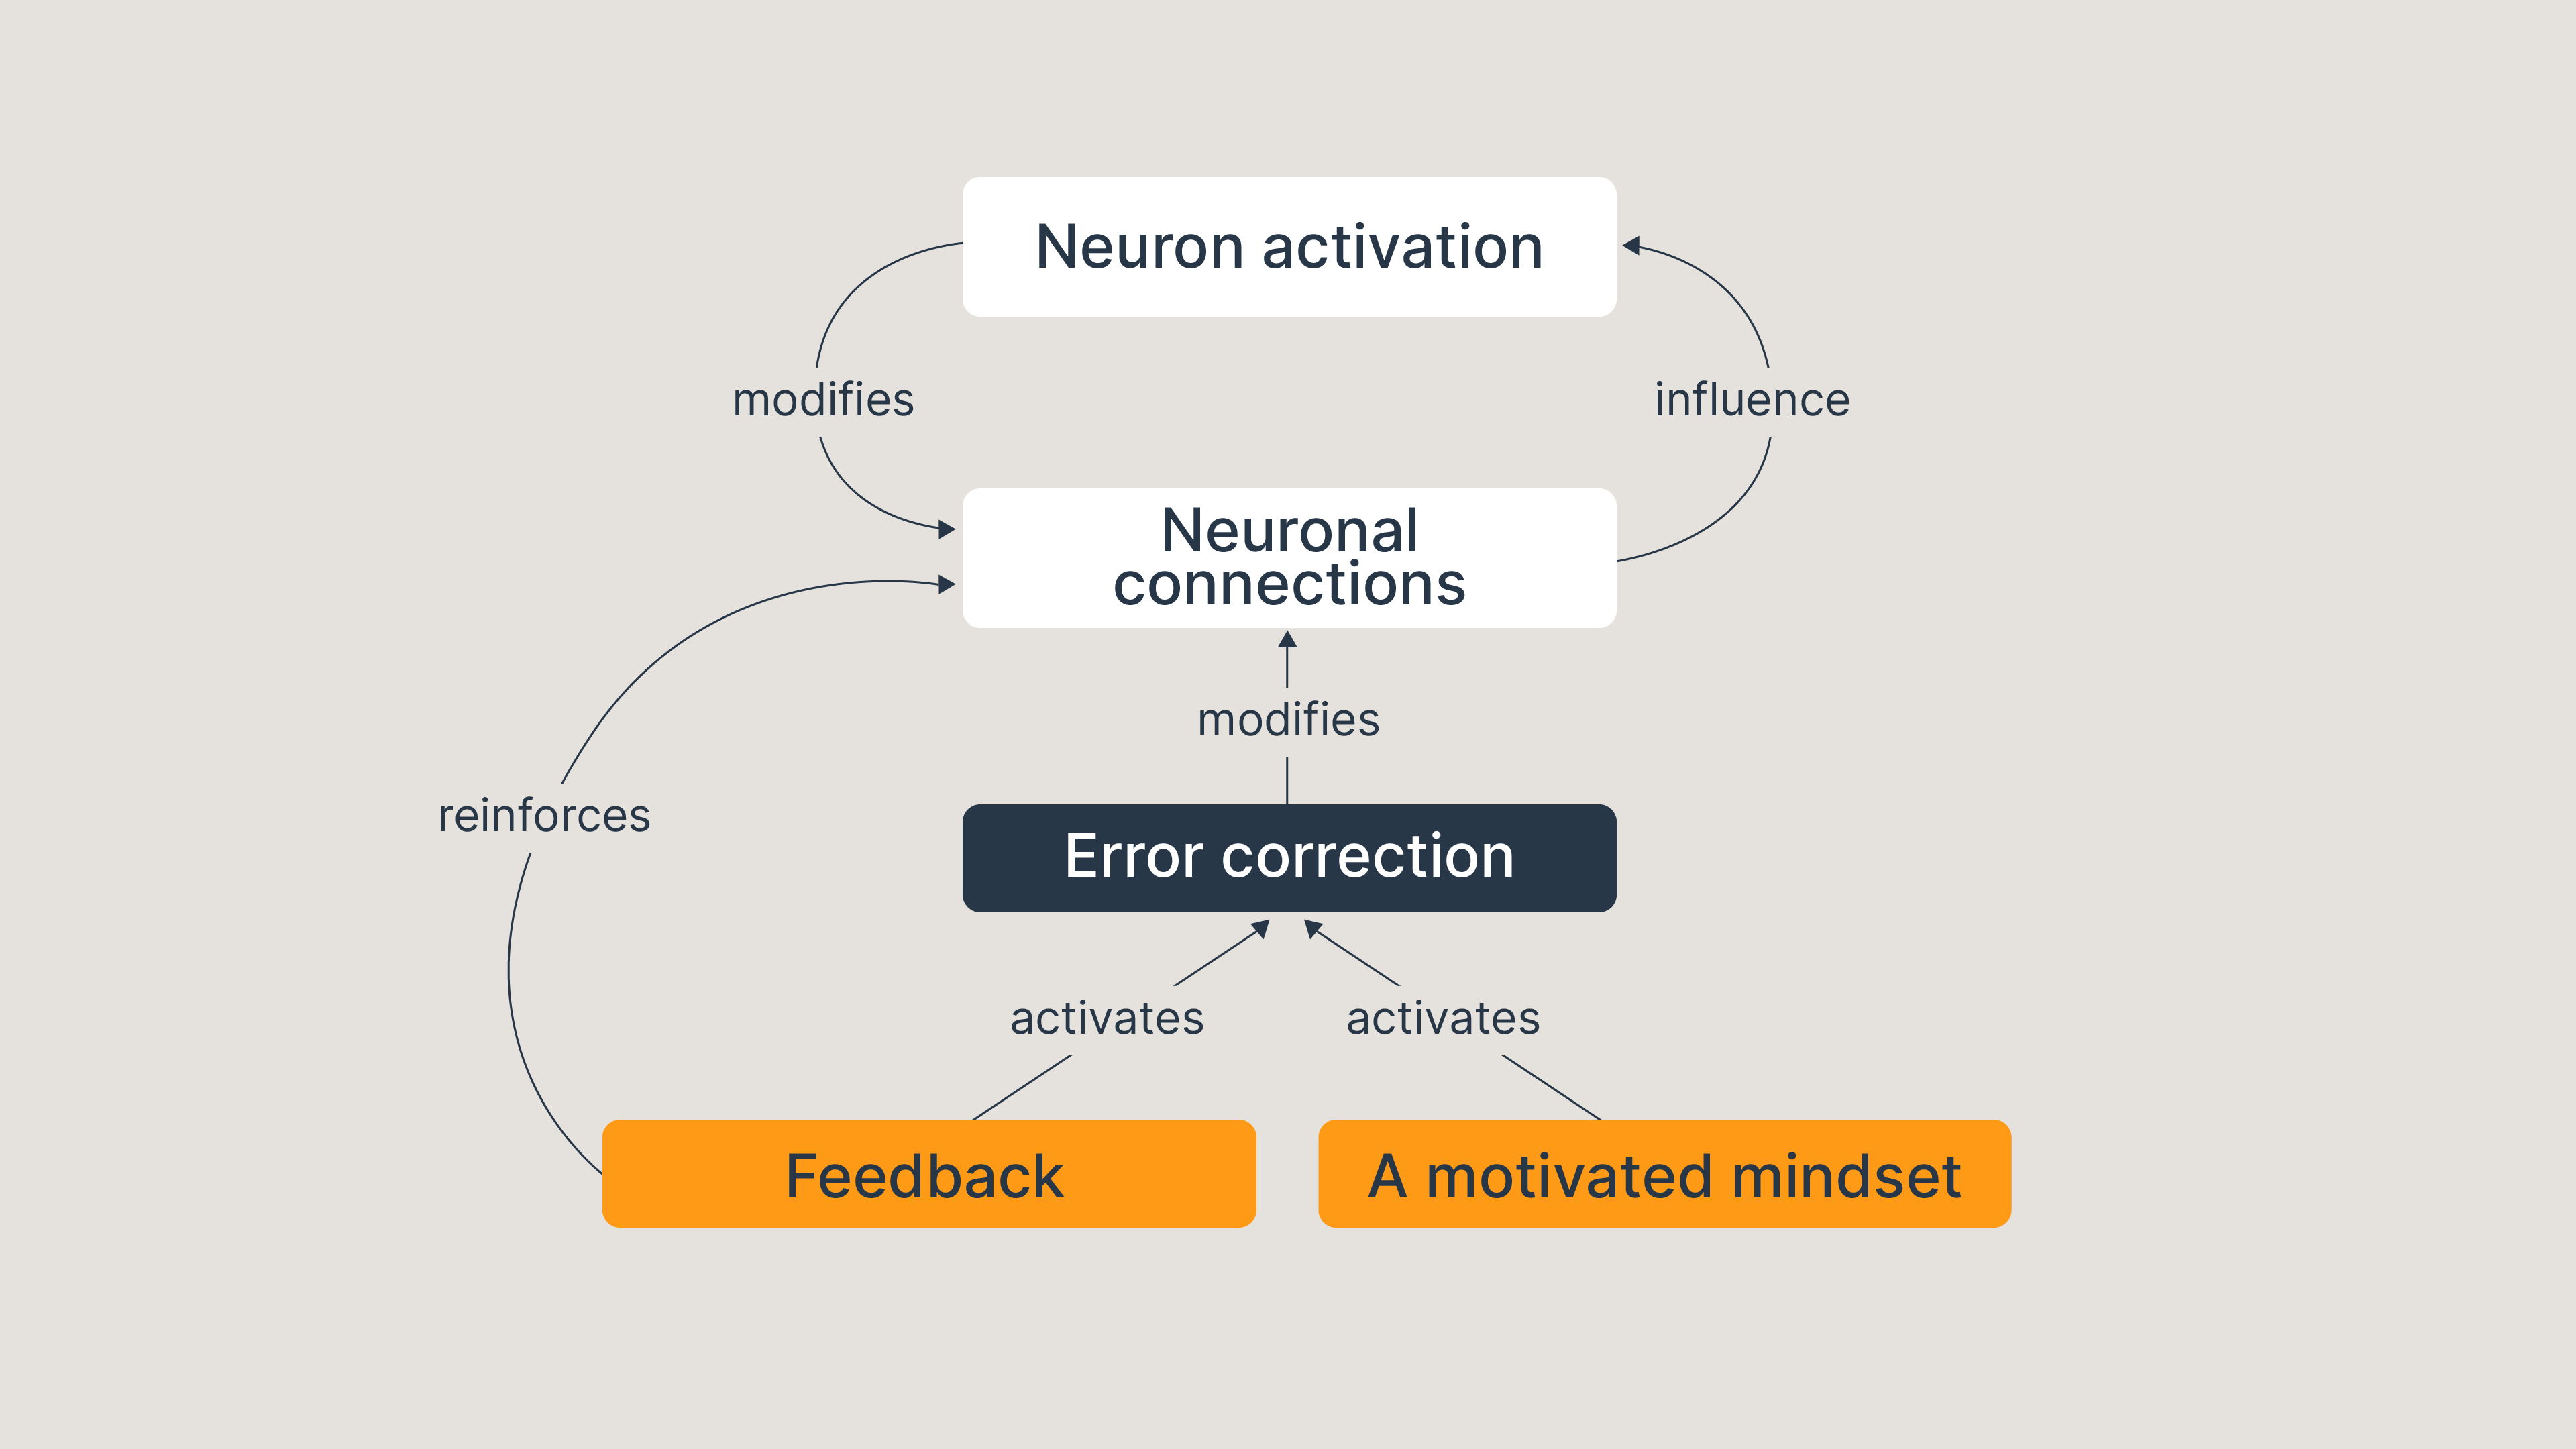
Before you give your student the answer, give them some hints. This will reactivate their search for the information. Doing this exercise stimulates the areas of the brain where long-term learning takes place.
Encourage the Student to Use Trial and Error
I’m sure you’ve heard it said before: We learn by making mistakes. But do you know why?
But it’s not always easy for students to accept that making mistakes is a good thing for learning. Maybe because we’ve all been told thousands of times how important it is to succeed? 😉
And since we’re on the subject of the student’s freedom to make mistakes, this is a good time to talk about your own freedom to make mistakes as a mentor! Remember, there’s no magic recipe. Sometimes you may choose to use a method that doesn’t quite work for your student. It's not the end of the world! You have a variety of options—test them all, and find the ones that suit both you and your student!
Give Feedback
When we complete a task, it’s always useful to get an outside perspective or take a step back ourselves to analyze what we did. This helps us validate our work method and find areas for improvement. That’s why your feedback is so important!
For example, if I said to you right now, “You don’t understand anything about formative assessment,” I think very few of you would want to keep reading what I have to say. Yes, it can be valuable feedback to let someone know they haven’t understood, but it’s all about how you convey that message!
OK, I get the principle... so how can I be sure I’m using the right words?
Let’s go back to my comment from above: “You don’t understand anything about formative assessment.” What’s wrong with this feedback?
The comment is very negative. Not only does it use negative phrasing, but it’s also unequivocal. Saying someone “doesn’t understand anything” is harsh—and usually false! It’s more effective to use positive language and be nuanced with your comments.
The comment is vague. In this example, I’m talking about formative assessment, but that’s a broad topic. Feedback should be specific and detailed.
The comment doesn’t make any reference to a learning goal. If I don’t make the connection to what you should be learning, how meaningful can my feedback be?
Let’s imagine you’re having difficulty grasping the concept of formative assessment. One way I could point out this issue would be to say, “I see that there’s still room for progress on your understanding of this concept. Specifically, on what different methods are available. The purpose of this exercise is to understand how to apply the principles of formative assessment to your mentoring practice. Do you know how to do that? What possible methods could you use? What are they used for?”
This time, my feedback is precise, goal-oriented and shows the value of the work we’re doing.
To give meaningful feedback at every session, I also suggest that you:
Note the progress your student has made on the learning goal you’ve set with them.
Give varied feedback. The video game analogy often comes up when we talk about feedback (as in the book Design for How People Learn by Julie Dirksen). When you’re playing a video game, you’re constantly getting feedback on your progress, and in multiple forms: points, extra lives or health, your character’s appearance, visual cues, etc.
You can do the same thing in your mentoring practice by combining oral feedback with visual feedback, for example, and by asking the student to give their own feedback on their experience.
Space out your feedback over time. We tend to give feedback all at once. Watch out for cognitive overload! To be more effective, it’s better to keep it to one piece of feedback at a time.
Over to you!
Here are a few scenarios you might find yourself in with your student. Your task is to come up with feedback to fit each scenario!
To check your work, you can look at our suggested answer key.
Take Advice from Experienced Mentors
Listen to some advice from Mike and Joy based on their experience as mentors:
Let’s Recap!
To assess your student continuously:
Establish their baseline skills at the start of each project, so you can structure their training accordingly.
Guide them in assessing the knowledge and skills they’ve acquired using formative assessment techniques:
Give feedback
Ask questions
Use mistakes as a learning opportunity
Keep your mentorship in perspective—remember, there’s no miracle solution!
Now you have some tools in hand to apply continuous assessment to your student. 🚀 In the final chapter of this course, we’ll be focusing on the project assessment. How do you support your student in this critical step?
