Create, edit and align shapes
Creating Shapes
Creating a rectangle in Sketch is possible in one of two ways:
In the Menu, choose Insert > Shapes > Rectangle and then drag the size of the rectangle you want.
Press the R key (to use the create rectangle shortcut) and then drag the size of the rectangle you want.
Modifying Shape Properties
Once you create a rectangle of any size, you can then click on it to view its properties and edit them in the Inspector. I want to highlight three of the more important properties of a shape:
Size (the height and width of our triangle is 500 pixels and 300 pixels respectively). You can edit the shape of the rectangle by typing a new value in here. Try this now, and watch the size of the rectangle change.
Fill (in this case, our rectangle has an orange fill, i.e., it is an orange rectangle). You can select a new color for your rectangle in the Inspector.
Border (in our case, it is grey and has a thickness of 1 pixel). You can select a new color for your border in the Inspector.

Choosing Color
Note that when changing the fill of a rectangle (or any shape for that matter), you have several options:
You can use one of the Global Colors (15 most common colors).
You can enter a hexidecimal ('hex') color value by typing in the 3 character or 6 character hex code.
You can select the current color in the Color Picker and drag it around.

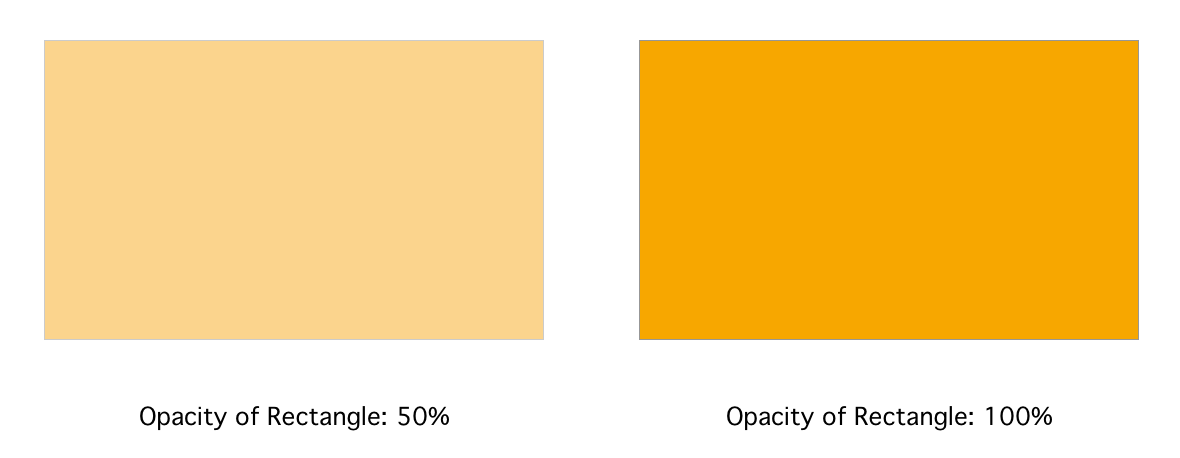
Opacity
You can think of "opacity" as "see-through-ness."
In Sketch, layers are visible or hidden from us depending on whether they are "on top" of or "beneath" other layers in the Layers tab.
Reducing the opacity of a shape will mean that its color changes and also that layers beneath this layer are visible (and become more prominently visible the less the opacity percentage of the layer on top).
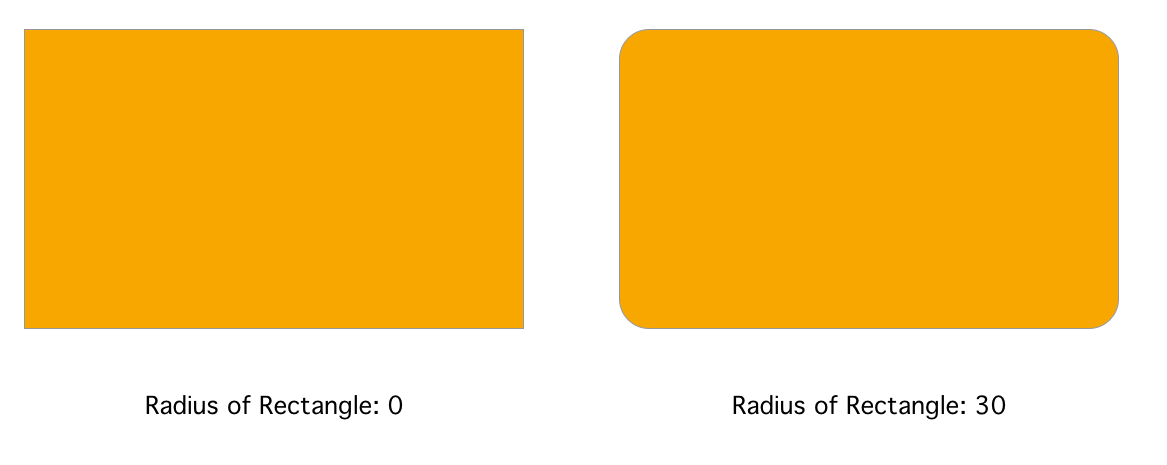
Radius
The radius of a rectangle determines the roundedness of its edges. Below you can see that increasing a radius of a rectangle to 30 gives it quite nice rounded edges.
A radius of zero gives us a rectangle with perfect right angles.
Aligning Shapes
Let's create a circle.
In the menu, choose Insert > Image > Shape > Oval.
Click on the oval shape, and in the Inspector, change its height and width to each be 150px.
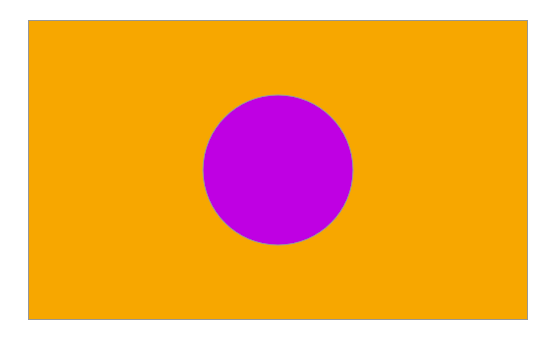
For the sake of illustration, I have also changed the color to purple in the Inspector.
Now, drag the circle so that it is inside the rectangle.
Using the Shift key, select both the circle and rectangle.
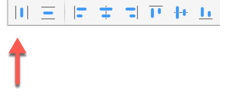
When they are both selected, in the top right area of the Inspector you will see some align options. Click on the Align Horizontal and Align Vertical symbols.
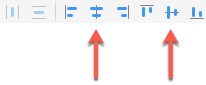
Now you will see the circle (which is smaller than the rectangle) nicely centered both horizontally and vertically within the rectangle.
Delete the rectangle (select it and use the back key on your keyboard), and make two duplicates of the circle. You can do this by either:
Using CTRL-C and CTRL-V on your keyboard (copying and pasting).
Holding down the alt key and drag the shape left or right.
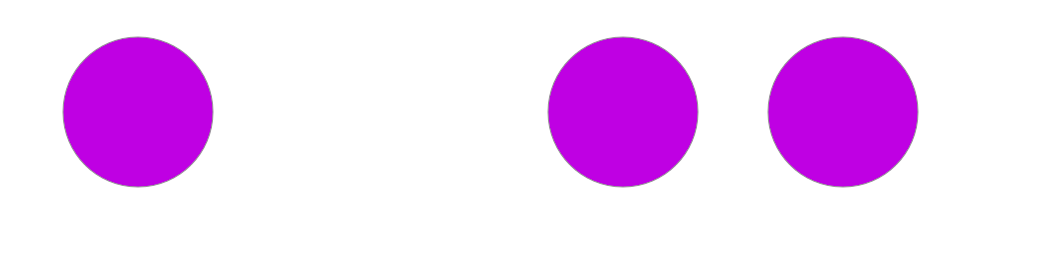
If we just take 3 circles like this that are different differences apart, they might look like this:
Quite often, when editing graphic designs, we want these items to be equally spaced (see screenshot below) as such symmetry is desirable to the eye.
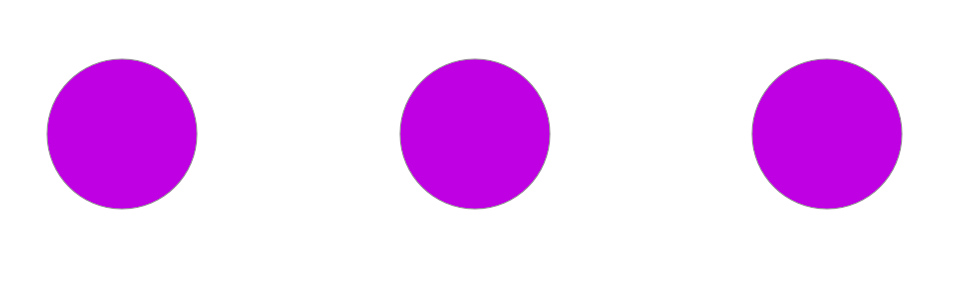 We can achieve equal spacing like this using the horizontal equal spacing option in the Inspector.
Summary
Creating, editing and aligning shapes is a vital skill to learn in Sketch. In the next lesson, we dive deep into text. Nearly all prototypes will require at least a little text, so it's another important skill to master.
