Explore Sketch templates & finalize our prototype screens
The course so far
Let's recap what we have done so far:
Developed a paper prototype
Linked the screens using Paper
Learned the basics of Sketch
Now, we are ready to create a high fidelity prototype where each screen will have the same professional look as a real app on the app store. As a result, we'll be able to get customers to use our app and get real feedback.
Sketch Resources
To help us create professional looking screens, we are going to look online at the huge range of free Sketch resources. Now that we have learned the basics of Sketch, we'll be able to browse and download some fantastic looking resources. We'll have enough skills to copy, paste and edit these files to shape them into the professional looking app we want.
Type "Sketch resources" into Google, and you'll see a long list of website that offer free resources from other designers that you can use. It's a great community, and many people love to take the work they have done and make it available publicly for others to speed them up. Maybe someday it will be you uploading resources for the world to avail of! For now, let's start with one of the most popular sites - https://www.sketchappsources.com- and have a look around.
In the mobile category, I start browsing to look for a resource that has:
A calendar for booking
Some user profiles for the sitters
A login page
I find this resource a good candidate. Kudos to Tushar Merwanji for creating it! Download this resource and open it. You'll see it is a Sketch file. Our goal now is to identify professional looking elements we can copy out for our high-fidelity (professional looking) prototype screens.
Creating the Bookings Screen
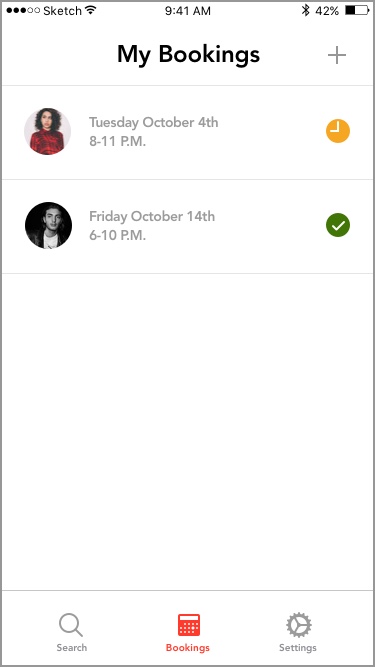
Let's begin with the end in mind.
This is the screen we are about to create.
We can get started quickly:
Insert a symbol with the Bookings menu and place it at the bottom.
In the HomeKit section, I copy and paste a status bar out of the Sketch resource into my artboard. The status bar looks like this:

Beneath the status bar, I create a text layer for My Bookings.
I create two lines (each 16 pixels long) and align them to make a plus sign!
Now my screen is starting to shape up:

Now, I want to add two bookings, each of which will show as a row:

In the Apple Music > Library > Artists section of the Sketch iOS10 GUI resource, I find something similar:
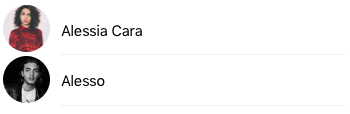
I now add some text and a couple of icons, and I have the screen that I want for two bookings! I think it is interesting for you to see that I am genuinely hacking here. By pasting professional looking elements and then adding things I know (text, shapes, lines, icons, images) I can get a screen that looks great.
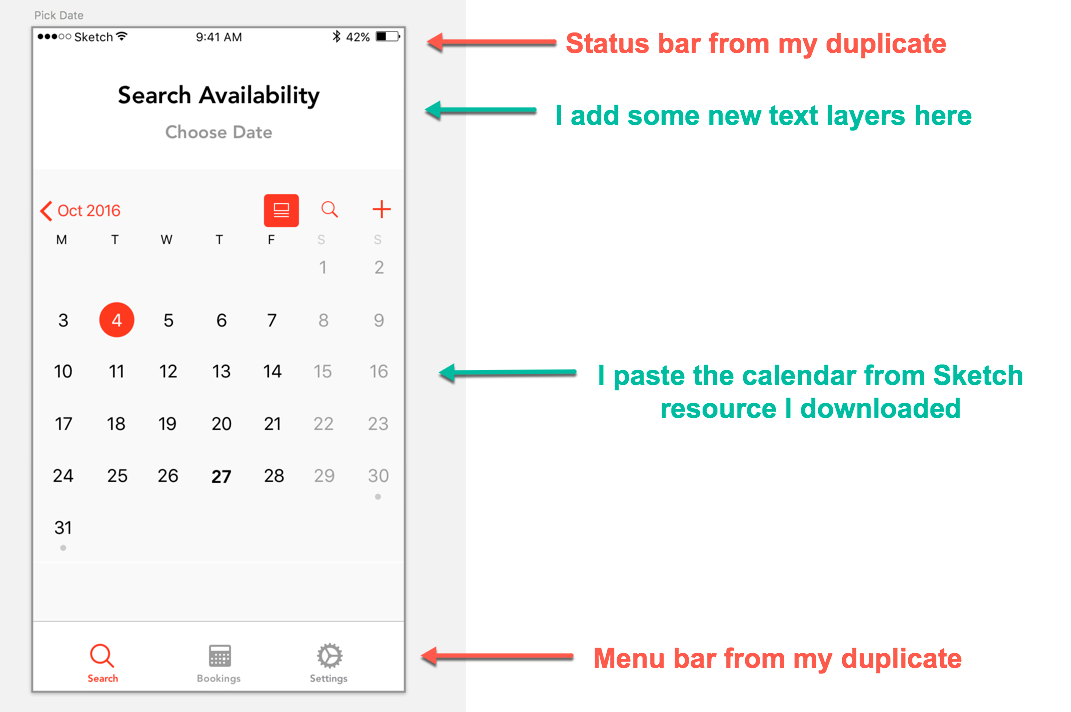
Creating the Calendar Screen
I see an artboard called 'Calendar - Date Selected,' and there are two layer groups (which look like the screenshot below with other layers hidden). I paste these into my Calendar artboard for BabySittr.

To see how this Choose Date screen was created, have a look at the screenshot below:
Pick Time and Date Screen
Sometimes, you don't see the elements you want in a resource that you download. That is to be expected, and sometimes you just have to create them yourself.
I did this with the dropdowns in the Pick Start Time and Duration screen.
These dropdowns are just:
A rectangle with some radius
A text layer for the text "8:00 PM"
Two lines in red that are joined to make a V shape

Summary
Although there are lots of elements being created, and you can follow along in the video, the most important thing is the process.
I use some carefully chosen Sketch resources that I can copy and paste elements from.
I also use my Sketch skills to edit these layers and to add text, lines or shapes to complete what I need to create professional looking screens.
I use symbols, grouping and duplicated artboards to make creating an additional screen not that much work.
Additional Resources
The Sketch file for this lesson
