Create Your First PyCharm Project

Create a project
For the purposes of this chapter we are going to make use of demo-app , the project that we worked on together in the ‘Create Your First Virtual Environment’ chapter.
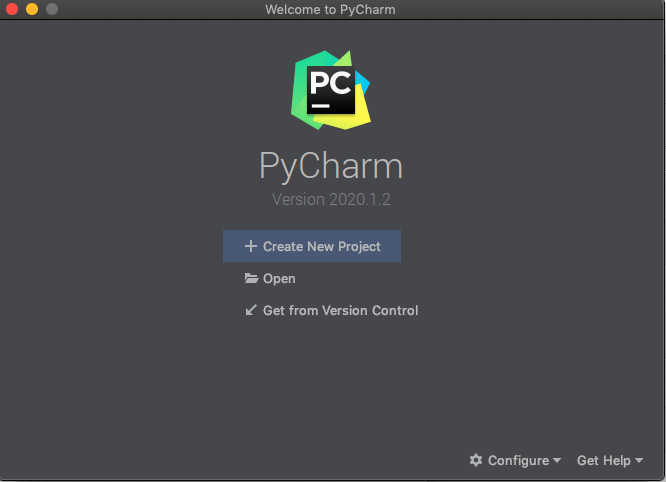
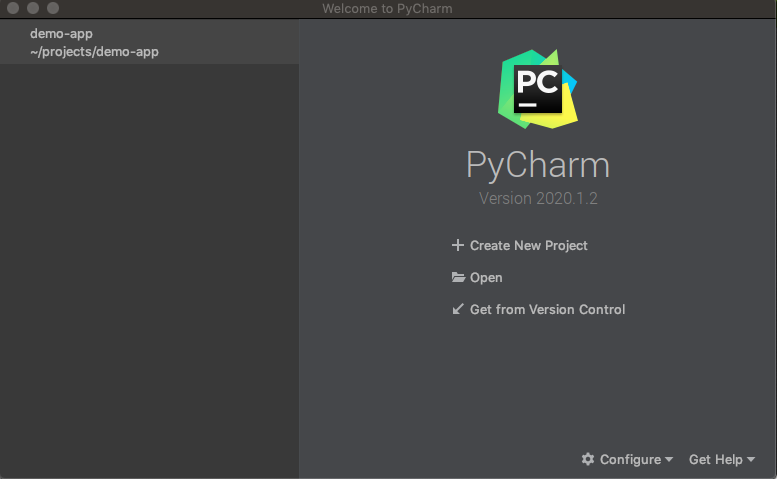
When you run PyCharm you should be prompted with the following welcome screen:
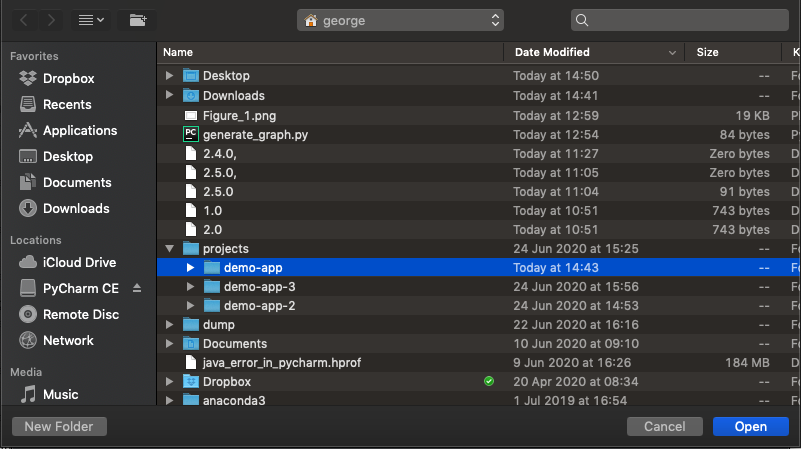
Click ‘Open’, and then select your demo-app folder from Finder:
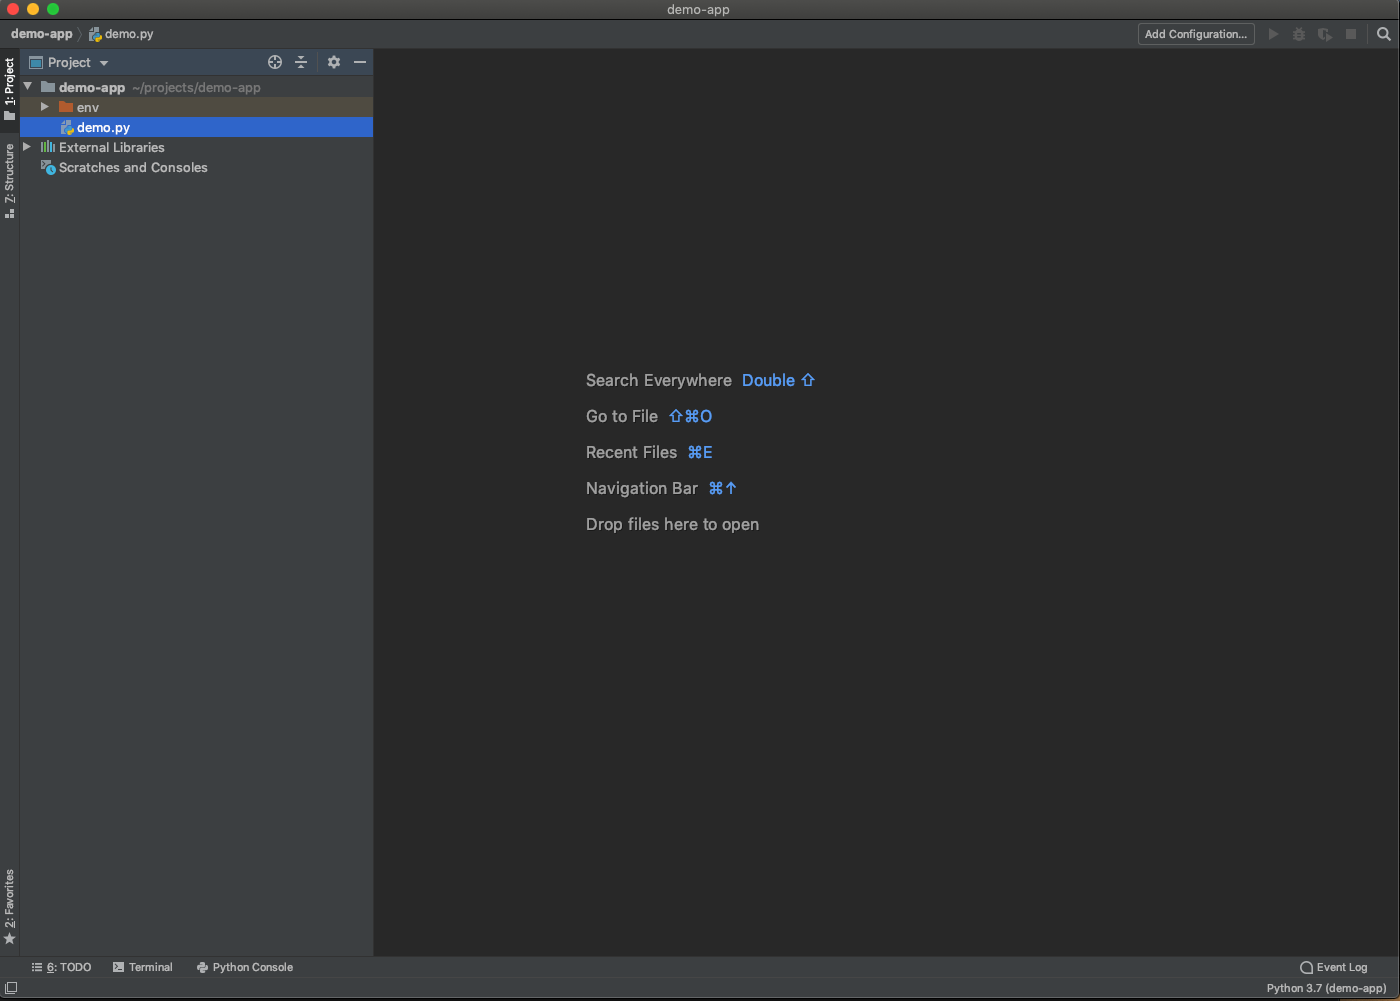
There you go - you have created your first PyCharm project. 😁 If you expand demo-app in the project tree on the left hand side you should be able to see all of the files inside your project. At this point it should just be demo.py and the env directory - your virtual environment:
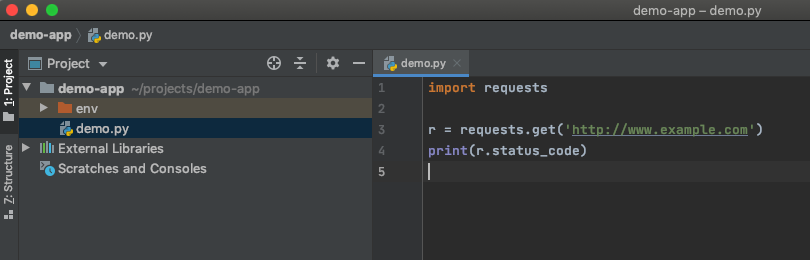
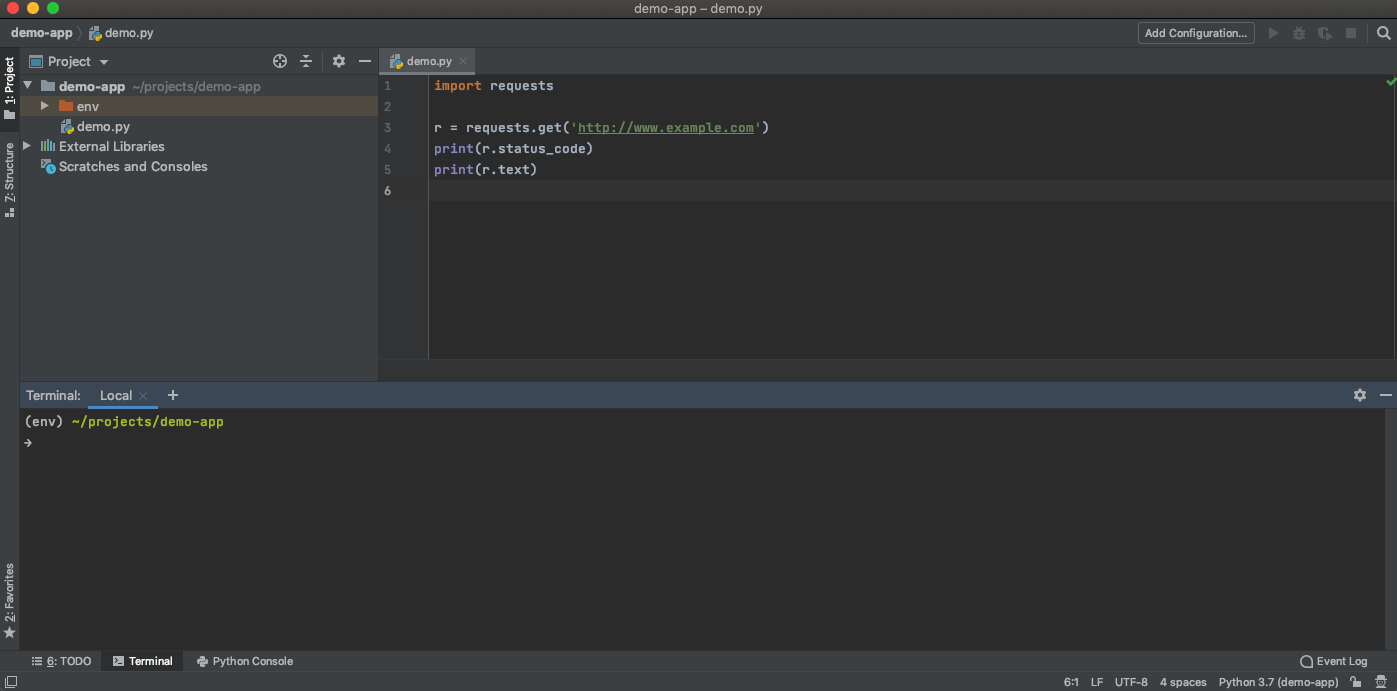
If you double-click on demo.py in the project tree, the file will appear in the editor. You can then make any changes you wish:
Note that PyCharm (and indeed some other IDEs) work a little differently to traditional text/code editors in that they save your work automatically - you never have to click ‘File -> Save’, or Ctrl/Command + S to save. Try it: add print(r.text) to your editor and close PyCharm:
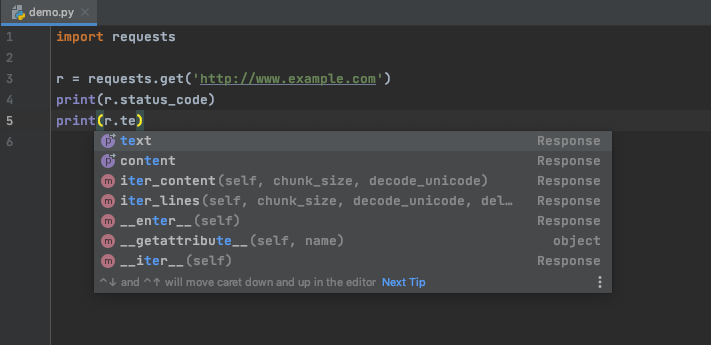
You will notice that as you type, PyCharm gives you lots of autocomplete options - a nice feature!
When you relaunch PyCharm you will be presented with a slightly different set of options. It will have options to ‘Create New Project’, ‘Open,’ and ‘Get from Version Control’ as before, but you will also have the option to open the demo-app project you were working on moments ago:
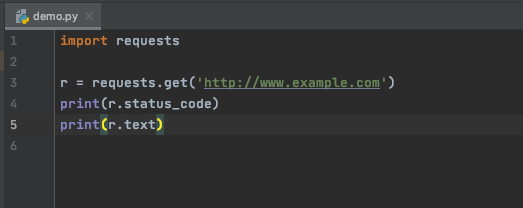
Open the demo-app and you will see that the print(r.text) line of code has been retained:
Hey, presto! The autosave has worked! 😎
Link your PyCharm project to your Virtual Environment
One powerful feature of PyCharm is that you can link your PyCharm project to your virtual environment so that PyCharm knows which packages you have installed inside your virtual environment. This means that it can give you better autocomplete recommendations and correctly identify syntax errors when you are trying to import modules or use class methods that don’t exist!
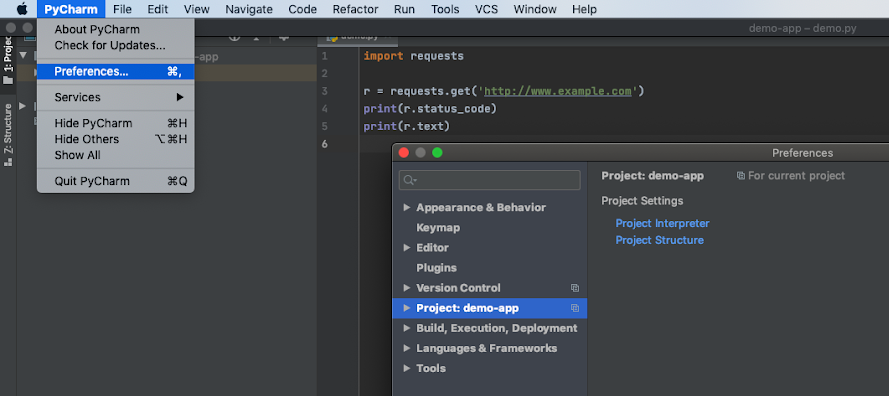
If your virtual environment is called env then PyCharm should detect it and use it automatically in your PyCharm project. However, we can double-check this by selecting PyCharm -> Preferences from the menu-bar:
Once inside Preferences, go to ‘Project: demo - app’ followed by ‘Project Interpreter’. Double-check that the Project Interpreter is set to the Python version inside your virtual environment. For example, in my case it is set to ~/projects/demo-app/env/bin/python . PyCharm will also list the packages that you have installed inside your virtual environment, along with their dependencies:
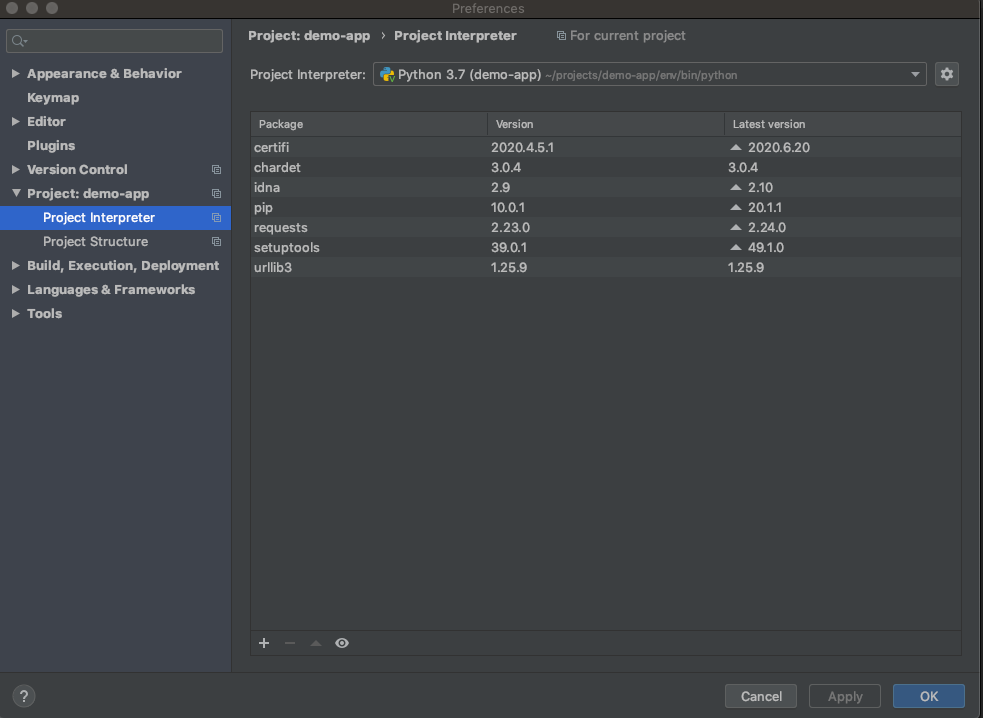
This is essentially the same output as you get from running the pip list command inside your terminal when your virtual environment is activated:
~/projects/demo-app
→ source env/bin/activate
(env) ~/projects/demo-app
→ pip list
Package    Version
---------- ----------
certifi    2020.4.5.1
chardet    3.0.4
idna       2.9
pip        10.0.1
requests   2.23.0
setuptools 39.0.1
urllib3    1.25.9
Once you have successfully linked your PyCharm project to your virtual environment, you can also use the terminal inside PyCharm to run your script. To see this in action, click on the ‘Terminal’ button in the bottom left-hand corner of PyCharm:

This opens a terminal window inside PyCharm, with the virtual environment already activated:
You can now use the terminal window inside PyCharm to run the demo.py file by running the command python demo.py :
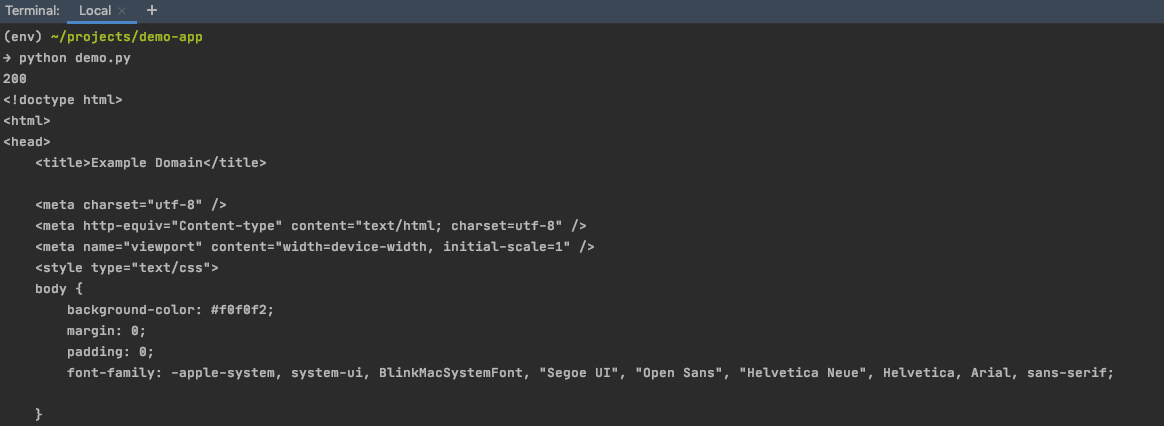
You should see the 200 status code being printed, as before, but also r.text displays the HTML from the webpage itself.
Exercise
For each of the demo-app-2 and demo-app-3 applications that you worked on/created in Create a Python virtual environment with venv , set them up as projects on PyCharm. Make sure you:
Link the virtual environment associated with each application to the appropriate PyCharm project.
Can successfully run the application from the command line using the PyCharm terminal.
Let’s Recap!
When working on a particular project, it is important to link PyCharm to your virtual environment so that PyCharm knows which Python packages you have installed.
With PyCharm, you can run your application/program in the built-in terminal - you don’t need to use another terminal application if you don’t want to!
Now that you have created your first project on PyCharm, let’s investigate how we can make use of even more of its functionality.
