Install Git on Your Computer
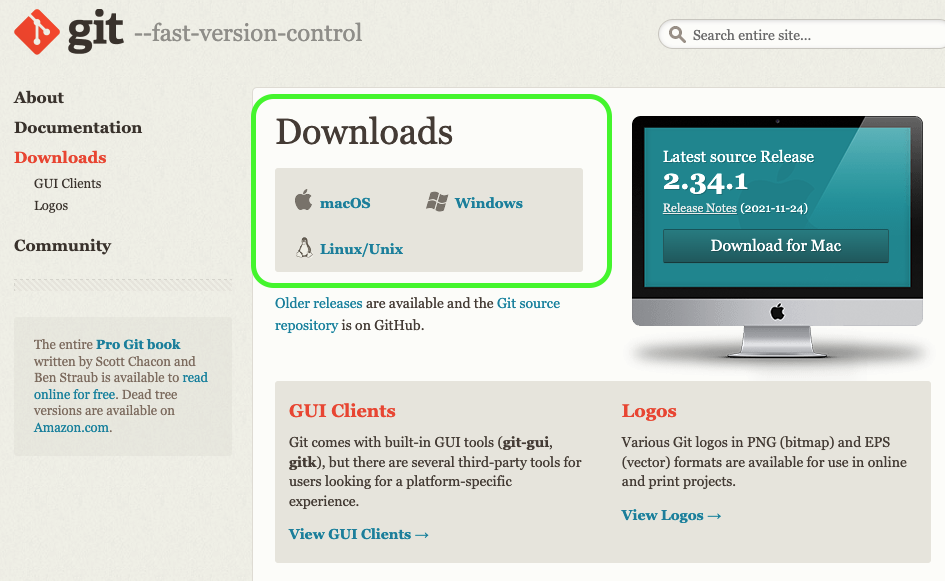
Download and Install Git
Drum roll! The time has come to install your future best friend! 
Watch this screencast to see how to install Git on your computer. The steps are also explained under the video.
The screencast shows the installation for a computer running Windows. If your computer is running a different operating system, then of course you should select and download the relevant version of Git and follow the installation method that works best for your setup.
Run the file that you’ve just downloaded.
Click on Next in each window, then Install. During installation, leave all the default options—they’re the ones you need.
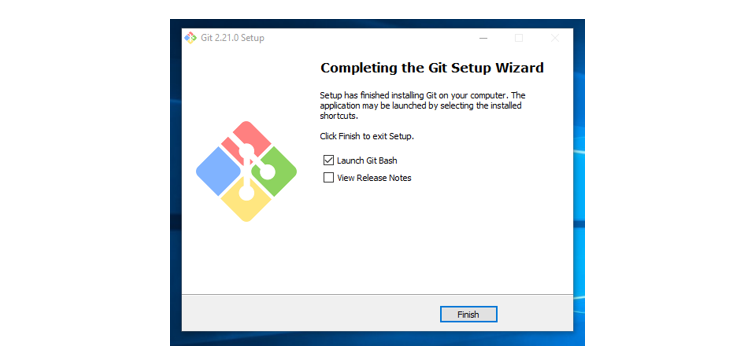
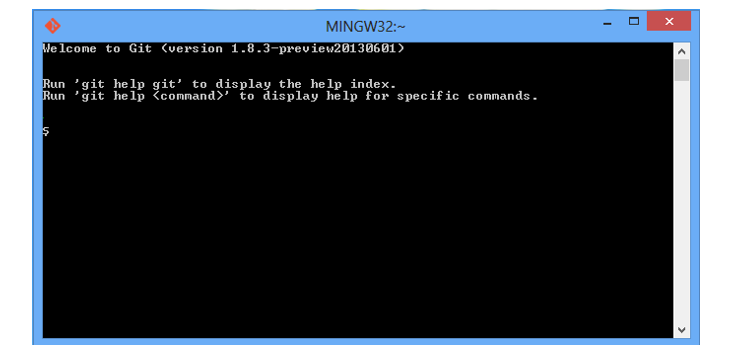
Git Bash will then launch.
Initialize Git
The video below will guide you through the different stages you need to go through.
To work in Git, you’ll need to create a local repository, i.e., a folder where all your changes will be saved. This is what we call initializing a Git repository.
Configure Your Identity
The first thing to do is configure your identity. To do this, you’ll need to step into the world of command lines!
Start by entering your name and email address. This is an important piece of information, as you’ll need it for all your validations in Git:
$ git config --global user.name "John Doe"
$ git config --global user.email johndoe@example.com
If you want to change your username for a specific project, you’ll need to enter this line again, but without the --global.
To make sure your settings have been updated, and check other settings, just type the command git config --list .
Configure Colors
I recommend enabling colors to improve the readability of the different branches. To do this, enter these three lines in Git Bash:
$ git config --global color.diff auto
$ git config --global color.status auto
$ git config --global color.branch auto
Configure the Editor
By default, Git uses Vim as an editor and vimdiff as a merge tool. You can change this using:
$ git config --global core.editor notepad++
$ git config --global merge.tool vimdiff
Create Your Local Repository
The Two Methods for Creating a Local Repository
Now you’ve configured the basic settings, you can create your long-awaited local repository. To do this, there are two options:
Create an empty local repository for a new project—the procedure is explained below.
Clone a remote repository, which involves transferring a project’s history from a remote repository to a local repository. You’ll learn more about this method in the second part of the course.
Initialize an Empty Local Repository
First, create a folder on your computer (it'd be a good idea to give it the name of our project  ).
).
Make sure you follow the next steps closely:
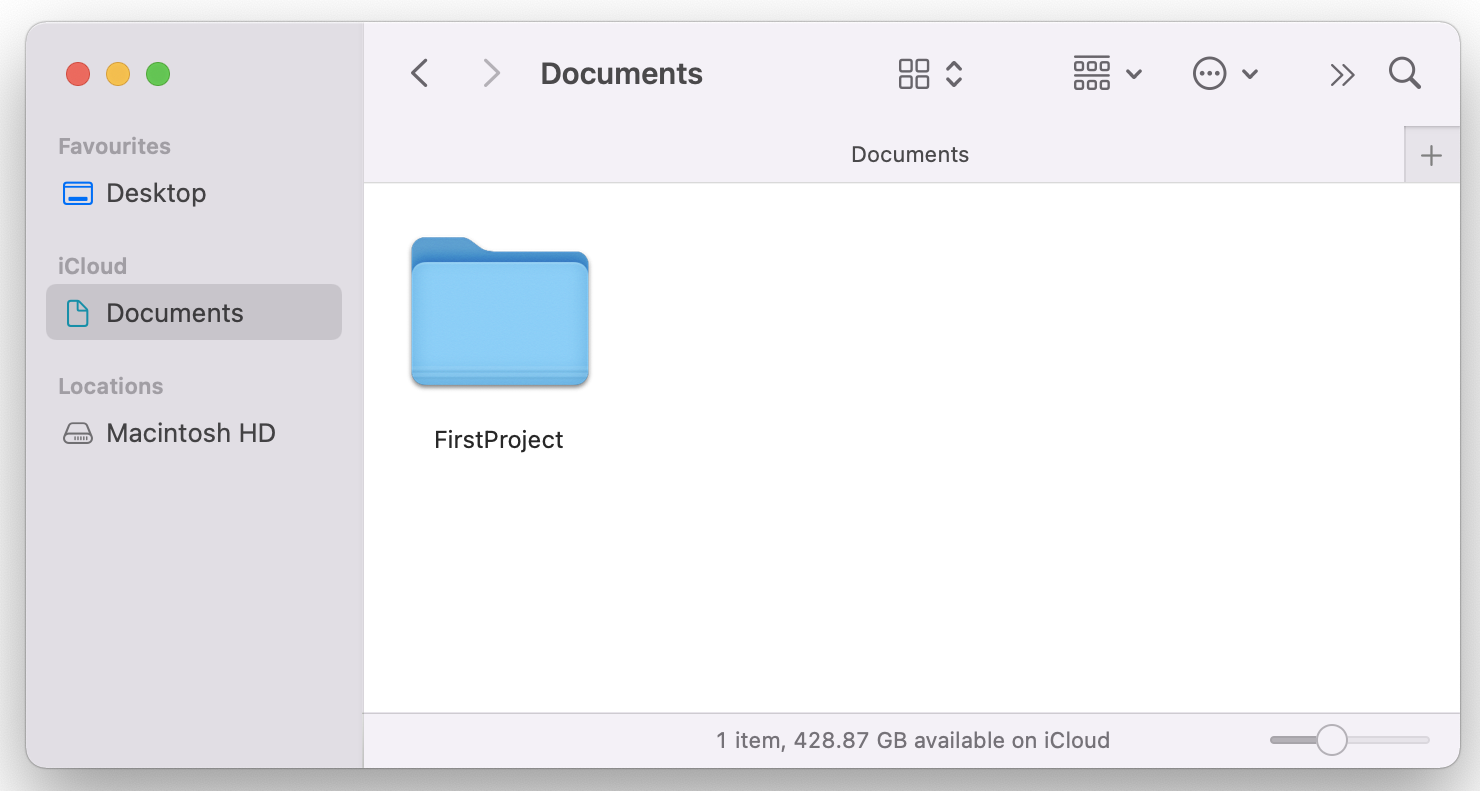
Go to “Document.”
Create the folder “FirstProject.”
Access your folder.
Then, open two command lines in Git Bash:
johndoe ~ $ cd Documents/FirstProject
johndoe ~/Documents/FirstProject $ git init
Initialized empty Git repository in c:/users/JohnDoe/Documents/FirstProject/
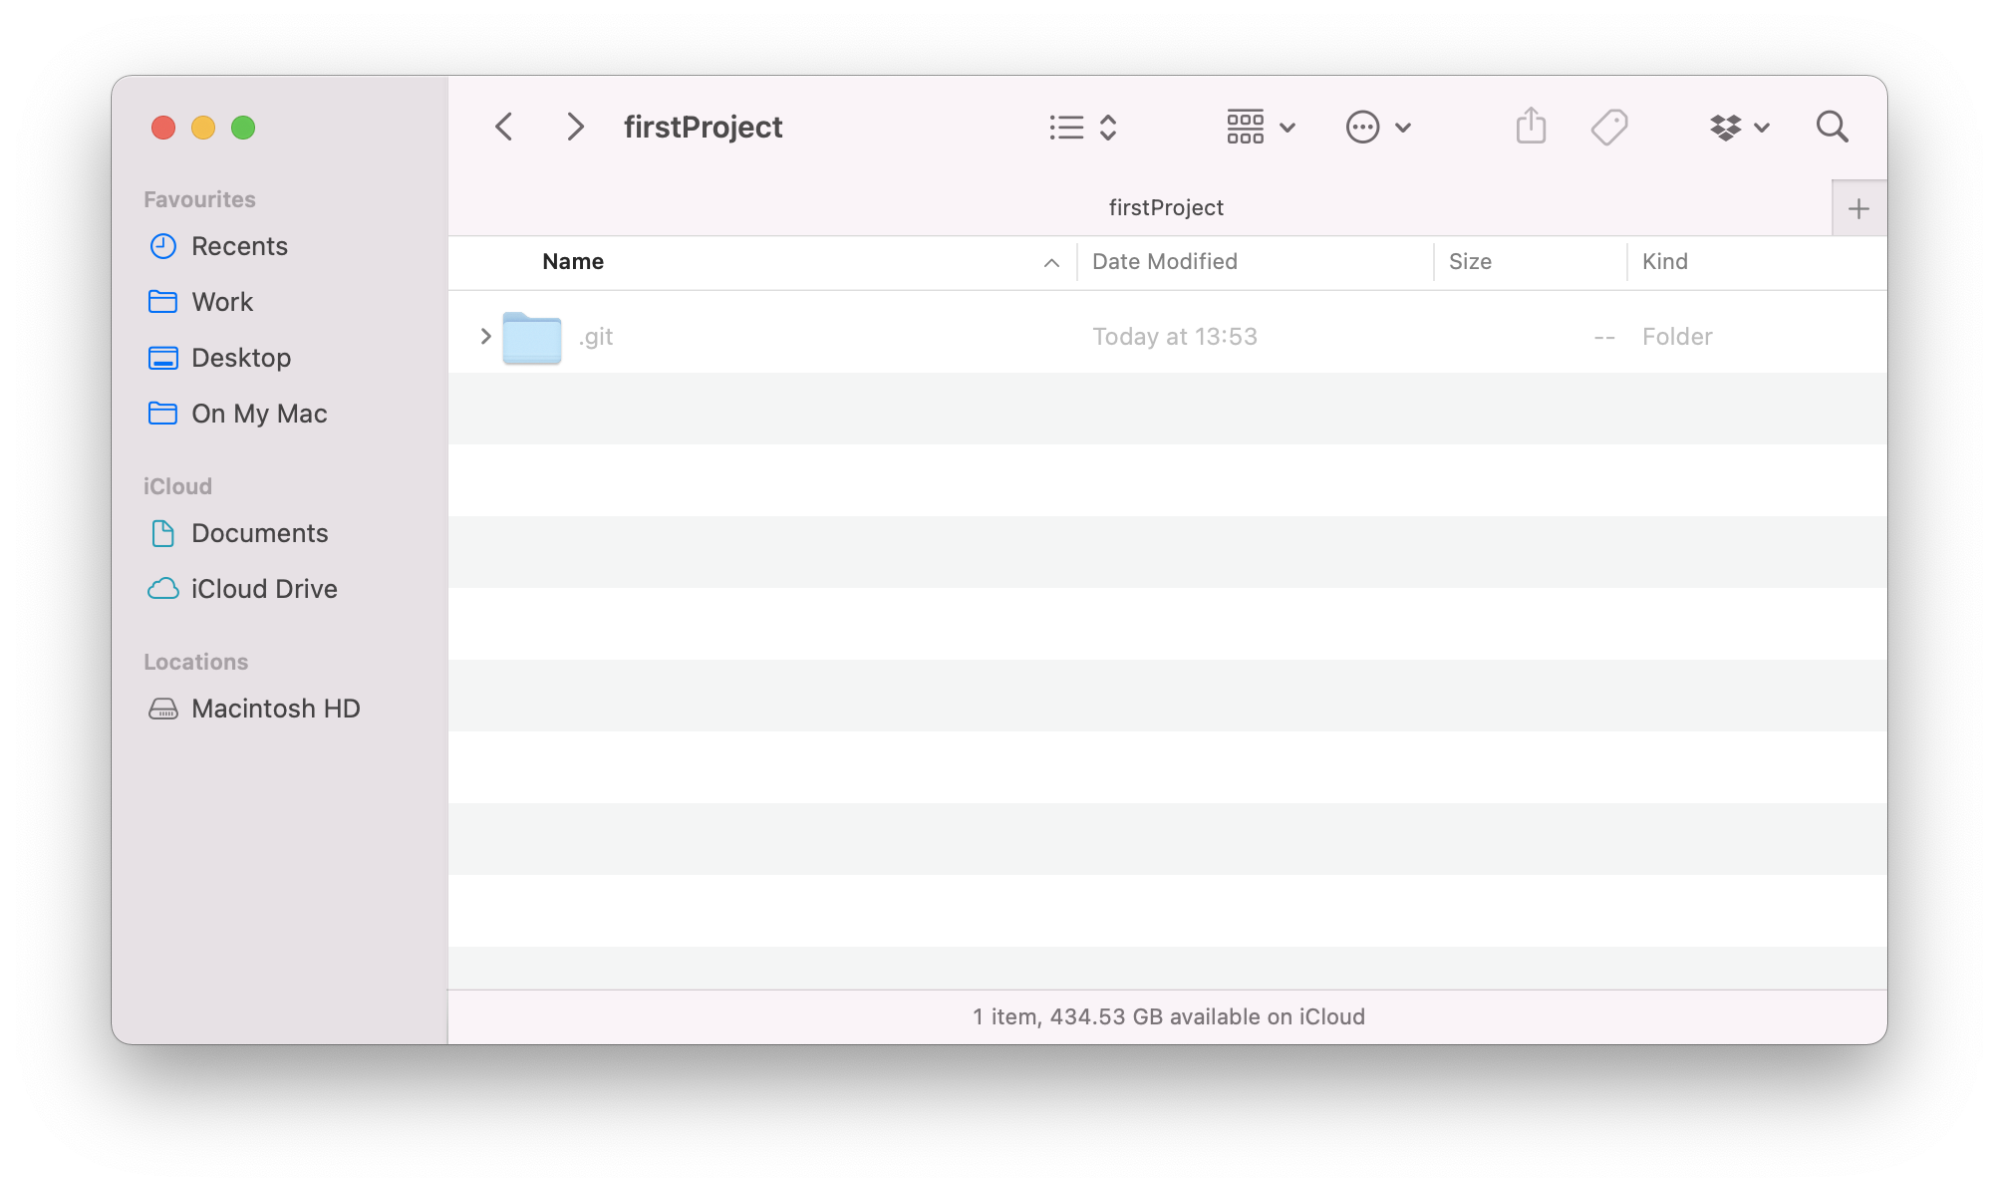
Your folder won’t look any different, but that’s normal.  You’ve now initialized your Git repository and a hidden .git folder has been created!
If you’re using MacOS, you can display it by:
Opening the folder in the Finder.
Hold down the Command, Shift and Period keys: cmd + shift + [.].
The hidden files and folders on your Mac will then appear partially transparent.
You can hide the files again using the same keyboard shortcut.
If you’re using Windows, you can display it by:
Open the folder in Windows Explorer
Go to View, and select “Hidden items.”
The more curious among you might like to know that this hidden file contains all the invisible components of Git, such as its configuration, logs, branches, and more.
Let’s Recap!
To install Git, you need to download and configure it on your computer.
To initialize a Git repository, you can either create an empty local repository, or clone a remote repository.
git init initializes a Git project.
Next, you’ll learn the basic commands!
