Store and Access Files on Amazon S3

In this chapter, you’re going to have a go at using Amazon S3 by creating a bucket and adding some files to it.
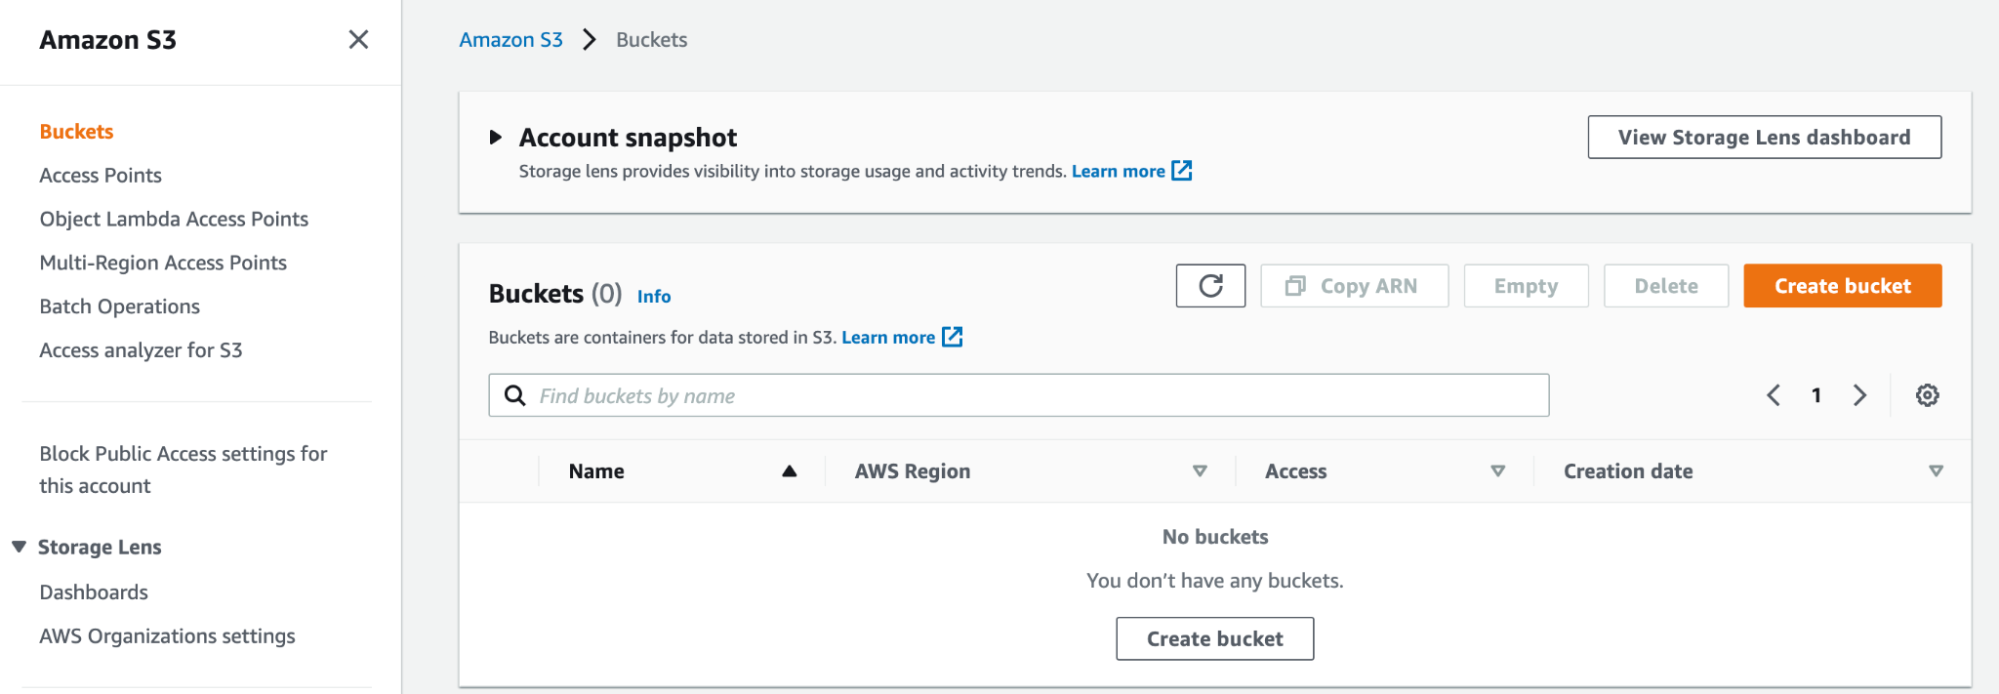
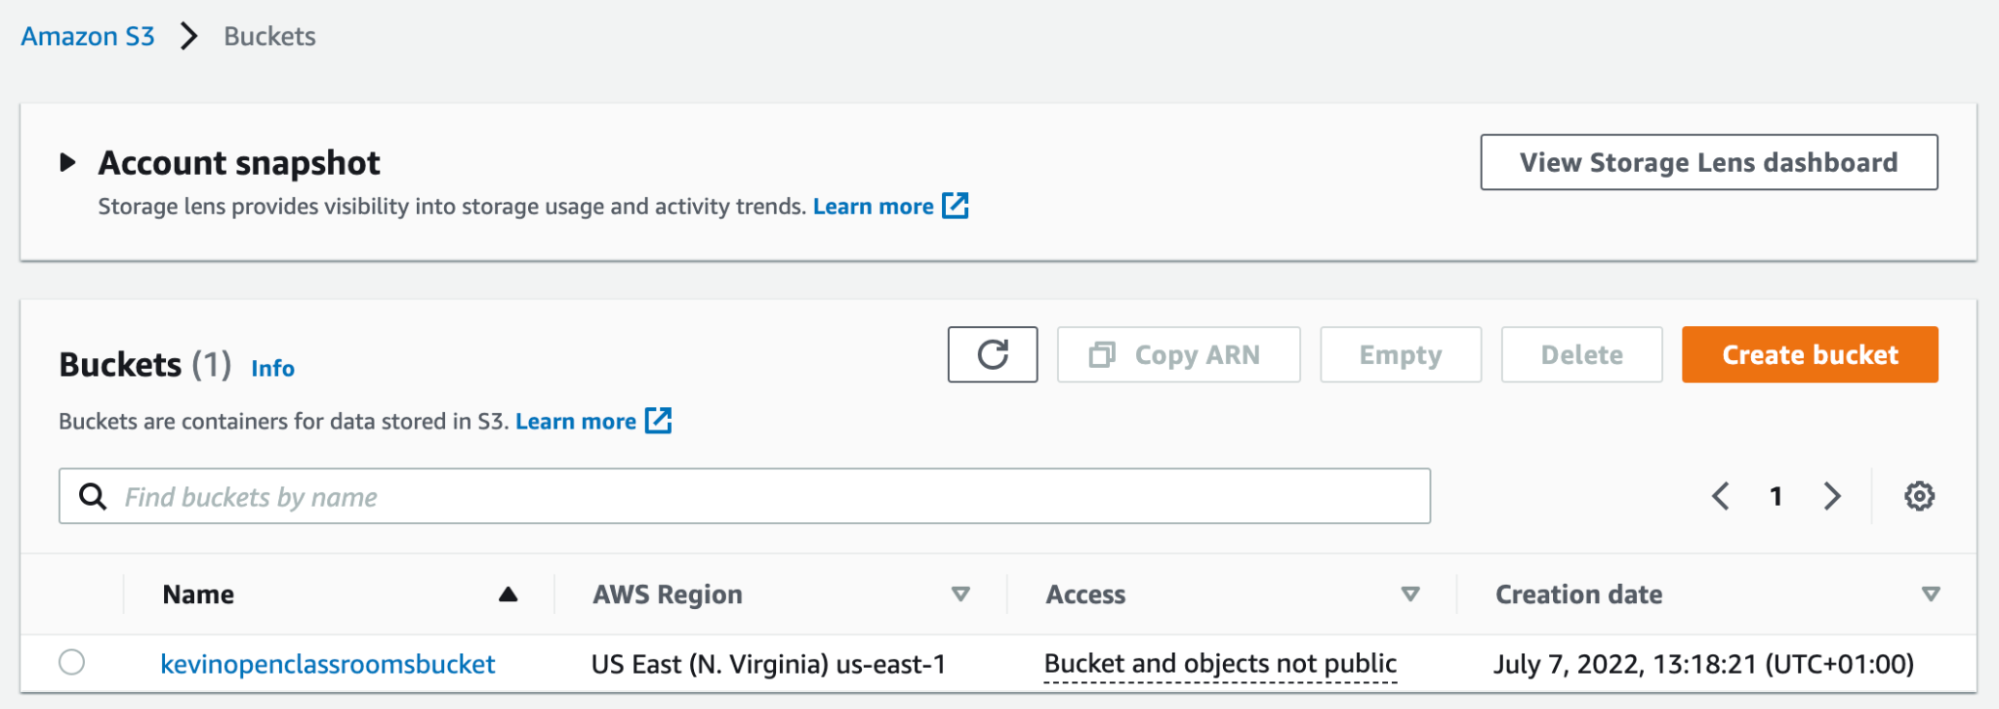
Navigate to Amazon S3 (Simple Storage Service) on your AWS console. Here you should see that we don’t currently have any buckets:
Create Your First Bucket
We won’t be able to do much until we create a bucket. So, let’s get started! Click on “Create bucket.”
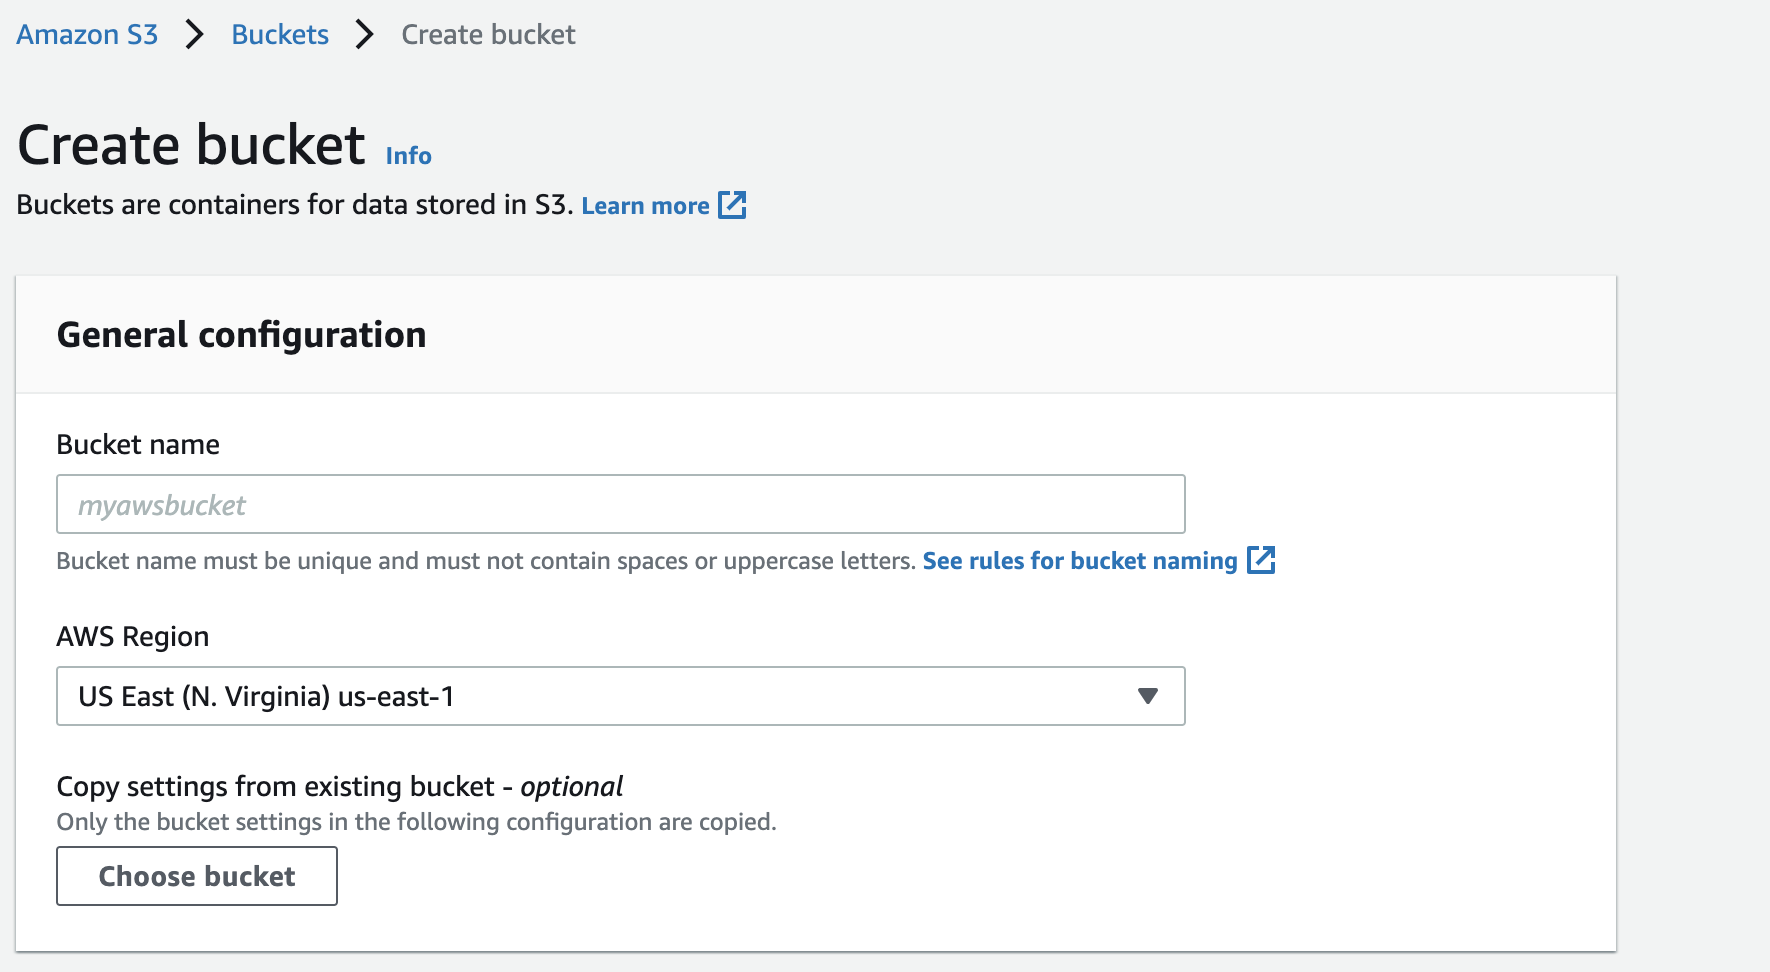
You’ll need to give your bucket a unique name. This name must not have been used by anyone else. This works a bit like domain names.
I’m going to call mine “kevinopenclassroomsbucket,” as this name is available.
You can also specify the region where the bucket will be created.
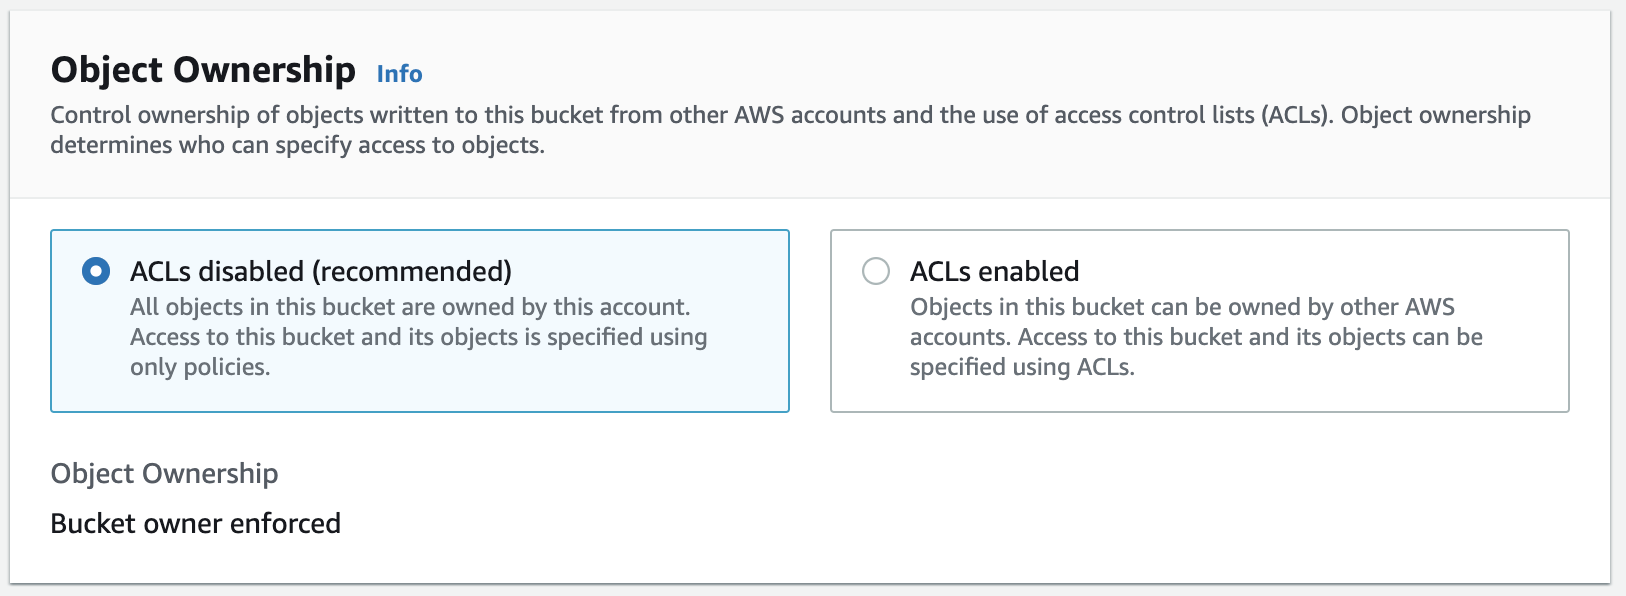
Scroll down the page without changing any of the other options:


We’re not going to use any of these options, but just for your information, here are some possible options that you might want to use in future:
Versioning: activates version control on the files. If you overwrite a file with a new version, the previous version will remain backed up if you ever need it.
Tags: as we saw when working with servers, tagging enables you to “mark” your buckets so that you can find them easily afterwards. It’s a way of grouping buckets by subject matter.
Encryption: enables you to encrypt data if you’re storing sensitive information.
As you can see, a bucket is blocked for public access by default:
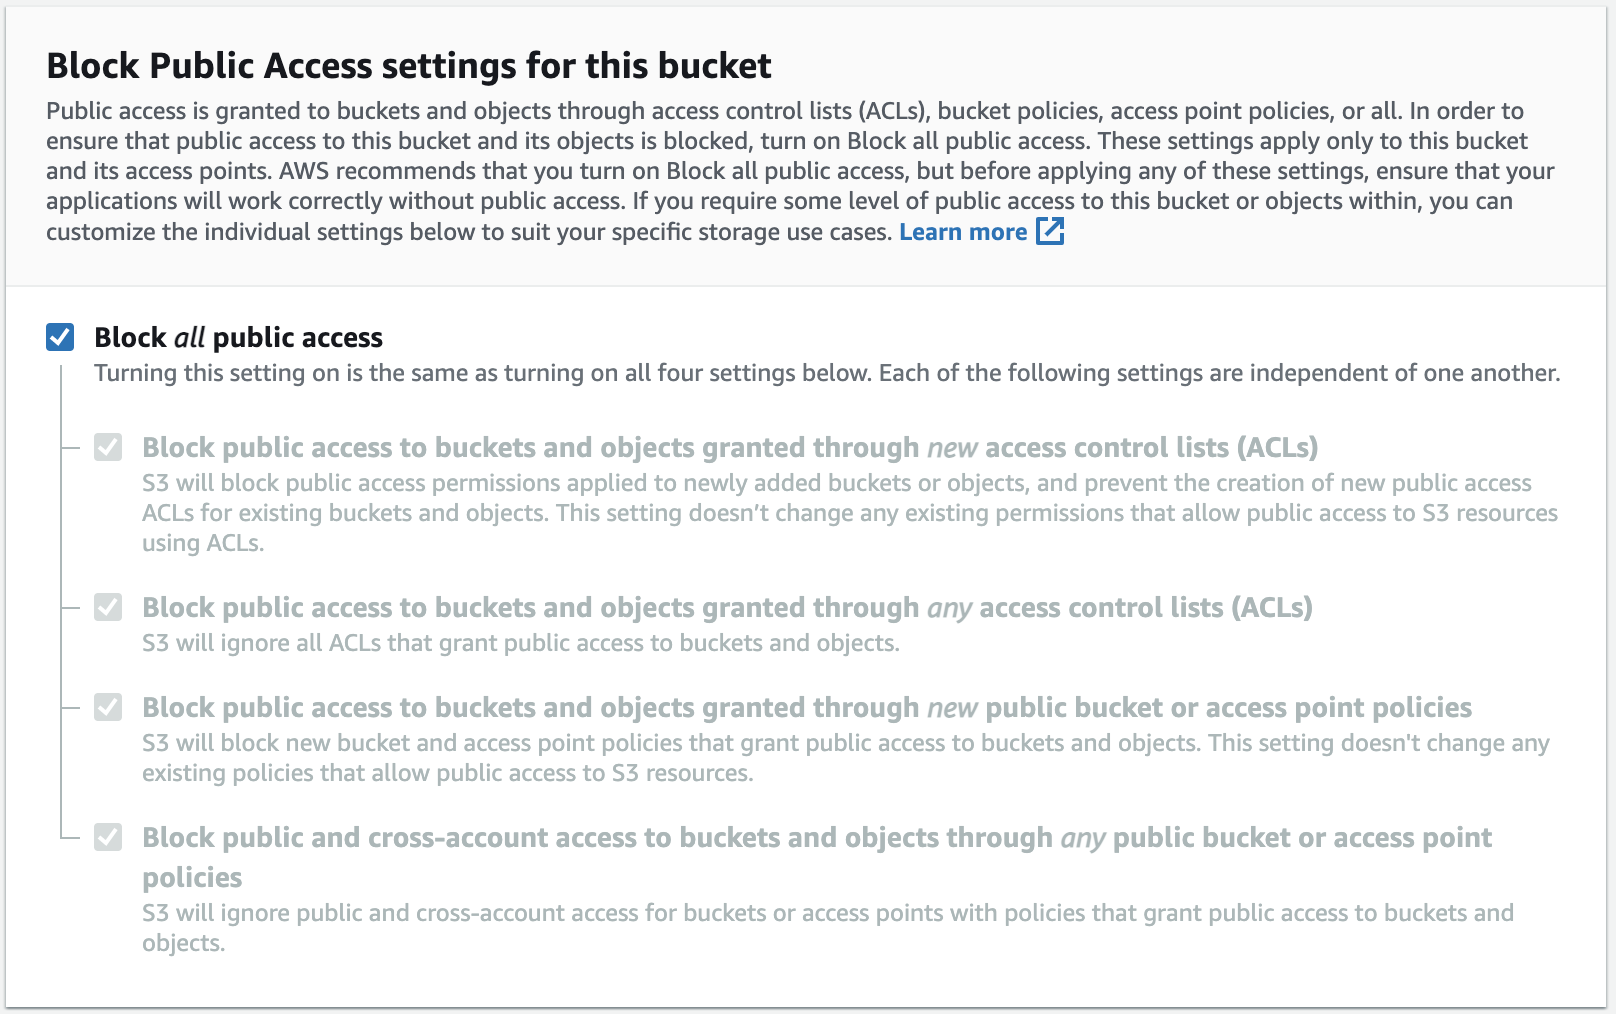
Your user can read and write to objects in the bucket, change its configuration, and so on, by default. However, a lambda user on the internet won’t be able to access your files. This is the recommended default configuration, so you should leave this alone.
But how are my users supposed to download images from my website?
Don’t worry, we’re going to see how to open up secure access later on in this course.
Okay, we’re done, so click on “Create bucket.”
After a few moments, your bucket has been created:
Add and Update Objects
Click on a bucket to see what’s inside. It’s empty at the moment (as expected):
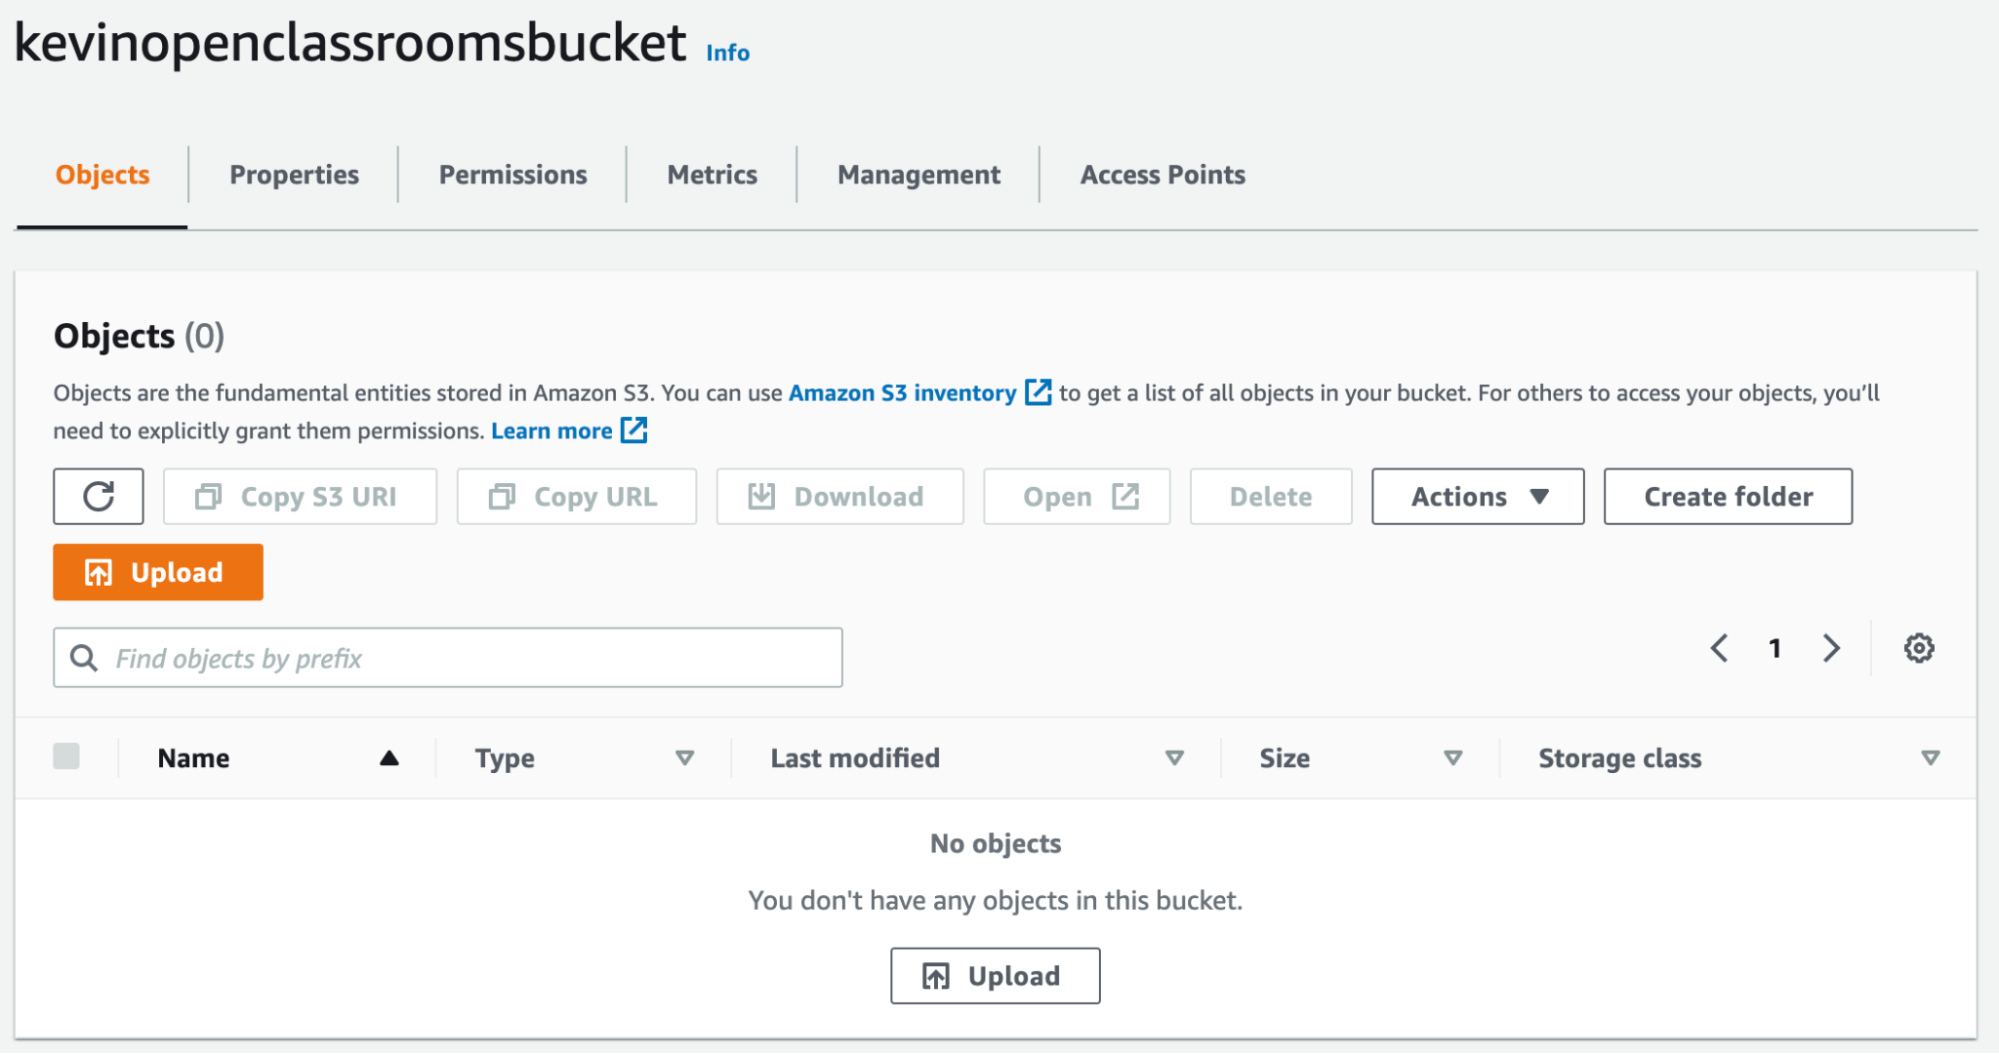
The “Properties” and “Permissions” tabs are where you can update your bucket’s behavior after you’ve created it. If you go into the “Management” tab, you can also see usage statistics, set up data replication between data centers, and define object expiry dates.
We’re going to do something a lot more basic. We’re going to upload a file into the bucket. Click on “Upload”:
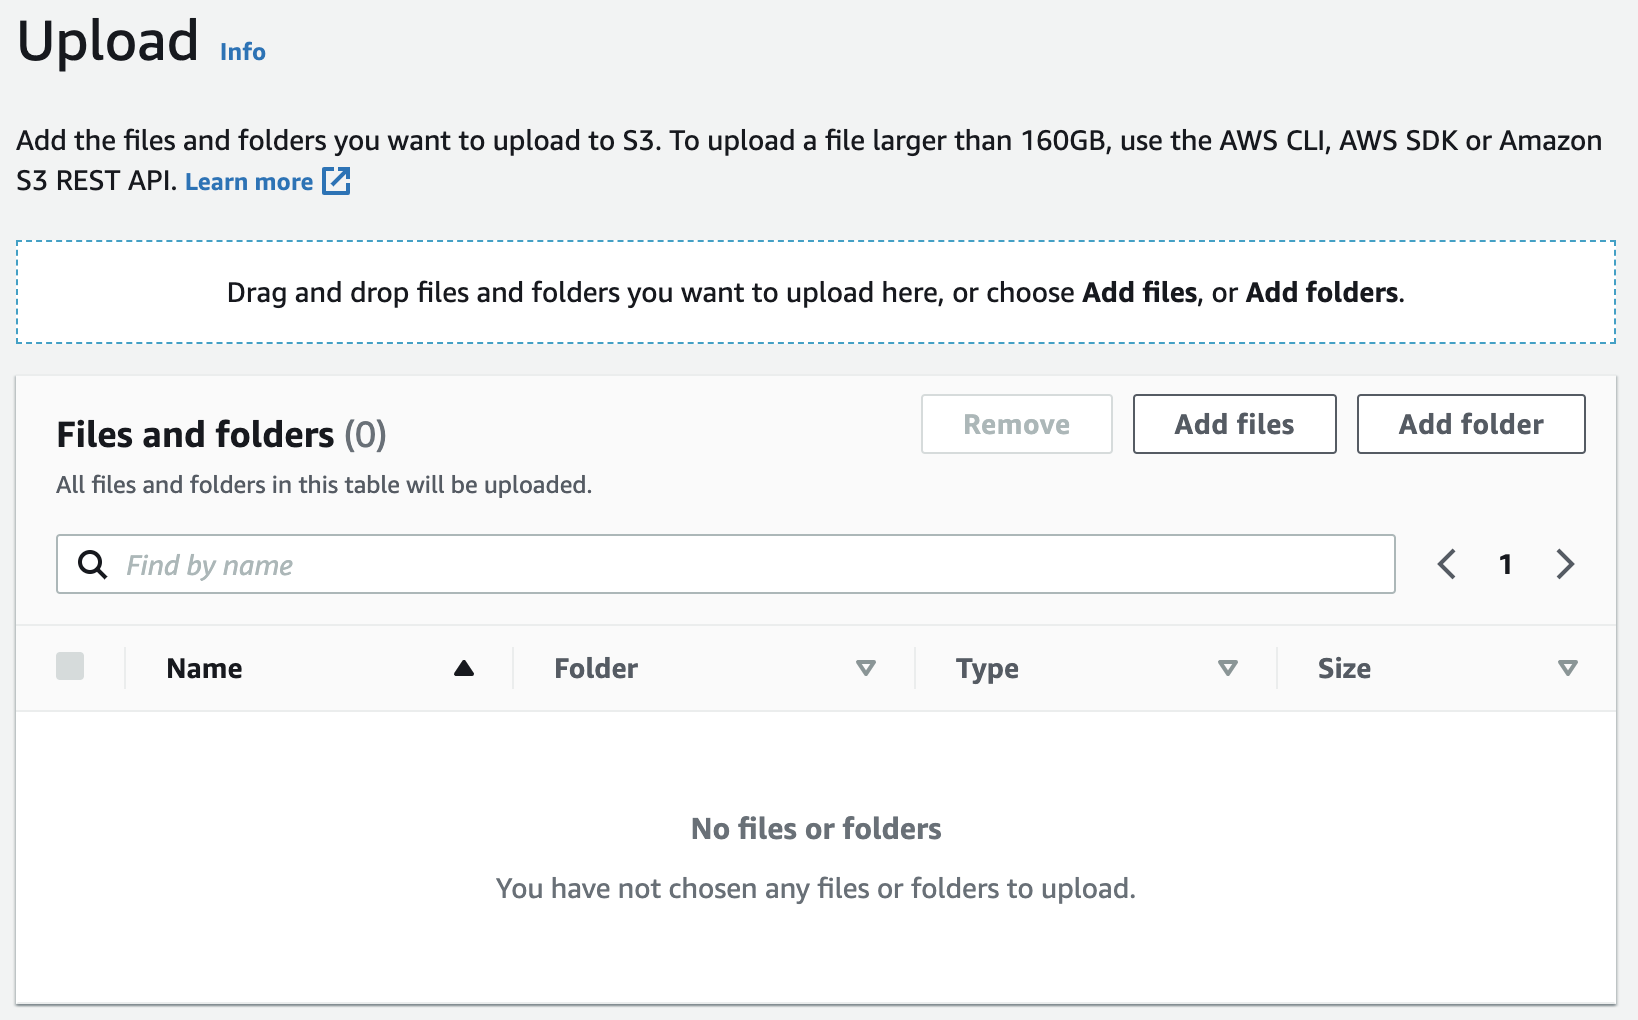
Put whatever you like in there. It could be an image, a video, a ZIP file, or whatever.
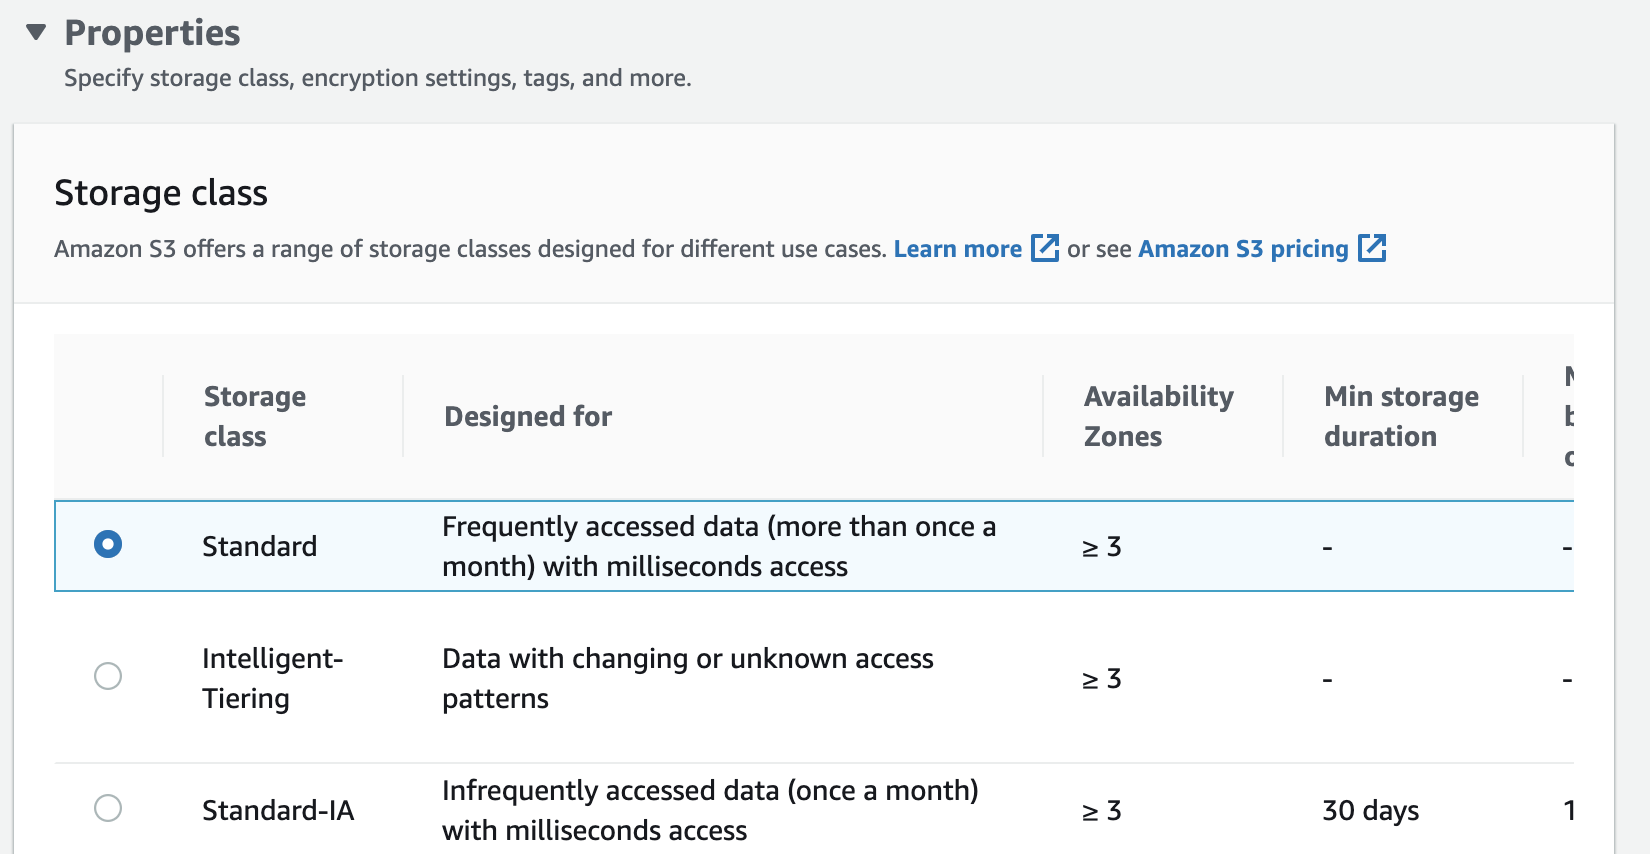
The wizard will ask you to define any special properties or permissions for this object. You don’t have to specify anything, as the default is that the object will inherit the bucket permissions.
You can also configure the object’s storage class in “Properties.” Unless you have hundreds of GB of data to upload, you can keep the default Standard option.
At this point, you can just click on “Upload.” It’s really simple!
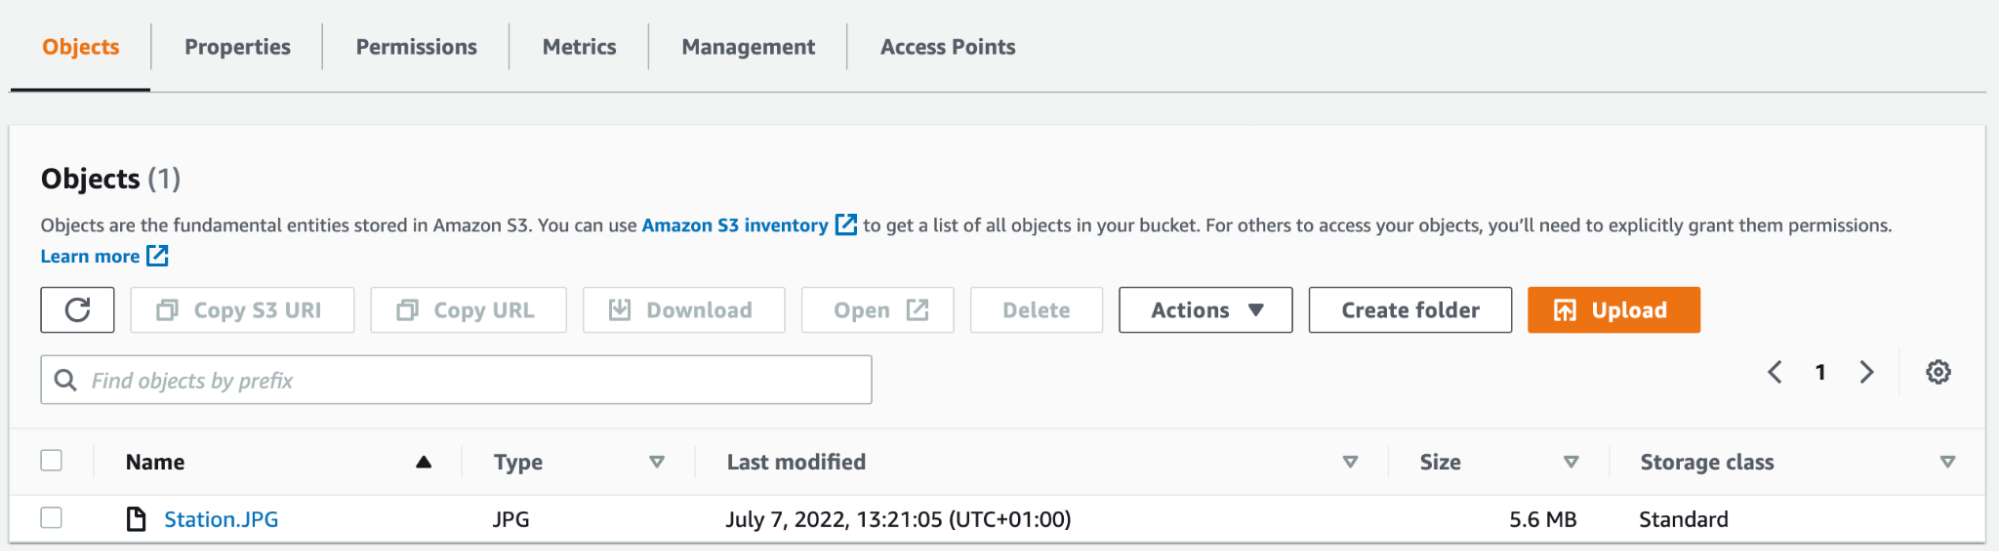
I’ve uploaded a photo. Here you can see what’s in my bucket:
If you click on the file, you’ll see more details:
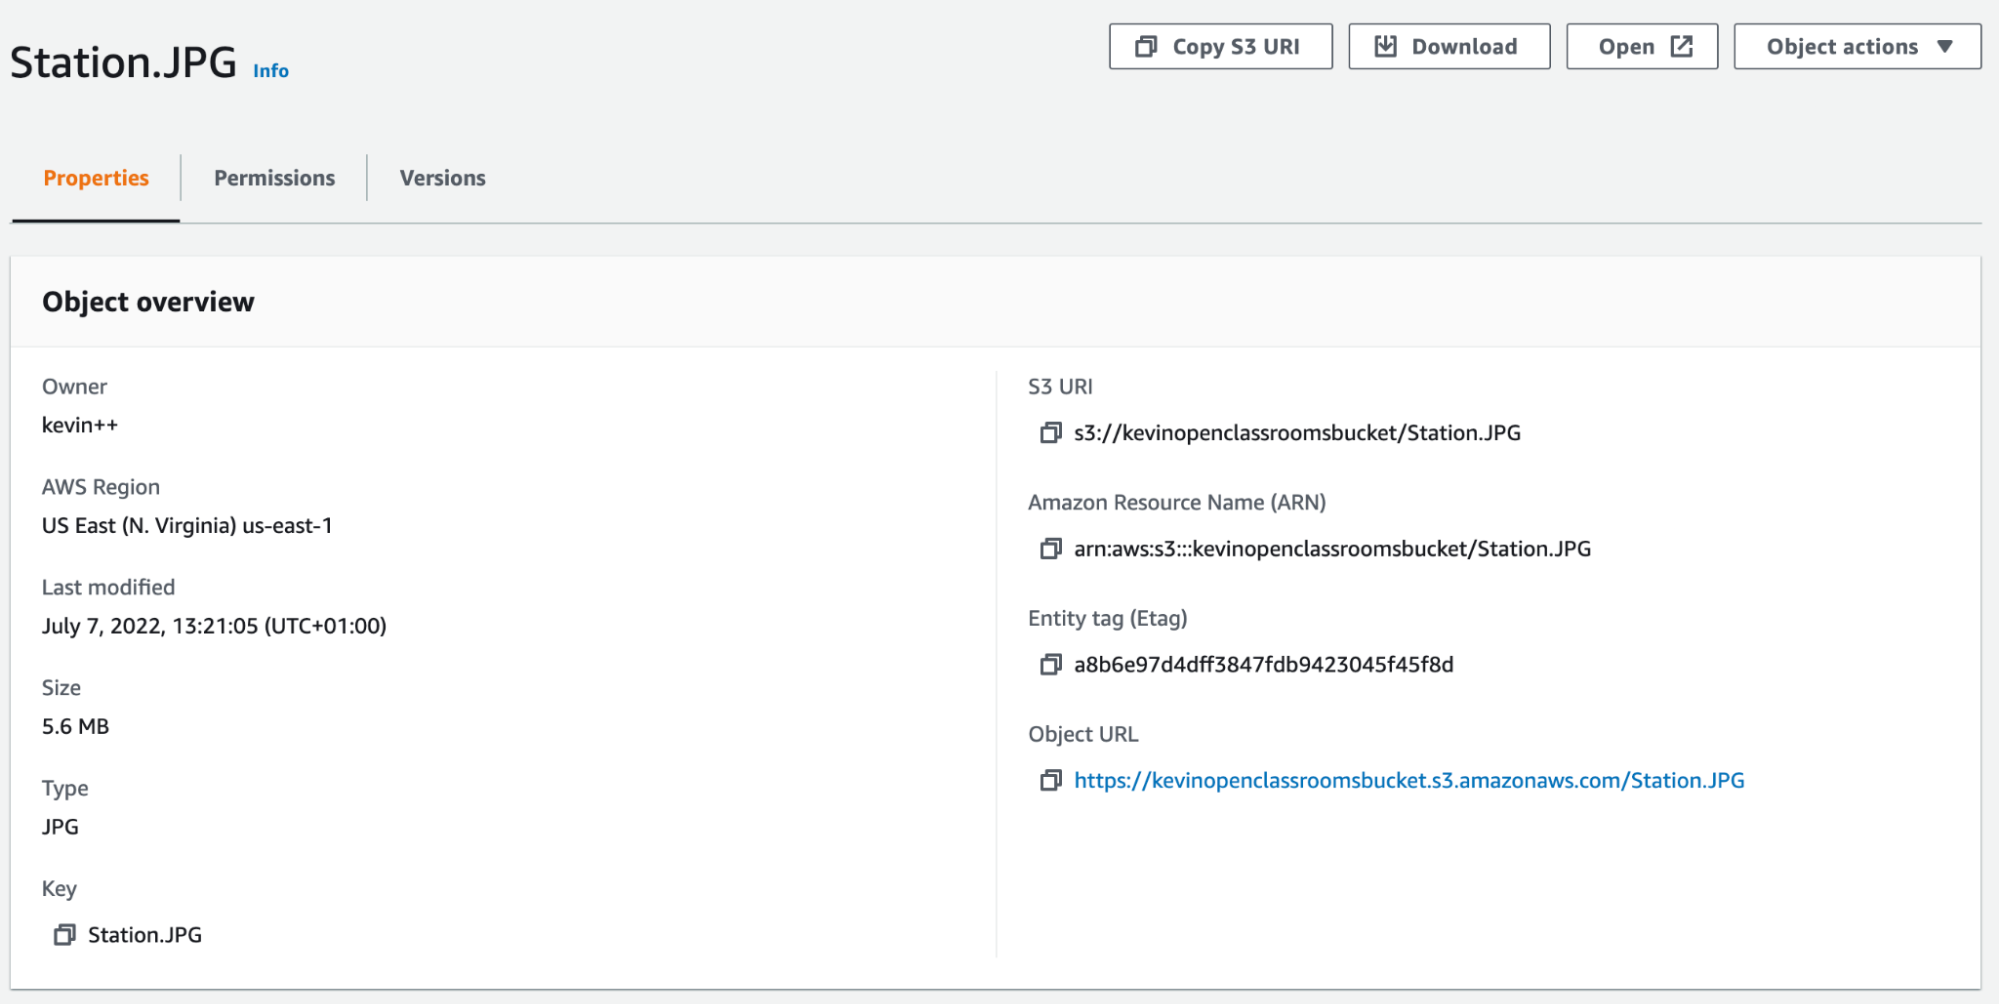
From here, you can download it or update its properties, storage class, etc.
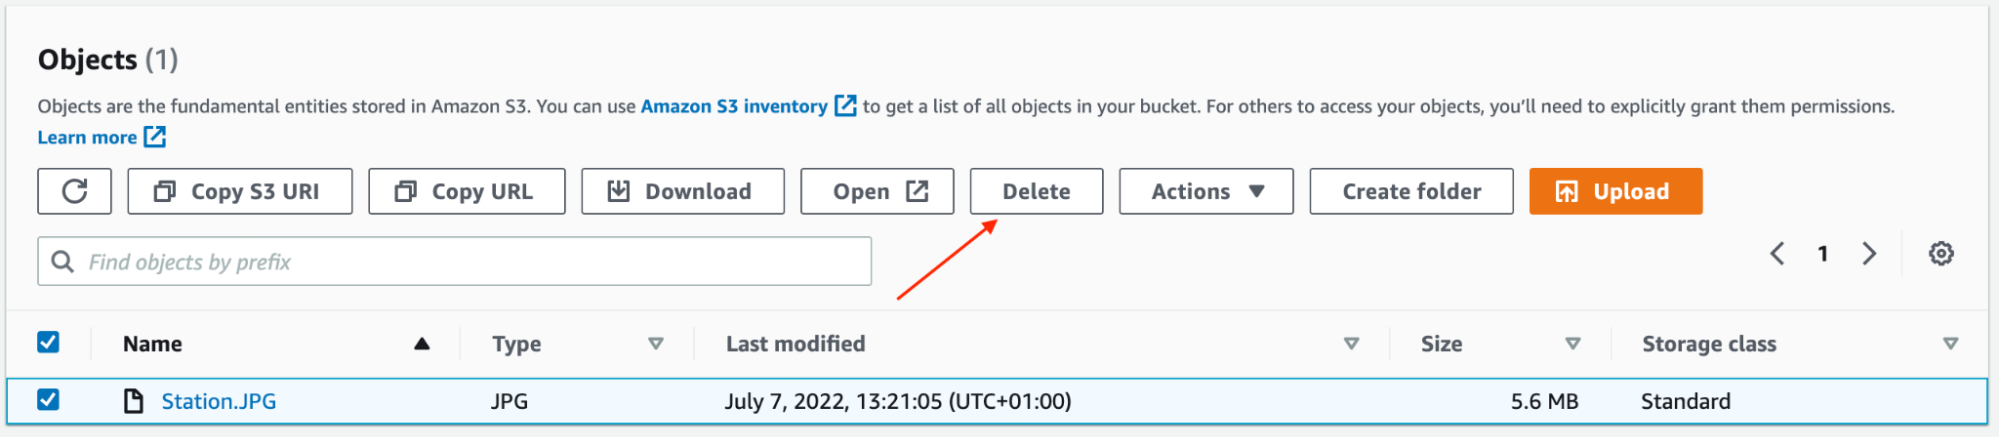
If you want to delete the file, go back into the bucket, select the file and click on “Delete”:
Is that all there is to it? S3 really is pretty basic!
It may well be basic, but it’s used by a huge number of people. Storing files is something we all need to do, so it’s no surprise that S3 is so popular.
Plus, S3 has some really useful options, such as versioning, encryption, and replication.
But do we really have to use the AWS interface to add and delete files?
No, you don’t. The AWS interface is handy, but we would usually use an API. AWS’s APIs are really well-designed. The S3 API can be used to upload files from your website, as we’ll see later.
Set up a Lifecycle Rule
As I mentioned previously, S3 is often used to store website and database backups. It’s an inexpensive option, especially if you choose the right storage class.
Imagine if you did backups every day. After a year, you’d have 365 objects.
Do I really need to keep all of this data forever?
Maybe, but if not, AWS gives us the option to automatically delete files after a certain number of days. You just need to configure a lifecycle rule.
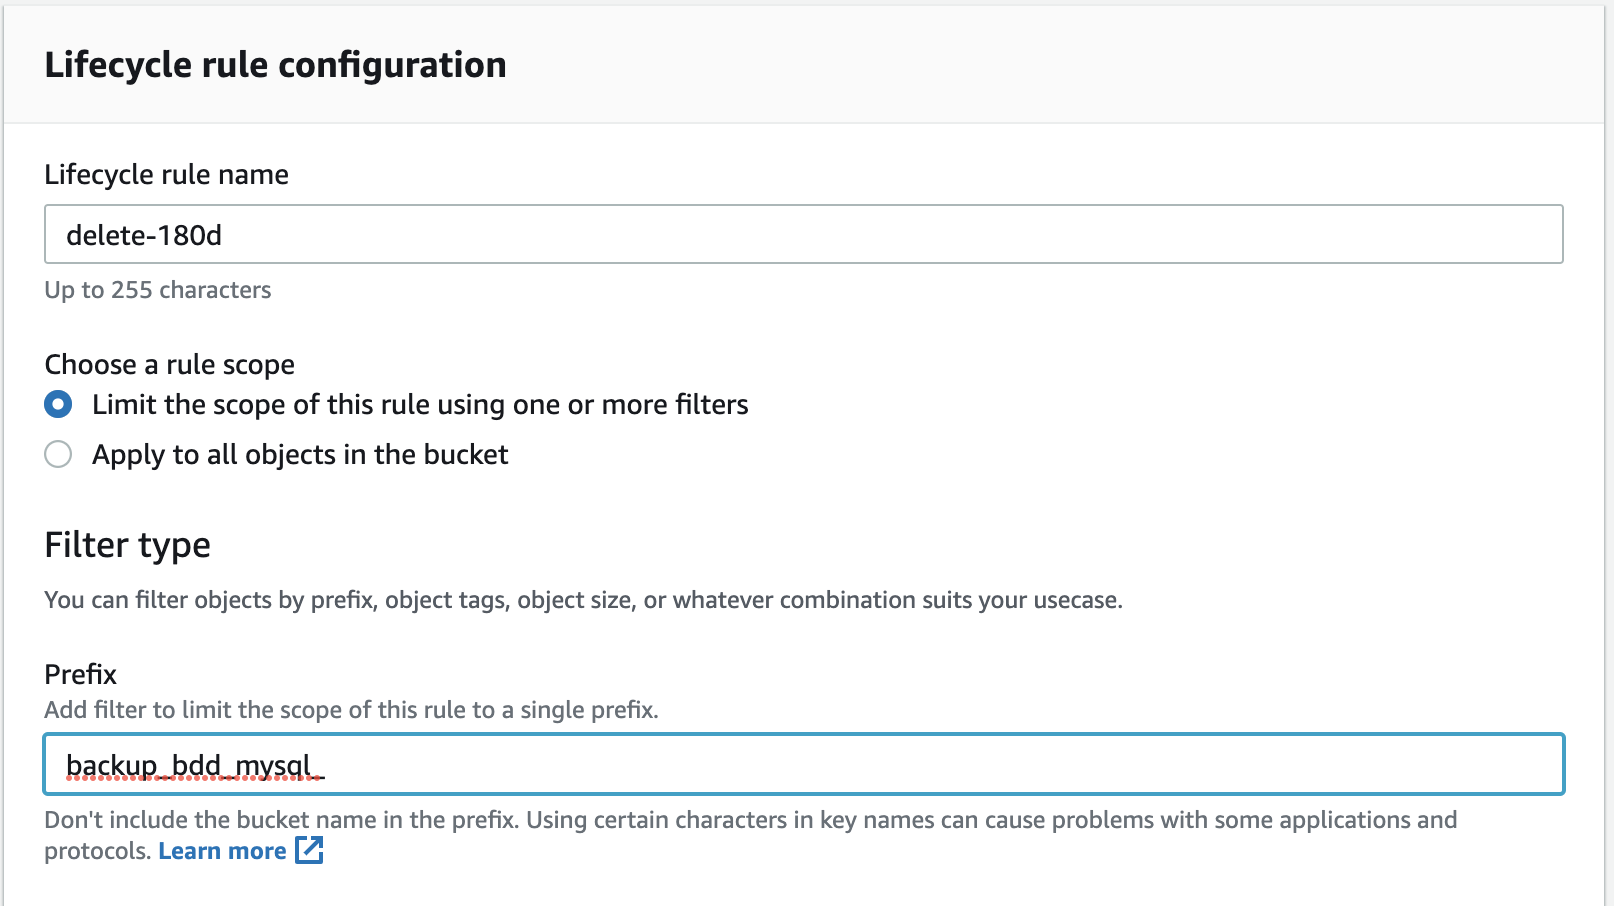
Navigate to the “Management” section of your bucket and click on “Create lifecycle rule.”
Give a name to your lifecycle rule and limit the scope to specific prefixes or tags. For example, we’re only going to apply it to objects with a name starting with “backup_bdd_mysql_.”
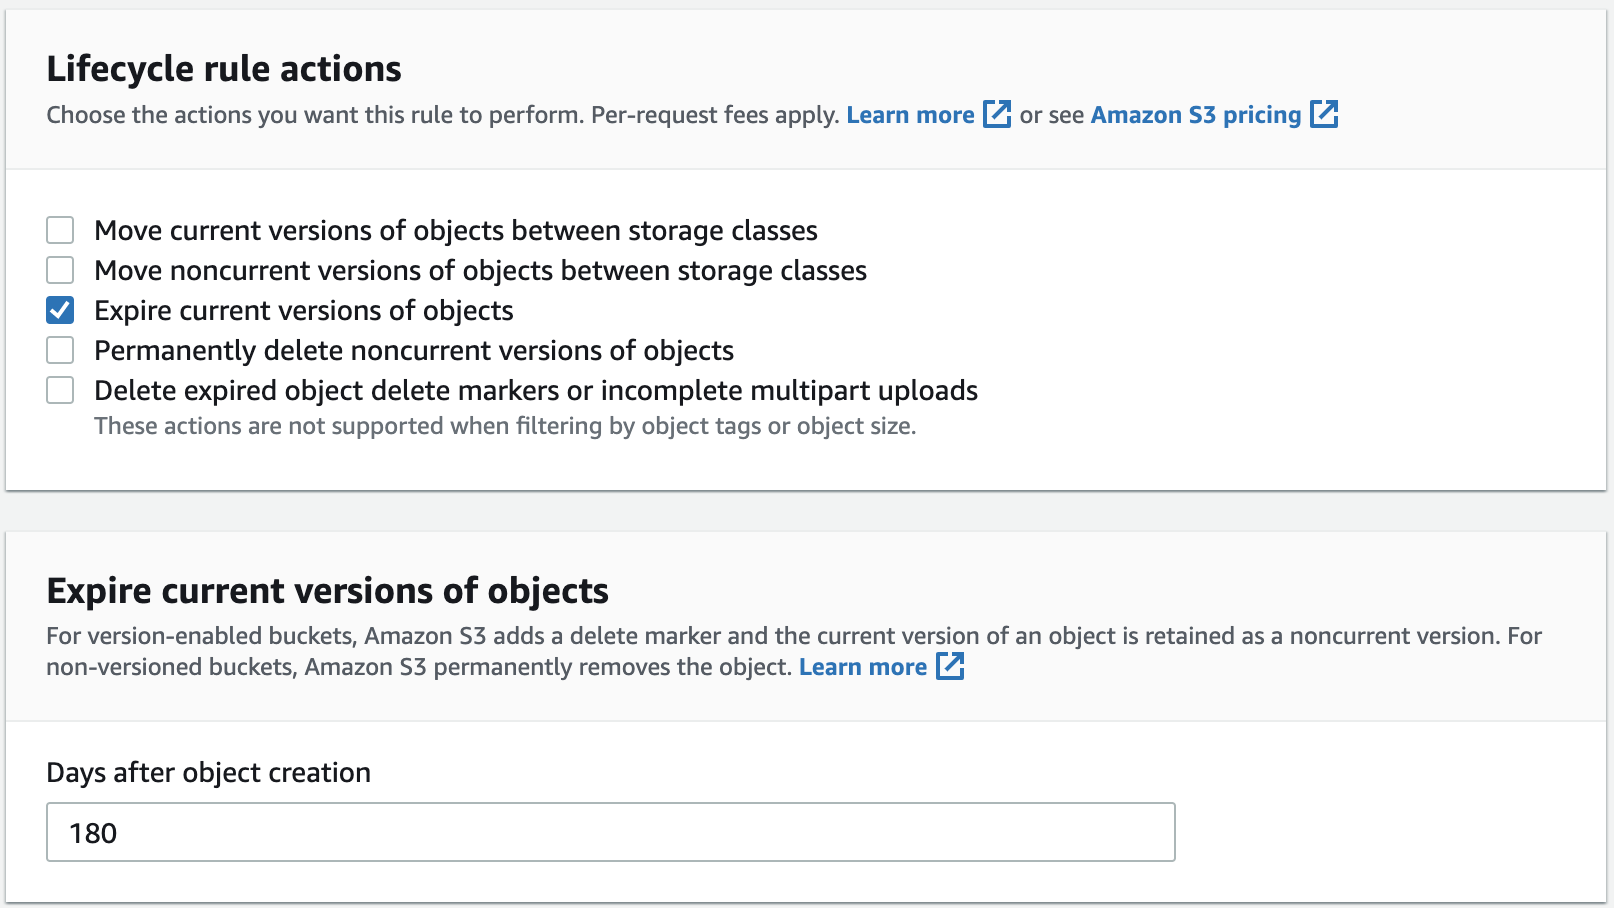
Next, select the action to be performed when the chosen period ends. You might choose to change the storage class to reduce your costs, or you might choose to delete the object. We know that we won’t need the backups after 180 days, so we’re going to check the option “Expire current versions of objects.”
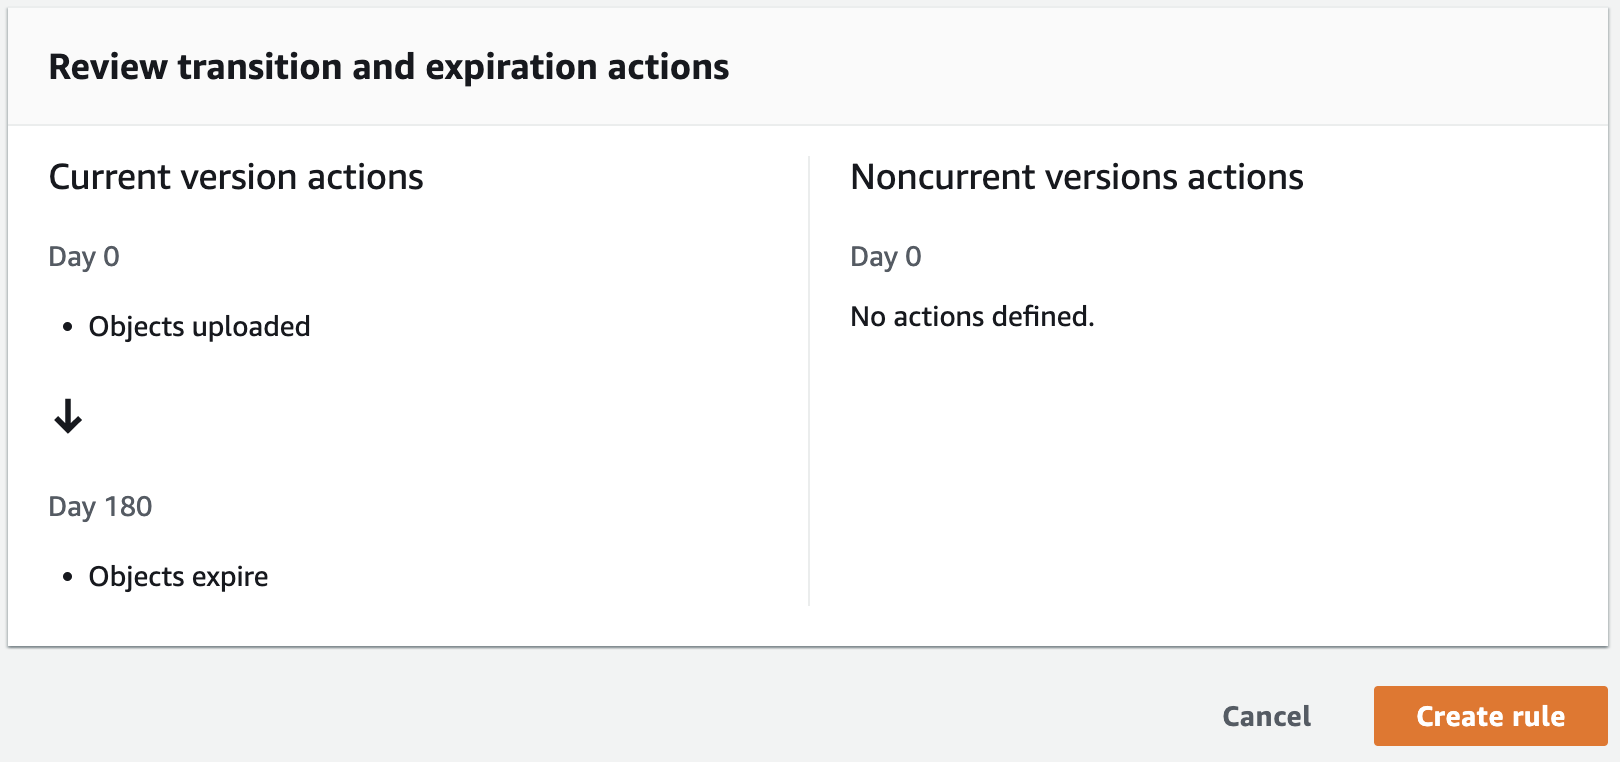
Further down, we’ll see a summary of the lifecycle rule. If it all looks okay, click on “Create rule.”
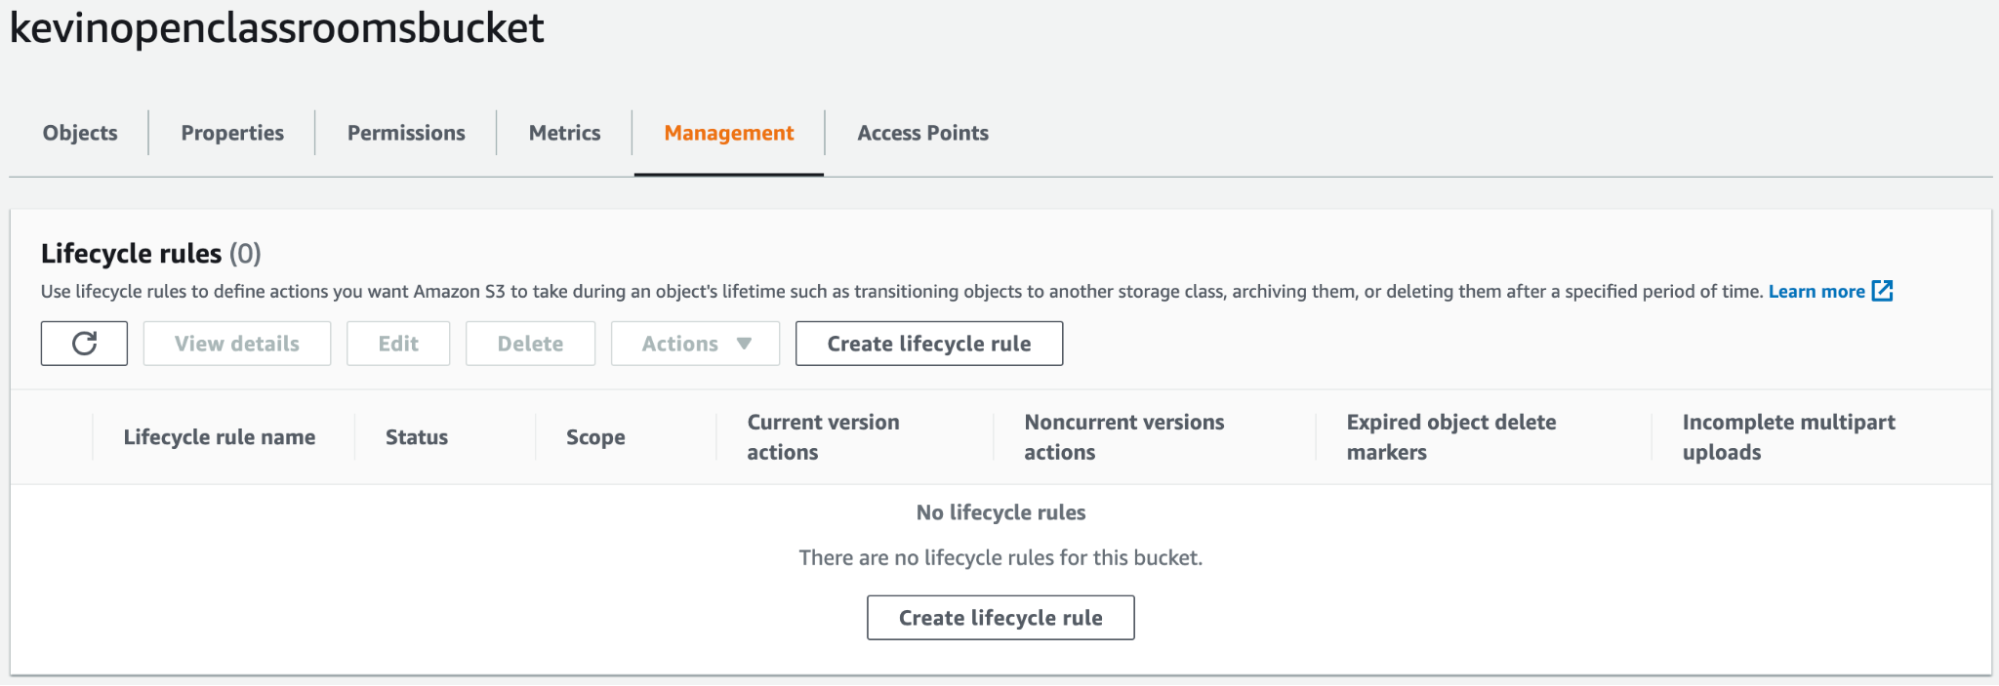
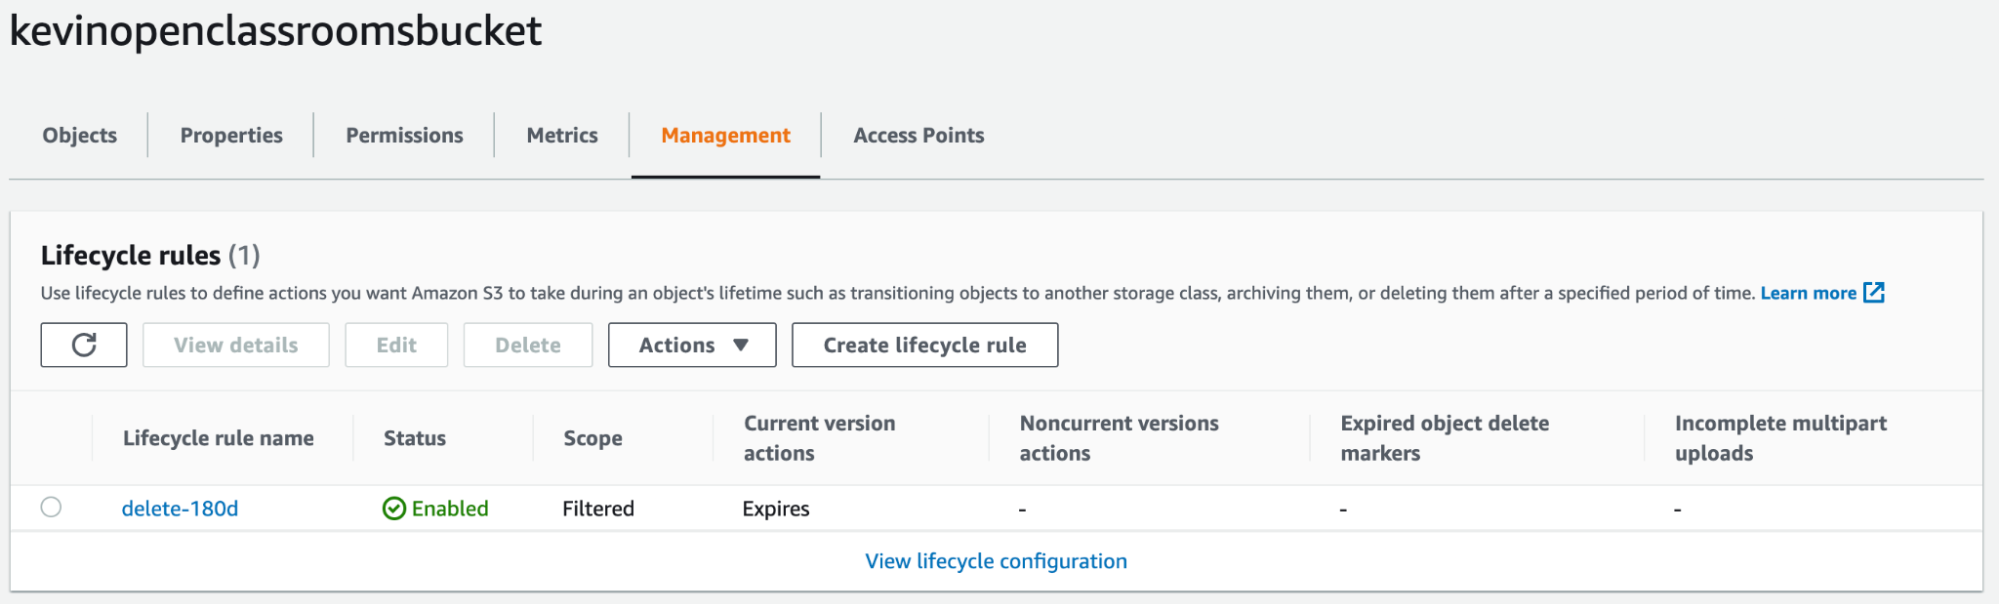
We’ll see that our lifecycle rule has just been created in the “Management” section of our bucket:
Let’s Recap!
Bucket names must be globally unique.
Files can be uploaded to and deleted from Amazon S3 using the Amazon S3 console.
You can back up each version of an object stored on Amazon S3 automatically. This means that if you accidentally delete an object, you can easily restore it to Amazon S3.
A lifecycle rule is an automated process that will perform an action on an object if a certain condition is met (e.g., delete all files uploaded over 180 days ago).
Before we go any further on our tour of S3, we’re just going to take a little detour via a different service that is fundamental to AWS, and that’s IAM.
