Take Your First Steps with Jupyter Notebook
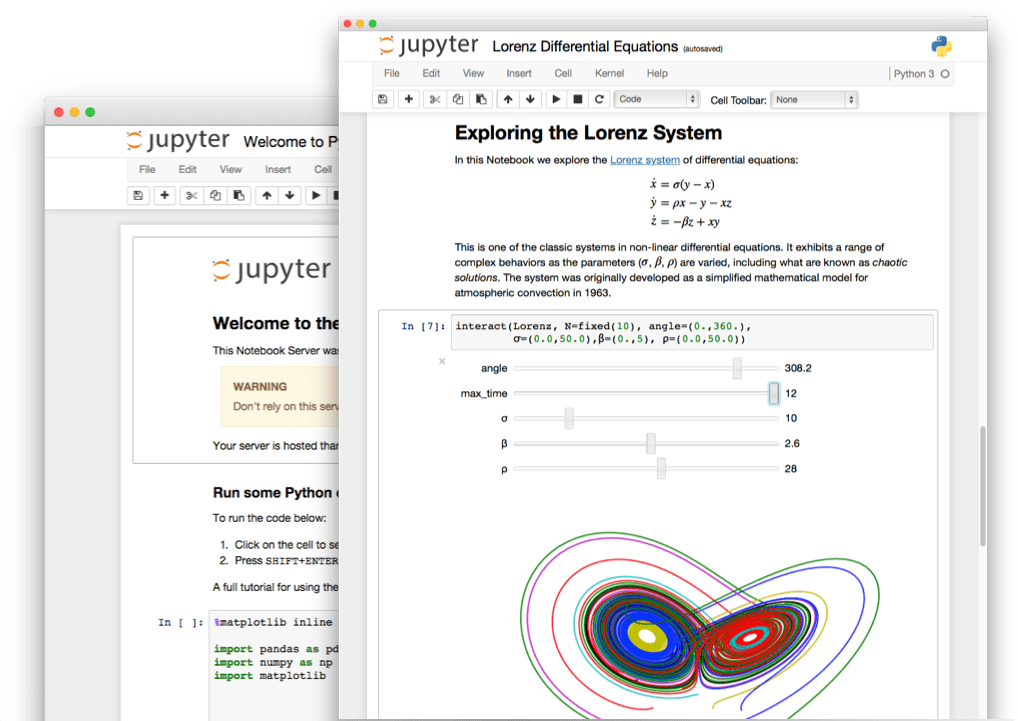
Jupyter Notebook is a web application that lets you store lines of Python code, their output (graphs, tables, etc.) and formatted text. This can be compared to a web page containing Python code! A bit like this course, really.
There are of course other ways and applications to work with than Python, but we are going to explain why Python is particularly well suited for data analysis and why we recommend it!
Discover Jupyter Notebook
Jupyter Notebook is a powerful tool that allows Python language users to create and share interactive documents containing dynamic, runnable code, content displays, documentation text, and equations. The term "notebook" is related to the intrinsic nature of the tool, which lets you write small pieces of runnable code (called "cells"), document them to explain what they do, and print the resulting output data. All this is stored in a document that can be shared with other users.
So it is particularly useful for prototyping algorithms or testing pieces of code to analyze the results and possibly add them to your main project. With a notebook, you don't need to organize your code into functions, with a main, etc. You just need to write your code in the code cells and run it!
Jupyter Notebook for Data Analysis
Jupyter Notebook is a very popular application for everyone who works in data analysis. It lets a team create and share reports in document/code format, facilitating productivity and collaboration.
For example, Netflix data scientists work with their data via Jupyter Notebook—their movie recommendation algorithm is coded from Jupyter! You can check out this article on Medium that talks about it in detail.
Take Your First Steps with Jupyter
Now that you've launched Jupyter (either locally or via Google Colab) and we've learned a little more about its usefulness, it's time to run our first Python code.
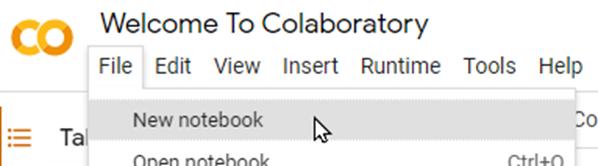
From Colab create a new notebook by selecting “New notebook” from the File menu:
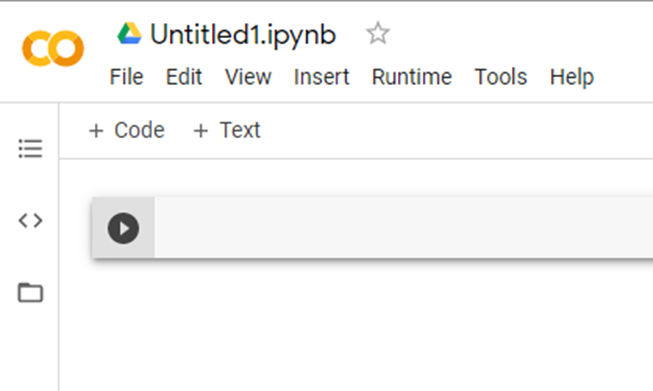
You should see the notebook appear:
If you are using Anaconda, create a new notebook by clicking on New then Python 3 :
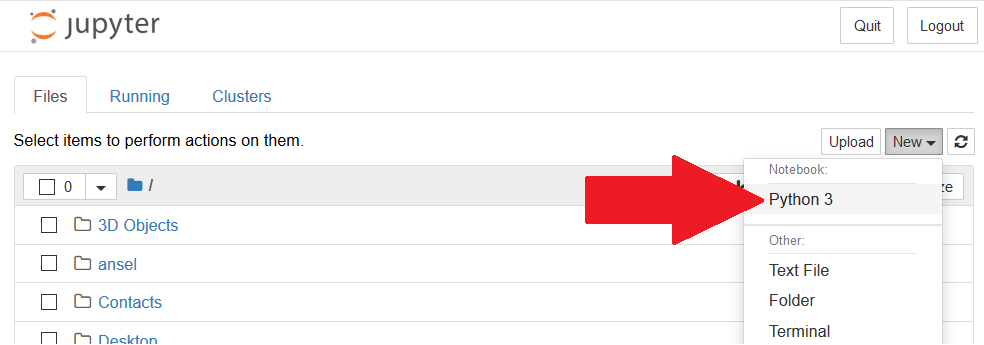
This will open a new tab:
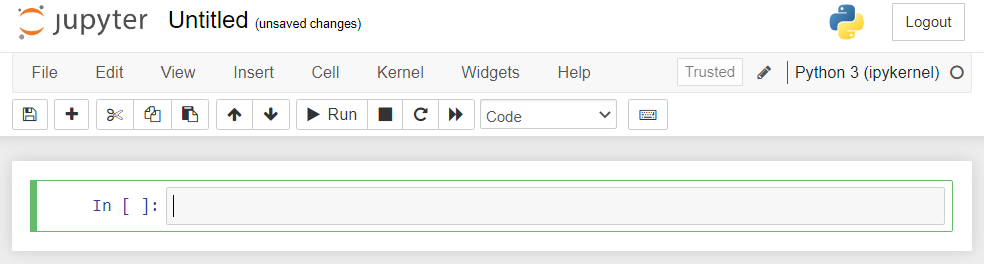
Whether you are using Colab or Anaconda, you will have a new code cell. In Colab, it looks like this:

In Anaconda, it looks like this:
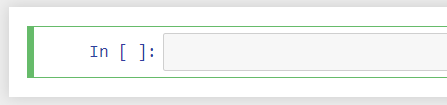
Try writing your first line of code in this cell. Saying “Hello,” for example, would be a good start.
print('Hello, world!')and then click on Run.
 in Colab
 in Anaconda
"Hello, world!" should appear below your cell—this is the result of running it. Congratulations, you just ran your very first Python code!
Document Your Notebook
Before you really dive into the programming, you should know that there are different types of cells with Jupyter, the main ones being code and markdown (also called text).
In Anaconda, when you click on a cell, you can change the type simply by selecting it from the list, as in the example below:
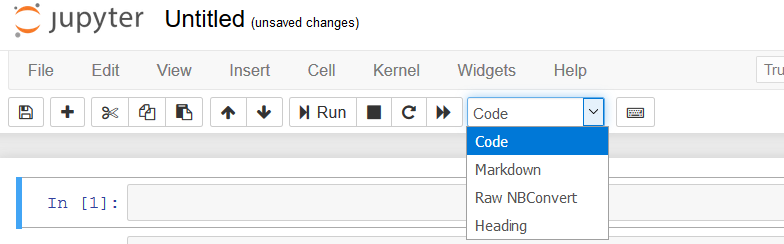
Let's look at the two main types in more detail:
Code—the standard code cell. This one is reserved for writing and running Python code! You can run your code by clicking on the
Runbutton, as seen previously.Markdown—a text cell that is mainly used for notebook documentation, to write comments, titles, equations, etc. This type lets you structure your text using HTML tags or Markdown syntax.
In Colab, you can select the cell type by creating a new cell:
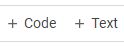
Whether it's markdown or code, just write your text/code and run it via the Run button to see the result.
For example, we could create a title. To do this, simply add a # in front of your text. A single # will correspond to a level one title, two ## to a level two title, etc.
You can also choose to make your text bold or italic. To do this, simply put the following symbols before and after the desired text:
Use
**to make it bold.Use just
*to italicize it.
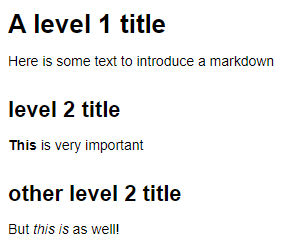
For example, the following Markdown cell:
# A level 1 title
Here is some text to introduce a markdown
## level 2 title
**This** is very important
## other level 2 title
But *this is* as well!
will give the following result:
If you want to go further into the features of Markdown cells, I advise you to follow this link.
Now that your Python environment is set up, you are ready to get down to business!
