Create a Wiki With Notion

Using Notion for Your Wiki
Up to now, we've examined making a wiki using Confluence. I also mentioned another excellent tool for creating wikis, called Notion, and now I will guide you through the process of creating a wiki with this tool, step by step.
Setting Up Notion
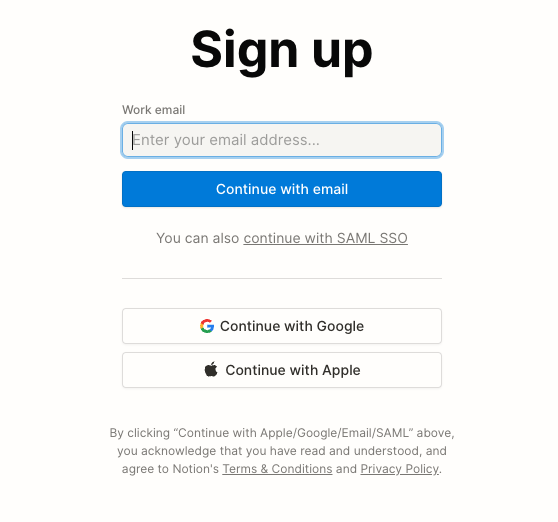
There are a few steps to creating a wiki with Notion. The first step is to create an account on Notion.
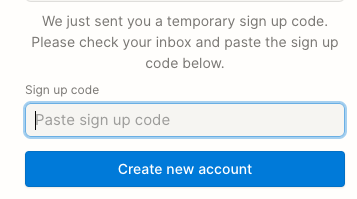
You'll receive an email with a confirmation code to copy / paste onto the sign up page.
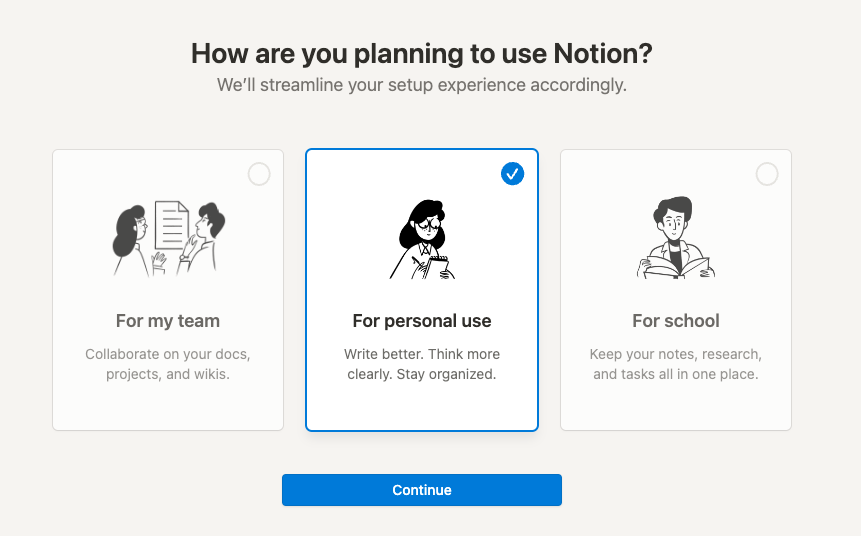
For this course I suggest that you define your utilization for personal use.
Create Your First Notion Page
Notion is a comprehensive tool. Understanding all its features can be challenging. It's like using Lego to construct pages. We will focus on making a wiki page, just like we did with Confluence. Take your time to explore all the features as well.
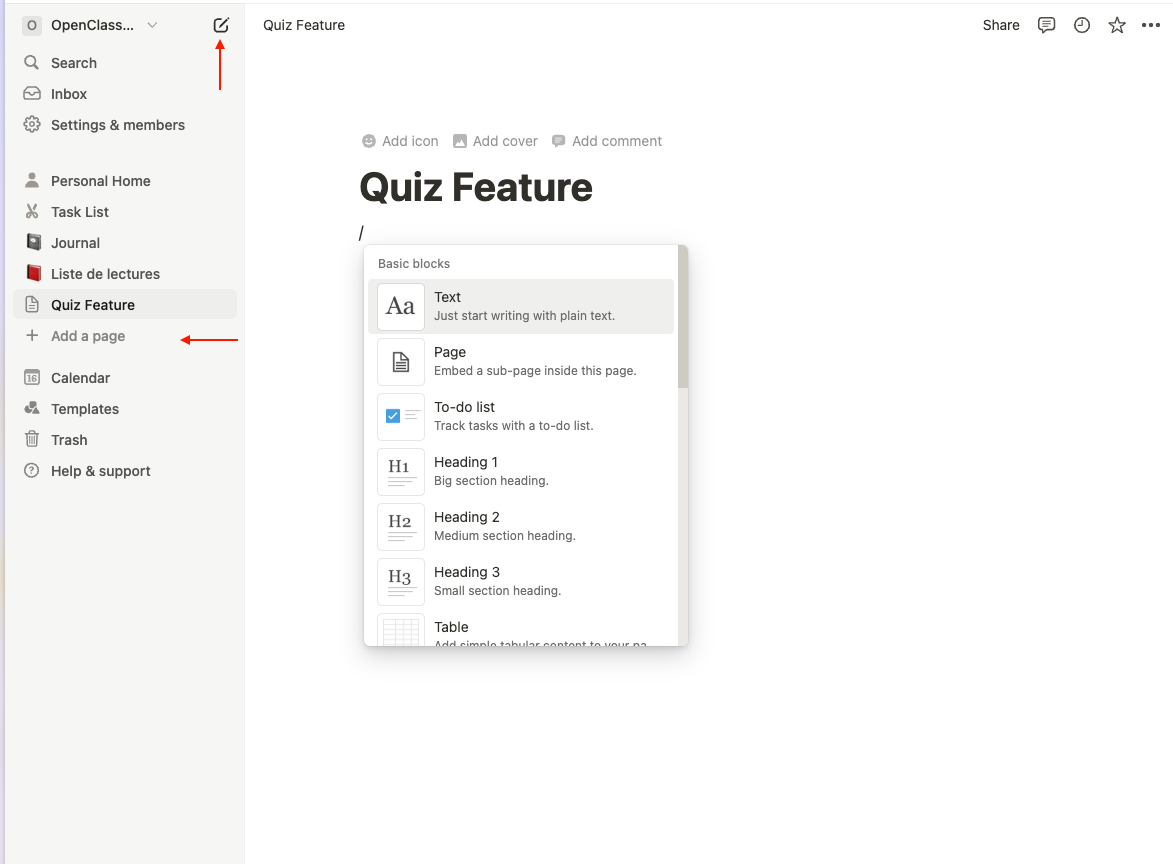
To make a new page, use the menu on the left. You can click on the icon at the top of the menu, or add a page. Give your document a title, and it will appear in the menu.
Writing in Notion pages
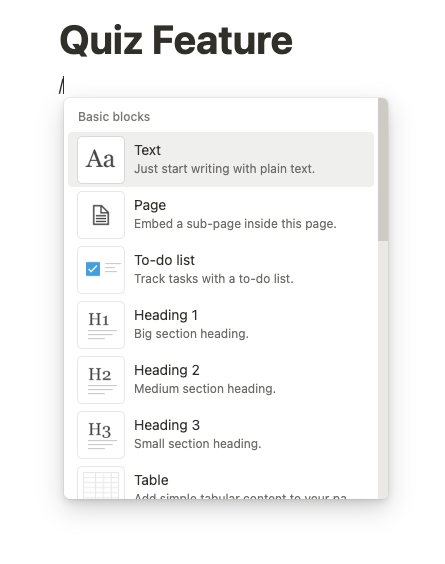
When writing in a Notion page, the commands appear when you press the "/" key on the page. This allows you to include various sections in a manner similar to what you did with Confluence.
Now you can include the specific details of your user story on the page, using headings and tables.
Your Turn!

Let’s get some practice using Notion! You’re going to store the documentation for your Quiz feature.
Here are the steps you will take for this exercise:
Create an account on Notion here.
Create your Quiz feature page.
Create sections and the user stories table with 14 rows (one for each user story) on the Quiz page.
Create one new wiki page for the Retake Quiz user story.
Add the link in the Quiz page (user story table) to the new Retake Quiz user story page so that a user can navigate from the Quiz page to a given user story (and back) in one click.
Add the acceptance tests (and other elements provided) to the Retake Quiz user story page.
When you have finished, take the time to double-check that you have included the following information:
Two wiki pages recreated in Notion (wiki software).
One wiki is for the Quiz feature.
One wiki is for the Retake Quiz user story.
The wiki pages link together.
Wiki pages have good use of headings, images, and tables.
Let's Recap!
Creating wiki pages in Notion is a bit like building with Lego blocks; you can assemble various elements to build the pages you want.
Use the “/” key to add complex elements like tables and headers effortlessly.
Great! You’re almost done. See how much you’ve learned in our 2nd quiz, then head to the next part, where we test and write bug reports!
