Install Android Studio
 You are in front of your computer, trembling with impatience. Your fingers hover over your keyboard, ready to type your first line of code. But before you can misplace your first semicolon, you will need a development environment to do it in.
A development environment is software, or a software set, which allows you to develop applications for a given platform. For example, if you want to develop a Windows program, you would use Visual Studio. If you want to develop an iOS mobile application, you would use Xcode. In this case, to develop an Android application you will need Android Studio.
Android Studio
Download and Installation
The official IDE for Android development is Android Studio. To install it, go to the Android Studio download page. The site will detect your operating system and offer you the appropriate installation package (for Mac, Windows, or Linux). If you want to download a different version, click on Download Options, then select the version of your choice.
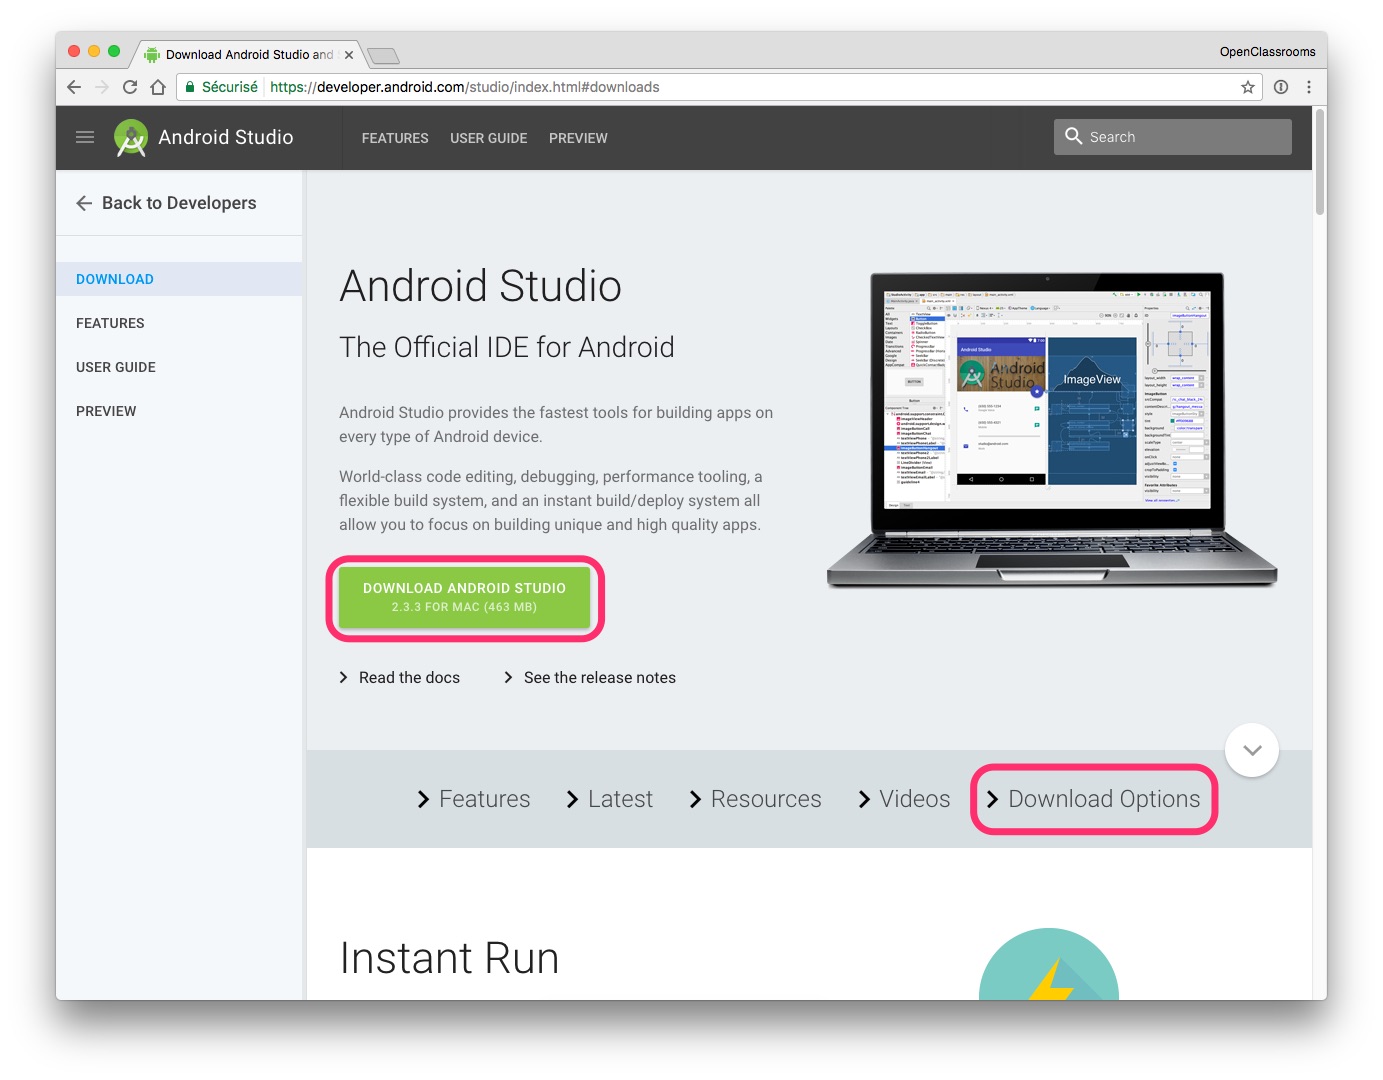
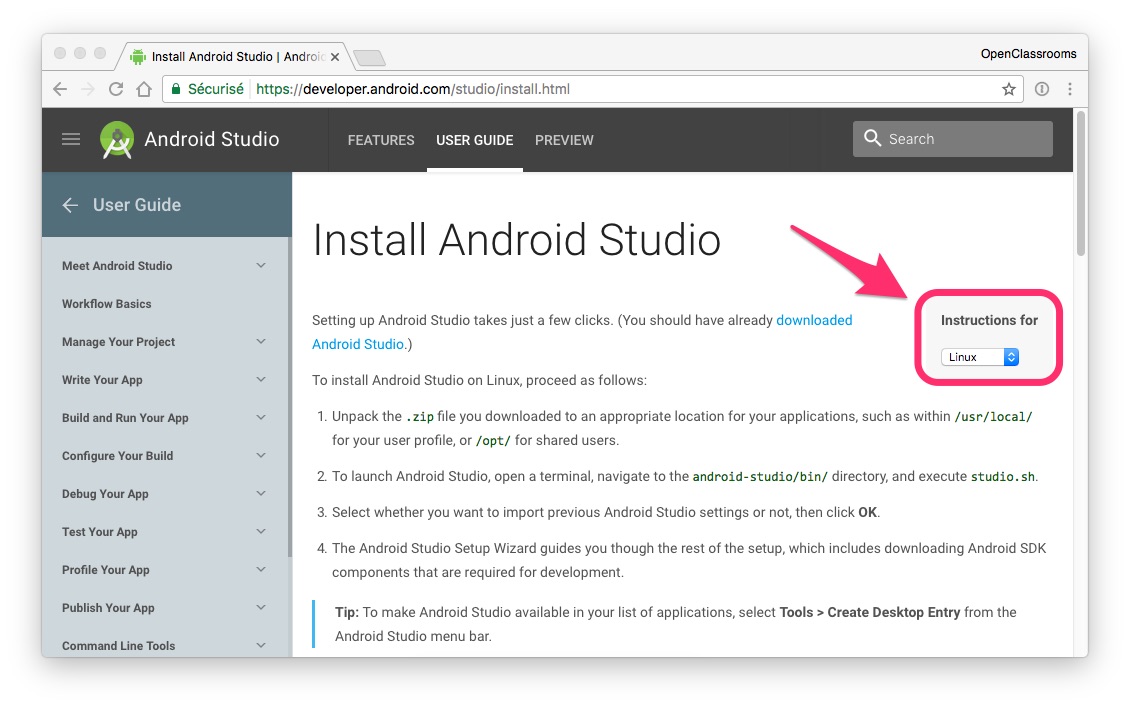
Since the installation package is half a gig, you will have to wait a little bit for the download to complete. When the download starts, the page will automatically redirect you to the installation page. Follow the instructions for your operating system by selecting it from the menu on the right side drop-down. Now would be a good time to catch up on some reading! 🤓
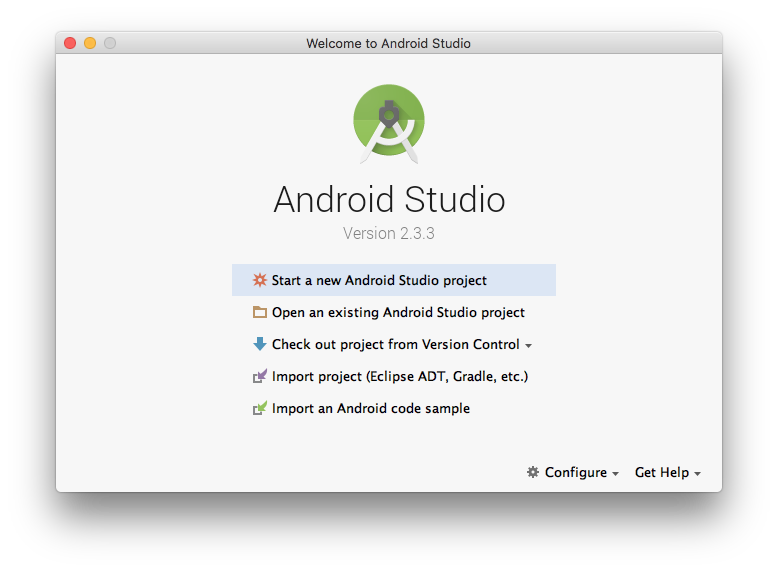
You’re back! Now you should be able to launch the application and see a window like this:
Let's Review With a Demo
You can see these steps in the video below:
Configure Your Environment
Before we begin, we will adjust the IDE according to our needs. To do this, click Configure and then click Preferences.
Theme
To change the main theme, go to Appearance & Behavior > Appearance > UI Options > Theme. You will have the choice between the default theme (which is boring) and the Dracula theme, which is predictably dark and designed by actual vampires. Just kidding! 🙃
If you want to look like a professional, choose the Dracula theme. If you want to look like a developer from the 80s, stick with the standard theme (mullet or side-ponytail is optional).
Code Style
If you have indentation preferences or a particular location where you prefer some curly braces, go to Editor > Code Style > Java. You can change the indentation, placement, style, and code generation rules. We will come back to these as we modify specific parameters.
If necessary, remember to save your style preferences by clicking the Manage... button and then Save As... and choose a name for your custom configuration.
File Headers
When you create a new file in your project, a header is automatically added with the following parameters:
/**
 * Created by <YOUR NAME> on <TODAY'S DATE>.
 */
If you want to create your own headers or edit the existing header, go to Editor > File and Code Templates > Includes > File Header. Some variables are pre-defined, and allow you to dynamically insert the the day’s date or the name of the project, for example.
Let's Review With a Demo
You can see these steps in the video below:
Let's Recap!
You can download Android Studio directly here.
During installation, an emulator is automatically installed.
You can configure the IDE (theme, indentation, and other options) by clicking “Configure”.
You’ve installed Android and configured your environment—well done! 🥳 Now let’s go to the next chapter to create your first project!
