Manage data in the Locals panel
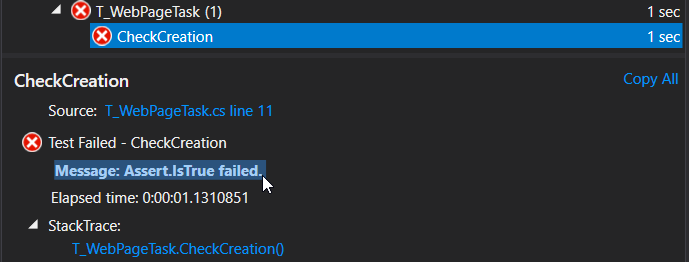
As in the previous section, we’re going to start off with a failed unit test: T_WebPageTask.CheckCreation. Go into the Test | Windows | Test Explorer menu and select Run Selected test with a right-click on the CheckCreation test:
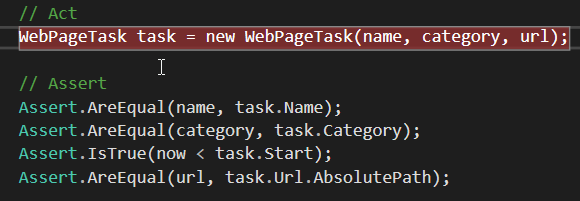
The code in question is as follows:
[TestMethod]
public void CheckCreation()
{
   // Arrange
   DateTime now = DateTime.Now;
   Thread.Sleep(1001);
   string name = "Astronomers Capture First Image of a Black Hole";
   string url = "https://www.eso.org/public/usa/news/eso1907/";
   ContentCategory category = ContentCategory.Science;

   // Act
   WebPageTask task = new WebPageTask(name, category, url);

   // Assert
   Assert.AreEqual(name, task.Name);
   Assert.AreEqual(category, task.Category);
   Assert.IsTrue(now < task.Start);
   Assert.AreEqual(url, task.Url.AbsolutePath);
}
What do we need to get back to the source of the problem?
One of the Assert statements has failed, which this means that the value of one of the properties is not what was expected. We need to detect when the value of a property has changed or see its value when the code is executed step-by-step. Let’s look at how to do this!
We’re going to start debugging this unit test by inserting a breakpoint (as you saw in the previous section <LINK>) at the point of creating the WebPageTask to see the values of the various properties:
Once execution is suspended, the Locals panel appears automatically: the debugger fills it in with variables for the current method:
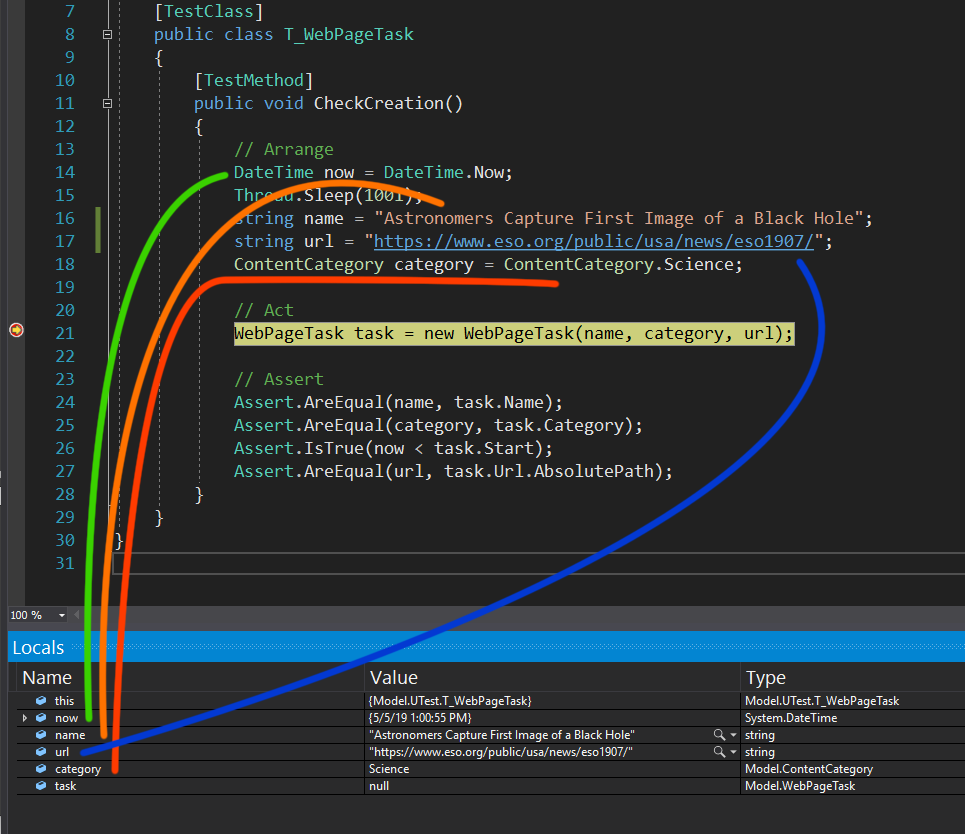
The first column contains their name, the second their value, and the last their type.
In the case of a character string, it is even possible to have a dedicated visualizer according to the type of string, like XML, HTML, and JSON:

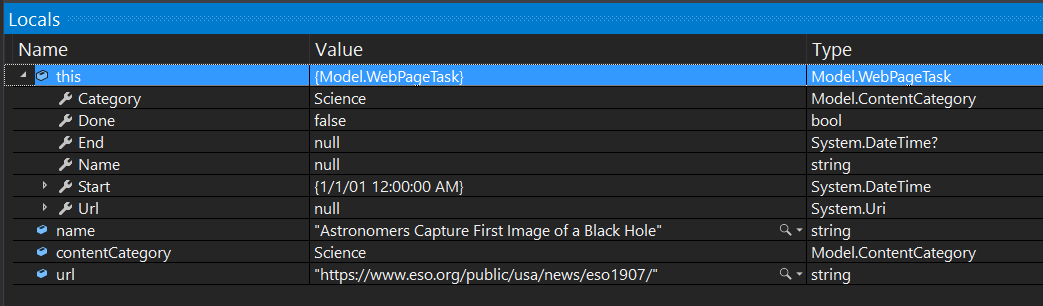
If we go down the constructor code for WebPageTask using Step Into (F11), the contents of the Locals are changed, showing only those parameters passed to the constructor, together with the current object, whose name is always this:
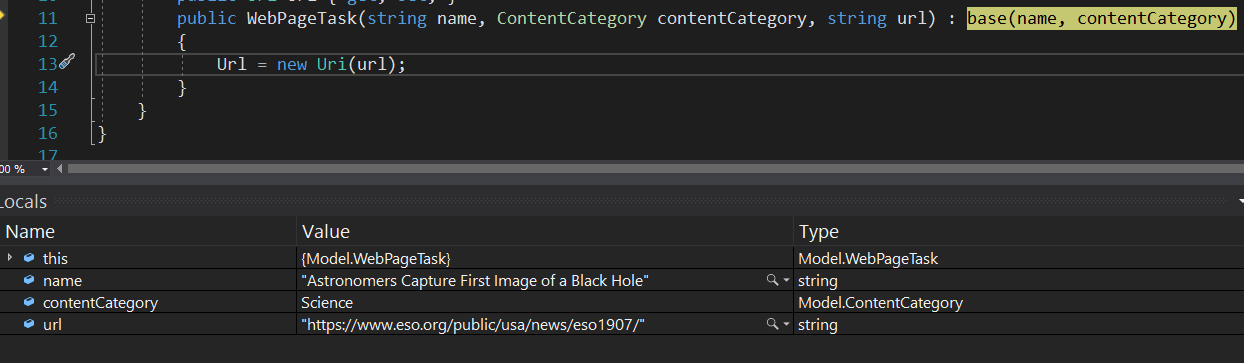
If one of the local variables is a complex type (i.e., containing fields or properties), there will be a triangle indicating that it is possible to view it. By clicking, you can see that the properties for this instance of WebPageTask have not been initialized. This is normal since we’re in its constructor:
If you execute the call via Step Over (F10), the contents of the changed properties are updated and turn red:
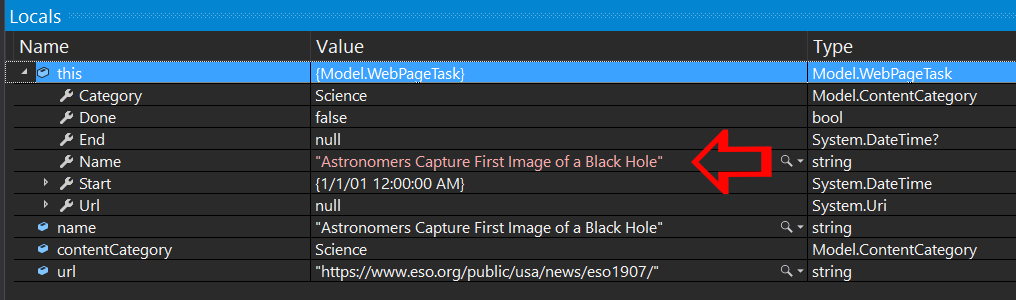
In our case, only the Name has changed, as the default value for the category was already Science.
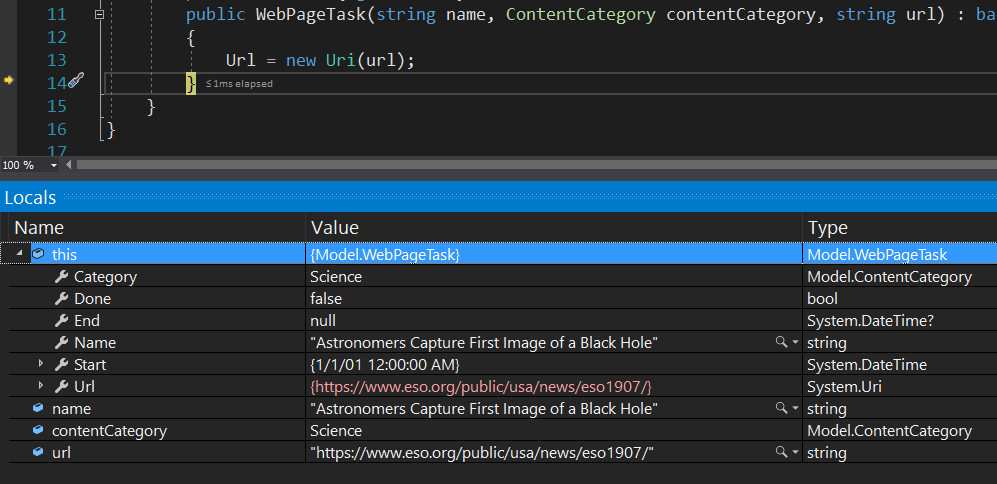
After having initialized the URL, the value of the property with the same name appears in red:
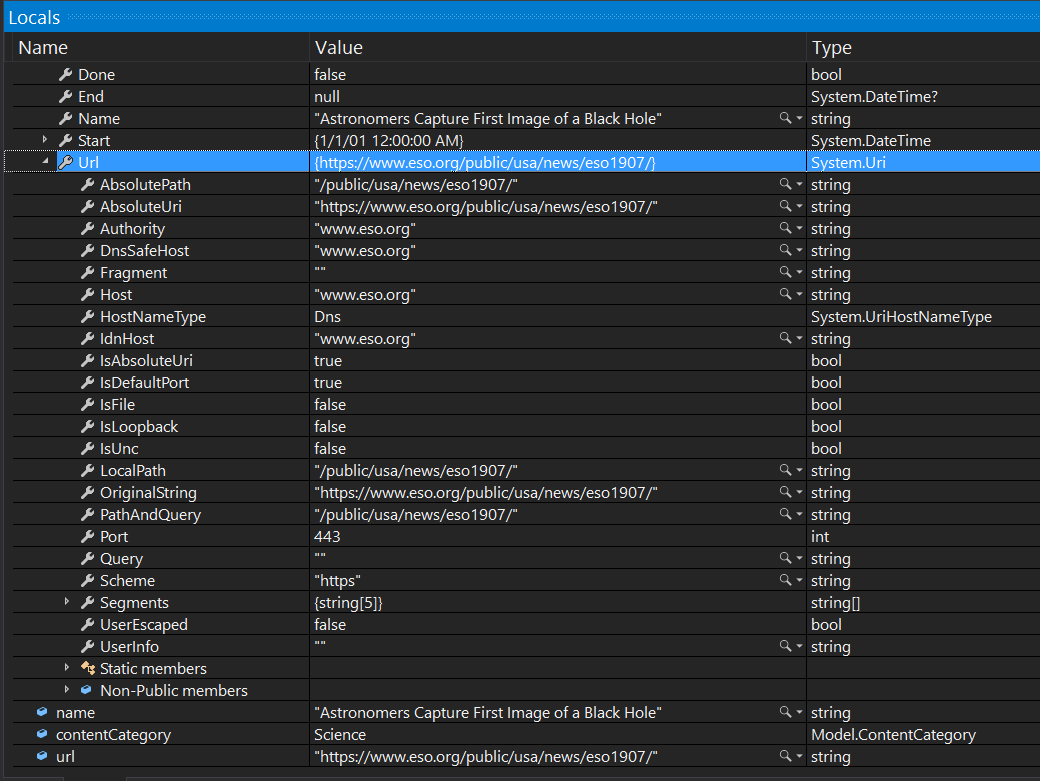
Note that it is possible to expand complex data structures, like seeing the contents of the URL property, for example:
Let's recap!
In this chapter, you saw the usefulness of the Locals panel for seeing the status of the variables depending on where you are in the call stack. In the next chapter, you’ll learn how to customize the way instances of your types are displayed so you can view them more easily in Visual Studio. 😊
