Update Your Database With Code-First Migrations
Modify the DbContext
You’ve run code-first migrations before, but we still need to make a couple of important additions to the ApplicationDbContext class. First, add the DbSet objects for your Movies and UserMovies classes. Add the following lines to the ApplicationDbContext class below the constructor:
public DbSet<Movie> Movies { get; set; }
public DbSet<UserMovie> UserMovies { get; set; }
Notice that we didn't add a DbSet object for the ApplicationUser class. This is because there is already an AspNetUsers table in the database. Since we created ApplicationUser by extending IdentityUser, anything you add to ApplicationUser will automatically translate to the AspNetUsers table in the database.
The last change is a little more complex. In the current version of ASP.NET Core, the ability to auto-migrate objects with many-to-many relationships does not exist. Fortunately, ASP.NET includes the Fluent API. This lets you give Entity Framework specific instructions for building or modifying the database according to your specifications. Do this by overriding a method in your ApplicationDbContext class called OnModelCreating, which is inherited from IdentityDbContext. This can be done anywhere below the constructor in ApplicationDbContext.
protected override void OnModelCreating(ModelBuilder modelBuilder)
{
    base.OnModelCreating(modelBuilder);
    modelBuilder.Entity<UserMovie>()
    .HasKey(t => new { t.UserId, t.MovieId });
}
Now build the project again and correct any new errors.
Update ASP.NET Identity
By default, ASP.NET Identity uses the IdentityUser object for all user accounts. The ApplicationUser class was created to extend IdentityUser and give you some extra information for your user accounts. However, since we want the ApplicationUser class to be the base for Identity objects, you need to make a few more changes to the code. These will occur in two places: Startup.cs and _LoginPartial.cshtml.
Open Startup.cs first. It’s found in the root of your project. Locate the ConfigureServices method. At about line 41, you should see the following code:
services.AddDefaultIdentity<IdentityUser>()
    .AddDefaultUI(UIFramework.Bootstrap4)
    .AddEntityFrameworkStores<ApplicationDbContext>();
Replace this code segment with the following:
services.AddIdentity<ApplicationUser, IdentityRole>(options =>
{
    options.User.RequireUniqueEmail = false;
})
    .AddDefaultUI(UIFramework.Bootstrap4)
    .AddEntityFrameworkStores<ApplicationDbContext>()
    .AddDefaultTokenProviders();
Note the change from IdentityUser to ApplicationUser in setting up the Identity service. This will enable .NET Identity to use your ApplicationUser class for all Identity processes and services, such as configuring the UserManager and SignInManager, which you’ll see later in the course.
The next change you need to make is in Views > Shared > _LoginPartial.cshtml. The first three lines of code in this file read as follows:
@using Microsoft.AspNetCore.Identity
@inject SignInManager<IdentityUser> SignInManager
@inject UserManager<IdentityUser> UserManager
You need to add another using statement for the application’s Data namespace, and then change the IdentityUser references to ApplicationUser, as shown below:
@using Microsoft.AspNetCore.Identity
@using Watchlist.Data
@inject SignInManager<ApplicationUser> SignInManager
@inject UserManager<ApplicationUser> UserManager
Save your changes and rebuild the project, correcting any syntax errors you may encounter.
Perform the Migration
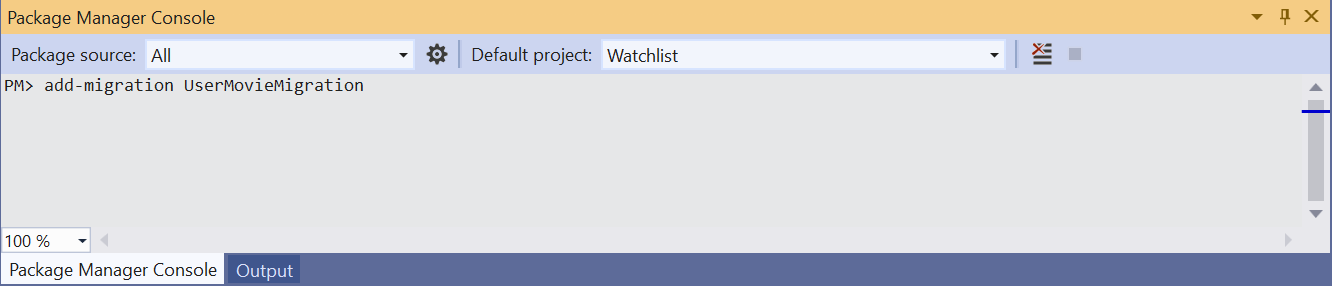
Now that the database context object is updated, and the Identity service has been updated to use your ApplicationUser class, the model is now complete and ready to migrate. Add a new migration and call it anything you wish, but remember that it’s a good idea to name it according to what it does or a specific order. You might call it SecondMigration or UserMovieMigration, for example:
Next, update the database.
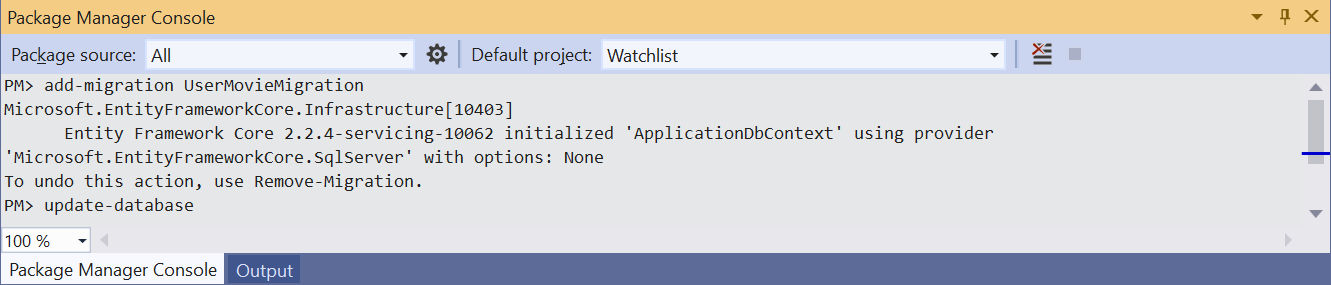
Your database has now been updated to match your newly created data model. You still can’t do much with it, so the next thing is to start scaffolding the controllers and views from the model.
Let's Recap!
This chapter was all about setting up the database to receive data via our application:
You updated the database context class to reflect the overall data model.
Then performed a code-first migration, which created new tables in the database that correspond to the C# classes of the model.
In the next chapter, we’re going to take advantage of a powerful tool called scaffolding, which is going to help you create the controllers and views for your Watchlist application.
