Configure Spring MVC
Now, if you wanted to start a new Spring project from scratch, you'd have to go through these stages:
Make some choices from a plethora of Spring projects and other open source libraries and frameworks. 😨
Configure each one of them individually. 😰
Glue them together so they work properly as a whole. 😱
As we've spoken about before, Spring Boot's auto-configuration removes this burden by providing you with a selection of components that are preconfigured and work fine for most scenarios. Spring MVC is no exception. When you added spring-boot-starter-web in Part 1 of this course, you got a fully functional preconfigured Spring MVC application that would have needed a lot of work to set up without Spring Boot.
While Spring Boot does a lot of things for you automatically, it’s important to remember that you actually have complete control over your application. You could still override any of these default configurations if you wanted to. In this chapter, you’ll learn how to change some of the default configurations in Spring MVC.
Change the homepage configuration
As you saw before, one of the auto-configurations done in Spring MVC by Spring Boot is that it makes any file called index.html in the template folder the homepage of the application. However, you might want a more intuitive name, or you might want to redirect some old URLs of your application to the homepage without creating a new controller for them. That’s what we are going to look at in this section.
Our goal is to rename the index.html page to home.html and still see it when we go to http://localhost:8080/. The way to implement this change is to create a configuration class that executes a Spring MVC provided interface called WebMvcConfigurer. So let’s create a new class called MvcConfig and map “/” path to home.html.
package com.openclassrooms.watchlist;

import org.springframework.context.annotation.Configuration;
import org.springframework.web.servlet.config.annotation.ViewControllerRegistry;
import org.springframework.web.servlet.config.annotation.WebMvcConfigurer;

@Configuration
public class MvcConfig implements WebMvcConfigurer{

	@Override
	public void addViewControllers(ViewControllerRegistry registry) {
	    registry.addViewController("/").setViewName("home.html");
	}
}
Now restart the server and go to the “/” URL again. You should see our homepage.
Try to use the same mechanism and make the homepage appear by going to /home.
Add a custom error page
Even the best and most robust web applications face unexpected errors or server-side exceptions from time to time - including our Watchlist app. It’s important to give users a good experience and potential solutions when errors happen.
I’m sure you’ve seen the error page that shows up whenever there is an error in the application. This page is called Spring whitelabel error page, and I think you would agree that it just doesn’t look appealing by any standard! 😕
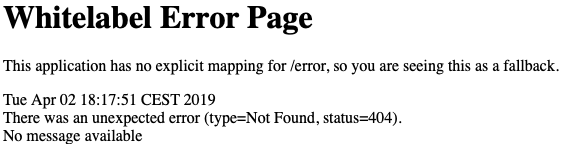
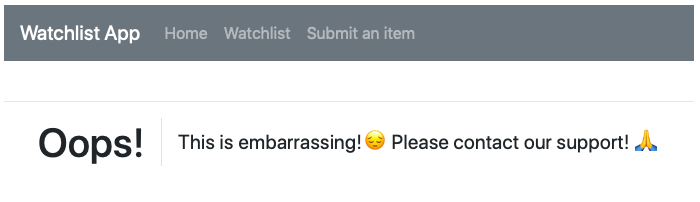
Let’s add to amount of beauty in the world by replacing this ugly error page with a custom one that also gives the user some directions rather than some technical gibberish. 💪
Our goal here is to add a new page that appears when an error happens. For that, we need a custom controller and custom error page. Adding a custom error page is similar to adding any other page with a small twist. The controller you create should implement ErrorController interface which you’ll need to override its getErrorPath method. Create a Java class called CustomErrorController and a GET request handler for it to handle the requests coming to /error path.
package com.openclassrooms.watchlist;

import javax.servlet.RequestDispatcher;
import javax.servlet.http.HttpServletRequest;

import org.springframework.boot.web.servlet.error.ErrorController;
import org.springframework.stereotype.Controller;
import org.springframework.web.bind.annotation.GetMapping;
import org.springframework.web.servlet.ModelAndView;

@Controller
public class CustomErrorController implements ErrorController {

	@Override
	public String getErrorPath() {
		return "/error";
	}

	@GetMapping("/error")
	public ModelAndView handleError(HttpServletRequest request) {

		Object status = request.getAttribute(RequestDispatcher.ERROR_STATUS_CODE);
    	System.out.println("Error with status code " + status + " happened. Support! Do something about it!");
	    return new ModelAndView("error");
	}
}
Now add an error-static.html page from the static HTML repository to the page. You are returning an error as the view name in the method above, so you need to rename it to error.html. And that’s it. As a test, you could start the server and hit any random URL that does not exist in our application and see this error page.
Try it yourself challenge!
Now that you know how this process works, I would suggest you make an error page specific for the time that Page not found error happens. You can leave the current page for the rest of the errors.
Change Tomcat settings
Have you ever been on a website where you had to enter a port number like 8080?
No...😯
Me neither! 😉 That’s because all websites use the default port of number 80. If no port is mentioned, then browsers send their HTTP requests to the port 80 by default. So obviously we need to change the port number from 8080 to 80 if we want anyone to use our application.
Changing port number is straightforward. Open the application properties file and add this line to it:
server.port=80Now start the server, hit http://localhost, and you should see the homepage. It's much cleaner and easier right?
Let’s recap!
Now that you've finished this chapter, you should be able to answer the following questions:
How do you reconfigure the default settings of Spring MVC to change:
The default homepage?
The default error page?
The default port number that your server operates on?
Once you've got the steps down, try your hand at the end-of-part quiz and test your knowledge. I'll be waiting for you in Part 3, where we'll start working on an important concept: dependency injection! 😎
