Design the Tables and Fields That Will Make Up Your Database
Let's Recap Designing the Logical Model
Before we start creating our physical database, let's take a few minutes to recap the process of designing the logical model.
Before starting a construction project, as a builder you would needs blueprints so you know the plan and what needs to be accomplished. Similarly, a developer designs a logical database model complete with entities (tables) and attributes (fields), including the data type that each attribute will contain.
Once you have an entity relationship diagram (ERD), you would then have the blueprints needed to start building a database to capture data from a website, desktop, or mobile app.
Download Your DBMS
If you haven't already, now is the time to download your Database Management System of choice.
For this course, I'll be demonstrating the steps of building a database in SQL Server Express Edition, but you can follow along using any other SQL DBMS.
For Microsoft's cross-platform alternative (for macOS, Linux, and Windows), you should look for Azure Data Studio.
For public/open source alternatives to SQL Server, look for MySQL, PostgreSQL, or MariaDB.
Create Tables and Fields Through a Graphical Interface
Most DBMS have a graphical component where the user can create the tables through the built-in designer without having to write any database SQL scripts. This is the point where you would use your database model as a blueprint to build tables exactly as you designed them.
In case you could use some guidance, I'll demonstrate for you how I log on to the DBMS I use and how to create new tables.
Here are the steps demonstrated above, illustrated with screenshots:
Log On to SQL Server
Locate and open a copy of Microsoft SQL Server Management Studio.
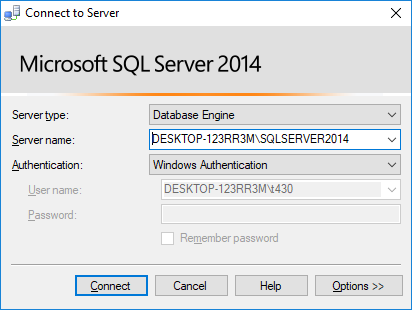
Enter credentials to log on to the server.
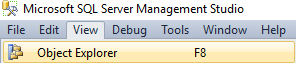
Once you connect, find the Object Explorer on the left-hand side of the screen or go to View, then Object Explorer from the top menu.
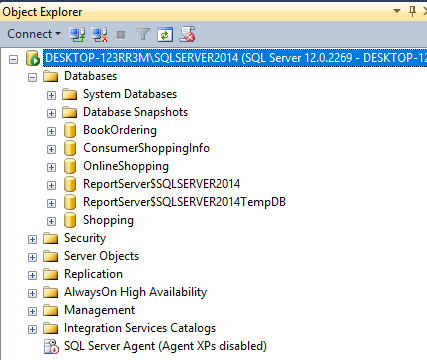
Expand the database folder.
Select an existing database or create a new one if needed.
Click on the plus (+) next to the database name to expand the options.
Finally, expand the tables object to reveal any tables already present for this database.

Once you get to this point, you'll want to create tables using the tools inside of SQL Server Management Studio.
Create Tables in SQL Server Management Studio
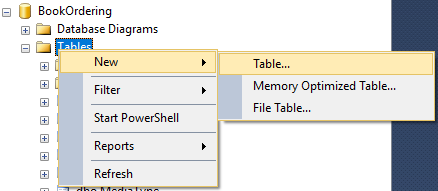
Lets locate the Tables object under the currently selected database.
Right-click on Tables.
Select New.
Select Table. (Follow along with the screen prints below.)
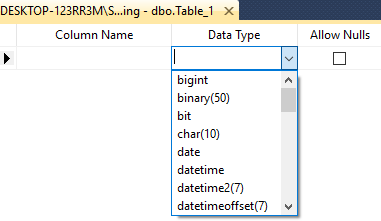
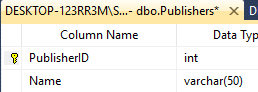
Once the new table comes into view, you can enter the column or attribute names in the first column on the left.
Choose your data type in center column.
The third column contains a checkbox where you can select whether or not to allow null values in your column. It is unchecked by default, which allows null values.
Follow Best Practices for Naming Columns
This might seem like common sense, but you should always pick column names that are descriptive of the filed contents. Don't pick a long name that's hard to remember; especially if you have to type it repeatedly. Use commonly accepted naming rules here: make the first letter of each word or abbreviation uppercase, so it's easier to read. You can shorten or abbreviate the second word if possible. The Student Identification column ends up as StudentID.
Set the Primary Key
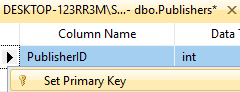
Once your columns have been defined, there are still a couple of things left to check off the list. Set the primary key for the table by right-clicking on the row that you want to use as a primary key, which is normally the first row you entered, and clicking on Set Primary Key from the list shown below.
Do we set foreign keys the same way?
You don’t have to define the foreign keys yet; in fact, there is no formal way to set them in SQL Server. Foreign keys should have the exact same attributes set up in both the table, where it is a primary key, and where it is set as a foreign key. It's the most common way to know if you have a foreign key field in a table. Ordinarily, you place the primary key as the first column in the table, followed by the foreign keys; it's not mandatory, but more of a standard convention.
Now set the primary key as an AutoNumber-generated field, which again is a pretty standard practice in database design.
Single left-click on the row that contains the primary key field.
Move to the bottom of the screen under the Column Properties tab.
Scroll down to the Identity Specification property (it will have an arrow “>” next to it).
Click on the arrow.
Double-click on the (Is Identity) property to change it from No to Yes.

This action turns on the feature that inserts and increases a number in the primary key field each time a record is entered. The first record would have 1 as the primary key value, while the next would have 2, and so on. By default, the value starts at one and increases by one (which you should keep). Identity increment tells the DBMS what value to add to the auto-generated number while the identity seed tells the DBMS what number to start with.
Save!
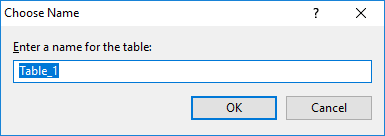
Now you’re ready to save your table if you haven’t done so already. Traditional table naming conventions use the prefix tbl or tb to start the name, though more recent standards drop this in favor of a descriptive column name. So, if you have a table for students, the traditional method would be to name your table tblStudents, while the more current method would simply be Students. My advice is to pick one standard and stick with it throughout your database. You’ll notice I’m using the convention, which omits the prefix. By default, when you attempt a save on a new table, you will be prompted to enter a table name. Use the naming conventions discussed for consistency.
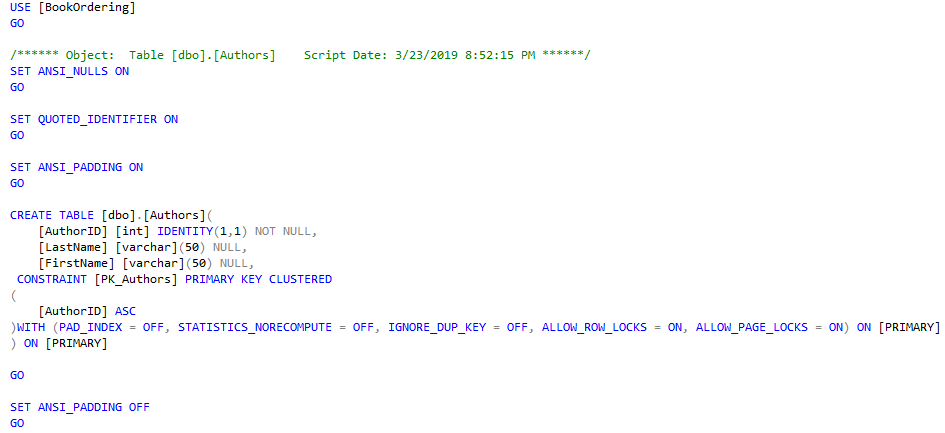
Create Database Objects Through a SQL Script File
What do I need to create database objects like tables through a SQL script file?
It's important to understand how to write a script. All you need is a text editor and the SQL knowledge to write the files. Scripts are a great way to transport your database or specific objects (or data) from one location to another. This is especially true if you are creating or updating a table in a database production environment where you may not have direct access (i.e., on a customer’s machine). You may need to get the script files to the IT department and have them run them for you. I’ve run into this issue over the years, and typically the scripts are uploaded to an FTP site or a shared location where the customer’s IT department can copy and execute them.
Unlike direct table or object manipulation through Management Studio, scripts reduce the risk of human error due to manual updates. You may need to watch out for the version you have versus the environment the scripts are going to be run in, as there could be compatibility issues. If you have an older version of SQL Server such as 2012, you will have no issue running those scripts in 2017, but the reverse could cause issues. Taking a backup copy from the customer’s production environment normally involves generating scripts which target the older version you may be using.
I’ve found the easiest way to create scripts is to let Management Studio create them for you by selecting the option that allows you to customize what is generated in the scripts.
OK, let's get started!
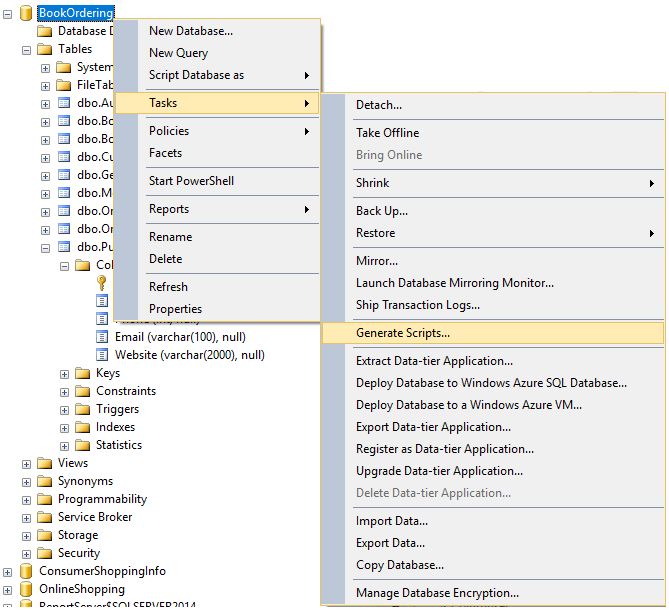
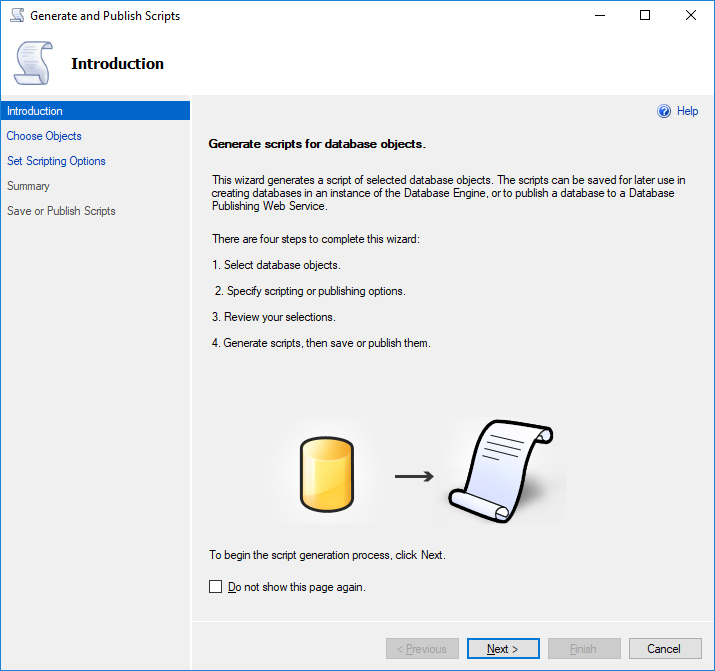
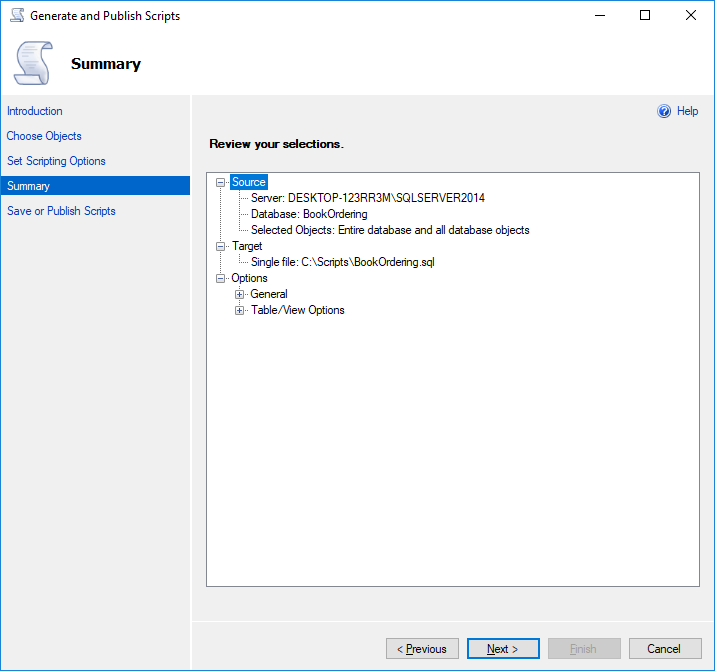
First, locate the database you would like scripts generated from, then right-click and select Tasks, then Generate Scripts. Once you do this, the Generate and Publish Scripts page loads. Click Next to continue.
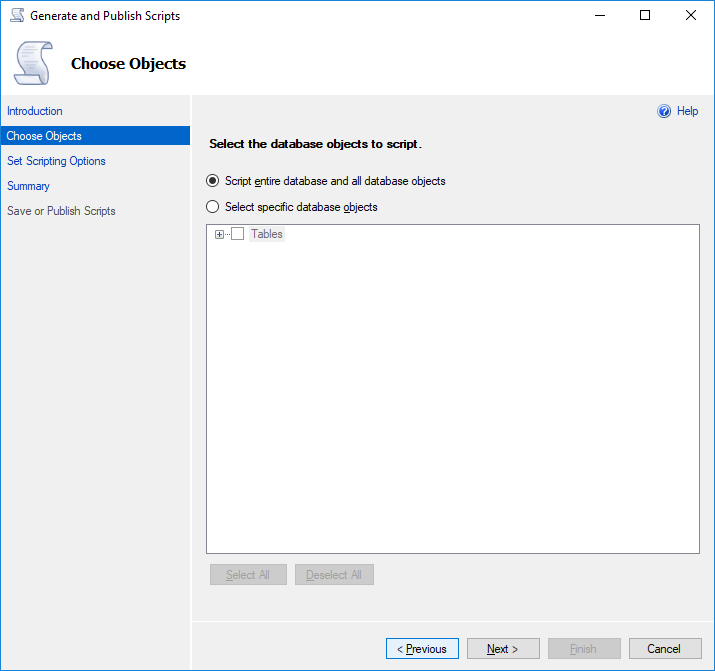
For our purposes you want to generate scripts for the entire database, so leave the default selection of “Script entire database and all database objects,” and click Next.
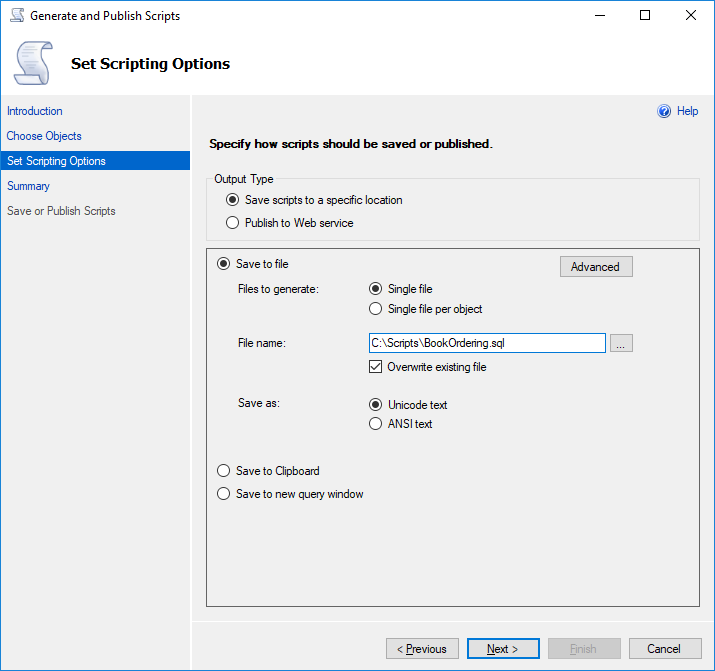
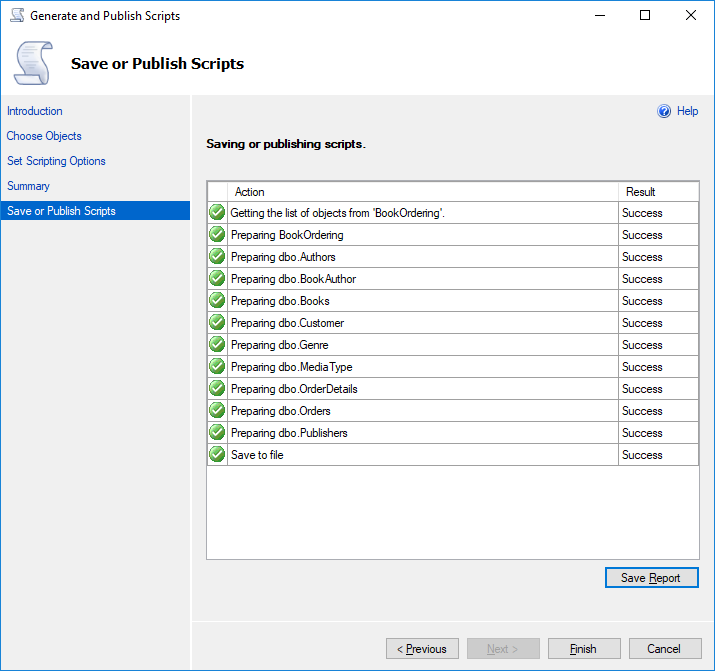
The Set Scripting Options screen appears which allows you to select advanced features and only script those objects and data that you need. The final result can be generated to a new query editor window, but I would recommend saving to a file. It can take a while to show up on the screen if you are dealing with data. The format SQL Server generates the scripts in the same format you can follow to create your own scripts.
Now your scripts are ready to be moved anywhere you need them to go! Once they are in the location where they are to be executed, open SQL Server. Select File then Open, then File and browse for your script, then select Open.
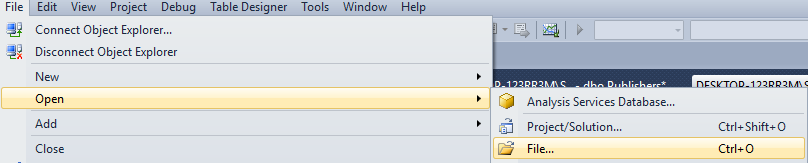
Now the file is loaded into a new query editor window for you to preview or make changes if needed. Once you are all set, locate Execute to execute the scripts. Now you have the same data and structures you generated from the original database.
Let’s Recap!
You've downloaded a DBMS.
You've created your first tables.
You've examined how to generate scripts from your tables.
Now that we've got a DBMS up and running, let's apply our knowledge of data types to our new database.
