Explore Additional Visual Studio Code Features
Handle the Terminal

In this screencast, you will explore how VS Code tool integrates its own terminal. It's way easier to have only one tool to manage!
Throughout your career, you will often need to run commands from the terminal (also known as the shell, PowerShell, command prompt, etc.). That is why VS Code contains an integrated terminal. Open the Command Palette, type "create terminal," and choose Terminal: Create New Integrated Terminal :

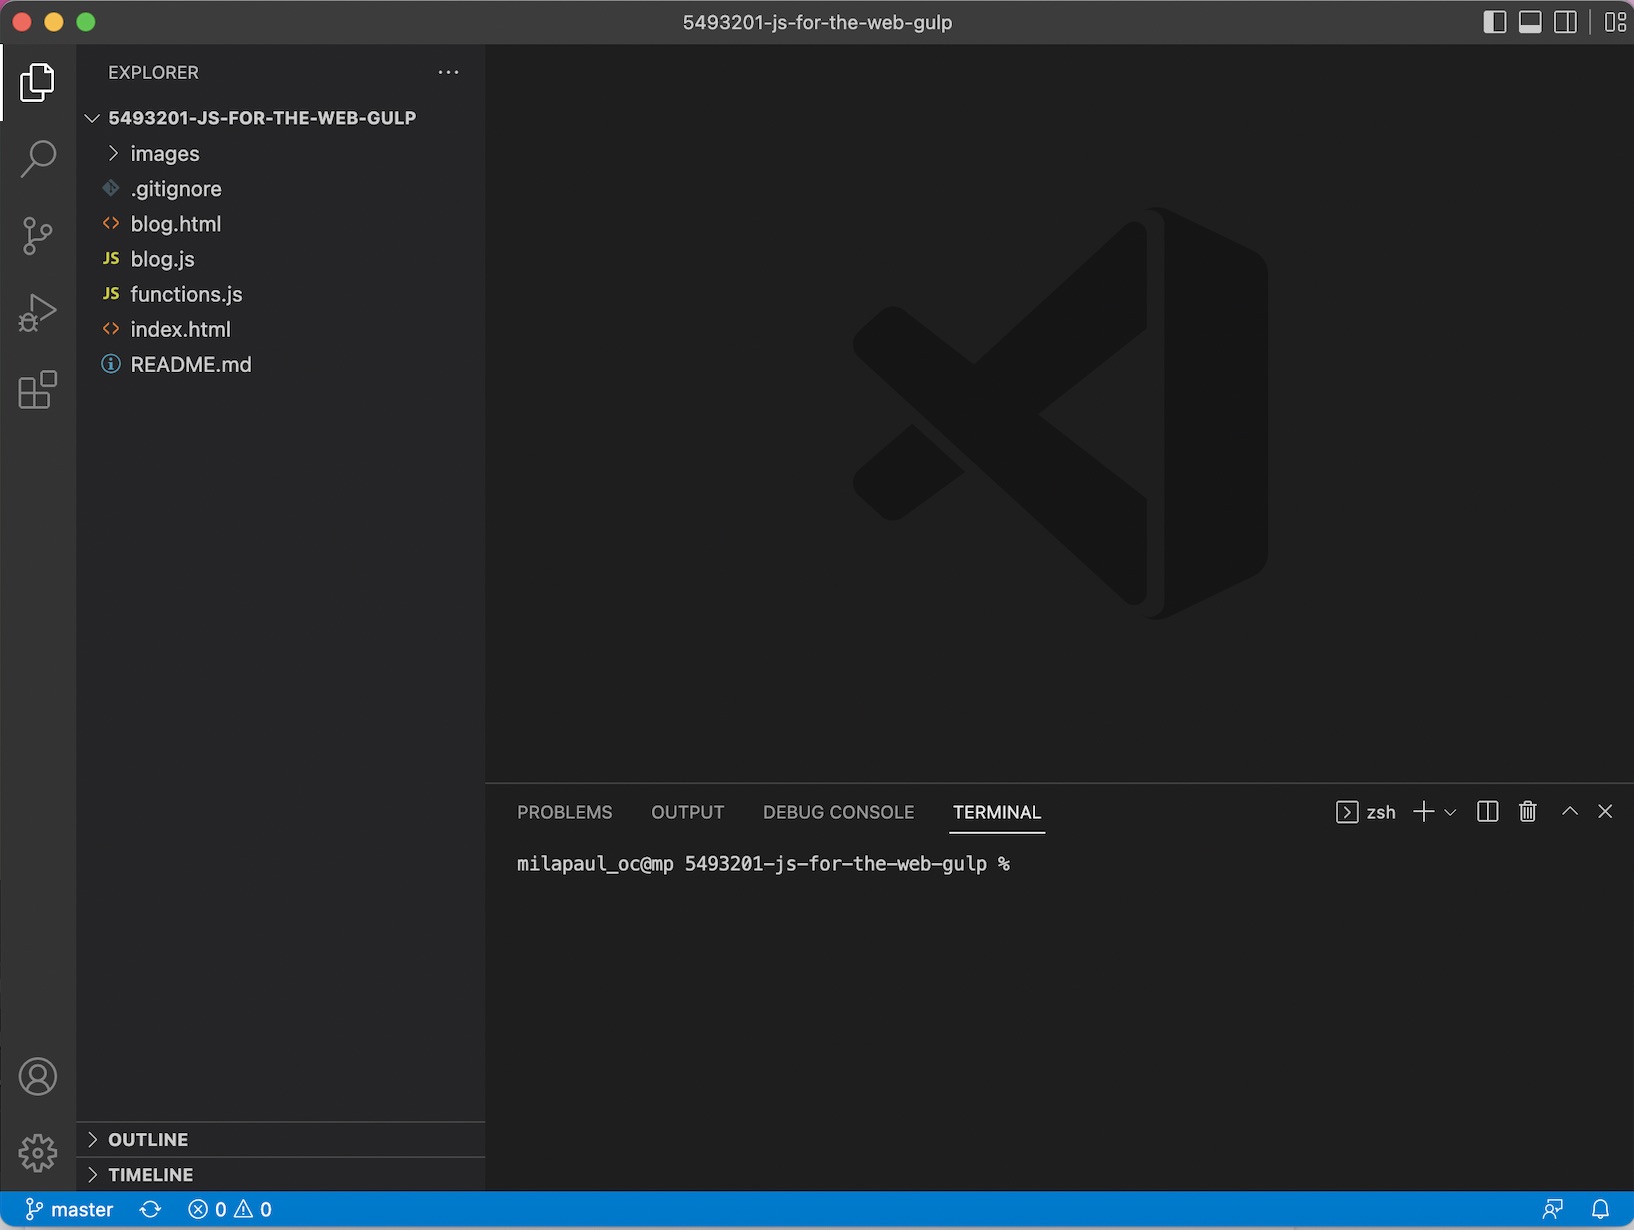
On many occasions, you will need multiple terminals open simultaneously. For example, a development server running in one terminal means you will need another to execute commands.
To meet this requirement, VS Code offers several possibilities: the "New Terminal" button adds a new terminal to the drop-down menu, and the "Split Terminal" button allows you to open multiple tabs side by side:


Use Git

In this screencast, you will discover how VS Code integrates Git functionalities:
As you know, the Git version control system is vital to the world of software development for an individual, a team, or even an entire company. Therefore, VS Code contains all the tools you need to use Git.
Clone a Repo
Let's start by cloning a Git repo. To do so, start by closing any open windows you have, and then open the File Explorer from the top left:
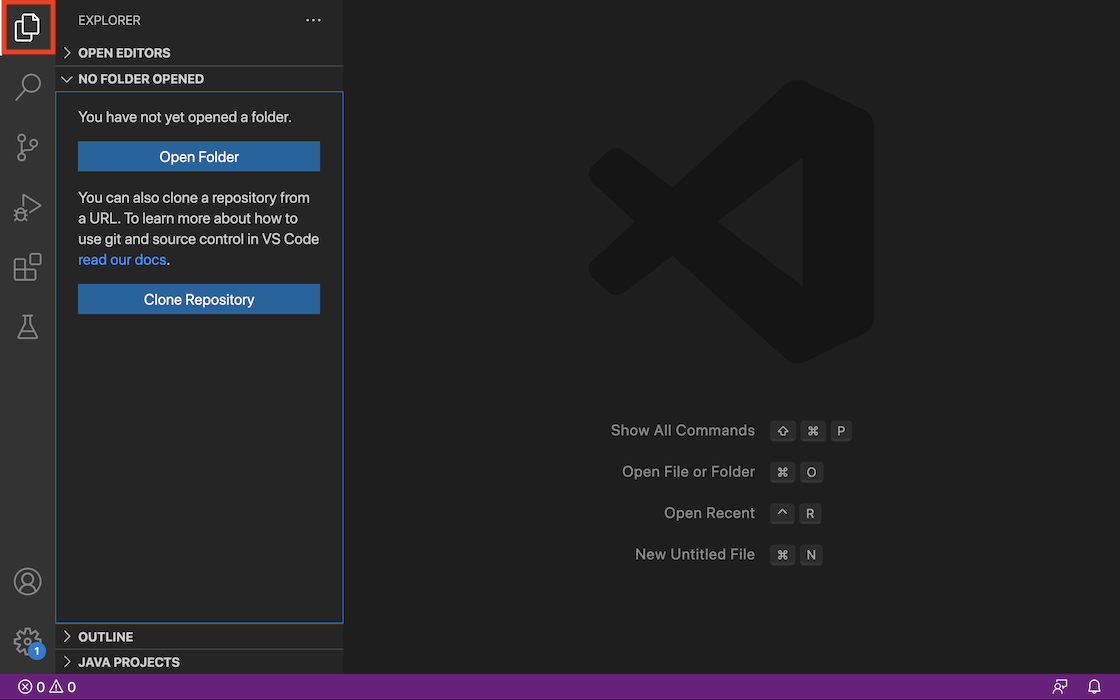
Click "Clone Repository," and paste the URL to the repo we've been using so far:
https://github.com/OpenClassrooms-Student-Center/5493201-js-for-the-web-gulp
Once you confirm the URL, VS Code lets you choose where to clone the repo to, and offers to open the cloned repo for you. Click on Open, and you'll find yourself in the cloned project workspace.
Create a Branch
It's time to get to work on your code, and you want to create a working branch. Open the Git tools on the left-hand side of the window:
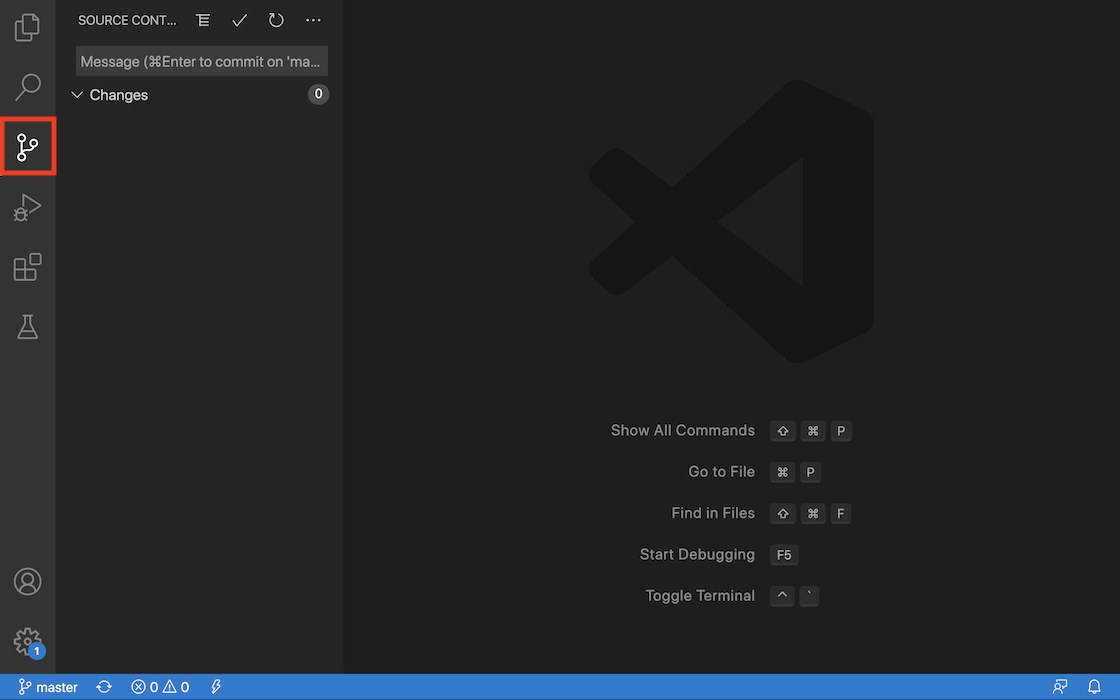
You can then open the … menu and go to Branch -> Create Branch.
Choose a name for your branch and hit Enter. You will see the active branch in the bottom-left corner of the window:

Clicking on the branch name allows you to switch active branches and create a new one.
Commit
Let's change a few things. Open the File Explorer, then open blog.html. Change the name of the blog on line 19 from "Blog" to "Mila's Blog". Next, in functions.js, change the string on line 17 from "Please enter something!" to "Please enter a value!".
Open the Git tools again, and you'll see a summary of your changes. Click on a file to see the exact changes:
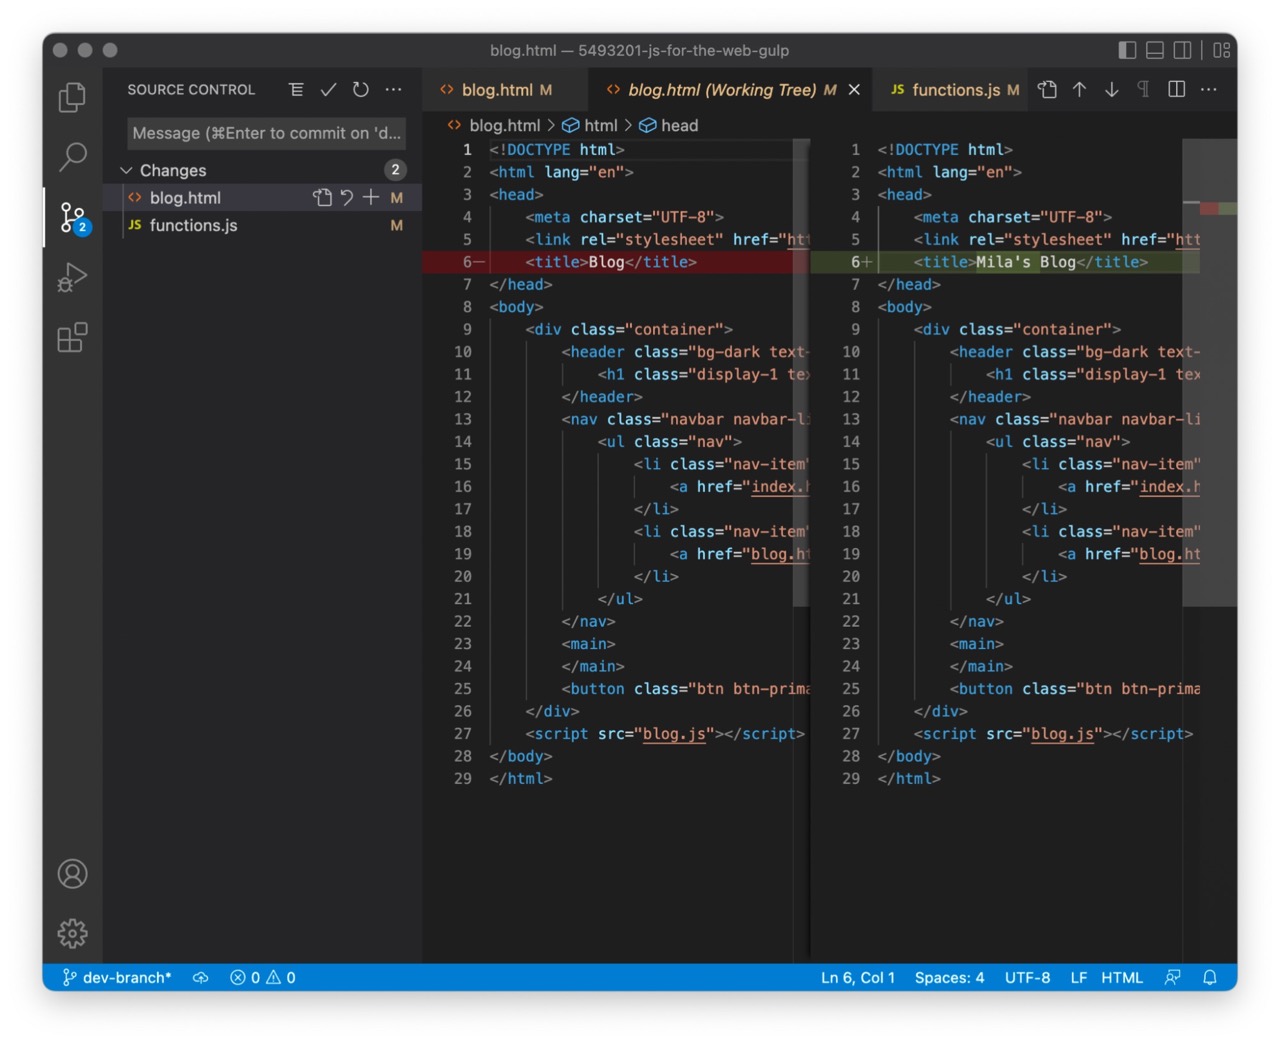
There are several options here, but let's say you want to commit your changes. First, you have to stage them by clicking on the + button on each file. Then all you have to do is add a commit message ("Changed verbage," for example) and hit Ctrl+Enter on PC, or Cmd+Enter on Mac, to commit your changes.
Git tools has every Git command you could need (and the Command Palette, of course!), so don't hesitate to try them out with your own repos.
Make the Most of VS Code With Extensions

To customize your VS Code installation even further, you can install plugins or extensions. These plugins add new features and tools to VS Code.
You can browse the full range of available extensions at https://marketplace.visualstudio.com, but here are a couple of personal suggestions:
Color Picker — allows you to use a color wheel to generate color codes, making working with colors in your apps much easier.
Open in browser — adds the option to open a file directly in your default browser, making testing your sites and apps a piece of cake.
To install an extension, click on the Extensions button on the far left, and type in the name of the extension you want to install:
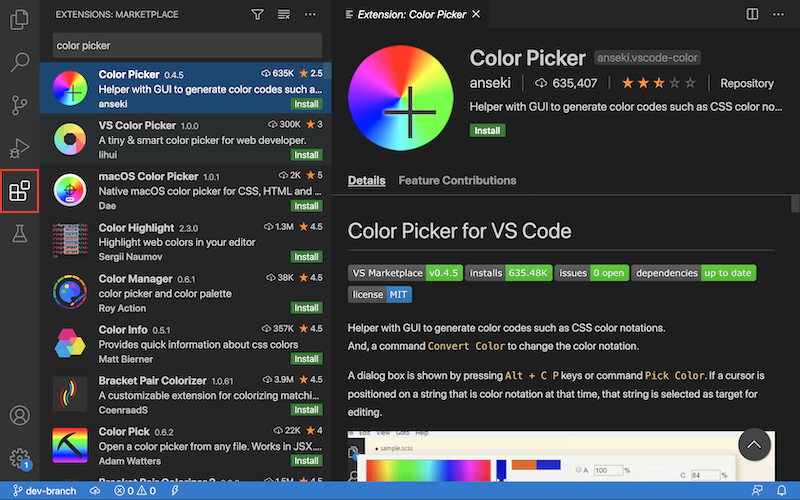
When you click on an extension, you open its description, and to install one, click on its Install button!
Discover additional VS Code extensions

To help you on your way, here are some suggestions for VS Code extensions you might want to try out:
Live Share - collaborate with others in real time, working on the same files simultaneously, allowing for easy long-distance pair programming
GitLens - supercharge VS Code's built-in Git functionality
Stories - like Instagram stories, but for code!
Search Hero - all developers use internet search for answers, so Search Hero builds in multi-search engine search and translation tools
Of course, you can always head over to the Visual Studio Marketplace and browse!
Let's Recap!
In this chapter you have explored the additional features of VS Code :
You have seen the different possibilities of the integrated terminal.
You interacted with Git repositories.
You have installed your first extensions.
Of course, you will continue to learn more about this tool throughout both your studies and your career, and you will discover more advanced features, but it's already a great start!
In the next chapter, you will learn how to test your code with the developer tools (devtools) Chrome and Firefox!
