Generalize an Image of Windows 10
 Now it’s time to practice what you've learned by using Sysprep to generalize a Windows installation. Once the image is copied to a disk, you’ll have a simple and effective means for deploying Windows.
Prepare the Image with Sysprep
Before loading the image onto a disk and installing it on other workstations, you first must prepare the image, which is where Sysprep comes in.
This operation involves five steps:
Put Windows in audit mode, which is a special type of start-up used by Sysprep.
Once you’re in audit mode, install the software and drivers included in your installations. These additions will be included when you create your image.
Generate an XML-formatted answer file.
Launch Sysprep so that it can generalize your system and generate an ISO image.
Copy your image onto a DVD or USB drive. You can then use this as an installation file for all other workstations.
I will be doing my demonstration on VMWare Fusion, but it is possible to prepare an image using another piece of virtualization software (e.g., VirtualBox, Parallels) or on a physical computer (as you may have done in your company). For this, I’ll be using two partitions: one to install Windows and the other to copy the image that has been created.
Command 1 for screencast - c:\Windows\System32\sysprep\sysprep.exe /audit
Command 2 for screencast - .\adksetup.exe /quiet /installpath e:\ADK /features OptionID.DeploymentTools
Put Windows 10 on Audit Mode
To do this, start a Windows installation on your computer.
I recommend you have two hard drive partitions: one to install Windows and the other to copy the Windows installation into image form.
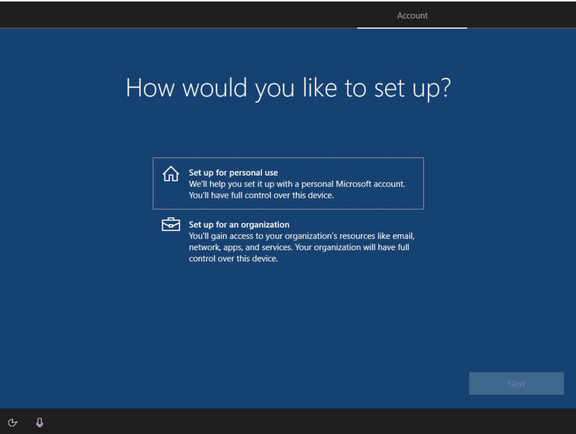
When you reach this screen, press Ctrl+Shift+F3.
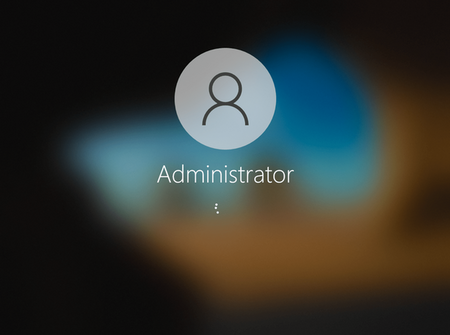
Windows will then restart in audit mode, using the built-in admin account.
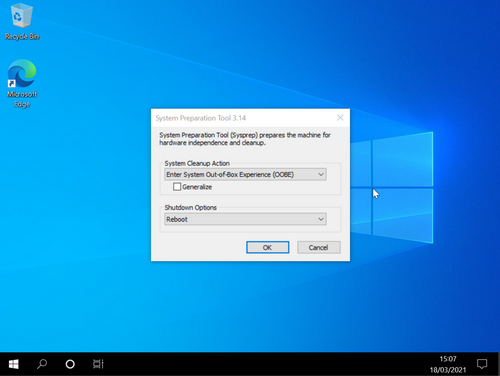
Sysprep’s graphic mode will start up automatically but click cancel as we will use the command line method instead.
At this point, you can install all the required applications such as Firefox, Notepad++, etc. You can also personalize Windows (by creating a work folder).
To create the image you will use as your model, Sysprep needs an XML file known as an answer file.
Generate the Answer File
This is the most complex part of this installation. You need to create an XML answer file, which Sysprep will use. Be aware that it will use whatever is defined in this XML file.
What information is included in the XML file?
Mainly the data you fill in when installing Windows, such as the keyboard method, language, etc. Filling in all this information takes precious time so having as much as possible already defined in the answer file means saving time with each installation.
The structure of the answer file is quite complex, and if you make even a small mistake, Sysprep won’t work. But luckily, Microsoft has all bases covered.
Download Windows ADK
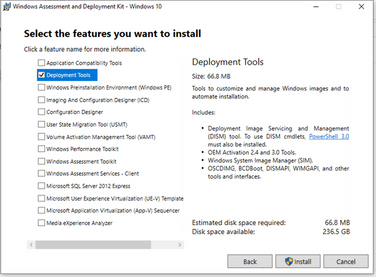
Launch Microsoft Edge and search “download and install the Windows ADK.” The correct result takes you to the page displayed below. From there, download the latest version of Windows ADK for Windows 10, and when complete, launch the Windows ADK installer.

Specify the location for the installation and then click Next.
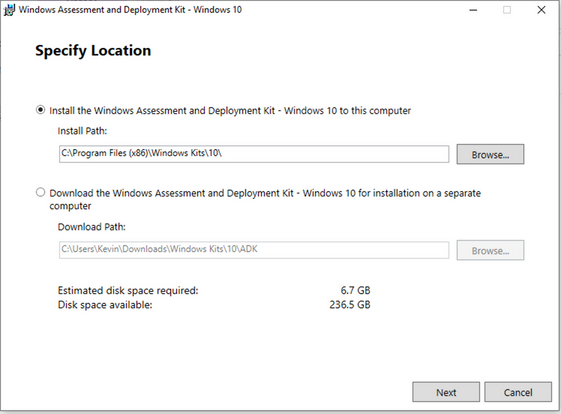
Only install the Deployment Tools.
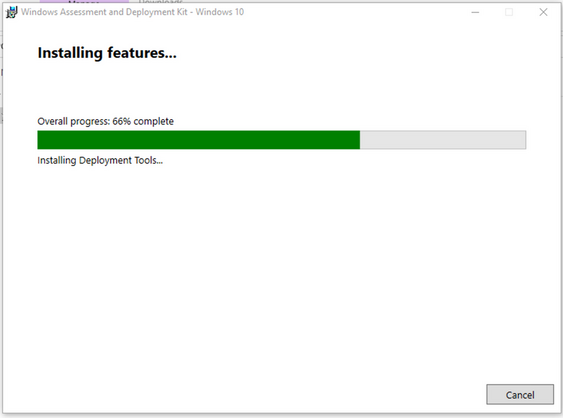
The application uses an ISO image of Windows 10 to create the answer file. You should already have access to this as you are currently installing Windows. Check out the screencast and text below to guide you through the next steps.
Command 1 for screencast -DISM /Get-WimInfo /WimFile:install.esd
Command 2 for screencast - DISM /Export-Image /SourceImageFile:install.esd /SourceIndex:6 /DestinationImageFile:install.wim /Compress:Max /CheckIntegrity
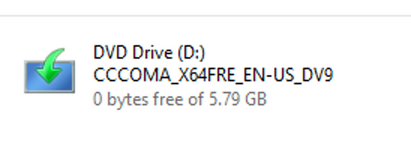
This ISO image is located in the installation DVD:
D:\Source\install.esd
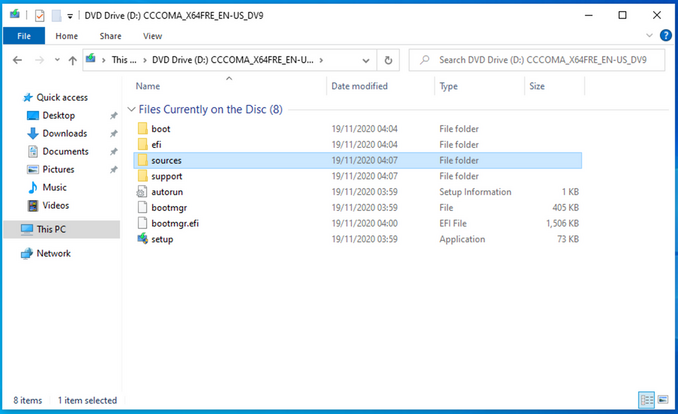
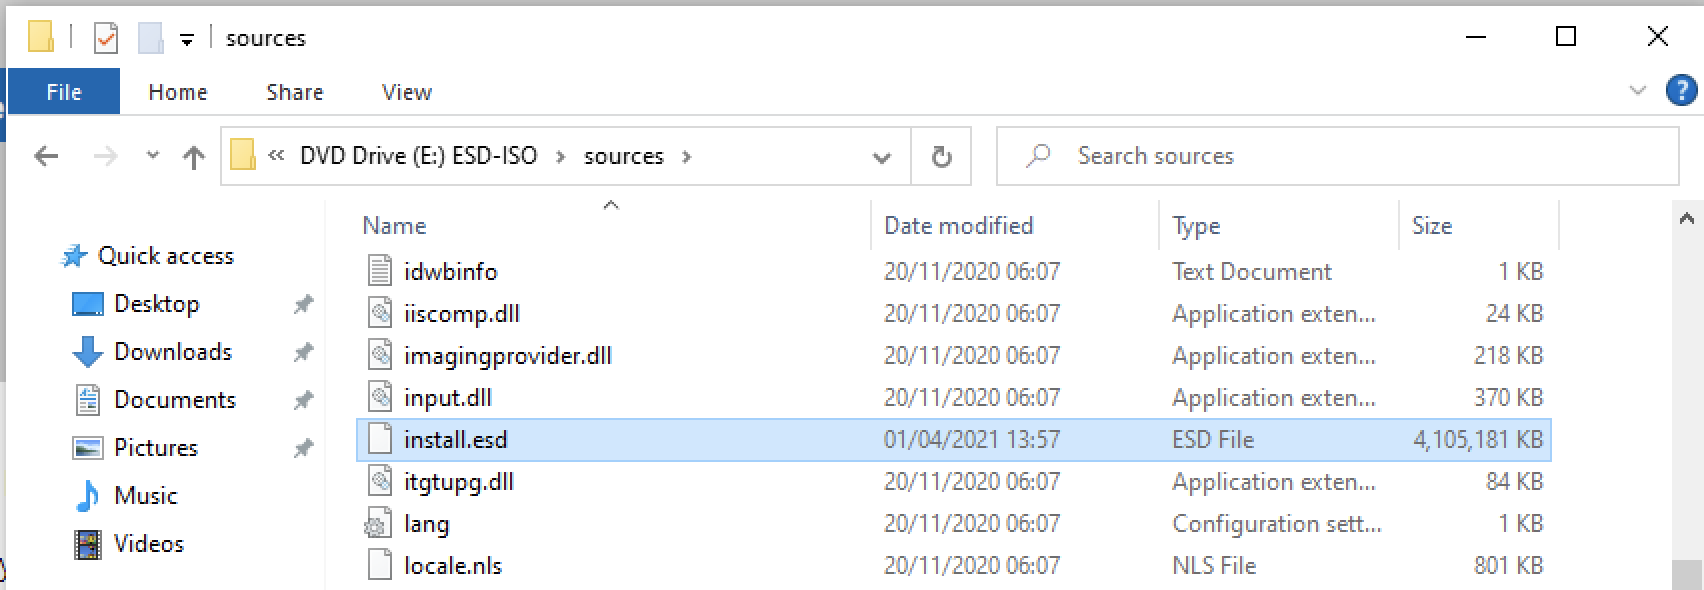
Copy it into your Sysprep folder:
C:\Windows\System32\Sysprep
This image is an encrypted and compressed ESD file. You will need to convert it into a WIM file to use it.
Generate an install.wim File
To generate a WIM file, open PowerShell in administrator mode and enter the following command:
cd C:\Windows\System32\Sysprep
dism /Get-WimInfo /WimFile:install.esd
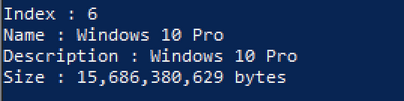
This command provides you with a list of the current Windows editions in the installation file and their file index. Here, you can see Windows 10 Pro edition, and the index is 6.
Next, type in the following command, entering the index number that you wish to select.
dism /Export-Image /SourceImageFile:install.esd /SourceIndex:6 /DestinationImageFile:install.wim /Compress:Max /CheckIntegrity

Be patient while the install.wim file is being created! A typical image export takes between 20-25 minutes.
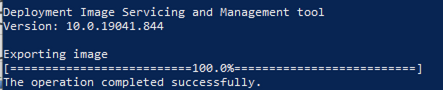
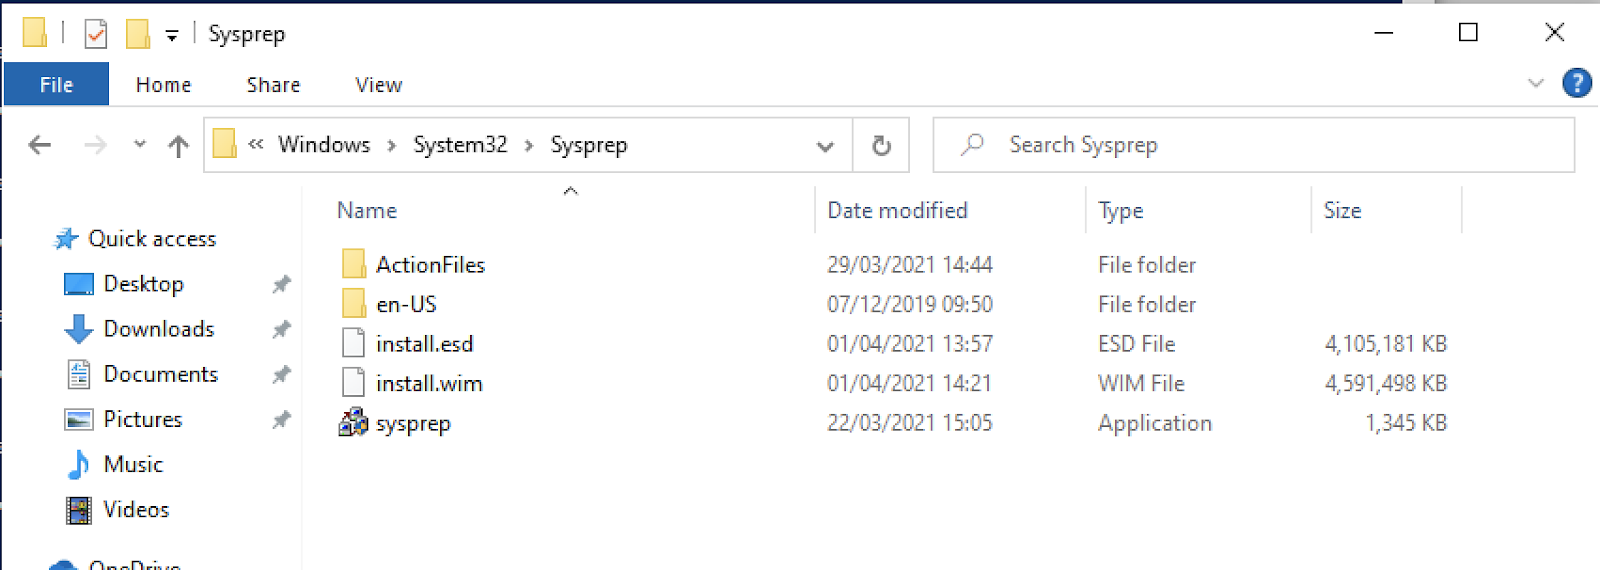
Once this process is complete, your install.wim image will appear in the folder.
Launch the Application
Launch the installation assistant. You can find it by typing Windows System Image Manager in Cortana.
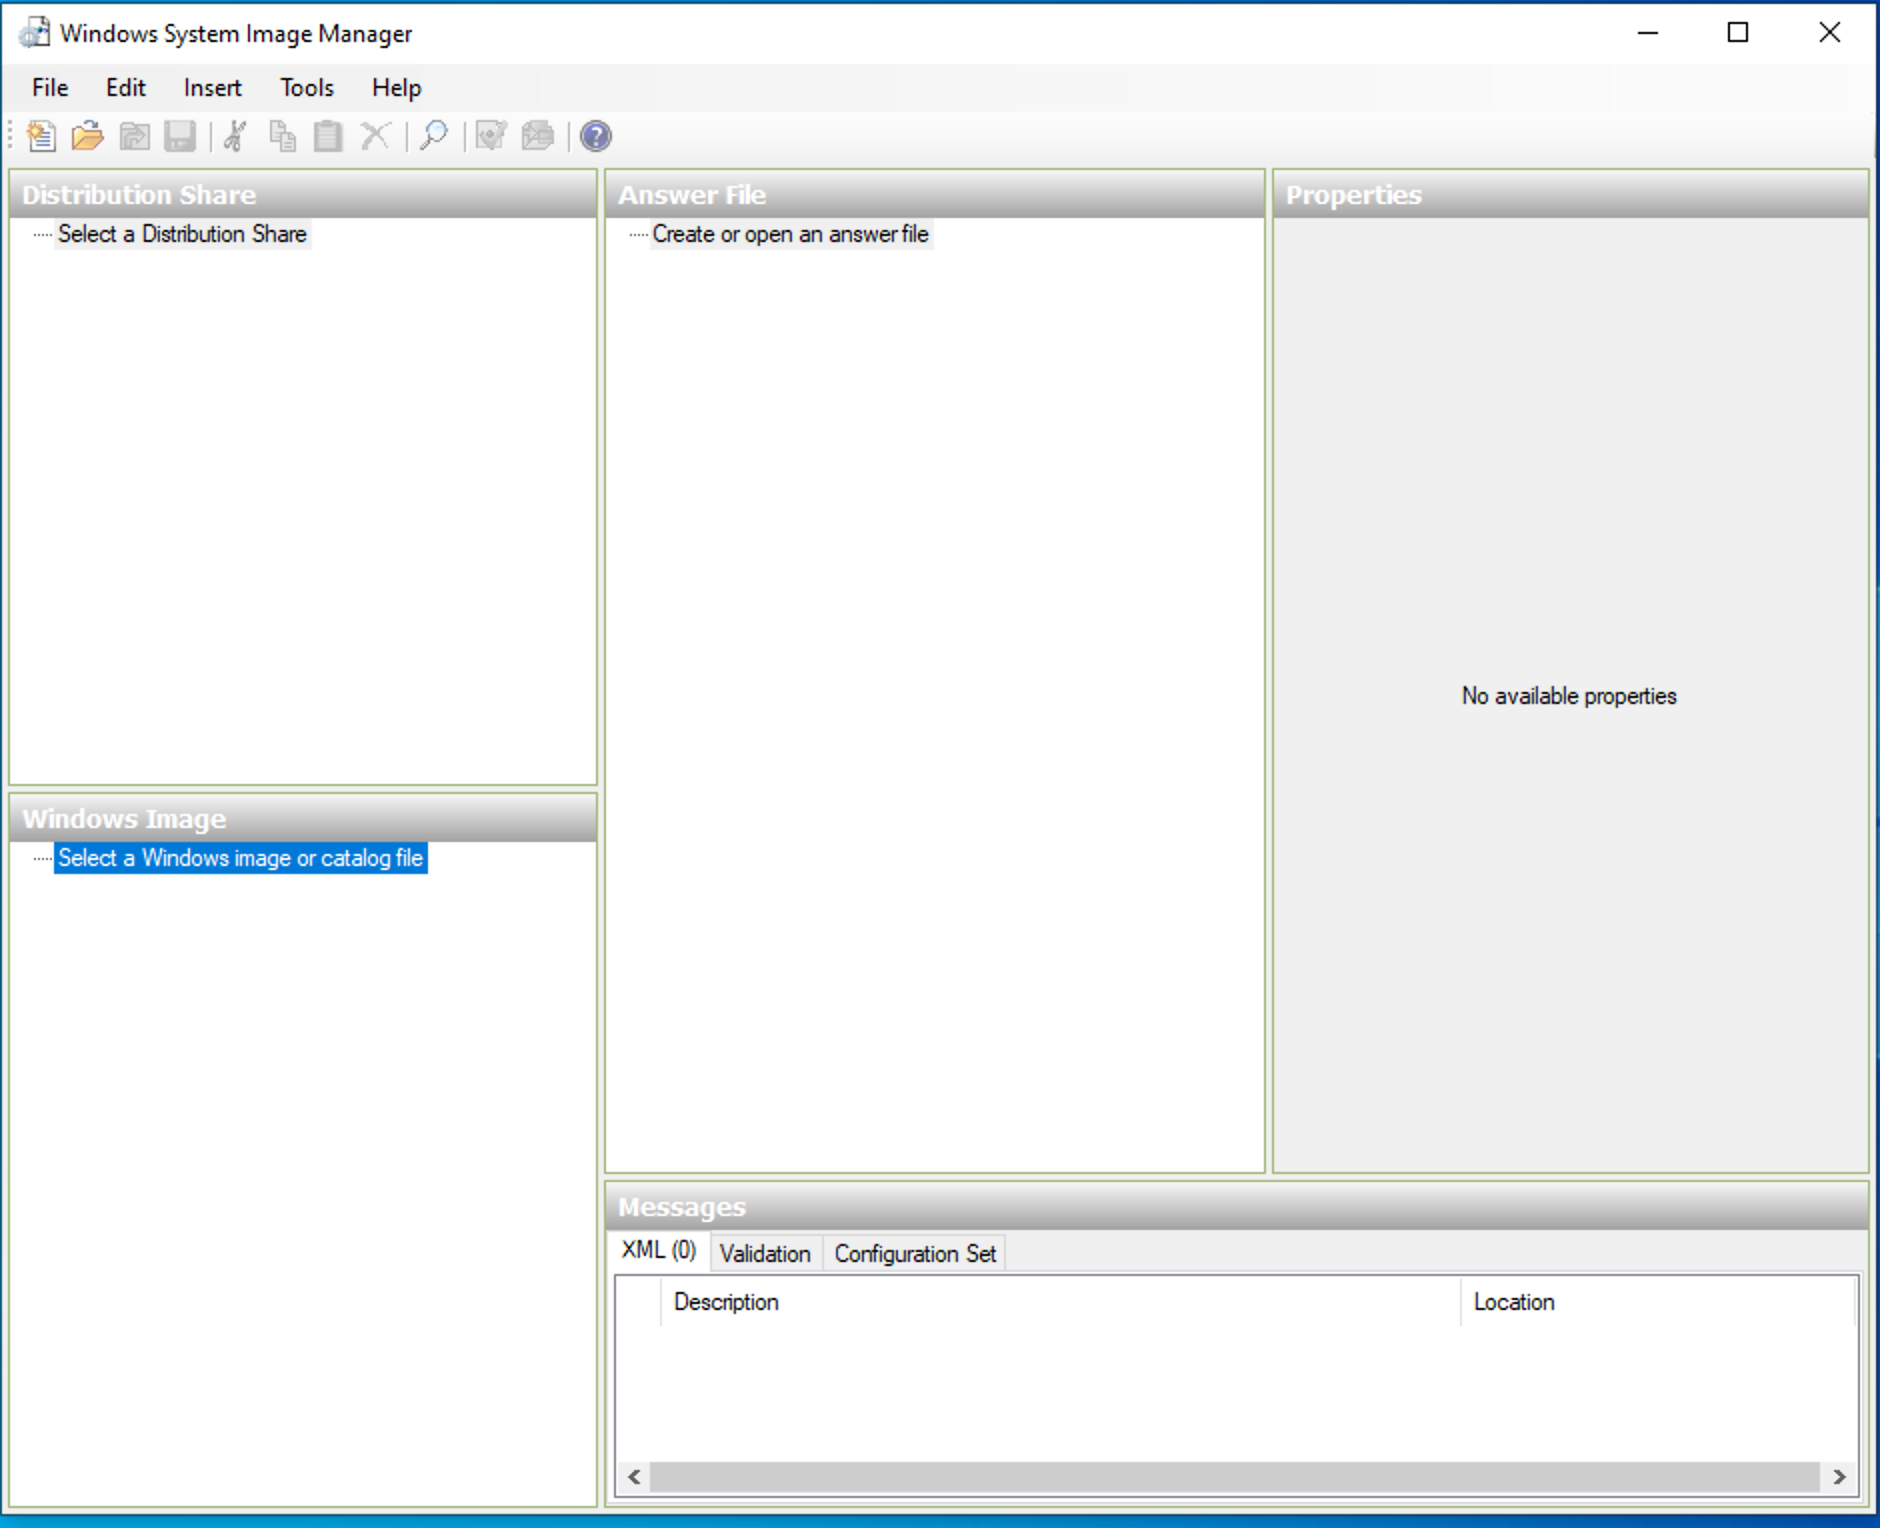
Click on File and then Select Windows image and select the image you created.

If the application asks you if you want to create a catalog file, click Yes.
You can finally create your answer file.
Create an Answer File
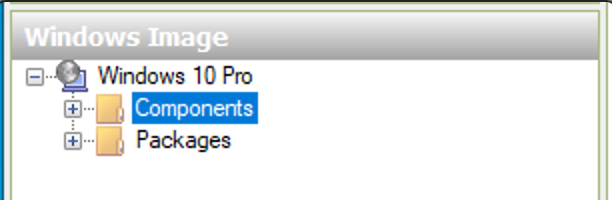
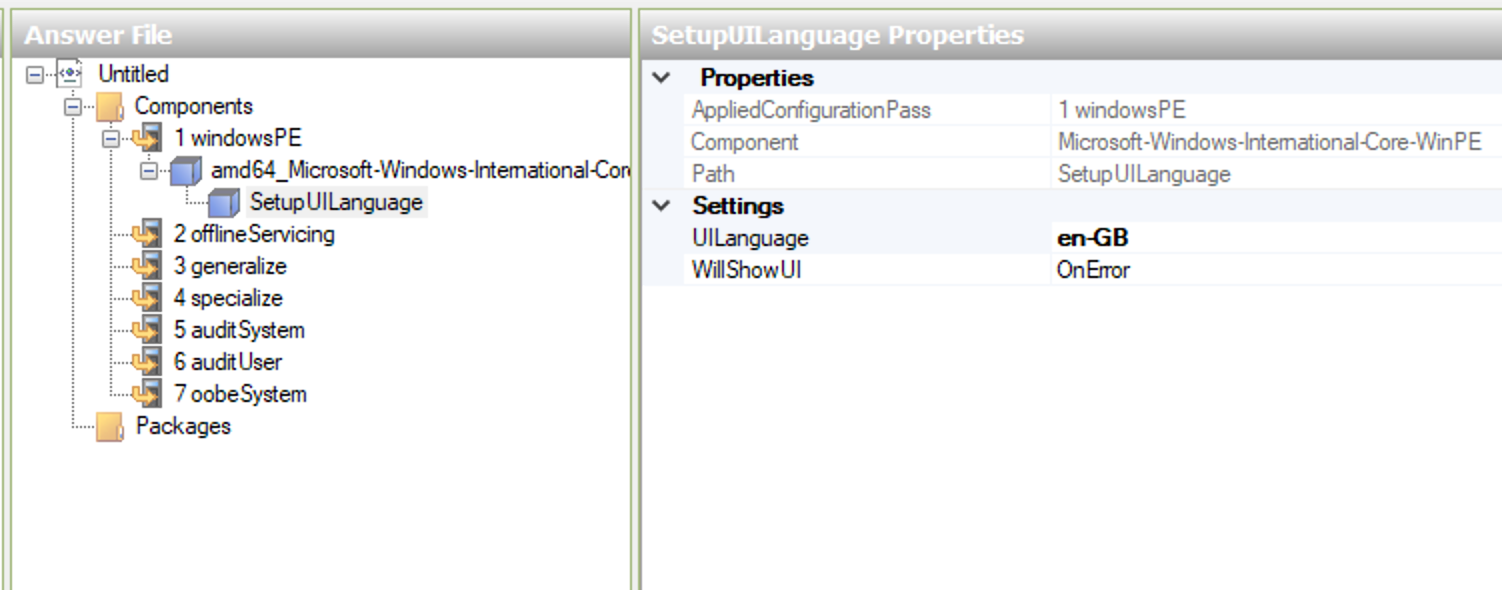
An answer file is divided into seven components which you will find in the Components folder.
You’re interested in the first part, where you set up the language, the keyboard, the hard disks, etc.
In Windows Image > Components select “amd64_Microsoft-Windows-International-Core-WinPE_XXX”.
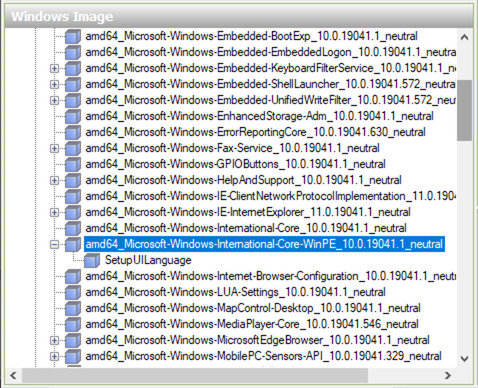
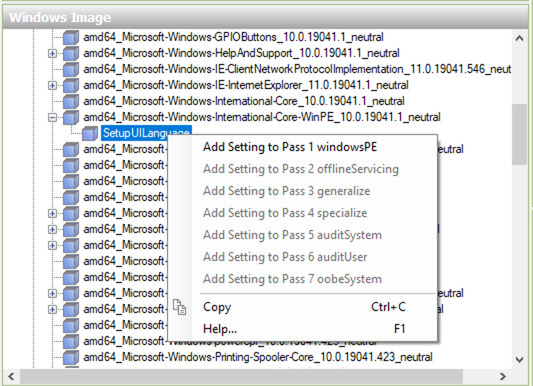
Right-click on SetupUILanguage and select Add Setting to Pass 1 windowsPE.
Add your preferred language. The list of language packs is available here: https://docs.microsoft.com/en-us/windows-hardware/manufacture/desktop/default-input-locales-for-windows-language-packs.
Click on SetupUILanguage and complete the UILanguage field. This field defines the language of the installation process.
These are not the only possible settings. You can add details for everything you go through during an installation. Read this page to find out more:
https://docs.microsoft.com/en-us/windows-hardware/manufacture/desktop/automate-windows-setup
Validate the Answer File
This step is simple but crucial. At this point, you find out whether or not you have made any mistakes. The small file you just created probably has no errors, and it would be easy to identify them if there were. When you are setting up an entire, more complex answer file in real life, you’ll be pleased to see that your file is valid!
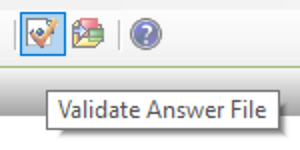
In the toolbar, click on Validate Answer File. Any mistakes appear in the message section in the bottom-right corner.
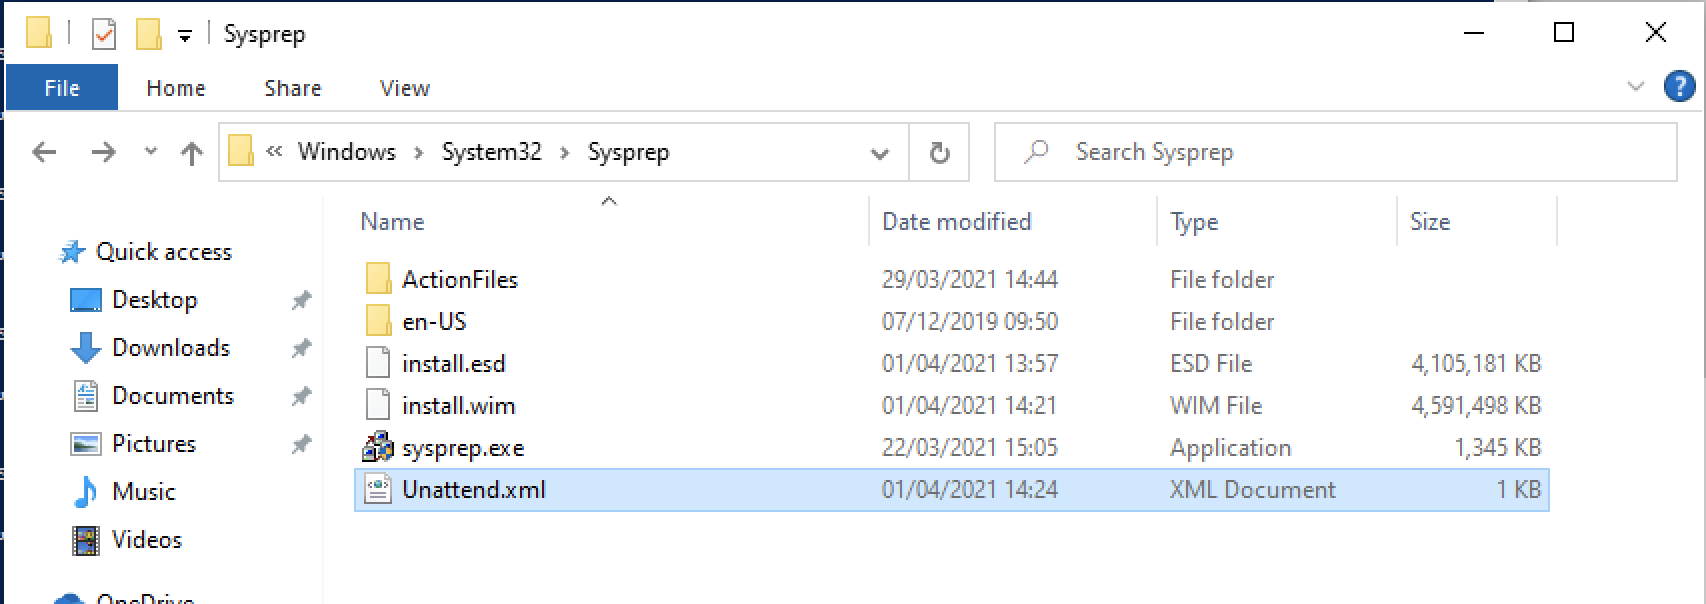
Save Your Answer File
Click on File > Save Answer File As.
Name your answer file unattend.xml (you can choose another name, but Sysprep looks for an XML file with this name by default) and save it in your Sysprep folder.
You’re almost finished! All that’s left to do is to launch Sysprep.
Launch Sysprep
Launch the command line in administrator mode and type in the location of your Sysprep file.
cd c:\windows\system32\sysprep
sysprep /generalize /oobe /shutdown /unattend:unattend.xml
/generalize | Deletes all data that is specific to a computer. |
/oobe | When you next start up Windows, it will open in installation mode, the mode you see when launching a new installation. |
/shutdown | Turns off the computer once the operation is complete. |
/unattend:unattend.xml | To read the answer file. |
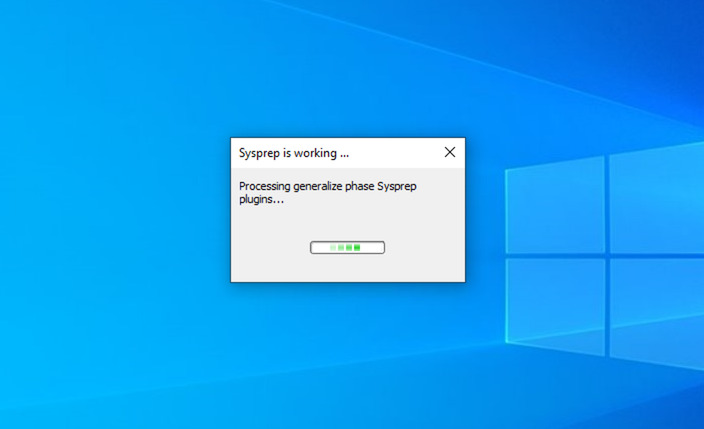
Your computer turns itself off, and your image is ready (well, almost)! You’ve prepared your image by starting Windows in audit mode, installing the programs you need, creating an answer file that enables you to skip certain steps of the Windows installation process, and launching Sysprep.
Let's Recap!
To generalize an image you must start Windows in audit mode.
Customize Windows according to your preferences by adding pieces of software, work folders, etc.
Skip certain steps of the Windows installation process by creating an XML-format answer file.
Launch Sysprep to generalize the image.
To start Windows in audit mode, press Ctrl+Shift+F3 when the screen gives you a choice of set up or by typing C:\Windows\System32\sysprep\sysprep.exe /audit, at any time, into a command line.
To create an answer file you must download Windows ADK.
You will have to launch Sysprep in your command lines and type:
sysprep /generalize /oobe /shutdown /unattend:unattend.xml.At the end of the procedure the computer will automatically turnoff and prepare your image.
You now need to copy your files onto an installation media, which is the focus of the final chapter. Let's finish our process in the next chapter!
