Create an Image Upload Facility

Add the Blog and Photo Models
Our final goal is to build a feed that will contain blog posts and photos from creators that a user has subscribed to.
However, before we can do that, we need to:
Add the models to hold these photo and blog posts.
Provide users with the means to create the posts.
First, let's look at the models. All our changes are now concerning the blog app, so let's add this to blog/models.py .
# blog/models.py
from django.conf import settings
from django.db import models


class Photo(models.Model):
    image = models.ImageField()
    caption = models.CharField(max_length=128, blank=True)
    uploader = models.ForeignKey(settings.AUTH_USER_MODEL, on_delete=models.CASCADE)
    date_created = models.DateTimeField(auto_now_add=True)


class Blog(models.Model):
    photo = models.ForeignKey(Photo, null=True, on_delete=models.SET_NULL, blank=True)
    title = models.CharField(max_length=128)
    content = models.CharField(max_length=5000)
    author = models.ForeignKey(settings.AUTH_USER_MODEL, on_delete=models.CASCADE)
    date_created = models.DateTimeField(auto_now_add=True)
    starred = models.BooleanField(default=False)
As you can see, blog posts can be optionally linked to a photo by the ForeignKey relationship. The Photo model contains an image stored in the ImageField .
Let’s make and run the migrations.
(ENV) ~/fotoblog (master)
→ python manage.py makemigrations
Migrations for 'blog':
  blog/migrations/0001_initial.py
    - Create model Photo
    - Create model Blog

(ENV) ~/fotoblog (master)
→ python manage.py migrate
Operations to perform:
  Apply all migrations: admin, auth, authentication, blog, contenttypes, sessions
Running migrations:
  Applying blog.0001_initial... OK
OK, now that the models are configured, let’s look at handling user-uploaded images in Django.
Upload Images Using a Form
Before uploading images to Django, you need to configure where to store the media content. In this instance, media content refers to files and images that are user-uploaded.
Step 1: Configure settings.py
To do this, you must configure two values in settings.py .
First, the MEDIA_URL , which is the URL from which Django will attempt to serve media. In some cases, this could be a full URL to another host if you are using a third-party service to serve your media.
For this class, you're going to serve the images locally, so you can provide a path that points to your localhost server.
The second setting to configure is the MEDIA_ROOT . It points to the directory on your machine where Django should save uploaded images.
The configuration to add is:
# fotoblog/settings.py
MEDIA_URL = '/media/'
MEDIA_ROOT = BASE_DIR.join_path('media/')
Step 2: Add the Media to the URL Patterns
Now you need to update your URL patterns so that the uploaded media is accessible via a URL.
To do this, add:
# fotoblog/urls.py
from django.conf import settings
from django.conf.urls.static import static

urlpatterns = [
    ...
    ]
if settings.DEBUG:
    urlpatterns += static(
        settings.MEDIA_URL, document_root=settings.MEDIA_ROOT)
Now the images in your MEDIA_ROOT directory will be served at the path given by MEDIA_URL .
Step 3: Create a Form That Can Handle Image Uploads
Now that the settings are configured, let’s add a form for uploading photos.
It’s really simple to do this: you can use a ModelForm , and Django will handle the file transfer and save it to the file system for you.
Let’s create a forms.py file in blog/ and add the following:
# blog/forms.py
from django import forms

from . import models

class PhotoForm(forms.ModelForm):
    class Meta:
        model = models.Photo
        fields = ['image', 'caption']
Step 4: Build the View to Handle Image Uploads
Now let’s add the view. Usually, you only populate a form with the request.POST object, but as you are transferring an image, you also have to provide it with any files sent with the request. Do this by giving the argument request.FILES .
We want to set the uploader field on the Photo to the user currently logged in. You can create the Photo object without saving it to the database by saving the form with the argument commit=False . Then set uploader to the correct value, and finally save the model to store it in the database.
# blog/views.py
from django.shortcuts import redirect, render

from . import forms

@login_required
def photo_upload(request):
    form = forms.PhotoForm()
    if request.method == 'POST':
        form = forms.PhotoForm(request.POST, request.FILES)
        if form.is_valid():
            photo = form.save(commit=False)
            # set the uploader to the user before saving the model
            photo.uploader = request.user
            # now we can save
            photo.save()
            return redirect('home')
    return render(request, 'blog/photo_upload.html', context={'form': form})
Uploading the image is easy as the ModelForm does all the heavy lifting!
Step 5: Add the Template
Let’s add the template.
# blog/templates/blog/photo_upload.html
{% extends 'base.html' %}
{% block content %}
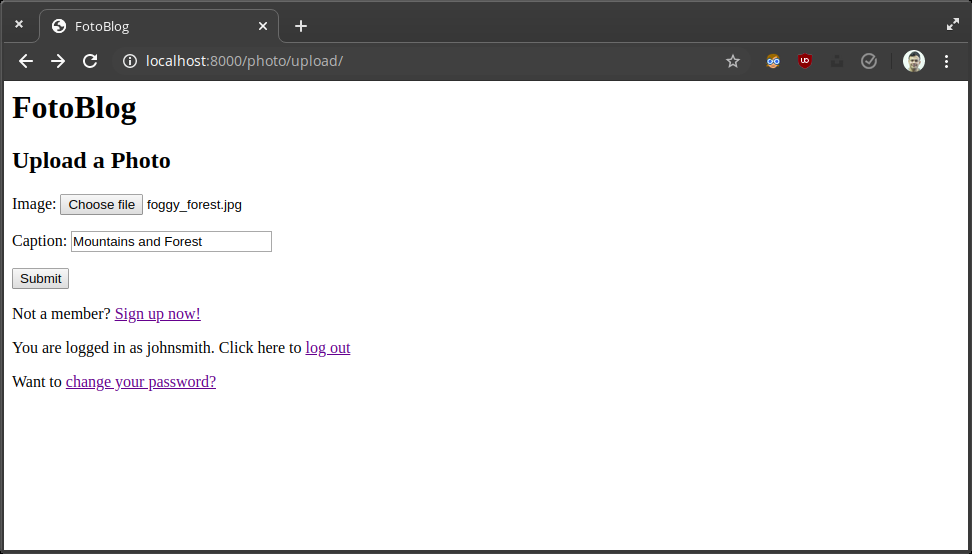
<h2>Upload a Photo</h2>
<form method="post" enctype="multipart/form-data">
{{ form.as_p }}
{% csrf_token %}
<button type="submit" >Submit</button>
</form>
{% endblock content %}Note how you add the attribute enctype="multipart/form-data" to the <form> tag. This is required for the form to handle file uploads.
Step 6: Update the URL Patterns
Now add the view to the URL patterns.
# fotoblog/urls.py
import blog.views

urlpatterns = [
    ...
    path('photo/upload/', blog.views.photo_upload, name='photo_upload')
]
Step 7: Create a Feed
To see the uploaded photos, you need to fetch them in the view. Refactor the home view to do this.
# blog/views.py
from . import models

@login_required
def home(request):
    photos = models.Photo.objects.all()
    return render(request, 'blog/home.html', context={'photos': photos})
Then update the template. You can get the path of the photo from the url property on the image field. The url property gets constructed from the MEDIA_URL setting configured earlier.
# blog/templates/blog/home.html
{% extends 'base.html' %}
{% block content %}
    <h2>Photos</h2>
    {% for photo in photos %}
        <img src="{{ photo.image.url }}">
        <p>{{ photo.caption }}</p>
    {% endfor %}
{% endblock content %}
Great! Now let’s test the new functionality.
First, upload a new photo.
Then check the feed.
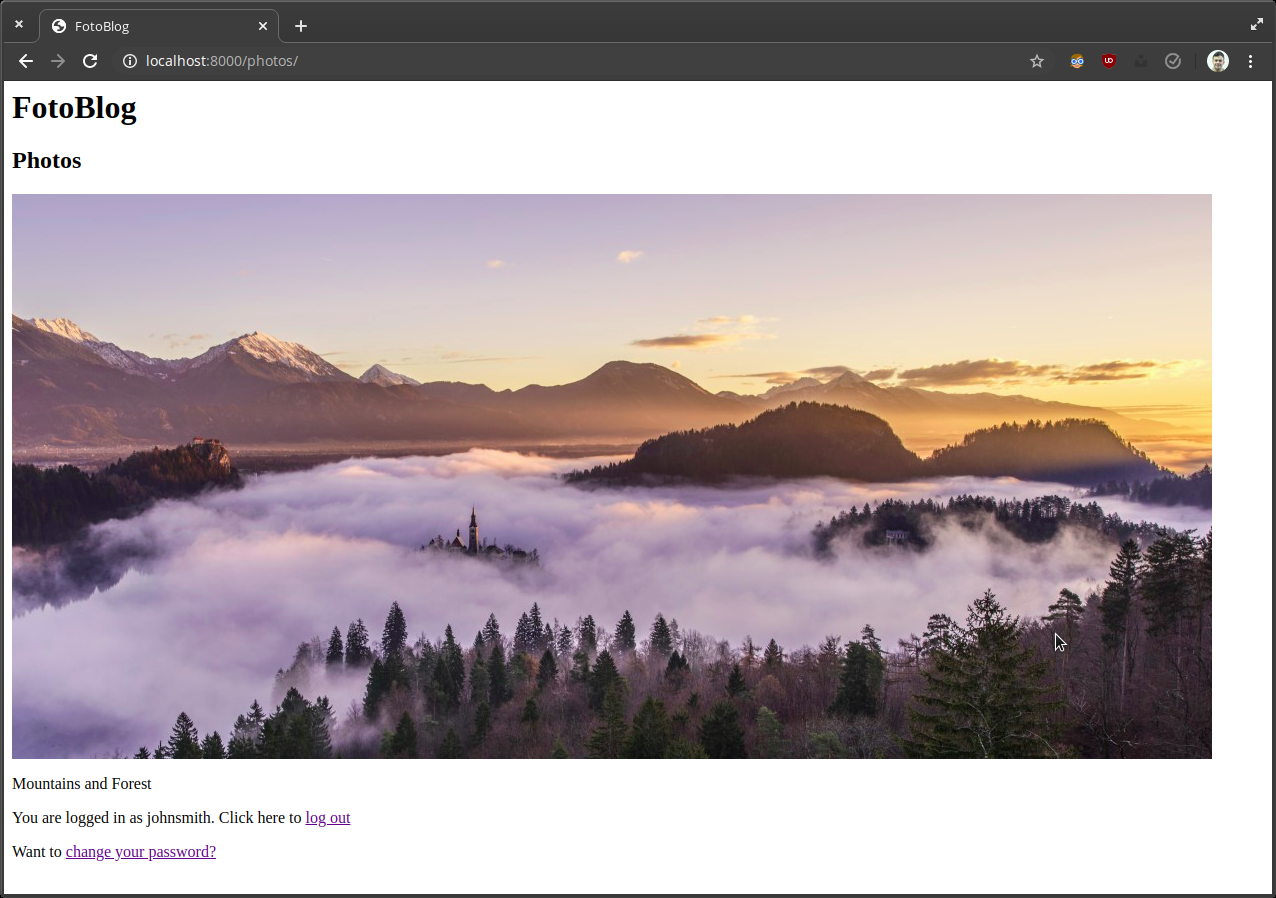
Success! Users can now upload their photos and you can see them in the feed.
Next, you are going to add functionality that allows a user to update their profile photo.
Exercise: Upload a Profile Photo
You want to allow users to upload and display profile photos.
To do this, you are going to build a profile photo upload facility.
We have built out an updated version of the site, complete with some styling. Let’s see what it looks like.
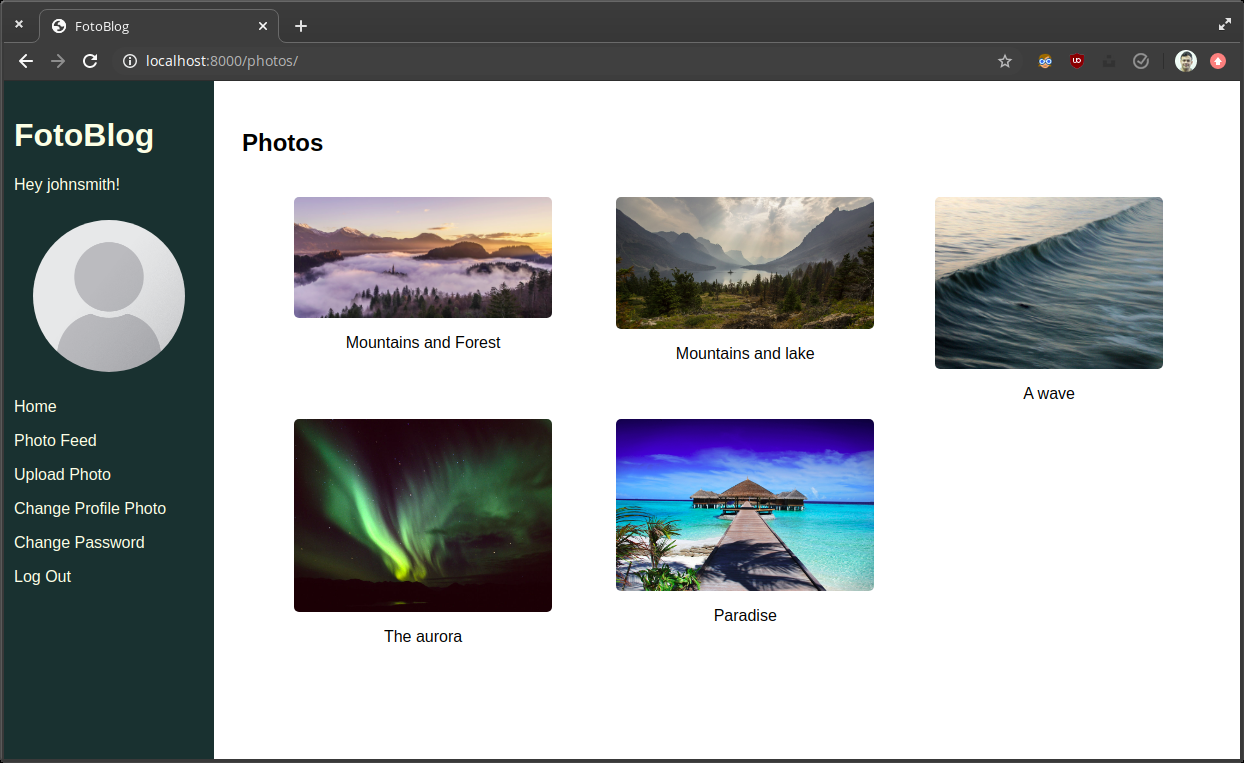
Pretty slick!
The styling is in CSS. If you want, you can take some time to style your site to your own design now. Or pull down from the GitHub repo to include the changes in your site.
You will see that your user profile is now displayed at the left of the page, with the link "Change Profile Photo" below it.
Currently, this link doesn’t do anything. To make it work, you will need to:
Create an
UploadProfilePhotoFormform inauthentication/forms.py- this can be aModelFormforUser.Create a view
upload_profile_photoin theauthenticationapp and configure the view to update the user's profile photo.Create a template for this view and add the view to the URL patterns.
Link to the page from the
Change Profile Photolink.Display the user's profile photo in the user profile if they have uploaded a profile photo; otherwise, display the default profile photo. You can check this with
{% if user.profile_photo %}.
If you get stuck:
Make sure you pass
instance=request.userto yourUploadProfilePhotoFormto update the user logged in.Include
enctype="multipart/form-data">in your<form>tag.Don’t forget to pass
request.FILEStoUploadProfilePhotoFormwhen handling thePOSTdata.
Once you are finished, check your solution against the solution in GitHub.
Let's Recap!
You can define the
MEDIA_xconstants in the settings to dictate where Django will store user-uploaded files.The
ImageFieldallows you to upload images to the server using aModelForm.
Now that you can allow users to upload their own media in a view, you are ready to handle multiple forms on a single page.
