Assign Permissions Using Groups
Restrict Aspects of Site Functionality With Permissions
When developing a site, you will often find that different users need to interact with parts of the site differently. You may need to restrict some functionality to specific users. Use permissions to do this.
For our website, we're going to restrict access for creating, editing, and deleting Photo and Blog models to users with the type CREATOR .
Every model created in Django automatically has four permissions created alongside it. For the Photo model, these are:
blog.add_photo- or more generally<app>.add_<model>blog.change_photo- or<app>.change_<model>blog.delete_photo- or<app>.delete_<model>blog.view_photo- or<app>.view_<model>
Django uses these permissions internally to manage access to the admin site, but you can use them in your code too.
Step 1: Restrict Access in the View
First, let’s look at how to restrict view access based on permissions.
Much like how you use the @login_required decorator to restrict access to users based on whether they have logged in, you can use the @permission_required decorator to limit access based on a permission. In this case, the only difference is that you specify the permission required as an argument to the decorator.
Let’s restrict access to the photo_upload view to users who have the blog.add_photo permission only.
from django.contrib.auth.decorators import login_required, permission_required
@login_required
@permission_required('blog.add_photo', raise_exception=True)
def photo_upload(request):
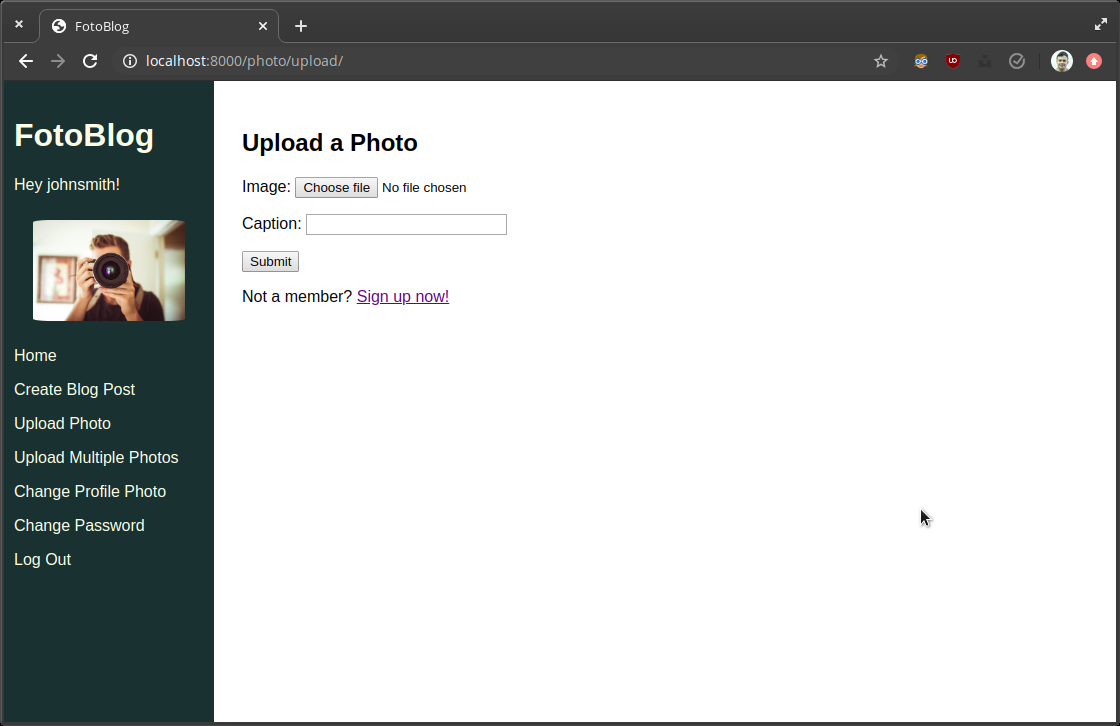
...Now try to access http://localhost:8000/photo/upload while logged in. You will find that you will be returned a 403 forbidden response.
Step 2: Restrict Access in the Template
You can also check whether a user has permissions in a template. You can use this to show or hide content based on their access rights.
Let’s only show the Upload Photo link if a user has the blog.add_photo permission. To do this, use the perms attribute, which is automatically loaded into the template context:
# blog/templates/blog/base.html
…
{% if perms.blog.add_photo %}
    <a href="{% url 'photo_upload' %}">Upload a Photo</a>
{% endif %}
And now, navigate to the homepage.
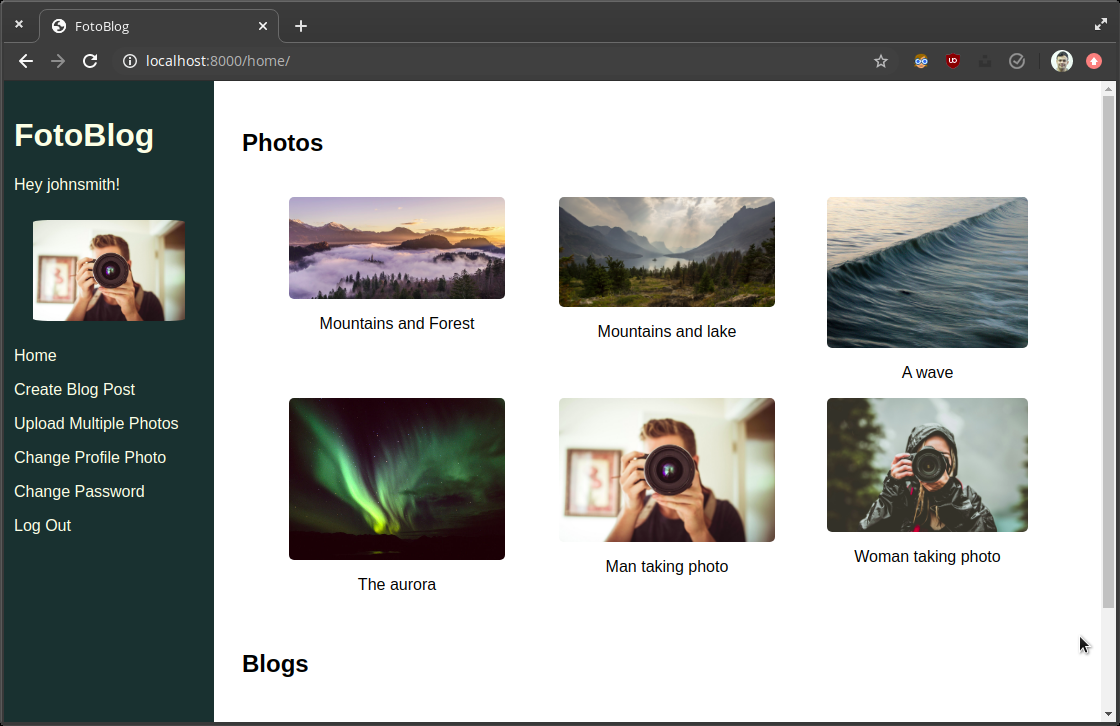
The link is gone.
Access to these pages is now restricted based on permission.
How can I grant these permissions to users?
Programmatically, via the Django shell.
Step 3: Grant Permissions to a User
To add the permissions, you can use the user_permissions.add() method.
>>> from authentication.models import User
>>> user = User.objects.get(username='johnsmith')
>>> from django.contrib.auth.models import Permission
>>> permission = Permission.objects.get(codename='add_photo')
>>> user.user_permissions.add(permission)
If you go back to the site, you should see the Upload Photo link back up, and be able to access the upload photo page.
It works! One user now has the permission. However, it's not a scalable approach if you want to apply it to many users. Using groups solves this problem.
Assign Permissions to Multiple Users With Groups
Now that the site has restricted areas based on permissions, you will need to allow access to different users based on a specification.
To do this, organize users into groups, which is a way of grouping a subset of users. This grouping exists as a table in the database.
For our site, we will have two groups: Creator and Subscriber . We want these groups to be created automatically, so if someone were to pull a copy of this project and set it up on their machine, they would not need to create these groups and assign the appropriate permissions manually.
To do this, we need to write a custom migration.
What is a custom migration?
The migrations you have encountered so far have been related to schema changes in the database and automatically generated by Django.
Custom migrations allow you to manipulate data already in the database or even create new model instances based on specific criteria. They are handy if you have to migrate data to a new data type without losing any information.
As they are migrations, they can be stored in your version control history. They can then be pulled down and run by anyone with access to the project, which allows the application to be reproducible in different environments. They will also be run whenever someone first sets up the project.
First, we will write a custom migration to create the creators and subscribers groups. Second, we will add the users to their appropriate group based on their role attribute.
To create a custom migration, you need to generate an empty one by using the flag --empty and then specifying an app where the migration will be generated, in our case authentication :
python manage.py makemigrations --empty authentication Now, if you look at the migrations directory of the authentication app, you will see a new migration has been generated. Let’s see what it contains.
# Generated by Django 3.2.1 on 2021-04-06 01:35

from django.db import migrations


class Migration(migrations.Migration):

    dependencies = [
        ('authentication', '0001_initial'),
    ]

    operations = [
    ]
The dependencies property lists the migrations that must run before this one is, while the operations is a list of operations the migration will carry out.
To write custom code to execute in the migration, you must write it as a function taking two arguments, apps and schema_editor . You can’t access models directly via imports, so you have to use the apps.get_model() function to retrieve them.
Let’s write a function, create_groups , that will create the groups creators and subscribers , and then assign the existing users in the database to them appropriately using the Group.user_set.add() function.
def create_groups(apps, schema_migration):
    User = apps.get_model('authentication', 'User')
    Group = apps.get_model('auth', 'Group')
    Permission = apps.get_model('auth', 'Permission')

    add_photo = Permission.objects.get(codename='add_photo')
    change_photo = Permission.objects.get(codename='change_photo')
    delete_photo = Permission.objects.get(codename='delete_photo')
    view_photo = Permission.objects.get(codename='view_photo')

    creator_permissions = [
        add_photo,
        change_photo,
        delete_photo,
        view_photo,
    ]

    creators = Group(name='creators')
    creators.save()

creators.permissions.set(creator_permissions)

    subscribers = Group(name='subscribers')
    subscribers.save()
    subscribers.permissions.add(view_photo)

    for user in User.objects.all():
        if user.role == 'CREATOR':
            creators.user_set.add(user)
        if user.role == 'SUBSCRIBER':
            subscribers.user_set.add(user)
Then add the migration to the operations by specifying the function, create_groups as an argument to the class migrations.RunPython .
class Migration(migrations.Migration):

    dependencies = [
        ('authentication', '0001_initial'),
    ]

    operations = [
        migrations.RunPython(create_groups)
    ]
Now run the migration.
(fotoblog) ~/fotoblog (master)
→ python manage.py migrate
Operations to perform:
   Apply all migrations: admin, auth, authentication, blog, contenttypes, sessions
Running migrations:
 Applying authentication.0002_auto_20210406_0135... OK
It looks like it worked!
Feel free to go to your site as a logged in creator. You should see that the Upload Photo functionality is appearing again. Then view the page as a subscriber. You should see that the button has disappeared.
Now that you know how to add these permissions, it’s your turn to build out the rest of the permissions functionality!
Exercise: Complete the Permissions Functionality
Now that you know how to configure the permissions for the Photo Upload functionality, it's time to build out the rest of the permissions.
There are four tasks:
Use the
permission_requireddecorator to restrict access to thecreate_multiple_photos,edit_blog, andblog_and_photo_uploadviews.Use the
permsattribute in a template to optionally display theUpload Multiple Photos,Create Blog, andEdit Bloglinks.Update the
save()method on theUserto add the user to the appropriate group.Create a custom migration to assign the correct permissions for the
Blogmodel to the groups. These will be the same as thePhotopermissions.
If you get stuck or want to check your implementation, you can find a solution in the GitHub repo.
Configure Fine-Grained Access With Custom Permissions
The four default permissions created by Django are useful, but what if you want more fine-grained permissions? For example, you may want a user type to only be able to edit a particular field on a model, such as the title field of the Blog .
To do this, create custom permissions. The easiest way of doing this is to define it as part of the model.
Specify custom permissions by setting the permissions attribute in a Meta class of a model, like so:
class Blog(models.Model):
    ...

    class Meta:
        permissions = [
            ('change_blog_title', 'Can change the title of a blog')
        ]
You can then assign this permission to either groups or users just like the built-in permissions.
Per-object permissions are something that Django does not handle well out of the box. If you need to use permissions in this way, some useful third-party libraries can help. Django Guardian and Rules are two popular solutions to this problem, and you can always check out the Permissions section of Django Packages for other offerings.
Let's Recap!
Django provides four default permissions with every model, which correspond to the four CRUD operations.
You can use the
permission_requireddecorator to restrict access to a view based on a permission.You can assign permissions to users individually or multiple users using groups.
Custom migrations allow you to make customizable changes to the database that are repeatable across different machines.
Custom permissions can be specified in a models
Metaclass.It's best to use a third-party package for per-object permissions.
Now that you can restrict access based on permissions and write custom migrations, you're ready to learn about many-to-many fields.
