Incorporate Style and Assets in Your Project
 In the last chapter, you set up a complete codebase and reused the component from Part 1. It’s now time to add a bit of style. 😎
Style Your App Using classNames
Like in HTML, you can attach attributes to your elements. HTML attributes such as id , href for an <a /> link, and src for an <img /> tag, function as normal in JSX.
However, some words only work in JavaScript, such as class .
In that case, how do we attribute style with a CSS class?
All you need to do is use the className attribute and specify a string. It’s possible to use several classes on one element by placing them one after the other, separated by a space.
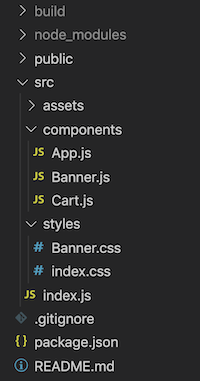
Under /src , we’ll create a /styles folder for CSS files. Let’s drag in index.css , but without forgetting to modify the relevant path to import index.css into index.js .
Below is a Banner.css file, which means the component can now be styled. Files and folders should end up being organized, like in the screenshot below. 👇
In Banner.js , wrap h1 in a div and specify the className jh (“jh” for Jungle House, of course!):
<div className='jh-banner'>
    <h1>Jungle House</h1>
</div>
Back in the Banner.css file, create the corresponding class:
.jh-banner {
    color: black;
    text-align: right;
    padding: 32px;
    border-bottom: solid 3px black;
}
Let’s look at the page in the browser.
What’s going on? Nothing’s happened! 😱
It’s just that the file isn't imported.
Just add Banner.js into the file:
import '../styles/Banner.css'And there you go! The style is applied.
Marvelous, isn’t it?
Hold on – given that we can style components pretty easily with a simple className, what’s stopping us from using a <div> for the header, rather than the <h1>, and then adding the corresponding style (font-weight, font-size)?
Technically, you could. But it’s not good practice. In React, just like in all front-end frameworks and libraries, web accessibility is key to ensuring assistive technology for persons with disabilities can interpret web pages.
Use the Style Attribute
Good news: React elements do accept the style attribute for styling components. Unlike HTML elements that also accept this attribute, you’ll need to pass an object to your element as a parameter. This method is called inline style. See what it looks like in the video below. 👇
This attribute can be useful for quickly testing something, but more advanced use of it is not recommended. It’s better to use the classNames method or other methods, e.g., adding third-party libraries to style your application.
Use Images
Did you spot React’s logo.svg in /src ?
We’re going to do something similar, but let’s start by getting organized.
Create an /assets folder in /src to put the logo.png file , which you can download here.

First, rename the file logo.png .
To import it into your code, do the following in Banner.js :
import logo from ../assets/logo.pngAs you can see, you declare a logo variable to which you assign the image content.
You can then use it within an img element, so for Banner.js , you have:
import logo from '../assets/logo.png'
import '../styles/Banner.css'

function Banner() {
    const title = 'Jungle House'
    return (
        <div className='jh-banner'>
            <img src={logo} alt='Jungle House' className='jh-logo' />
            <h1 className='jh-title'>{title}</h1>
        </div>
    )
}

export default BannerBy adding a bit of CSS (which you can find in the repository), the banner looks just like we wanted, with the cart just below:
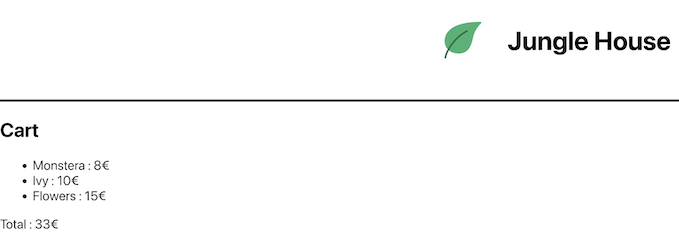
You now have a really solid codebase for creating your app, using style and assets directly within React components. Congratulations! 🥳
Give It a Go!
 Like in the previous chapter, you’ll find the codebase in the GitHub repository, this time on branch P2C2-Begin.
The goal is to add style to your cart. To do this, you must first create a jh-cart class. Your cart should have:
32px padding.
White text.
Background-color #31b572.
You’ll find the solution to the exercise on branch P2C2-Solution.
Let’s Recap!
The className attribute is used to specify a CSS class for a React element.
The corresponding CSS file can be directly imported in a
.jsfile.The
styleattribute allows you to integrate style directly, known as inline style.Images are imported by React using Webpack. You simply have to import the desired image.
You now have the basic structure of your Jungle House app. It’s time to populate it with some data and contextualize a little bit. Luckily enough, that’s what the next chapter is all about!
