Manage User Accounts

In this chapter, you’ll discover an important aspect of computer administration: user accounts and the permissions attached to these. These accounts and associated permissions exist for several reasons:
To differentiate administrator permissions, only the administrator can change the operating system settings and the permissions of other users.
To separate each user’s space when several users are sharing the same computer.
To define who has the right to view and edit files when folders are shared on the network.
List the Users on Your Computer
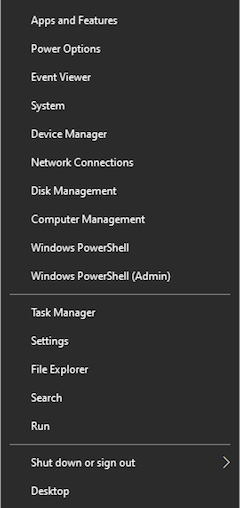
To see the number of users on your computer, right-click on the Windows Start menu and click on “Computer Management”.
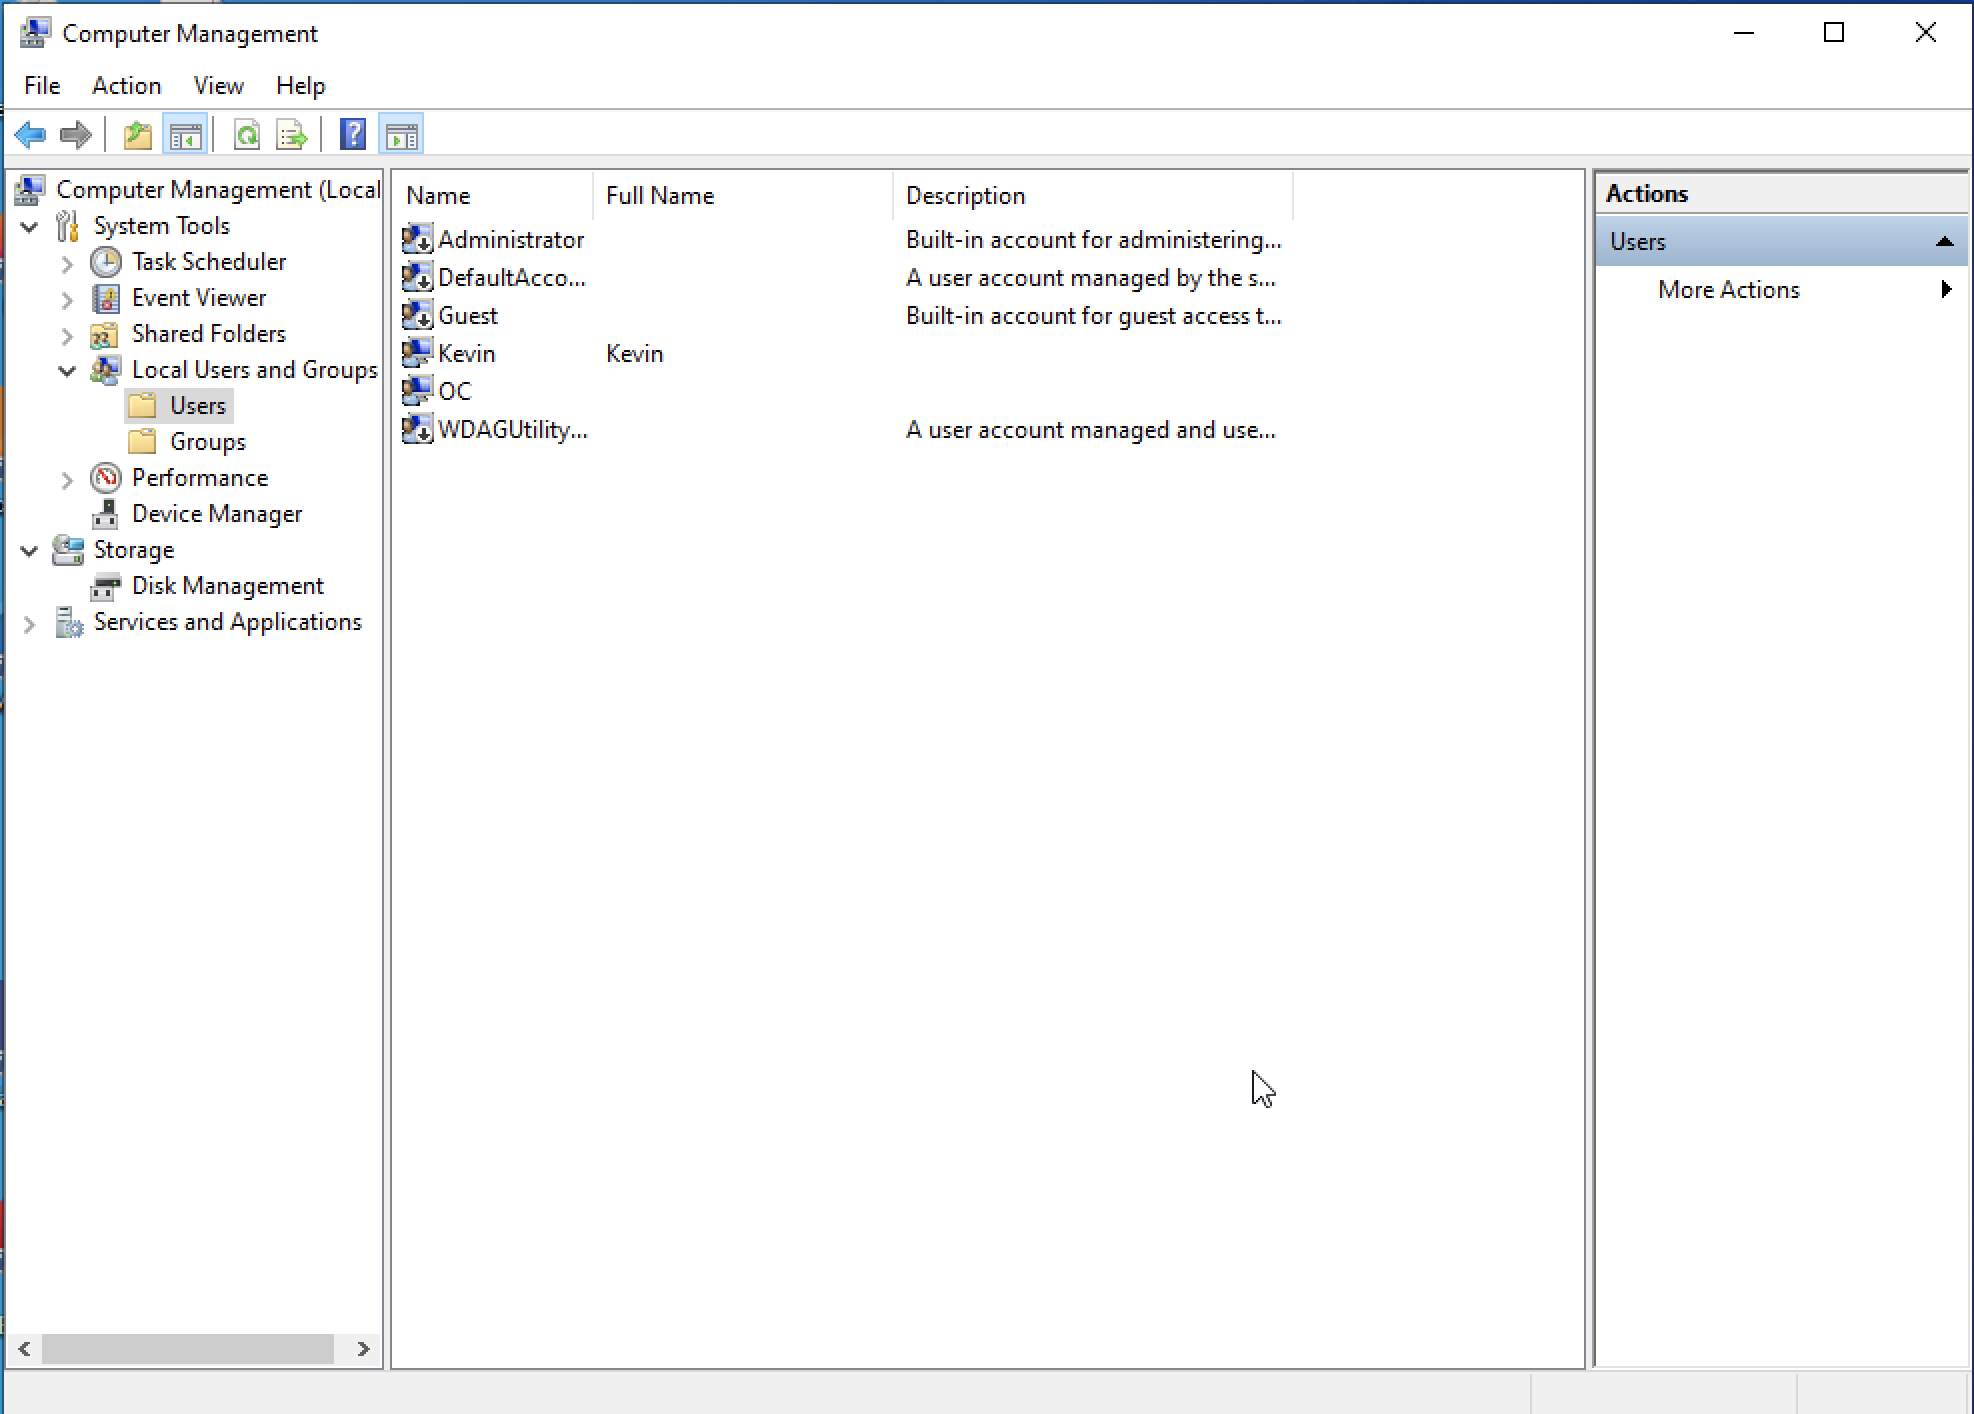
Once you’ve opened it, go to the section on the left under Computer Management > System Tools > Local Users and Groups, and click on “Users”.
You’ll be able to see the account with your name (in my case, Kevin), as well as other accounts, in the section in the middle. These are accounts created by Windows but deactivated. Double click on your account to see the properties and go to the “Member of” tab.

You can see that your user is a member of two groups:
The Administrators group
The Users group
Groups
Groups are useful for managing user permissions. Instead of assigning similar permissions to each new user, you can create a group with certain permissions, and then add users to this group. This will save you time.
Windows puts your user in the Administrators and Users groups by default. The Administrators group can install software and view any user’s files, whilst the Users group cannot install software and can only view their own files.
Users
As an example, imagine that one of your CleanFuture colleagues needs to use your computer. The first thing to do is to add a user account by going to “Users” and right-clicking on “New User” in the middle section.
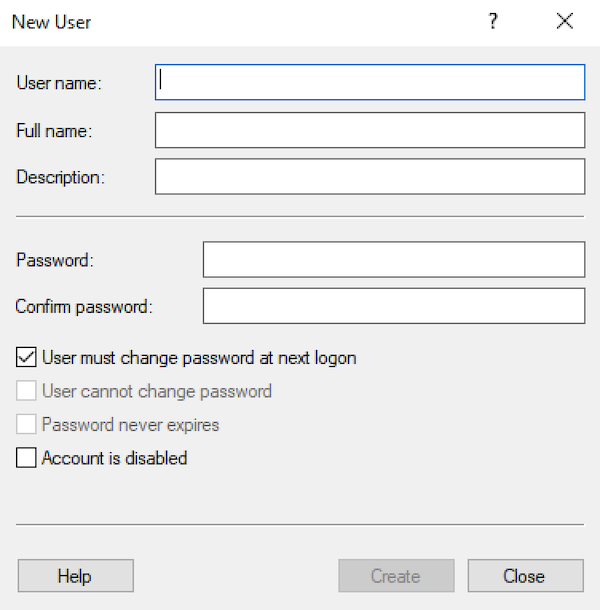
Enter a name (user2). If you don’t enter a password, user2 will create it the first time they log in. Then double click on user2 to check they aren’t included in the Administrators group.
Check the video below to see how I create and manage user accounts in Windows 10:
Link Rights to Folders
To check that the users are separate from each other, log in with the user2 account that you have just created and try to browse your own user's directory. In my case, I would log in with user2 and try to access the folders belonging to the user “Kevin”.
This is an opportunity to remind ourselves where the user directory is located. As we’ve already mentioned in the context of the desktop, the user directory is the parent folder of the desktop: C:\Users.
When you try to connect to someone else’s user directory, you should see this warning:
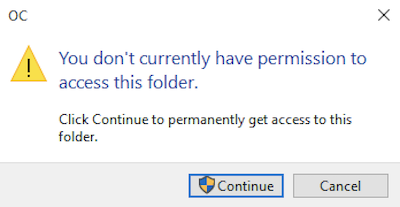
This is normal, as user2 does not have access to the other user’s directory. For this, user2 either needs to become an administrator or have the necessary access rights. This is what we’re going to do now. You’re going to give user2 the rights to view your own user’s personal directory.
To do this, log back in with your own account, which is part of the Administrators group, and go to your personal folder:
Create a new folder (mine is called “Share”)
Right-click on it
Select “Properties”
Go to the “Sharing” tab
Click on “Share”
Add the user you created
Click on “Share”
Windows will give you the option of sending an email or saving the link to the clipboard. Choose the option to save the link to the clipboard (this is mine: //computer-name/Kevin/share).
//name-computer/Kevin/share:
“computer-name” is the name of the computer
“Kevin” is the user
“share” is the name of the folder
But how does this link lead to the folder when the real path is C:\Users\Kevin\share?
Windows translates C:\Users\Kevin\ to //computer-name/Kevin/ or //my-IP/Kevin/.
//computer-name/ and //my-IP/ are network paths to the same folder, both lead to exactly the same place.
Why go through the network when we’re on the same PC?
That’s a good question. Firstly, because it’s the solution Windows provides and is very simple. Secondly, because if you need to share this folder with someone on another PC, you can use this path to give them access.
Your Turn!

🎯 Today's mission at CleanFuture: CleanFuture will hire a temporary second member of IT to help you during a busy end-of-year period.
The temporary employee will be responsible for installing the new CleanAccounting application on the computers across the company.
⚙️ The actions you need to take:
Create a user account for the future hire
Give them administrator privileges so they can help you with the application installs and other administrative tasks.
✅ Double-check your work: You’ll know you’ve completed the exercise when the account appears in the user account list in Computer Management and is part of the Administrators group.
Let's Recap!
To manage users, go to the “Computer Management” tool.
A user is a member of one or several groups.
Groups make user management simpler, by bringing together users who share the same permissions. For example, an Administrators group, Developers group, Human Resources group, etc. can be created.
Windows differentiates between the Administrators group, who can install software and edit operating system files, and the Users group, who cannot install software on their own.
Each user has a personal directory. This directory can only be accessed by the user or by a member of the Administrators group.
For a user to gain access to a folder belonging to another user, this folder must be shared with him/her.
Great work! Understanding user management and user account permissions are some of the most important skills to master for an IT technician. We have now finished the third part of the course, make sure you re-read any chapters you need to before moving on to the quiz.
