Prepare to Assemble Your PC

Prepare Your Work Area and Tools
To set up for assembling a computer, make sure you have a clear bench or desk to work. This area should be large enough for your ESD (anti-static) mat if you’re using one, your tools, the PC case, and unpacking the PC components.
Here’s a list of tools to have on hand. Some are optional, but it’s best to have them and not need them than the other way around!
Screwdrivers
Many cases use thumb-operated screws or clips, but you may still need a screwdriver in some situations. The standard PC screwdriver is a Number #2 Phillips, and it’s handy to have a couple of different lengths – a 100mm (4”) and a 200mm (8”) one.
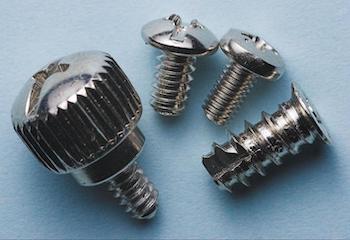
In the picture below, the screw types are (left to right): 6/32 case thumb screw, 6/32 screw, M3 screw, and fan screw (for plastic-framed fans).
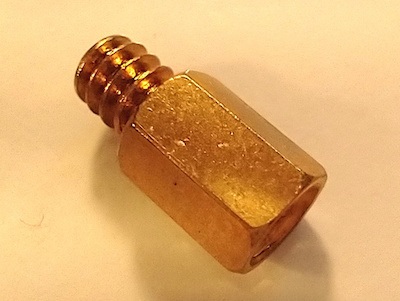
M3 (6/32”) Nut Driver
This is a screwdriver-like tool for use on hex-head screws and motherboard standoffs. This screw type was used on the original IBM PCs and can still be found in cases today.
A Small Flashlight
Handy for the dark corners of cases, or if you drop a screw under the desk!
Radio Pliers
Radio pliers (snipe nose pliers) are smaller than automotive/mechanics pliers. Use a pair with no grooves on the jaws (smooth jaws) because this makes them less likely to mark standoffs or damage cables that need a bit of help through tight spaces.
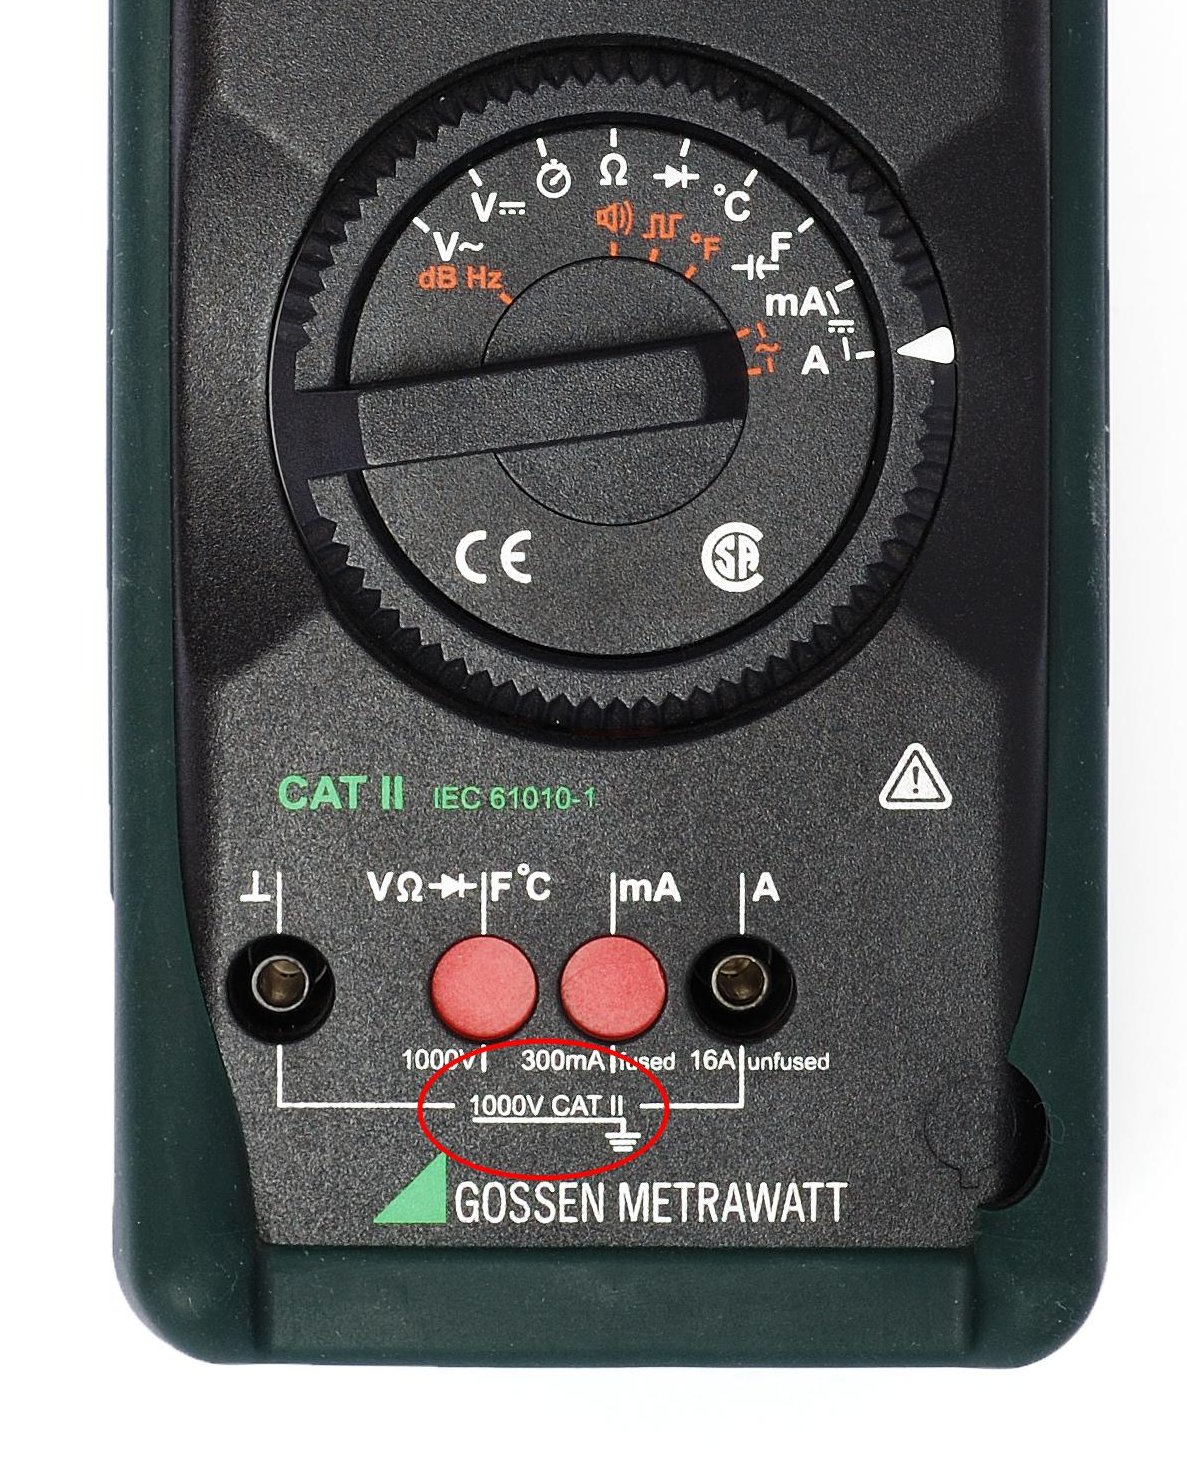
Test Meter (VOM or Multimeter)
A simple test meter to check voltages and cable continuity. Read the meter’s instructions carefully before use, especially if you plan to take any current or mains voltage measurements.
Look for multimeters with an electrical safety rating of Cat II (for domestic mains supplies) at 600V or 1000V. Purchase your meter from a reputable supplier and manufacturer. Not only will they be built to the standard (Cat) they claim, but they will also be better constructed.
Some reputable multimeter brands include Agilent, Brymen, Fluke, Gossen Metrawatt, GW Instek, Mastech, Tenma, UNI-T, Voltcraft. The meters sold by electrical and DIY stores also tend to be fairly well quality controlled.
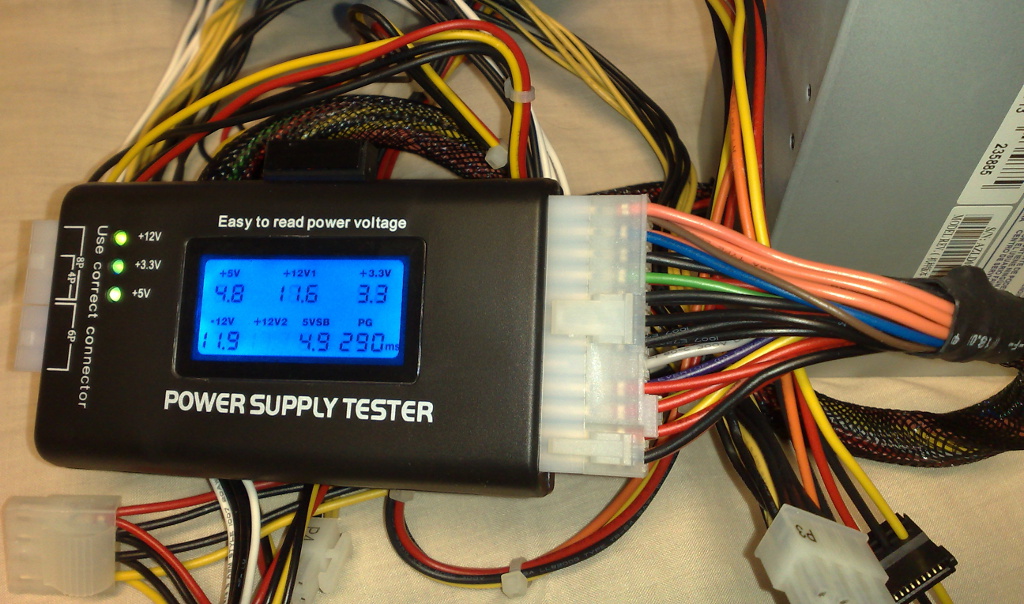
You can also buy a PSU tester. These can be quick and handy if you assemble or service computers regularly.
Get an Overview of the Assembly Process
Before starting your assembly, watch the end-to-end video demonstration below. It was created by Newegg, a major U.S. supplier of PCs and PC components. Then, in the chapters that follow, you’ll find shorter tutorial videos demonstrating individual steps of the process.
How To Build a PC - Newegg’s Step-By-Step Building Guide
Your Turn!

Let’s go shopping for:
A screwdriver (or screwdriver set) for working on PCs.
A simple multimeter rated to at least CAT II, 600V.
A PSU tester.
If you find some unsuitable products during your research, point them out and explain why they don’t meet your needs.
✅ Once you’ve finished, see how your selections compare with mine in the Example Solutions document: .docx / .odt.
Let’s Recap!
Having a clear workspace makes the build process much easier.
Make sure you have all the tools you need.
Use the correct screws and fixings - either those supplied with the case or those that come with the part.
Additional tools and equipment might make the assembly process or future service work easier.
We’re tooled up! Let’s assemble!
