Install VSphere Tools

Explore The vSphere Suite
VMware jargon can be a headache for beginners, so here’s a quick summary before we get into the details:
Commercial name | Content | Description | Cost |
vSphere Hypervisor |
|
| Free (60-day trial) |
vSphere |
|
| Payment required |
Check the Hardware Prerequisites
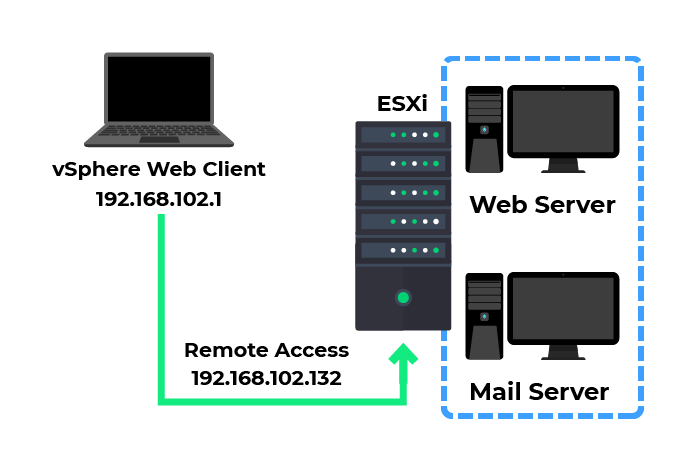
In the demonstration below, we’re going to install an ESXi server, which will host two Tiny Core Linux VMs.
A machine with 4GB of RAM will be more than adequate.
Installing ESXi on Apple hardware is not recommended.
However, there’s a bit more to it. ESXi cannot function independently; to manage it, you must connect it to a web or application client.
It may not seem clear, but remember that once your ESXi is installed and configured, you don’t touch it again. You can’t create VMs directly using this machine, which is why you need another on the same network as your ESXi. So, remember to equip your machines with a network card.
This is the hardware you need:
A physical machine for the ESXi:
4GB of RAM.
1 Ethernet network card.
A machine to use the web client:
A network card.
An installed web browser.
Set Up ESXi
Step 1: Download ESXI
Download vSphere Hypervisor - Version 7.0U2a (ESXi’s commercial name).
You must create an account and sign in on the VMware website.
You’ll be able to download an ISO file.
Step 2: Mount the ISO File
Mount your ISO file onto the equipment of your choice (CD/DVD, USB stick), insert it into your machine, and boot from it.
If you don’t know how to do this, look at this guide. It explains how to boot from an external device.
Step 3: Adjust the Settings
Once the machine has started up using your installation media, ESXi will be installed in the same way as an operating system, asking you to click Accept, Next, Continue, etc.
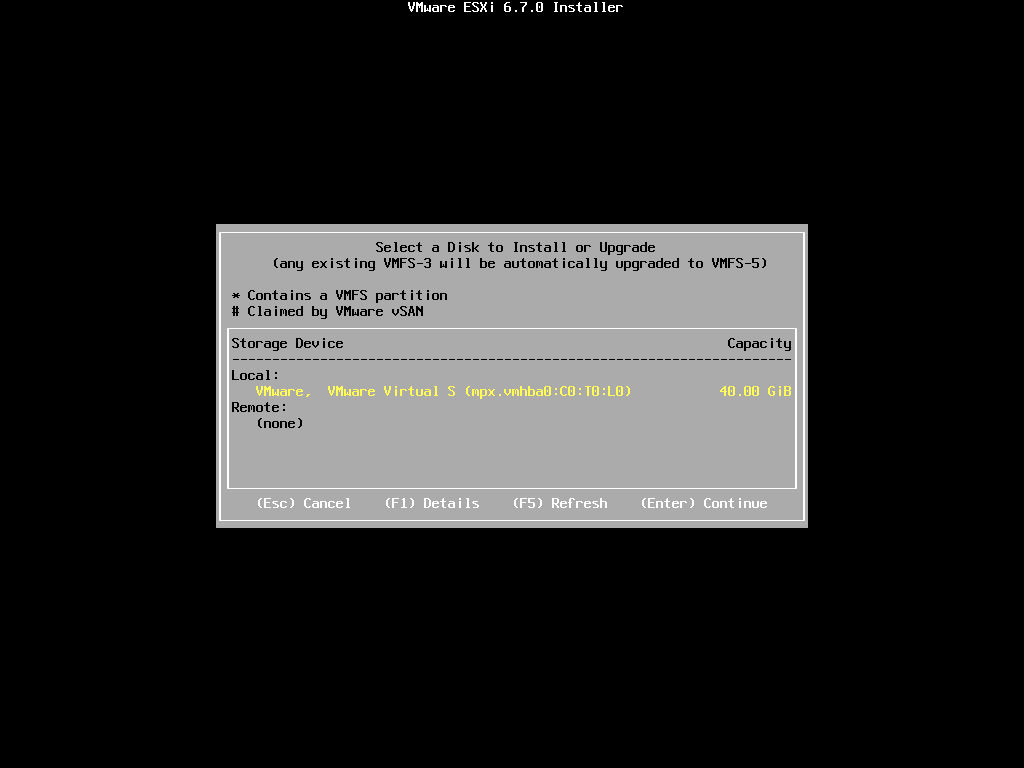
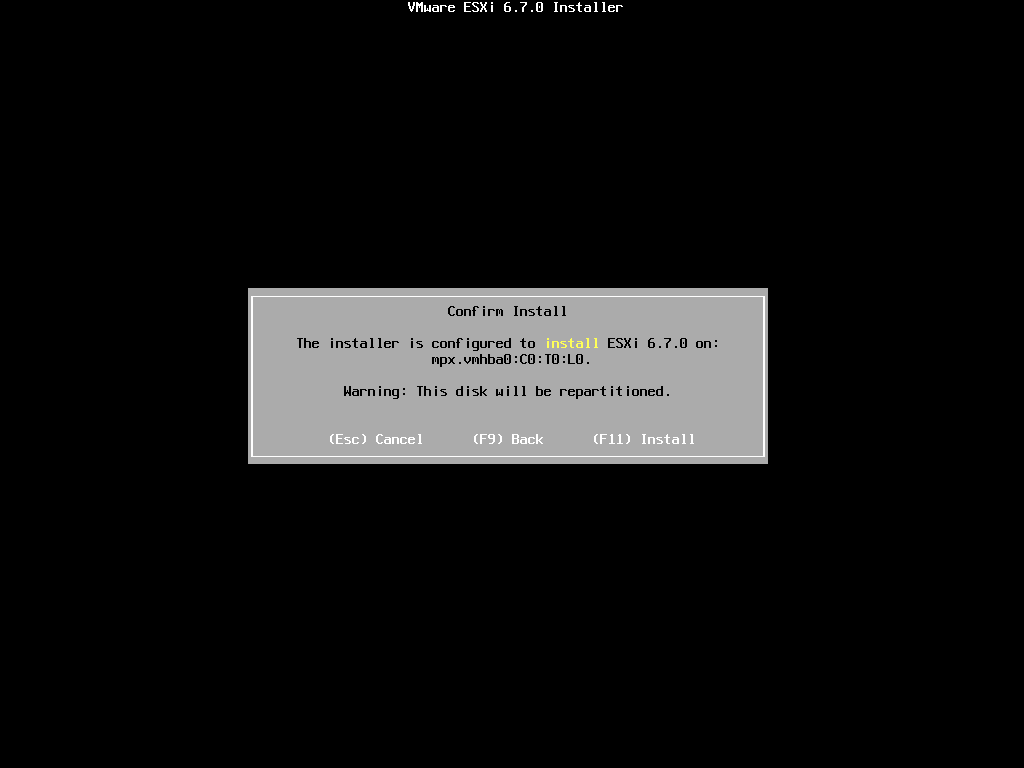
You will be asked which disk you want to install ESXi on. In this case, there is only one, but this depends on your hardware's configuration.
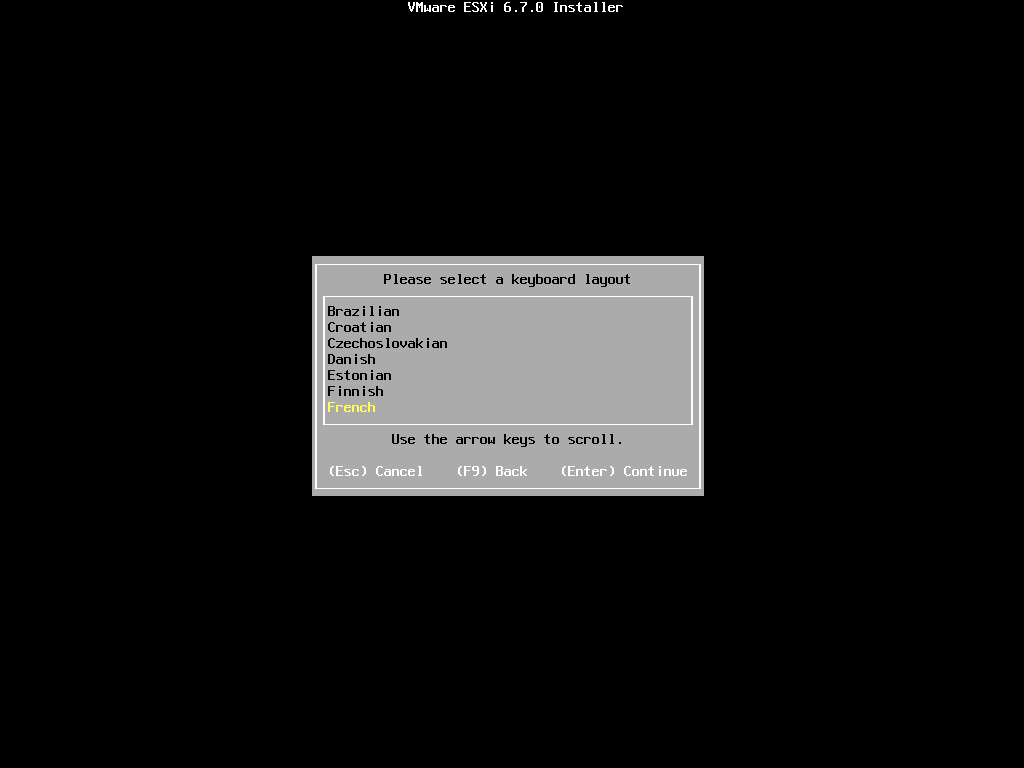
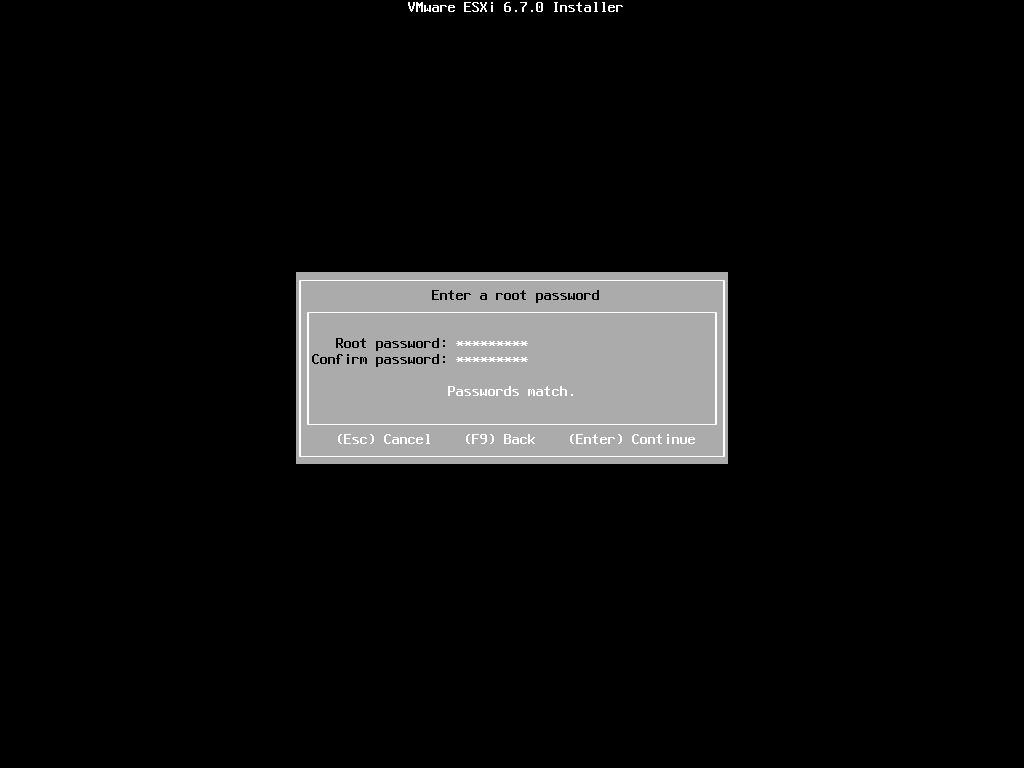
Set your keyboard to English before creating your administrator account (root).
Confirm installation with F11, and you’re good to go!
When it finishes, remove the installation equipment (CD/DVD or USB stick), and press Enter to restart your machine.
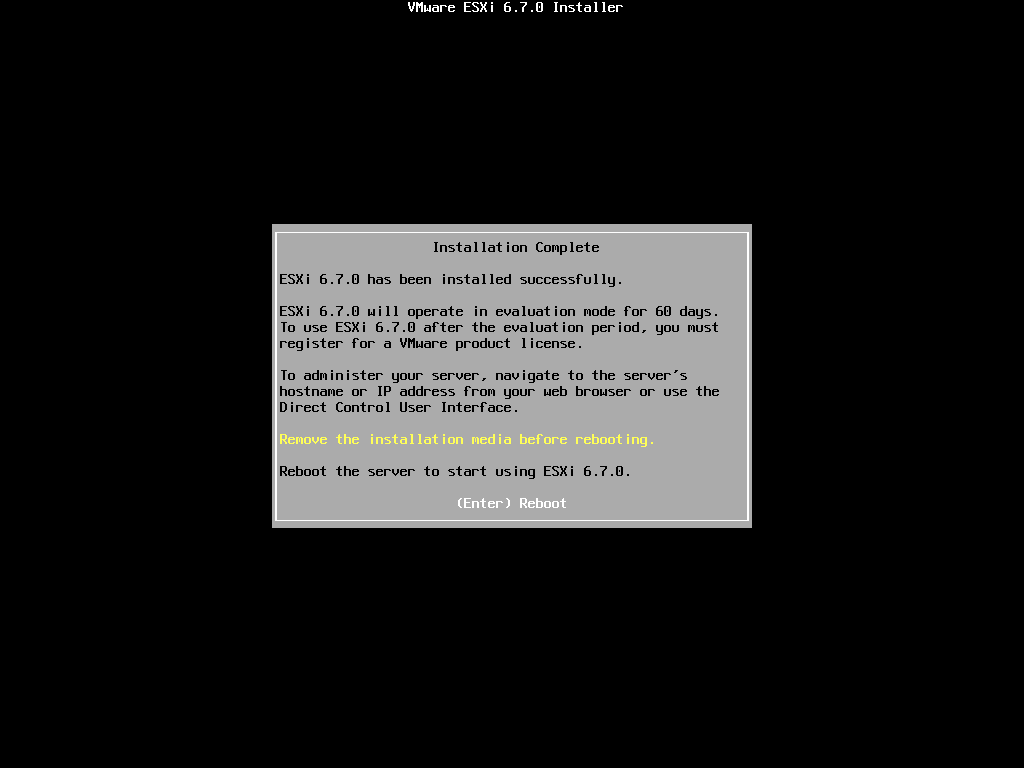
This screen means that installation has finished, and ESXi is ready to create your new VMs!
Take a Closer Look at Steps 1 - 3: Installation
Check my video to make sure you have begun the installation correctly before moving on to the next step:
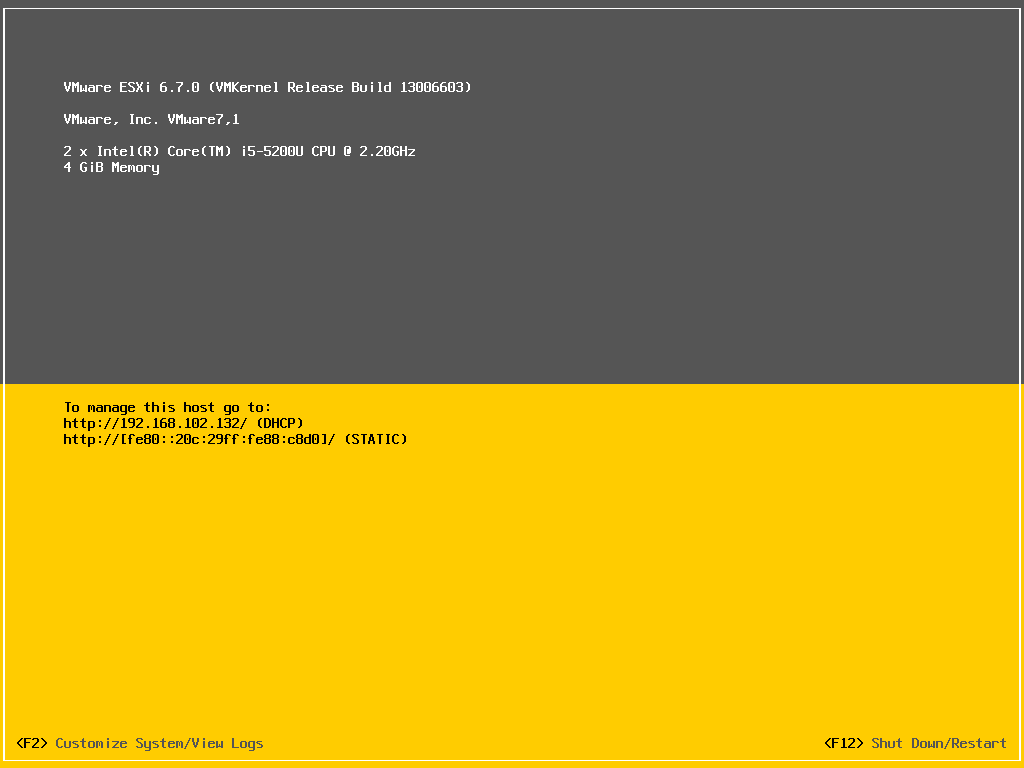
Step 4: Check the Network Configuration
To use this ESXi, you must connect via a remote client machine with the IP address of the hypervisor. For this, you’ll need to look at your ESXi network card’s configuration.
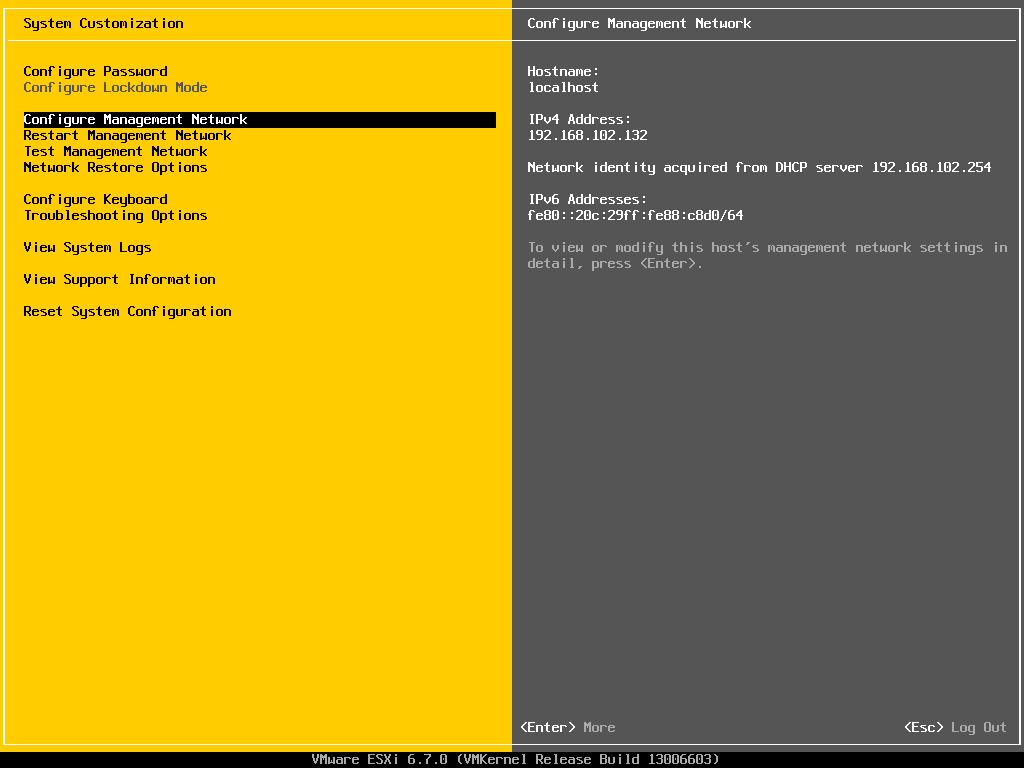
To do this, press F2 to go to the configuration menu. You’ll be asked for the administrator password you set during installation (login: root).
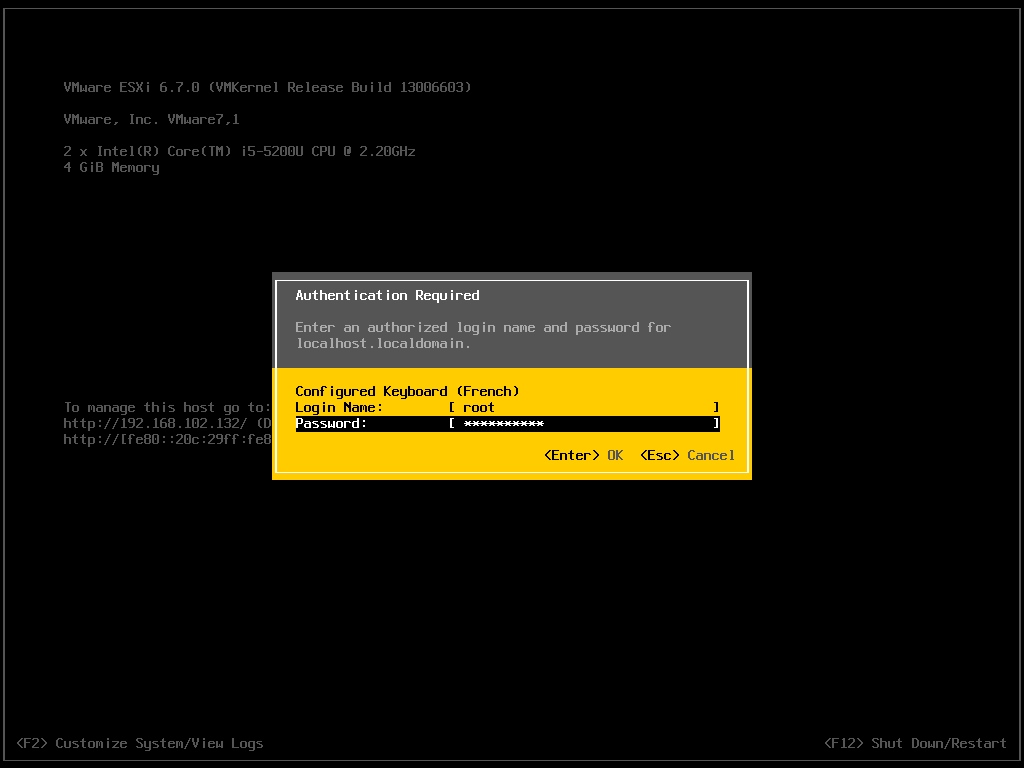
Go to the Configure Management Network menu.
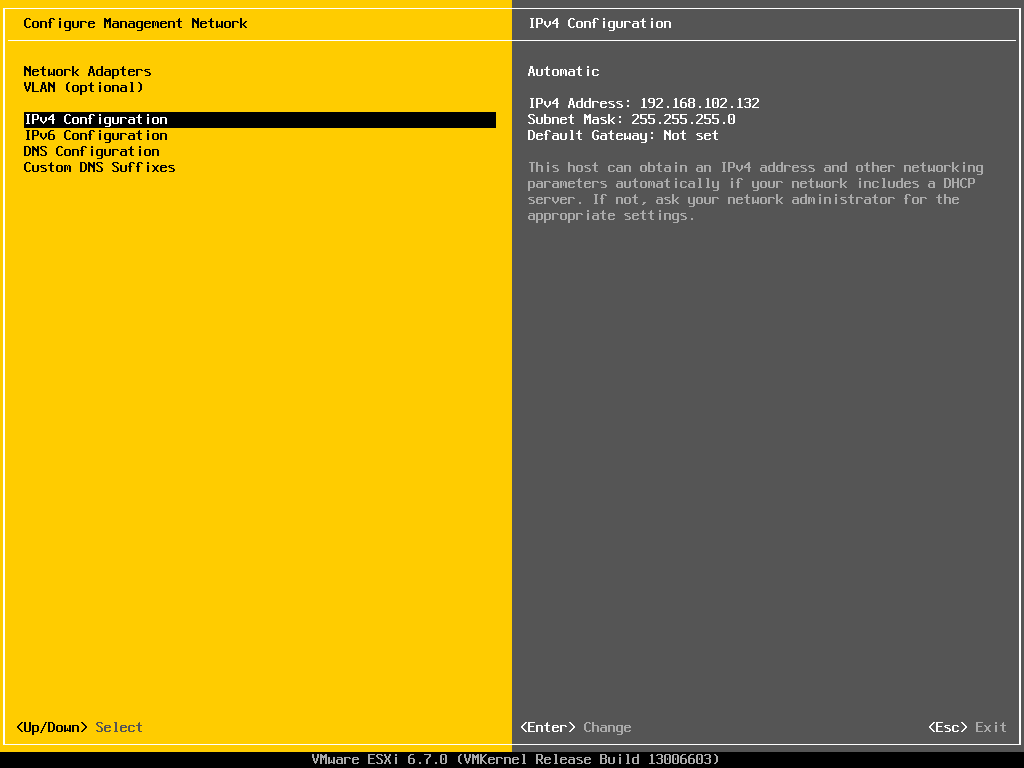
Then to IPv4 Configuration.
Select the Set static IPv4 address option, then enter an IP address, which will be on the same network as the client machine you will be accessing ESXi from.
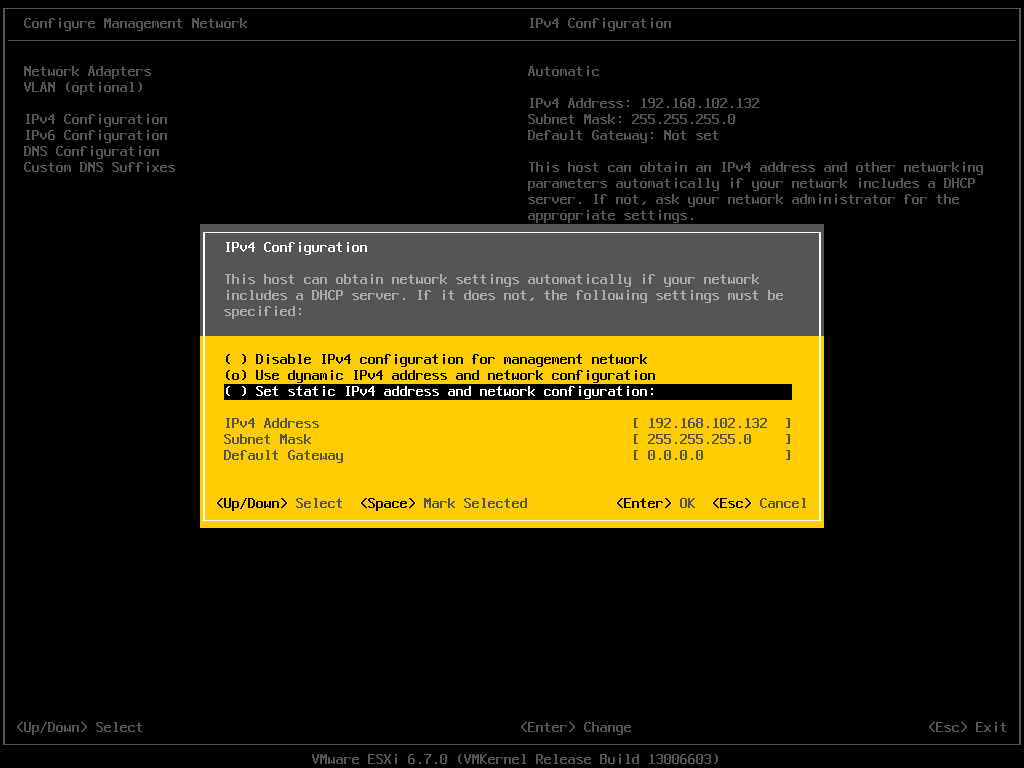
You’re done! Your ESXi is ready!
Take a Closer Look at Step 4: Configuration
You must configure your network settings correctly before moving on to creating your environment. Follow my video below to make sure you have done so before going to the next chapter:
Let’s Recap!
ESXi is the vSphere hypervisor, managed via a web client.
ESXi cannot function independently. Use a web or application client to manage it.
It will be installed in the same way as an operating system, asking you to click Accept, Next, Continue, etc.
You will need to know the hypervisor’s IP address to connect once it’s installed.
ESXi is the most popular type 1 hypervisor worldwide and is used by organizations of all sizes. Understanding how to install it on your hardware is crucial. Make sure you have understood this chapter before moving on! In the next chapter, we’ll create the virtual machines that sit on top of the hypervisor.
