Improve Your Daily Work Thanks to Your Ticketing Data
Can you imagine the power that ticket data can have? Through tickets, we can get a lot of information about customer behavior, software and equipment functionality, and performance. Let's find out how to use this data to our advantage.
Gather your ticketing data
The first step is to gather your ticketing data. A lot of service desk applications have distinct reporting interfaces for the people who work on such things. Zendesk is no exception; it uses a separate reporting tool called Explore.
We’ll try some basic reporting later, but for now, we need to activate Explore, so do the following:
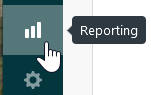
On the Zendesk homepage, select the Reporting icon from the sidebar.
Click Take me to Explore at the bottom of the page.

Click the Activate Explore button at the bottom of the page.

It will take a short while for Explore to be ready for use, and we can return to our work (previous browser tab) while that’s happening.
Document a Frequently Asked Question
Having reports can help us identify the scale of an issue or whether we can do something to keep ticket numbers under control until a permanent solution is found. Improvements require actions!
Considering our website form field entry issues, it might be worth publishing something about the matter until we find a permanent solution. Providing customers with documentation about a matter might reduce the potential number of people who raise a ticket unnecessarily, or have them waste time before they call for help.
Zendesk supports the publication of knowledge in various ways: from sending emails to social media integration. Zendesk also has a Help Center application that can be used to provide a customer self-service portal.
The Help Center application needs to be selected and activated. After that, the default view provides a FAQ section for creating new articles. To get the Help Center up and running, let’s take these steps:
Click the Zendesk products icon; that’s the four squares in the top right corner of the main window:

Select Guide.

Select Get Started.
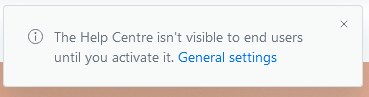
Notice the message that appears top right and click the link to go to General settings.
Click the Activate button.
Click the second Activate button.
Re-select the Product icon (four squares).
Select Guide.
Select the Community option (top right).
Note the New post button, but don’t click it!
We won’t add an article at this stage, so we’re done for now.
Once the Help Center has been enabled, a new Knowledge icon appears on the right side of the screen when you are working on tickets:

Clicking this icon will open the Knowledge Base, which can be populated with articles relevant to your ticket work. It can also be based on feedback from customers and other support staff to build a repository of knowledge to assist with future requests, incidents, and problems.
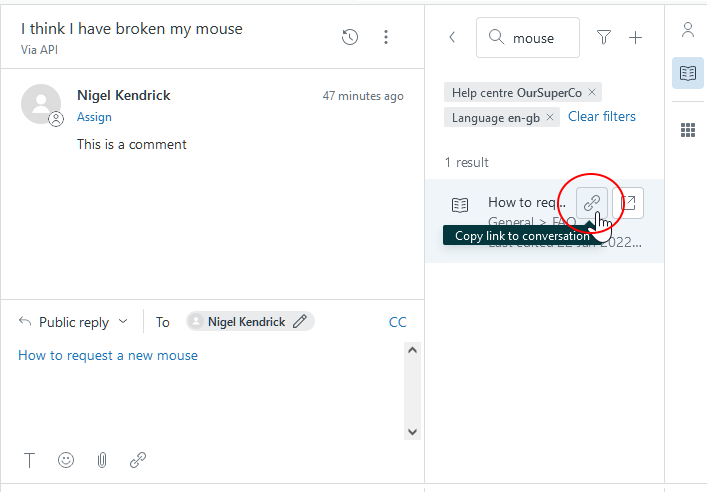
If a knowledge article is relevant to the ticket you are processing, you can paste a link to it in the ticket’s Public reply section:
The Help Center can also be configured to allow users to comment on articles. This feature creates a community environment for feedback and additional information. If you want to learn more about the Help Center’s features, see this article.
Consider Incidents for Problem Management
If you see a pattern emerging across a number of different tickets, or an issue in one ticket that needs follow-up, we say we have a problem.
In IT service, Problem management means identifying and managing the causes of incidents. Successful Problem management, for example, consists in assessing whether further action could prevent or reduce incidents recurrence; or whether a single solution could resolve multiple incident tickets.
Remember Jordan and Riley? In our case, we’re seeing multiple tickets related to possible interface bugs. So let's associate them with a Problem Ticket.
Wait, haven’t we solved those tickets already? What’s the point of associating them with a Problem now?
Good question! You can link Incident tickets to Problems at any stage of their journey from Open to Solved, but not once they are closed. Remember: you have four days between resolution and automatic closure if there is no further feedback from the customer.
Usually, it’s best to solve incident tickets as soon as possible to keep your customers happy, which might be done with a temporary fix or workaround. If a more permanent solution is needed, these solved tickets should be linked to a Problem ticket for further root cause analysis and fixing. This process is called reactive problem management.
Let’s be reactive and raise a Problem ticket for our bugs; this is almost identical to creating an incident ticket, except for using a different ticket type:
Return to your Home page (House icon, top left).
Select + Add.
Select Ticket from the dropdown menu.
Select your name as the Requester.
Select Support as the Assignee.
Tag the ticket as Bug.
Set the Priority to Normal.
Set the Type to Problem.
Enter a Subject such as: High number of field entry-related incidents on OurMonthlyPromo Websites.
Add an Internal Note referring to the multiple error message reports concerning signing up or amending account details.
Click Submit as Open (Because we’re already working on the problem).
Now that we have a Problem ticket, we can associate our Incidents with it. Return to the Views menu and select one that will show both our customer tickets, and for each one, do the following:
Select the ticket.
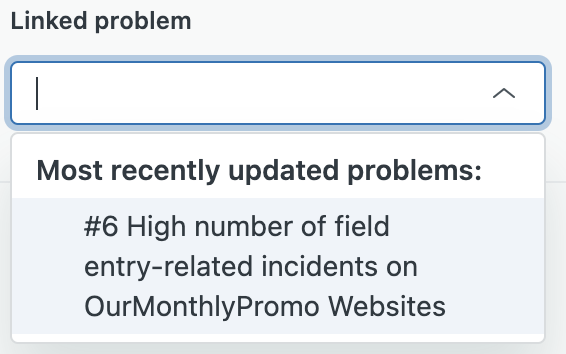
Change the Linked problem to the one you just created (If you cannot see this field, make sure that the ticket type is set to Incident)
Click the Submit button without changing the status.
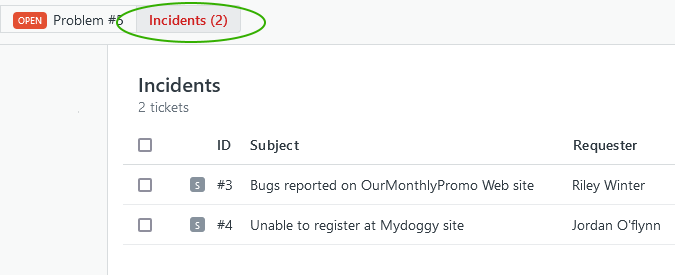
Now return to your problem ticket, where you’ll see it has a new tab that shows the linked incidents:
Problem tickets are worked through similarly to Incidents until a (hopefully!) permanent resolution is identified and deployed.
The problem team might comprise members from the support team, plus additional people from other groups or external suppliers, who have the expertise to resolve the problem, all under the watchful eye of the designated problem manager.
Non-solved tickets will be automatically set to Solved when their common Problem ticket is changed to this status. Nice, isn’t it?
Let’s Recap!
Zendesk supports keyword tagging to help group issues together for problem management and reporting.
Zendesk’s Knowledge Base can suggest potentially useful articles to support staff and customers as they are creating a ticket, which may help expedite a resolution.
Effective reporting can help identify knowledge gaps in either the customer base or the support team, which might be remedied by knowledge base or Frequently Asked Questions (FAQ) articles (L0 support).
Problem tickets are a way of grouping similar incidents so they can be handled through a single-parent entity.
Well, who would have thought that ticket data would actually help improve your daily life? You discovered some nice and useful features in this chapter. Are you ready to go even further in using your ticket data? Let’s jump onto the next chapter.
