Scope Your CSS With Styled-Components
Have you ever accidentally reused the name of a CSS class in another component? Or found that style was applied to an element without knowing where it came from? If so, you know just how frustrating it can be! 😬
The issue of scoping style to the relevant components is a big one!
What does scope mean?
Scope refers to your code's parts that have access to an element, such as a variable or CSS class. It can be global (like for the CSS classes just mentioned) or only concern a specific bit of code.
Different solutions are available for scoping style, like CSS architecture methodologies or specific tools such as Sass (which requires a preprocessor). However, in recent years, CSS in JS has emerged as a solution.
Discover CSS in JS
As its name suggests, CSS in JS is generated with JavaScript. It is inserted into the DOM in a <style> element.
Is it like the inline style from the chapter "Incorporate Style and Assets in Your Project" in the previous course?
Well, not really. Inline style is inserted into DOM on the style attribute of a specific element (<div style={{ color: 'red' }} /> ). Moreover, inline style doesn’t allow pseudo-selectors. That’s not the case for CSS in JS, where you can use as many pseudo-selectors as necessary (more about this later).
But with CSS in JS, style is attached to a specific component directly within the same file. It's much easier when you need to delete or modify an existing style, isn’t it?
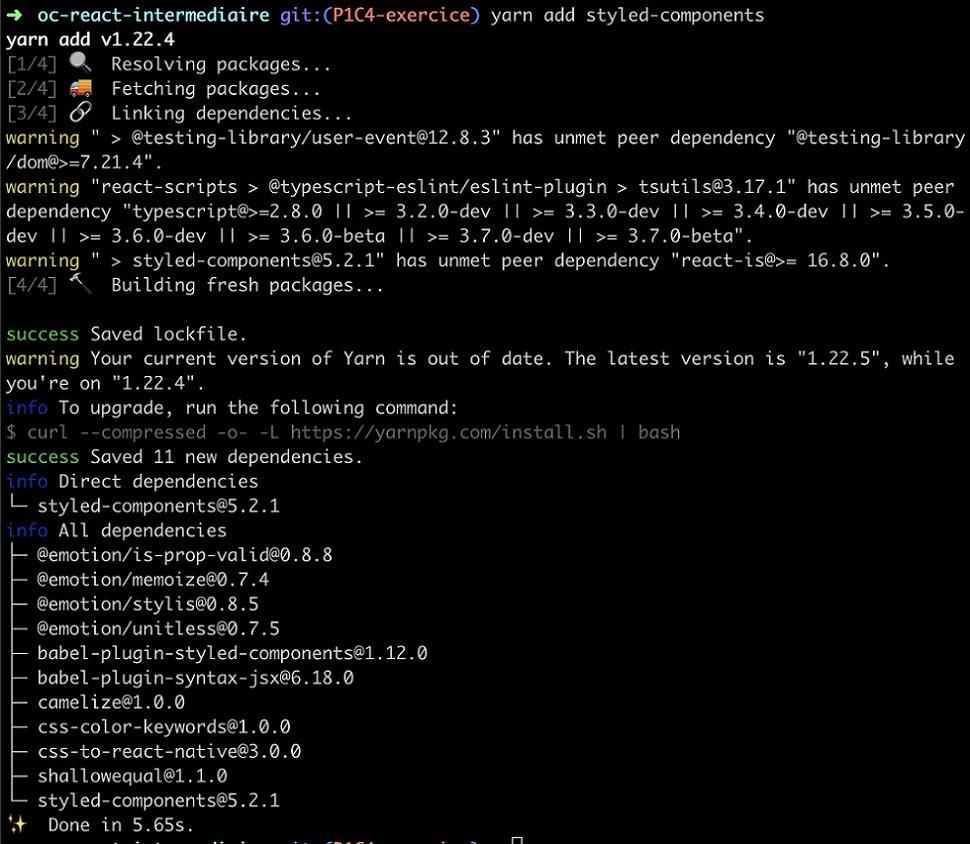
There are lots of solutions for CSS in JS, and they all have their own syntax. We’re going to focus on the styled-components library. 💅
Install the library with yarn add styled-components :
Now let’s think about the style we want to create. 👀
Apply the Logic of Styled-Components
Everything is a component with styled-components. So let's create one to see what I mean.
Create a style for the label in Card/index.jsx .
That gives you:
import styled from 'styled-components'

const CardLabel = styled.span``
And then reuse CardLabel directly in the JSX:
<CardLabel>{label}</CardLabel>What’s up with this weird syntax? 😬
Don’t worry, styled-components uses template literals, which you can read about in Mozilla's documentation. You can write your CSS directly inside, giving you:
const CardLabel = styled.span`
   color: #5843e4;
   font-size: 22px;
   font-weight: bold;
Let’s take this opportunity to add some style to the image. This time, still in the same Card/index.jsx file, you get:
const CardImage = styled.img`
   height: 80px;
   width: 80px;
   border-radius: 50%;
`
Then use it in the code:
<CardImage src={picture} alt="freelancer" />Great work! You’ve generated the span and img elements and added style with styled-components ! 🎉 As you’ve no doubt guessed, it doesn’t end with span and img : you can generate all existing DOM elements this way (and more).
What would I do if I wanted to style an element that came from a library?
Styled-components allows for this! If you take the example of Header/index.jsx , you just need to do the following:
import { Link } from 'react-router-dom'
import styled from 'styled-components'

const StyledLink = styled(Link)`
   padding: 15px;
   color: #8186a0;
   text-decoration: none;
   font-size: 18px;
`

function Header() {
   return (
      <nav>
         <StyledLink to="/">Home</StyledLink>
         <StyledLink to="/survey/1">Survey</StyledLink>
         <StyledLink to="/freelancers">Profiles</StyledLink>
      </nav>
   )
}

export default Header
Try this code to see how it renders – not bad, is it?
Pass Props Into Your CSS
Very nice – you created styled-components and used them, but what other advantages are there in writing style with JS?
Just that – we’re using JS. 😎 You’ll be able to pass props to components directly from the React component.
Let’s see what that looks like in practice with a Header .
<StyledLink to="/survey/1" $isFullLink>
   Run the test
</StyledLink>
Here we’re passing the prop $isFullLink . This allows you to use the prop directly in the style:
const StyledLink = styled(Link)`
   padding: 15px;
   color: #8186a0;
   text-decoration: none;
   font-size: 18px;
   ${({props} ) =>
      props.$isFullLink &&
      `color: white; border-radius: 30px; background-color: #5843E4;`}
`
What’s $ ?
This signals to styled-components that you’re using your prop for style, and that it should not be passed in the DOM.
The $ is only required to pass a prop if it's a React component (and not an HTML element), like here for Link . If the styled-component was based on a simple a tag, it would be no issue to use the prop isFullLink without the $ .
Learn about using state in props in the screencast below:
Pretty cool! 🤩
Use Variables
As you can see, in the last code snippet just above the screencast, we’ve used the color purple #5843E again. JS allows you to use variables, so let’s use them to store colors!
It is possible to declare a colors object that takes all of the colors in the app, but it’s better to create a theme managed by styled-components .
Let’s create a /utils folder directly in src/ . Then, inside that, put the /style folder. And then again in that create the colors.js file, which gives you:
├── assets │
    └── profile.png
├── components
│     ├── Card
│     │   └── index.jsx
│     ├── Error
│     │   └── index.jsx
│     └── Header
│        └── index.jsx
├── index.jsx
├── pages
│   ├── Freelances
│   │   └── index.jsx
│   ├── Home
│   │   └── index.jsx
│   ├── Results
│   │   └── index.jsx
│   └── Survey
│       └── index.jsx
└── utils
└── style
└── colors.js
Define the colors in colors.js :
const colors = {
   primary: '#5843E4',
   secondary: '#8186A0',
   backgroundLight: '#F9F9FC',
}
export default colors
To use them, import them in the string template directly:
const StyledLink = styled(Link)`
   padding: 15px;
   color: #8186a0;
   text-decoration: none;
   font-size: 18px;
   ${(props) =>
      props.$isFullLink &&
      `color: white; border-radius: 30px; background-color: ${colors.primary};`}
`
Job done! 💅
How would I create a hover effect for when the mouse goes over my component?
That’s easy because pseudo-selectors work in our styled-components.
To put all of this into practice, let’s go back to Cards and add a bit of style so the hover effect is easier to see. In pages/freelancers.jsx , put:
const CardsContainer = styled.div`
   display: grid;
   gap: 24px;
   grid-template-rows: 350px 350px;
   grid-template-columns: repeat(2, 1fr);
`
Which you can use in the same file:
function Freelancers() {
   return (
      <div>
         <h1>Freelancers 👩·💻👨·💻👩·💻</h1>
         <CardsContainer>
            {freelanceProfiles.map((profile, index) => (
               <Card
                  key={`${profile.name}-${index}`}
                  label={profile.jobTitle}
                  title={profile.name}
               />
            ))}
         </CardsContainer>
      </div>
   )
}
Then in Card/index.jsx , you can create a shadow effect when the mouse hovers over the component. To do this, create a CardWrapper that will replace the previous div :
function Card({ label, title, picture }) {
   return (
      <CardWrapper>
         <CardLabel>{label}</CardLabel>
         <CardImage src={picture} alt="freelancer" />
         <span>{title}</span>
      </CardWrapper>
   )
}
And define CardWrapper as follows:
const CardWrapper = styled.div`
   display: flex;
   flex-direction: column;
   padding: 15px;
   background-color: ${colors.backgroundLight};
   border-radius: 30px;
   width: 350px;
   transition: 200ms;
   &:hover {
      cursor: pointer;
      box-shadow: 2px 2px 10px #e2e3e9;
   }
`
The syntax &:hover allows you to access the pseudo-selector for mouse hover, and now you have the desired effect! 🤩

Create a Global Style
We’ve already covered a lot to do with styled-components, but we can’t cover everything. However, let's create a global style that gives the app a basic style, especially font or other CSS properties.
To do this, create a GlobalStyle component in index.jsx at the project root:
const GlobalStyle = createGlobalStyle`
   div {
      font-family: 'Trebuchet MS', Helvetica, sans-serif;
   }
`
And import it in all of your components:
<Router>
   <GlobalStyle />
   <Header />
      …
</Router>
And there you have it! You just used styled-components to add some style to the application. 🎉
Give It a Go!

The time has come for you to work independently with the styled-components library. You’ll find the codebase you need to start the exercise on branch P1C5-begin of the project on GitHub.
This time, use the Figma prototype and create style for:
The header (including the logo, positioning of links).
The homepage (including text, illustration, background, etc.).
The profiles page (text above the Cards).
The error page.
As usual, you’ll find the solution to this exercise on branch P1C5-solution. 🤫
Let’s Recap!
Styled-components is a CSS in JS library that can be used to create style by applying component logic.
String templates written between
``allow you to use variables and pass props.You can create a global style with
createGlobalStyle.
Great work! Now that you’ve added a bit of style, the app that you’re coding for Shiny Agency is really starting to take shape. ✨
Test your knowledge with the part 1 quiz. Good luck! 🍀
