Get to Grips With Figma
You’ve finished the first part and created your first wireframes on paper. Well done! But now we need to know how to work collaboratively on a wireframe, by sharing them in digital format.
To do this, you’re going to learn the basics of one of the most widely used software programs around—Figma! 🎉
Discover the Web Design Software Figma
Figma is the best collaborative design tool currently on the market. To start using Figma, you don’t need to download anything, as it’s a web tool that you can simply use in your browser. All you need to do is create an account. And if you want to share your design, you can send a link to your project to anyone you like, and even grant editing rights!

Great! But is it free?
Yes! Figma offers both a free version and a premium paid version, but the free version is more than adequate for your needs. You’ll only need the other version if you’re going to be using it for more advanced purposes, for example, if you need many users to be able to edit a document at the same time, etc. Personally, I’ve been using Figma for several years, and never needed to upgrade to the paid version. 🤫
We’re now ready to get to work creating our first Figma file! 🚀
Create the Structure of Your File
First things first—we need to create an account, as I mentioned above, which you can do by clicking “Sign up” at the top right of the homepage.
Once you’ve followed all the steps to create your account (and validate your email, etc.), you’ll find yourself on the Recent page. Figma provides a number of basic files here so that you can explore some ready-made documents.
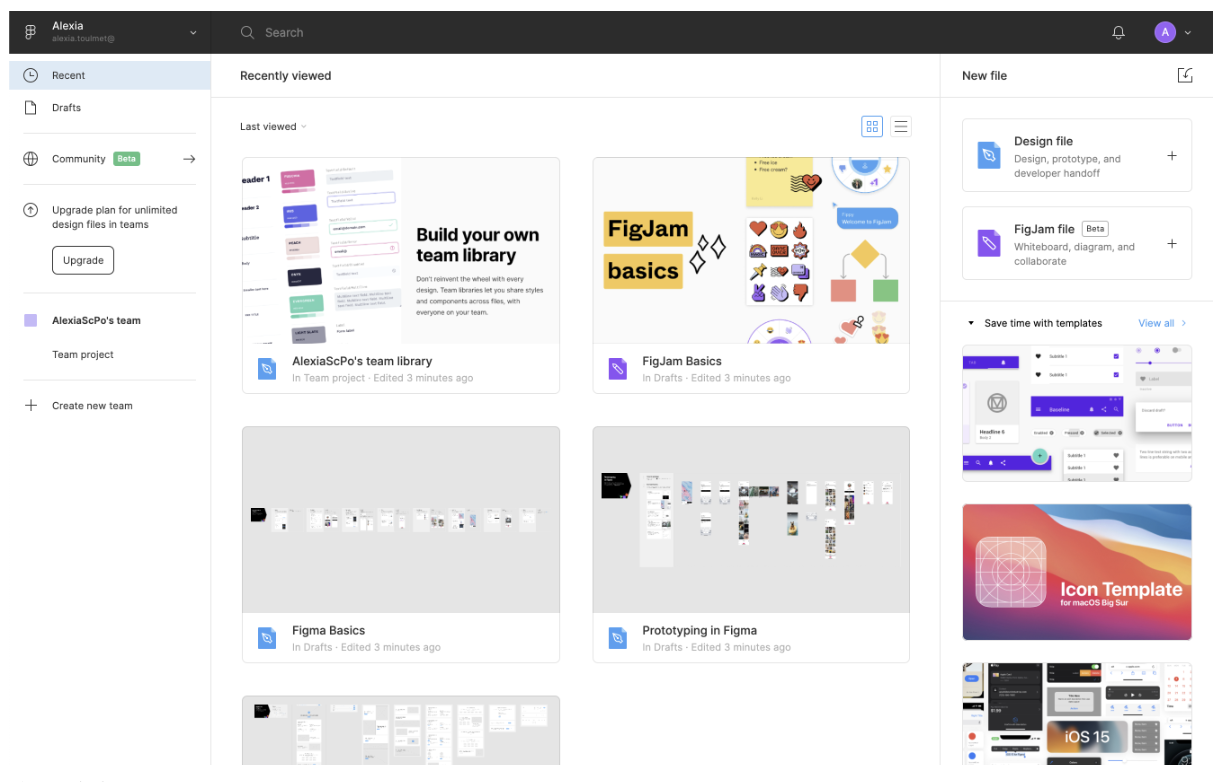
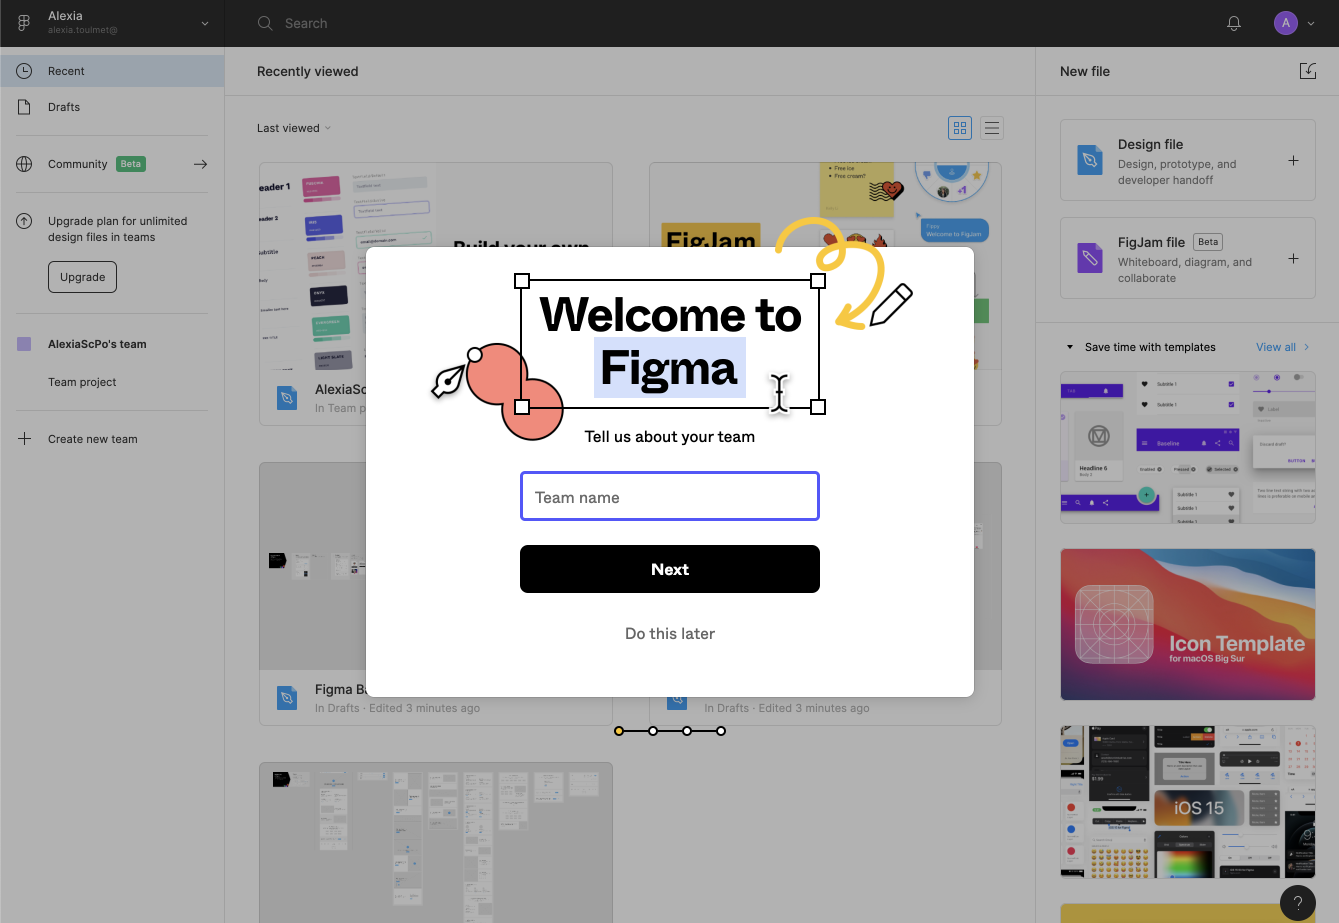
To help you discover Figma, some pop-ups will appear. You can close these, as we know what we want to do—create designs with Figma. To do this, go to the New file section, then click on Design file, which will take you to a fresh new file!
So, you’ve clicked on Design file and got your new file!

Your file is automatically created in “Drafts,” which you can find at the top left of the page. That’s fine, so we’ll leave it like that (especially for the free version).
The first thing to do is to name your file “Yummy Noodles Mockup” by clicking on the title:
But wait… we’re creating wireframes! So why are we calling it a mock-up?
Very observant of you! It’s because we’re going to group everything together in the same file. Figma has a paging system, which allows you to use a different page for each iteration of a project. If we click on Page 1, we can create a new page to give us Wireframes and Mock-up.
Now we’ve got our Yummy Noodles Mock-up file, which contains two pages, Wireframes and Mock-up.
Let’s get started on our wireframes! 💪 Select the page Wireframes, and we’ll see how to create our first screen for the homepage, with the frame tool.
What’s the frame tool?
It’s a sort of container—a parent object which contains all the other child objects in which we can put our elements.
In our case, we’re going to use a frame for each page of our website—for the homepage, menu page, and contact page. To create a frame, click on the third icon from the left on the bar at the top, and then on Frame.
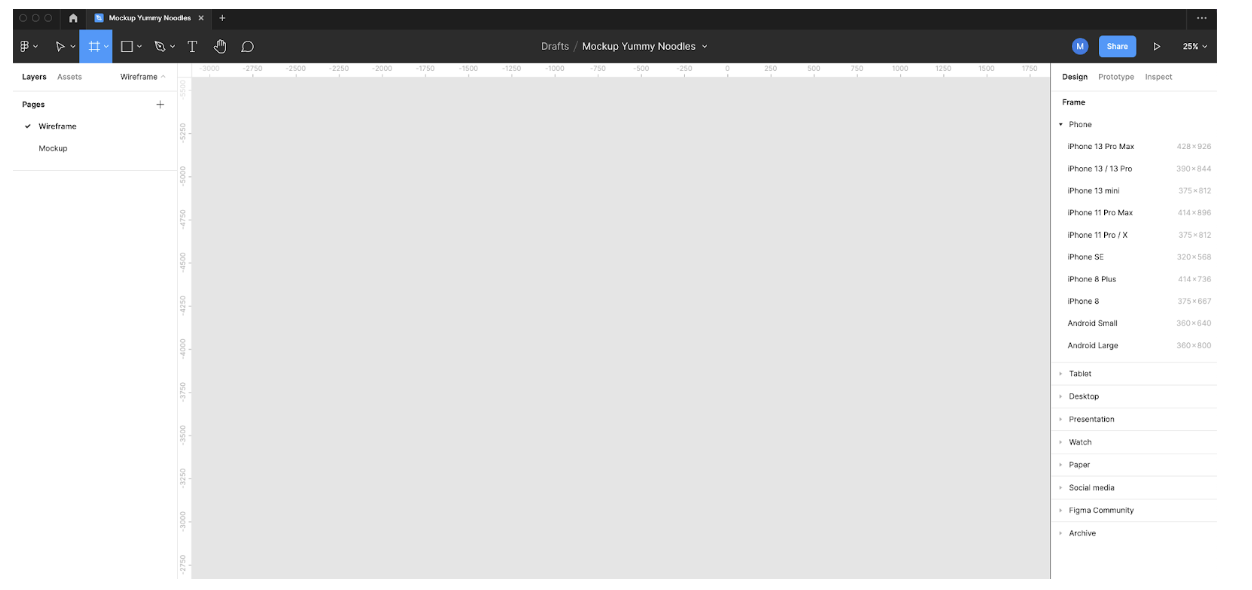
There are several options in the vertical bar on the right. We need to select Desktop > Desktop, which corresponds to a web page for a computer screen (rather than a smartphone or a tablet).
Well done—you’ve just created the structure for your first screen! While we’re here, let’s give it the name Homepage. To do this, just double-click on Desktop - 1:
Whoa! We’re spending a lot of time naming things… is this really necessary?
For the moment, our file is almost empty, so it might seem a bit pointless to give everything a name. But when we start working with several different screens and pages, you’ll be glad you made the effort!
Use Basic Elements in Figma
Now we’ve created our first frame for the homepage, we can create our first elements. We’ll start with shapes (circles, rectangles, lines, etc.) and text boxes, and find out how navigation works in our file.
Circles and rectangles? I thought this course was about web development, not geometry!
Don’t worry, everything we’re learning will help us create our wireframes, and eventually a mock-up for the website. Websites might seem complex, but in fact, they’re all made up of rectangles, round shapes, lines, text, etc.
We’ll see how to do all of this in the screencast just below: 👇
As you saw at the end of the screencast, all the elements are listed in the vertical bar on the left. There’s a sort of hierarchy between the different elements—you might have already seen this in other software such as PowerPoint.
In Figma, if you want to move one element in front of another, you can simply move it up the list, and if you want it to go behind, then move it down the list, like this: 👇
Change the Position of Your Elements
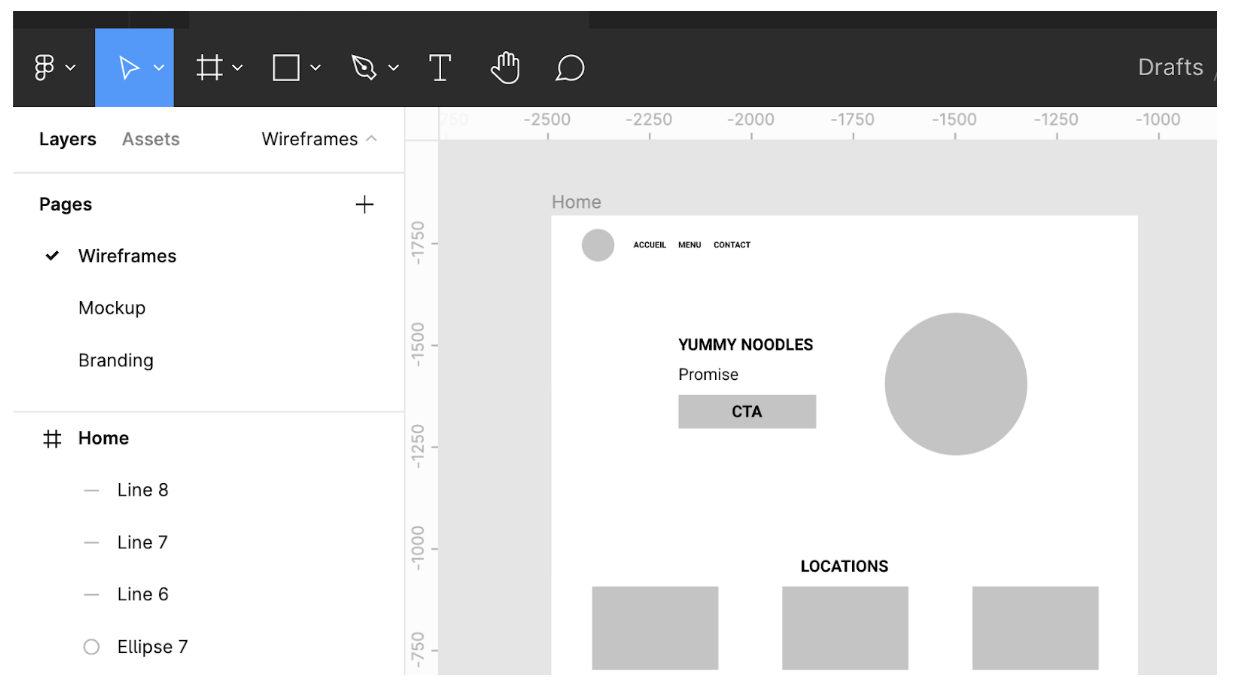
You’re starting to get the hang of this! We’ve now got the basic elements of our wireframe for the homepage, as you can see:
Now I’m going to show you some extra tools to make using Figma easier. You can use these to position your elements on the page and align them with others. Let’s go to the screencast below to see how they work: 👇
Positioning and aligning elements in Figma should be a piece of cake for you now, which is lucky because you’re going to need to use these skills in a moment.
Over to You!

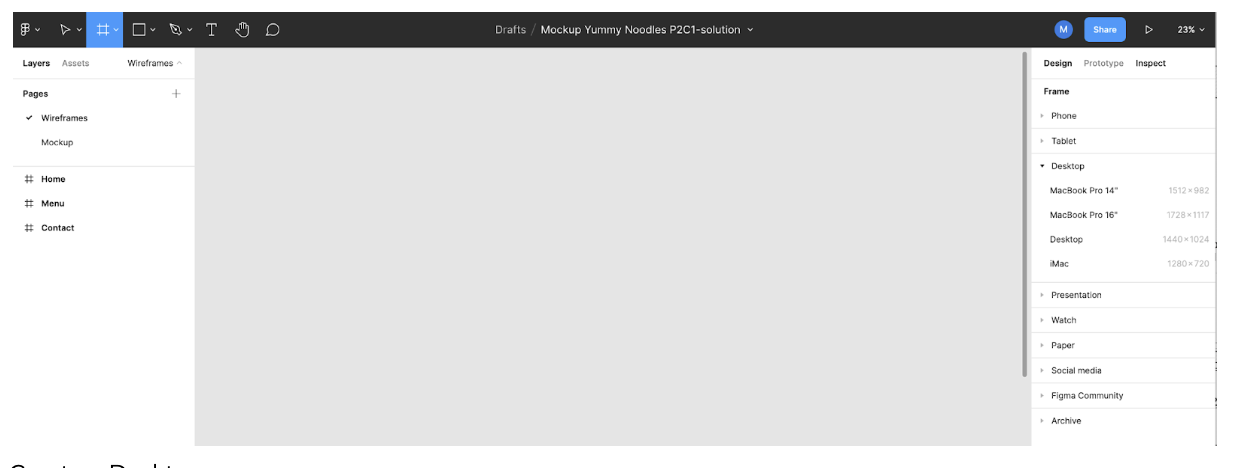
Your wireframes for Yummy Noodles are starting to take shape! You already have the homepage, which you can see here. You can copy the content of the file and import it into your own file if you like. For this exercise, your mission is to:
create a wireframe in Figma for the Menu page.
create a wireframe in Figma for the Contact page.
The solution to the exercise is here, and there’s a video explaining how to do it just below: 👇
Let’s Recap!
Figma is a free online tool that you can use to create mock-ups and work on them together with other people.
In your wireframes, each “frame” contains certain elements (shapes, text boxes, etc.) and corresponds to a page of your website.
There is a hierarchy between the elements which determines whether they’re in front of or behind other elements.
Figma provides tools to position and align your elements.
Now you know the basics of using Figma, let’s take our prototyping skills further and see how to adapt our wireframes to different formats, like smartphones!
