Format Your Data

Your boss has just sent you an extract of a 2019 sales file, to familiarize you with the format. We’ll call this file “Test file.”
You open the test file, and it’s a disaster! The file is unworkable, and too big! 😱
This is what the test file looks like:
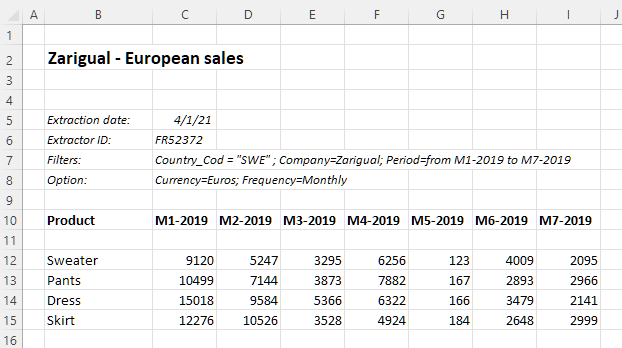
Don’t panic! We’ll work together to ensure that the file is usable. 😉
Analyze the Information in the File
Let’s start by analyzing the content of this test file. Did you know that Excel can run a full and automatic inspection of your file?
Here’s how to do it:
Click on the “File” tab, then “Info.”
Click the
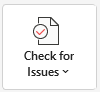 button, then “Inspect Document.”
Excel will advise you to save your document before running the inspection. This is excellent advice, as the inspection is often followed by a data clean-up which may remove some information!
Excel lets you select which components you want to inspect:
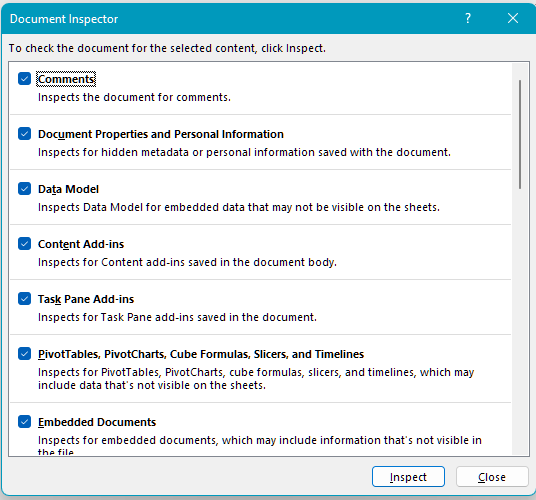
Click on “Inspect.”
Once the inspection is complete, Excel brings up the results:
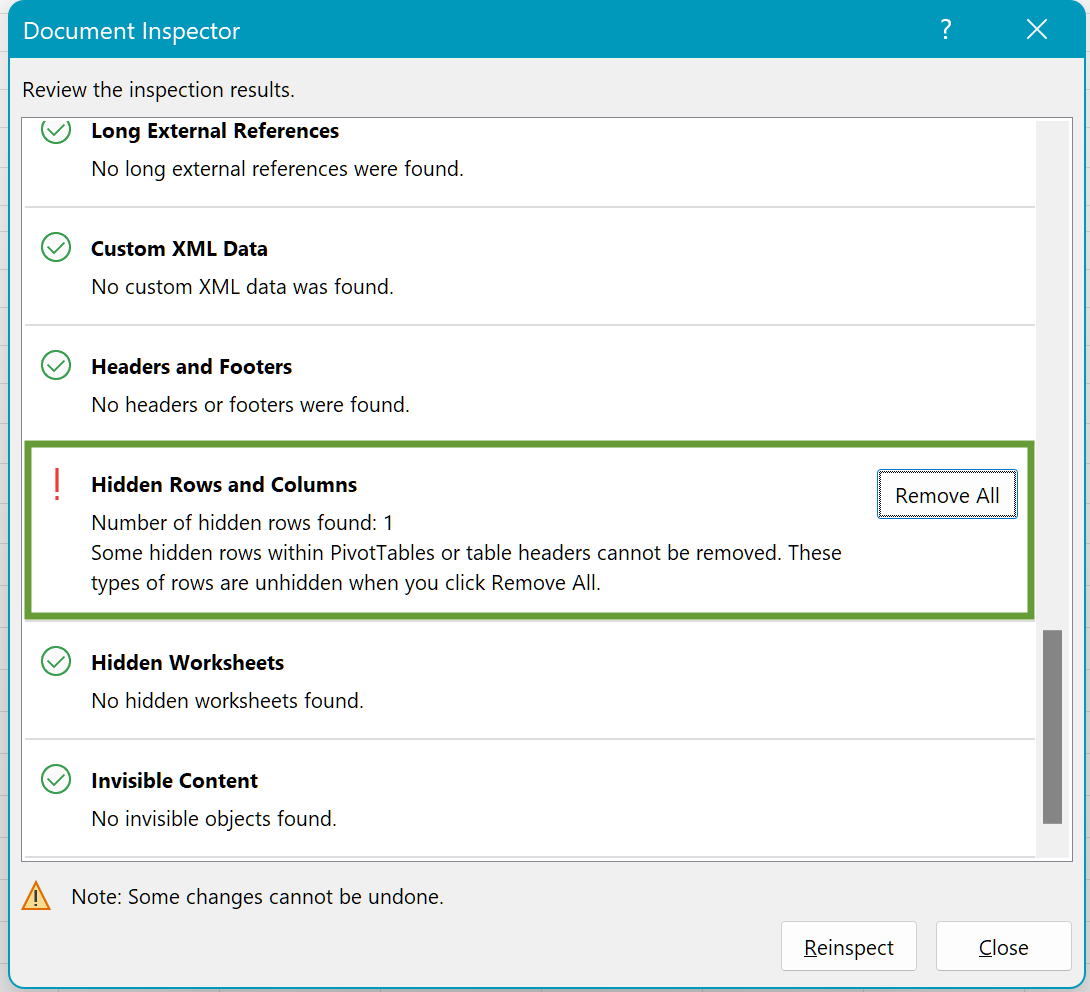
Excel proposes two solutions for each item found:
Delete it automatically.
Find and delete it yourself.
It’s up to you to decide what to do!
In our test file, the hidden row is row 14. You find it and notice that it doesn’t contain any data. Therefore, you can delete it.
Delete Unnecessary Data
Now, your goal is to transform this test file into a data list.
In the test file, you find unnecessary rows and columns:
The rows above the data (lines 1 to 9) are there for information, but don’t contain any data. They should be deleted.
The empty column to the left of the data (column A) is also unnecessary and should be deleted.
The row (row 11) under the header row is completely empty, which means that Excel will not link the header row with the data. It needs to be deleted.
You can now save your file.
The test file is finally in a data list format:
Make Your File Smaller
If you are struggling to send your Excel file as an email attachment, then it's become too big (10 Mb or more). If you are processing large amounts of data, you might reach this size quite quickly!
Excel can help you find the last used cell in your worksheet, so you can be sure that you haven’t missed any data! 😀
Here’s how to do it:
Click on the arrow under “Find & Select,” and then “Go To Special.” A window displays the following:
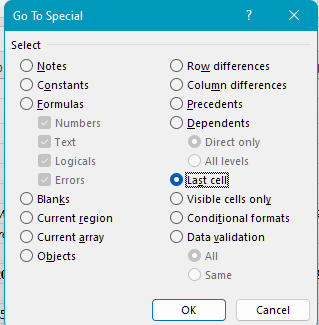
Select “Last cell.”
Click “OK.”
Excel automatically selects the last used cell on the tab (in our test file, it’s cell H5000).
If the cell doesn’t contain any data, you can delete it!
Right-click on the cell and “Delete.”
Select “Shift cells left” or “Shift cells up,” based on your preference.
Click “OK.”
Save the file.
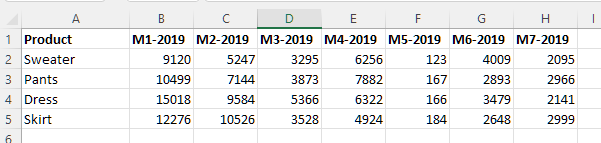
Ta-da! You have corrected your file’s last cell! (Cell H5 in the test file.)
Transpose Your Data
You want to reduce the number of columns in your data list. The data list will therefore display vertically instead of horizontally.
Excel lets you transpose horizontal data to vertical data. Here’s an example:
Start by creating a new worksheet.
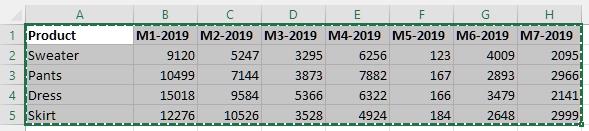
In the “P2C2_01_Test_File” sheet, select and copy the data, including the header row.
In “Sheet1” right-click on cell A1, and select “Paste Special.”
Check the box next to “Transpose”:
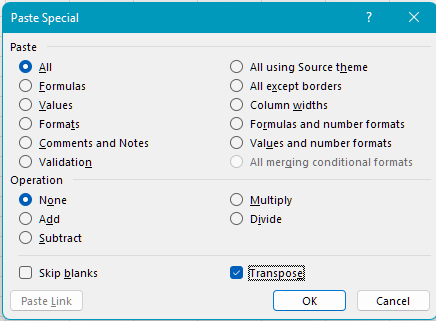
Click “OK.”
Ta-da! Your data has been transposed! 😀
Over to You!
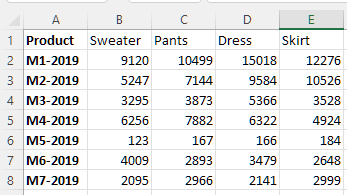
Your boss sends you this sales file. Your brief:
Inspect the file and remove any unnecessary rows and columns.
Make the file smaller by searching for the last cell.
Answer Key
Check your work by downloading the answer key and watching the video below:
Let’s Recap!
Check a source file using the Document Inspector, so that you can manipulate the data.
Prepare your data in a data list, so that you can use it: delete unnecessary information, make the file smaller, and transpose your data if needed.
You have successfully formatted the data in your source file! Go to the next step: Create a Table.
