Automate Tasks Using VBA Macros

Your boss has asked you to update your dashboard every quarter. It’s going to be really time-consuming! 😱
Luckily, macros can make your life easier… 😇
You might have heard of “macros” and “VBA” before, but what do they actually mean?
Find Out More About Macros
Create a Macro-Enabled Workbook
A macro is a computer program which carries out actions in Excel.
This program is saved in the Excel workbook of your choice. You just need to make sure that the file is saved in a certain format.
To save your file with the right extension:
Create a new workbook.
Go to “File” and “Save As.”
Select the format “Excel Macro-Enabled Workbook(*.xlsm).”
Choose a location, name your file and click OK.

Your file doesn’t contain any macros yet, but is now enabled for macros. 😊
Open a Macro-Enabled Workbook
If you’re opening a “.xlsm” file which contains macros for the first time, Excel will ask you if you want to activate the macros.

Create Your First Macro
Your boss has sent you a new data file for May 2021, in the same format as the one that you used at the beginning of the training program (part 2, chapter 3, full data list). Please download it to follow the demonstration.
Your goal is to create a macro which deletes the unnecessary spaces for you. 😊
Record a New Macro
To create your first macro, you’ll need to display the “Developer” tab, which Excel hides by default.
Here’s how to do it:
Right-click anywhere above the ribbon icons.
Click on “Customize the Ribbon…”
The tabs/icon window pops up. Check the “Developer” box on the right-hand side.
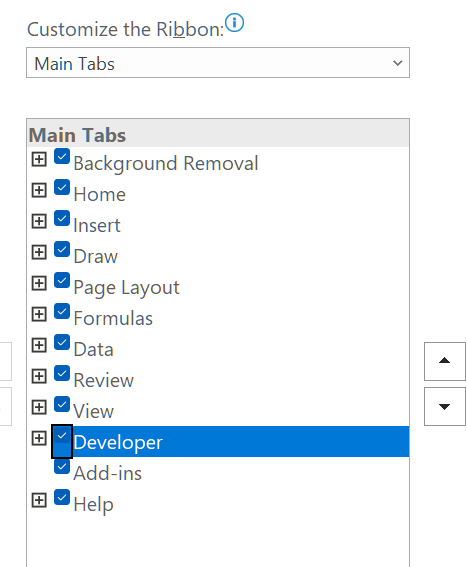
Click OK, and ta-da! The new tab appears!
For your first macro, you’re going to record an automatic macro which will record all of your actions:
Open the file that you downloaded above.
Go to the “Developer” tab and click on the
 icon.
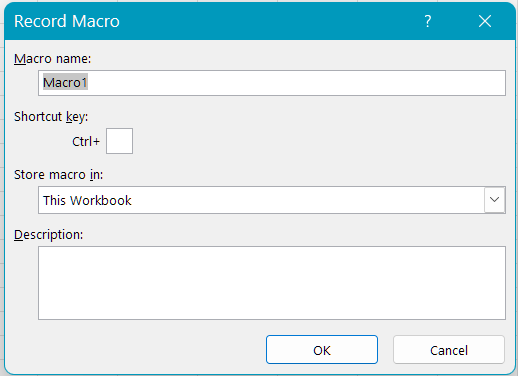
icon.Enter the name of your macro in the dialog box. Here we’ll use “First_Macro” (spaces are not permitted).
Click OK.
Complete the process that you are already familiar with for removing unnecessary spaces:
Add a column to the right of column B “Country_Cod.”
Complete column C using the TRIM() function.
Copy column C to column B.
Delete column C.
Stop the recording by clicking the
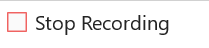 icon.
icon.
Ta-da! You have just recorded your first macro! 😀
Run an Existing Macro
Once your macro has been recorded, you can re-run it.
To run your macro:
Go to the “Developer” tab and click on the
 icon.
icon.The dialog box shows macros for all open workbooks.
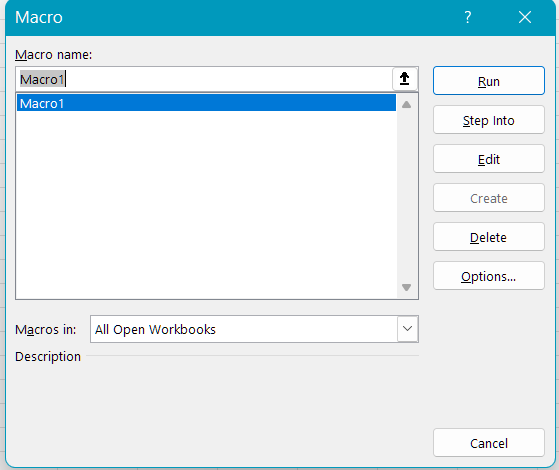
Click “Run.”
The macro will repeat all of the actions that you have just completed manually, only much faster!
Use Visual Basic to View Your Macro
Open Visual Basic
So where exactly is my macro? 😅
If you want to view your macro, you’ll need to open the “Visual Basic Editor,” which is a special macro tool.
To open this window:
Go to the “Developer” tab and click on the
 icon. You can also use the keyboard shortcut Alt + F11. 😉
The window opens.
Visual Basic can be broken down into two parts:
The “Project” window on the top left, which shows the open files. Recorded macros can be found under “Modules.”
The window on the bottom left shows the “Properties” for the selected module.
The main display on the right-hand side shows the detail of the selected module.
Read Your First Macro
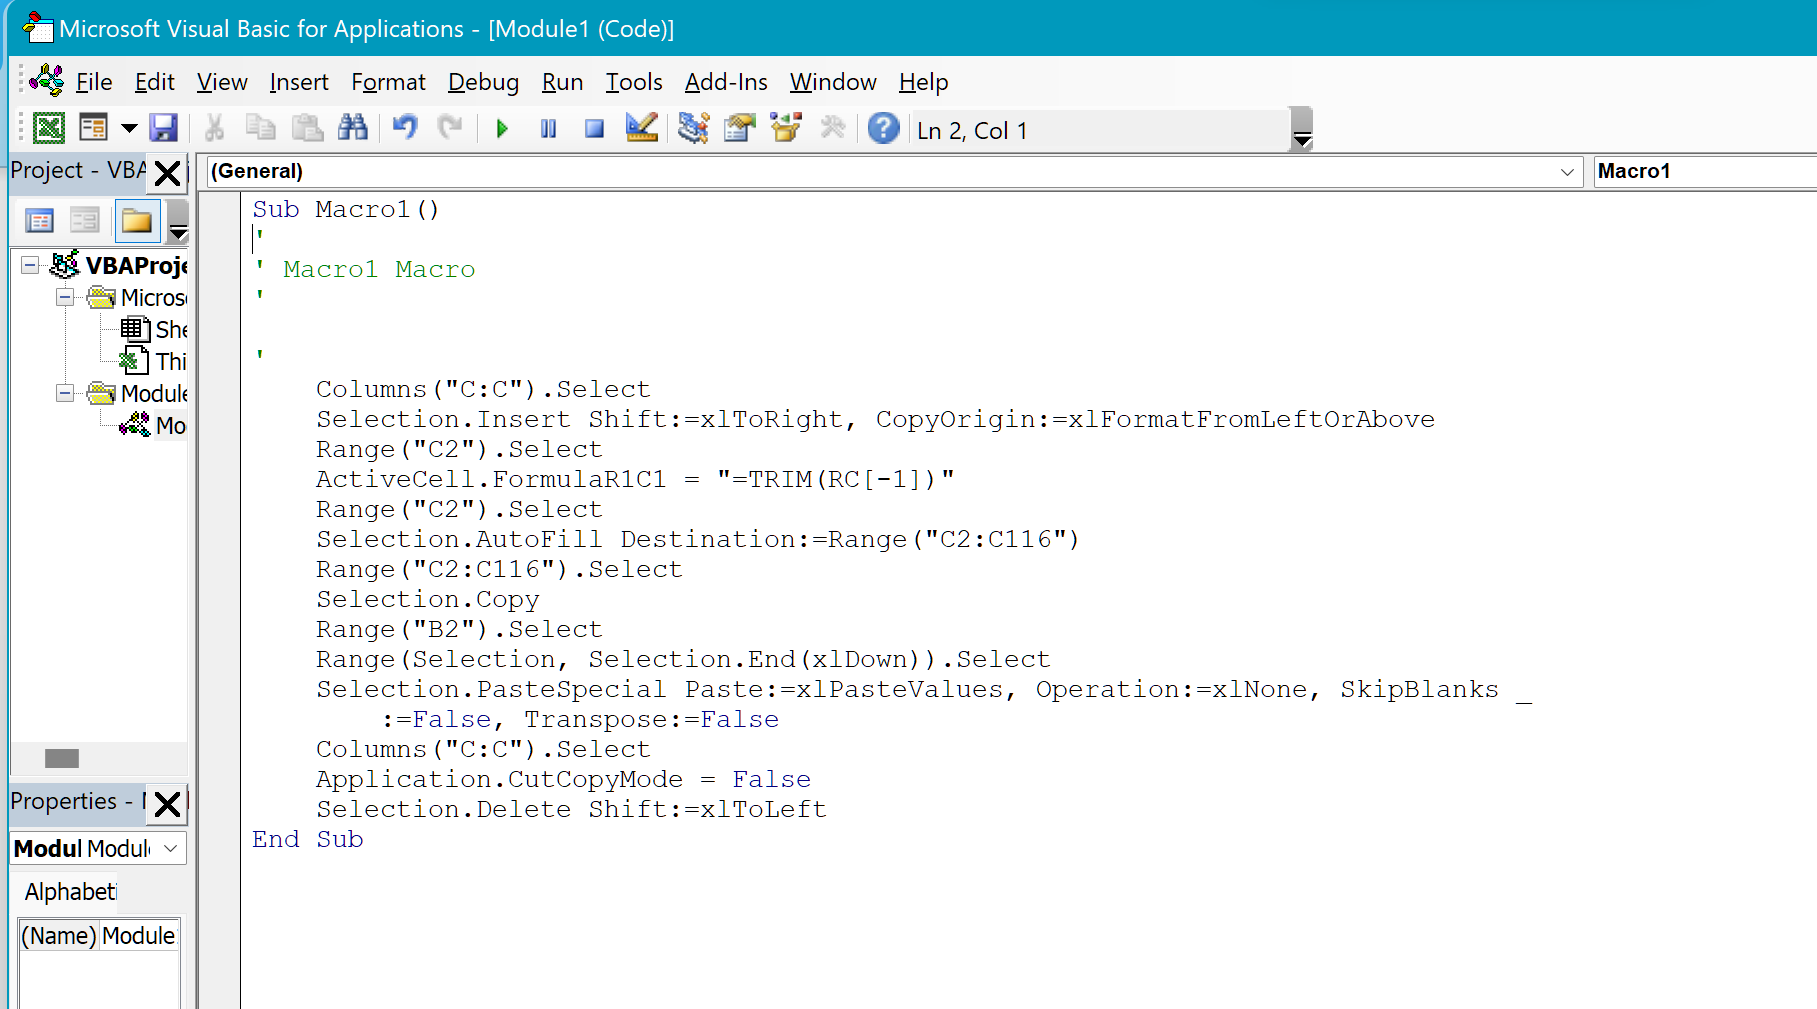
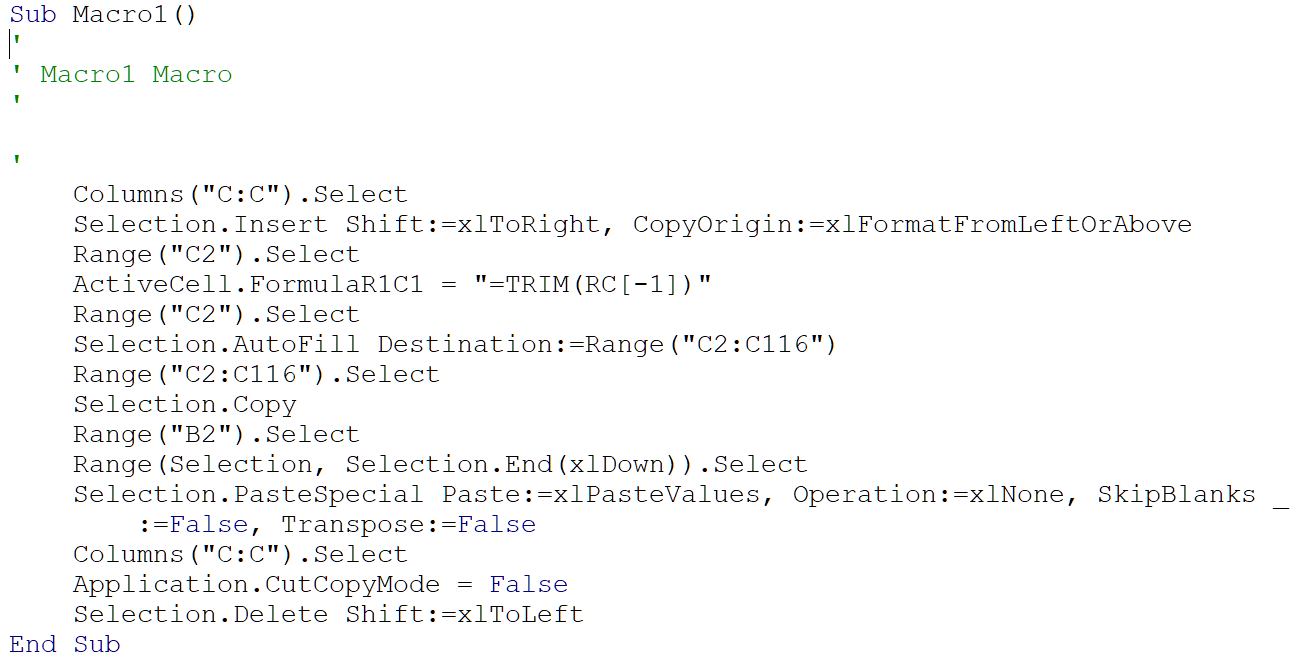
Double-click on the module to view the code for the macro that you have just recorded.
This is the code for your first macro:
Impressive, isn’t it?! 😅
You can break the code down into several parts:
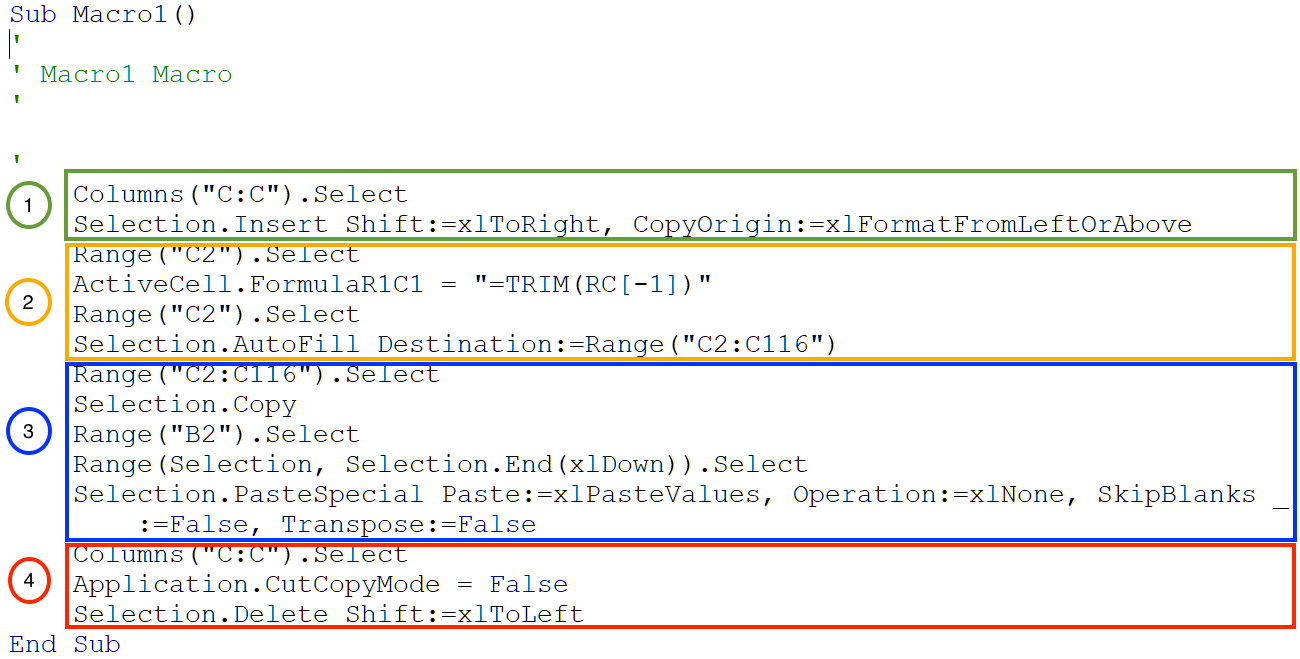
Part 1: you select column C, and you insert a column.
Part 2: you insert a formula in cell C2, and you autofill cells C2 to C116 with this formula.
Part 3: you select cells C2:C116, copy them and then paste the values.
Part 4: you delete column C.
These are the actions that you performed manually! 😊
Automate Your Tasks
Assign Your Macro to a Button
The more often you have to carry out a task, the more benefits a macro will bring!
You’ll therefore want to access your macros quickly without going via the “Developer” tab.
Why not create a button to launch your unnecessary space removal macro?
Create a new shape via “Insert,” the
 icon, then add a rectangle.
Type the text “Remove unnecessary spaces in column B” inside your shape.
Open the shape’s context menu.
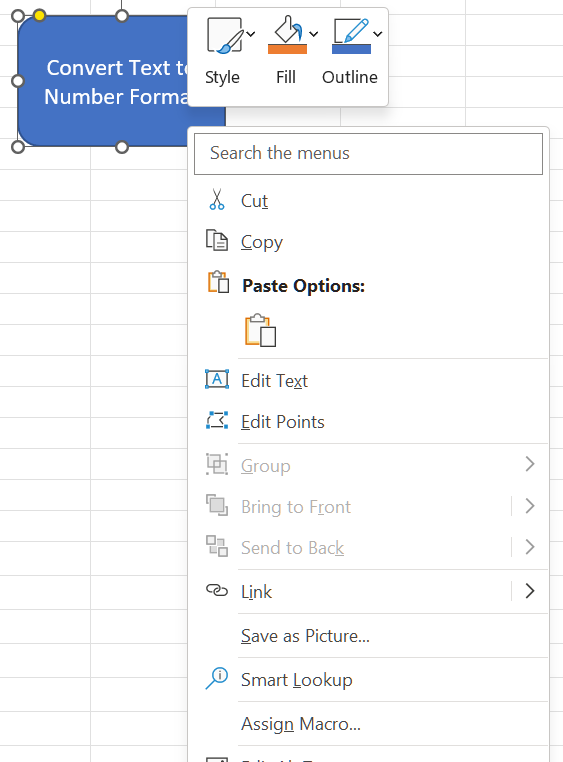
Select the relevant macro and click on “OK.”
Ta-da! Every time you click on the button, column B will be adjusted. 😊
Tailor the Macro to Your Requirements
Change the Macro Code
Your boss has sent you a new file for June 2021, which contains 100 more rows than the March 2021 file.
Don’t worry! 😇 This is because the macro contains absolute row references, such as row 116 in the image below:
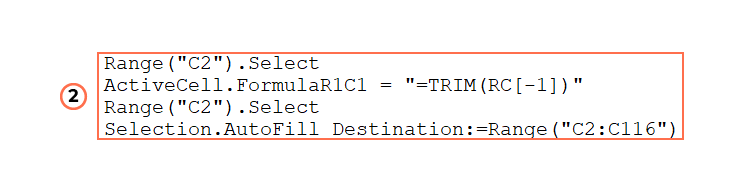
You simply need to replace 116 with a bigger number, like 10,000, and re-run the macro!
Ta-da! You can now use your macro with any new file! 😊
Use Multiple Macros at Once
Now you’ve created your macro to delete unnecessary spaces (“First_Macro”), you can create other macros by following the steps below:
“Remove_Duplicates,” which removes duplicates from the new database
“Format_Categ,” which transforms the Categ column
And many more…
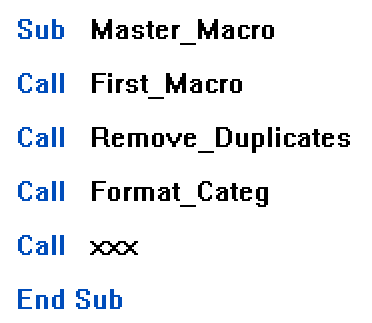
Once you have set up these macros, you can manually create a “master” macro to group all of the macros together in one place.
This means that you can make all of your adjustments with just one click! 😀
Use the term “Call” to create this macro:
Over to You!
Download this file and do the following:
Create an automatic macro called “Text_Format_In_Number_Format”, which transforms the “Sales” column (text format) into number format. Tip: Use the VALUE() function to transform this column. 😉
Assign this macro to a button.
Amend the macro so that it works on a database with 1,000 rows.
Answer Key
You can find the answer key here and watch the video below to check your work.
Let’s Recap!
Excel lets you use macros to automate certain tasks.
If you want to use macros, you’ll need to save your files in .xlsm format.
You can use the Visual Basic editor to change and adjust your macros.
You can automate tasks by assigning your macros to a main macro, and assigning that macro to a button.
Well done! You have now reached an advanced level on Excel! 🥳 Are you ready for the TOSA certification?
