Use Some Basic PowerShell Commands
Welcome to this course! We’re going to learn to use PowerShell together, so we can create scripts to automate our tasks.

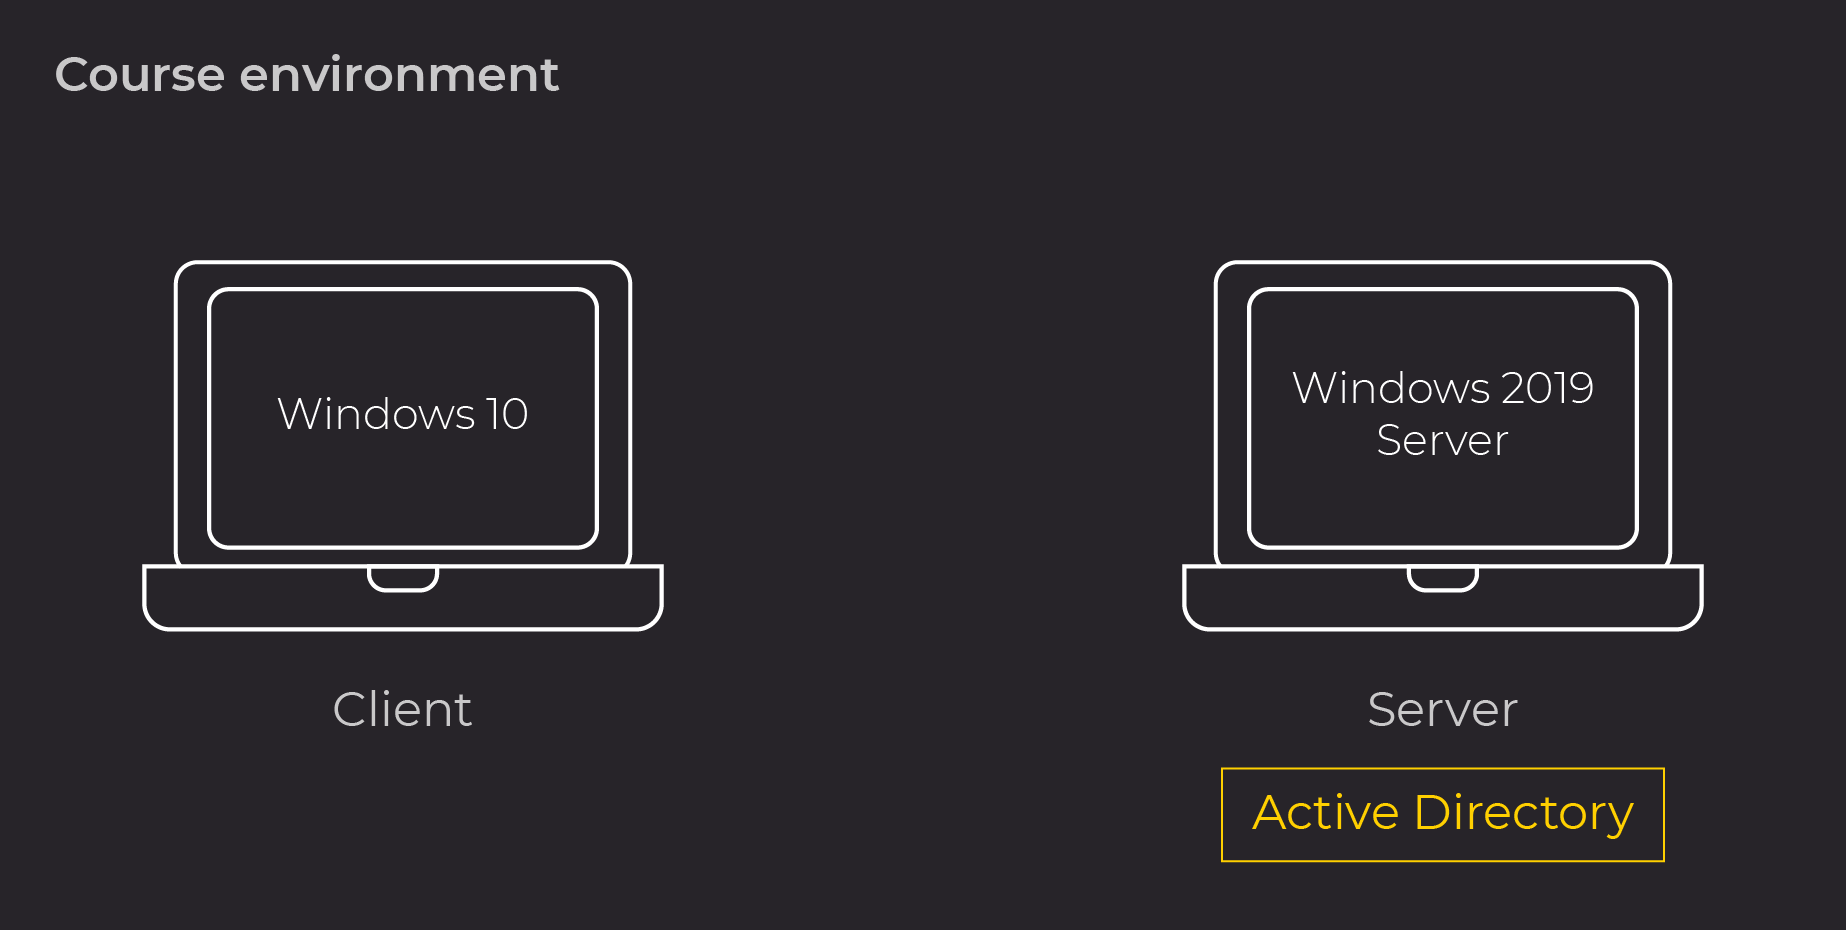
Once everything’s set up, you can move on to the next part. You’re going to use a separate network so that you don’t cause any problems in your local network.
Discover PowerShell
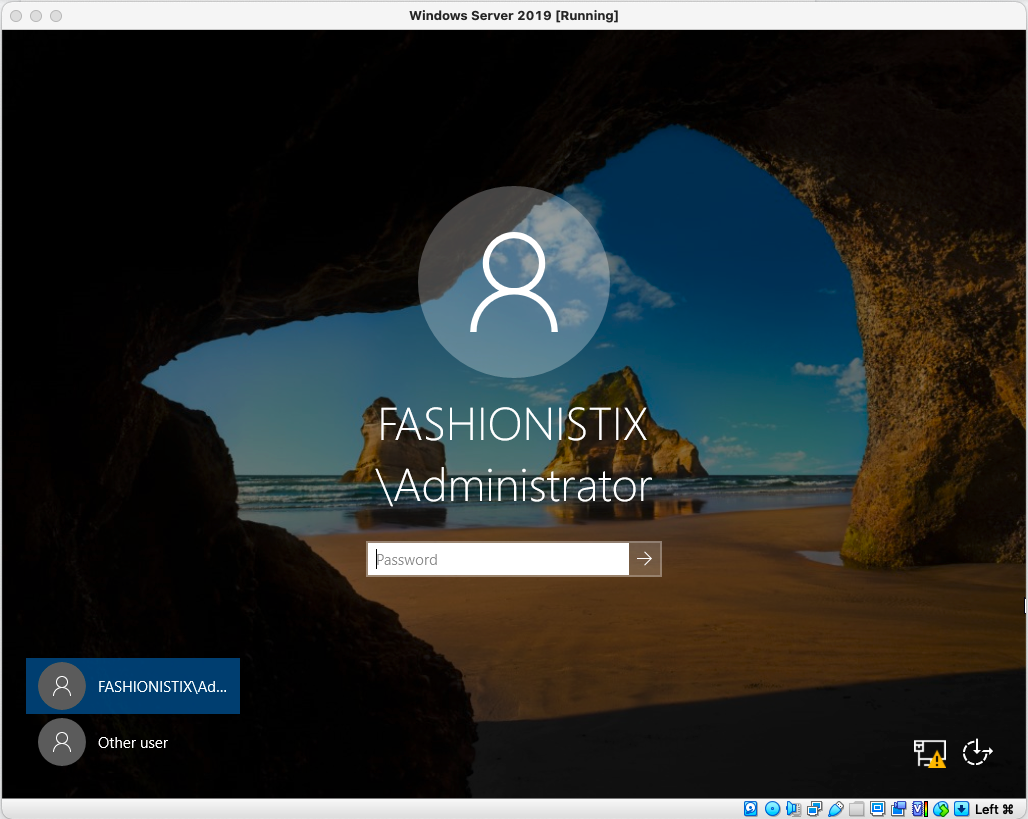
Turn on your server. It should look like this when you start it up (the administrator password is PwdOC80!):
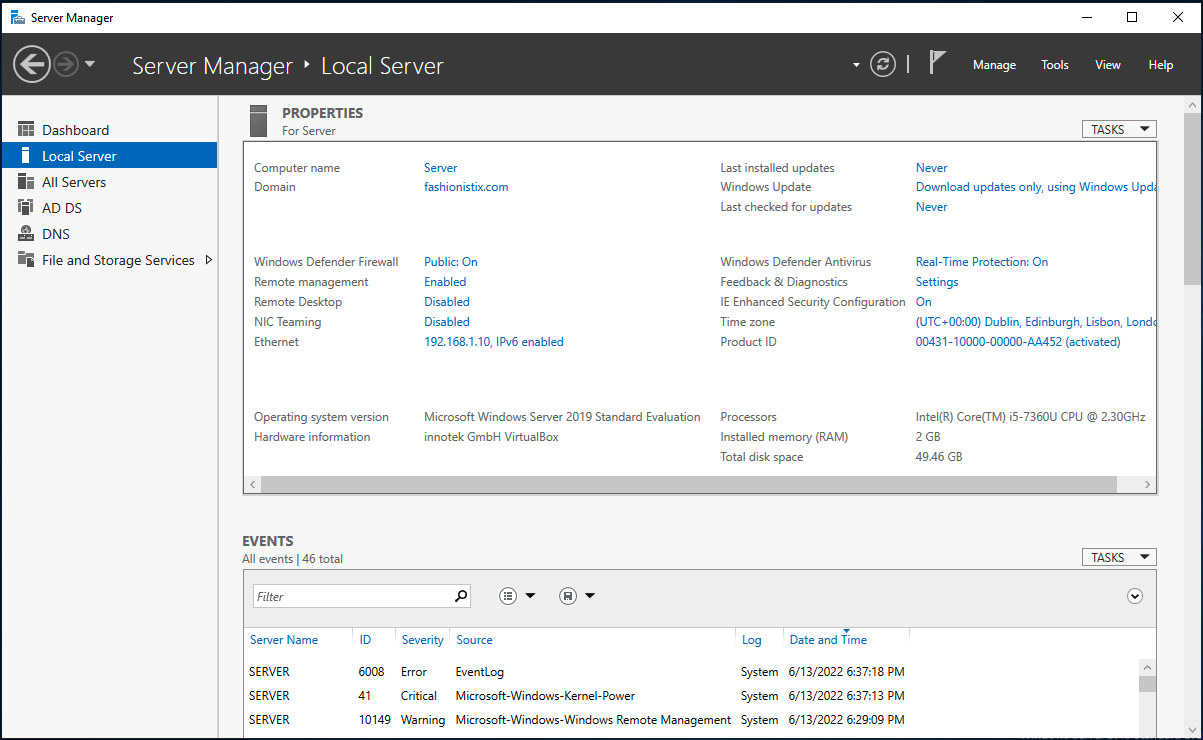
You should now see this Server Manager screen:
DOS: the Predecessor to PowerShell
For those of you who, like me, were around when IT was still in its infancy, PowerShell is the successor to the DOS/Windows command line interface provided by:
command.com (better known as MS-DOS) within Windows ME, Windows 98 and their predecessors.
cmd.exe within Windows NT since 1993.
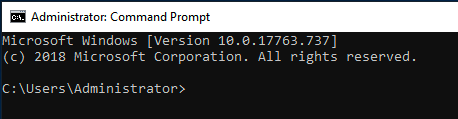
However, you can still use MS-DOS, even on a PC running Windows 10 or Windows 2019 Server. You just need to select Command Prompt from the Start menu on the Windows taskbar:

You can also type “cmd” in the search bar.
And here it is!
Great, I’ve got some text on a screen, but aren’t I using a graphical user interface?
Well, when we first started to use computers in the 1980s, MS-DOS (first released on August 12, 1981) was the default operating system for all PCs. There was no such thing as a graphical user interface (often shortened to GUI). The very first operating systems with a graphical user interface only appeared in 1985 (Windows 1.0), so for many years, we accessed the operating system via the command line.
Why would you use a command line interface when a graphical user interface is much more user-friendly? 🤔
Well, in this course, we’re going to find out how useful this way of working can be. We can do things more quickly and automate certain tasks.
Okay, great, that’s MS-DOS, but I thought I was doing a course on PowerShell!
Don’t worry, I’ll explain it all.
Use PowerShell
Right, so what’s PowerShell?
You can access PowerShell in a number of different ways. For example, you can launch PowerShell from the MS-DOS prompt that I showed you earlier, by typing powershell :
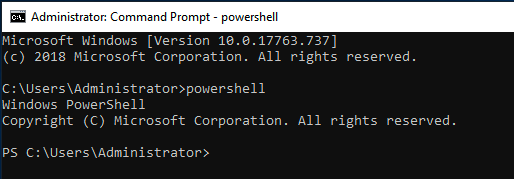
Voilà! If you look at the prompt, it has now changed from C:\Users\Administrator> to PS C:\Users\Administrator>. And that’s the only difference. I’m now in PowerShell command line mode.
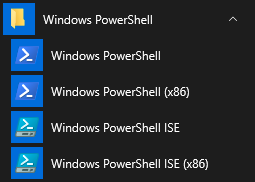
Another way to launch PowerShell, and the one we’re going to use, is to select Windows PowerShell from the Start menu on the Windows taskbar:
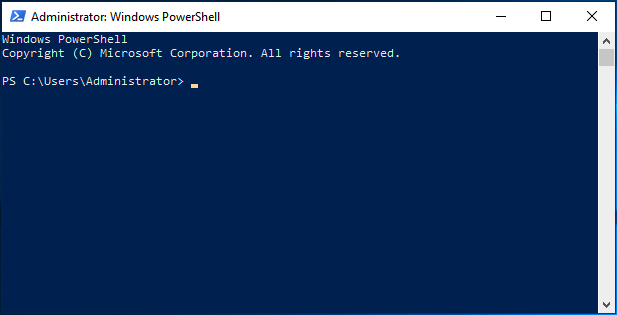
This will put you straight into PowerShell mode. Okay, the screen’s blue, but it works in the same way as it would if we’d used the command prompt. It’s just a more user-friendly way of reminding you that you’re in PowerShell mode (but you can still return to MS-DOS mode by entering cmd).
You can also use the Windows PowerShell ISE if you prefer (as we did in the chapter Administer Your Server Using Powershell of the Manage Windows Server course), because this displays a list of PowerShell commands. We’re going to start off by looking at the basic PowerShell commands, so for this, we’ll use the PowerShell console. We’ll use PowerShell the hard way, as this will help you learn the commands off by heart. I recommend you use the autocomplete function like we do with Linux, by starting to type a command and then hitting the tab key. Autocomplete is super useful, because you can enter commands quickly while avoiding any syntax errors.
Try typing “Get-H” and then hit Tab. The Get-Help command is displayed.

And that’s our first PowerShell command! I’m sure you’ve worked out that this command gives us help on other commands. Try it out!
So, What is PowerShell?
Okay, cool, we’ve talked about PowerShell’s predecessor and we now know how to run it. But what is PowerShell?
PowerShell is a scripting language based on object-oriented programming. PowerShell software (executable file powershell.exe ) is a command interpreter within the Windows PowerShell development environment.
PowerShell commands consist of a verb or prefix and a noun, separated by a hyphen. They can be followed by parameters, and we call them commandlets, cmdlets or command applets.
The cmdlet prefix is called a verb because it determines the action to be performed on the entities defined in the cmdlet. Let’s have a look at some of the most useful ones:
Addadds data or information to the noun that follows.Getretrieves data or information about the noun that follows.Readreads data or information about the noun that follows.Clearresets the interface display.ImportandExportwill import/export command files or Aliases.Newcreates new objects or variables.Setdefines data or information for the noun that follows.Writewrites data or information about the noun that follows and can provide a report for a command.
PowerShell is closer to a scripting language such as Perl than to a Shell language such as Bash. There is no similarity between PowerShell and .BAT Batch files used in DOS/Windows. Microsoft’s aim was to have a fully integrated scripting language with as much functionality as those you find in Unix (or Linux) and with the same level of security.
Run Some Basic Actions Using PowerShell
Right, let’s get down to business. We’re going to see some of the interesting features provided in PowerShell.
Retrieve Character Strings
Okay, I’ve started up my PowerShell console, I’ve got my nice blue screen up, so I’m going to use this console for the rest of the chapter.
Here’s a really interesting feature to show you: Read-Host. It’s a feature that will capture a character string and store it in a variable. We’re going to use this feature regularly throughout the rest of this course.
Let’s go, enter the following command:
PS C:\Users\Administrator> $val = Read-Host "Enter a character string"
The console will then prompt you to enter a character string. You can type whatever you want. I’m going to type “Hey, this course is awesome”:
PS C:\Users\Administrator> $val = Read-Host "Enter a character string"
Enter a character string: Hey, this course is awesome
Okay, that’s all fine, but what now?
To display your character string, enter:
PS C:\Users\Administrator> $val
Hey, this course is awesome
So, the variable$val returns your character string “Hey, this course is awesome.”
I know, you’re probably going to ask why you would do that. Well, you’re about to find out! In the scripts that we’re going to write together, we need the user to be able to enter information, such as usernames, group names, OUs (organizational units) names, share names, etc.
Use the Correct Type of Variable
Another option in PowerShell is the ability to enter numeric values. We’re not going to look at all of the different types of variables available in PowerShell, but here are some of them:
[string]: character string (as we’ve just seen)[char]: Unicode 16-bit character[byte]: unsigned 8-bit character[int]: signed 32-bit integer[long]: signed 64-bit integer[bool]: boolean value (True/False)
There are other types of variables, such as [decimal] (128-bit decimal value), [DateTime] (self-explanatory) or [array] (table of values), but we won’t be covering them in this course.
Right, let’s play around and test out some different numeric data types. Enter the following commands:
PS C:\Users\Administrator> [byte] 254
254
That’s all fine. But if we enter this:
PS C:\Users\Administrator> [byte] 3443
Cannot convert value "3443" to type "System.Byte". Error: "Value
was either too large or too small for an unsigned byte."
At line:1 char: 1
+ [byte] 3443
+ ~~~~~~~~~~~
 + CategoryInfo : InvalidArgument: (:) [], RuntimeException
 + FullyQualifiedErrorId : InvalidCastIConvertible
We get an error, because 3443 is greater than the maximum value that a byte can hold.
So, you need to ensure that you use the right variable type in your scripts.
Let’s Recap!
In this chapter, we’ve seen:
how to use the DOS command prompt console.
how to launch the PowerShell console.
the
Get-Helpcommand, which gives you information about PowerShell commands.the
Read-Hostcommand, which captures information that can be used in our future scripts.the different types of variables used in PowerShell (
[string],[char],[byte],[int],[long]and[bool]).
In the next chapter, we’re going to see how to manage, create and organize our files and folders using PowerShell.
