Automate Backup Tasks Using PowerShell Scripts
 So, we’ve finally seen what we have to do to create our first backup script. We’ll need our two virtual machines, so make sure you’ve started them up. Let’s get on with it!
Create Your First PowerShell Backup Script
Configure Your VMs to Write the Backup Script
Let’s get started. We’re now going to create some backup scripts. We’re going to use our two virtual machines at the same time and create the scripts on the client workstation running Windows 10.
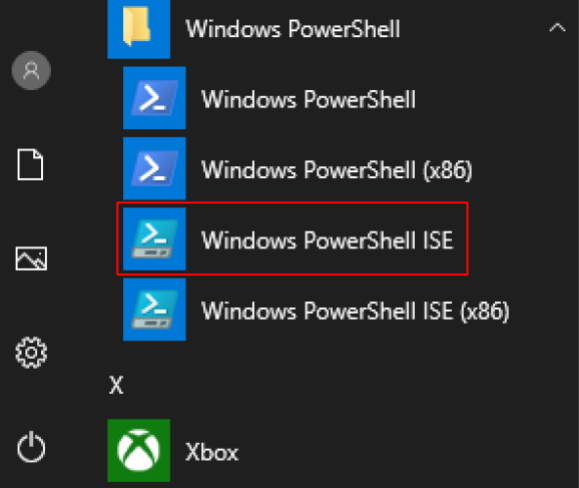
Don’t worry, it works in exactly the same way. In Windows 10 you have the same Windows PowerShell ISE, and that’s what we’re going to use in this chapter:
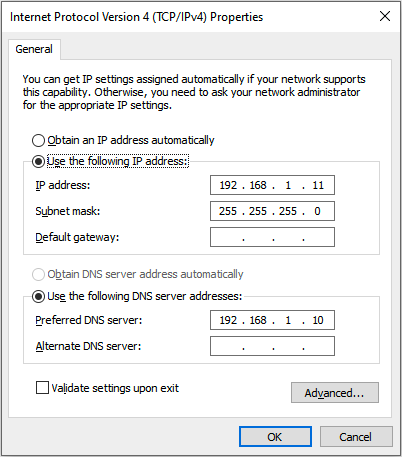
Take a moment to check the IP configuration of your client workstation. It should look like this:
Test communication with your server:

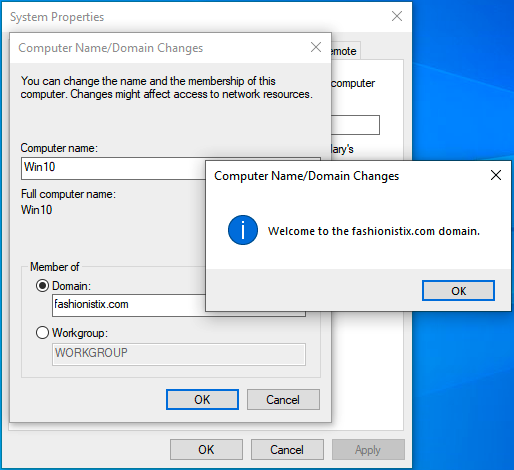
Great! You should also ensure that your client workstation is added to the domain. If you didn’t pick up the virtual machines at the beginning of the course, add the Windows 10 computer to the fashionistix.com domain:
Grant User Permissions
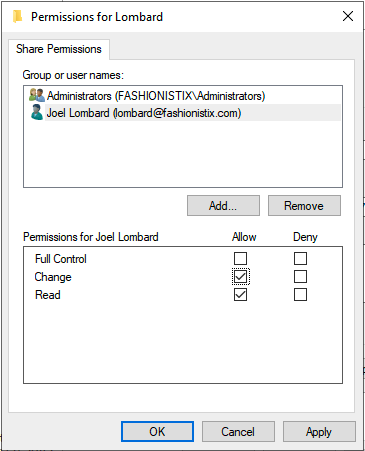
At this point, my user “lombard” doesn’t have write access to the directory on the server to which we are going to copy our files. So, we're going to switch to the server and create a sub-folder named Lombard in the shared Backup folder on the server that has the correct permissions.
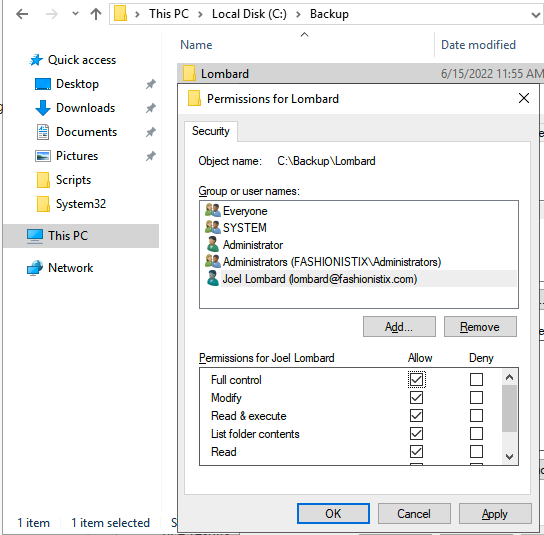
For convenience, we’re also going to share our Lombard sub-folder and we’ll set up the following sharing permissions (the Administrators group will have full control):
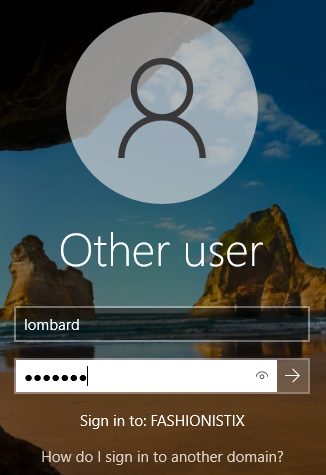
Once that has been done switch back to your PC and log in to the VM using the lombard user account with the credentials configured in the last chapter, like this:
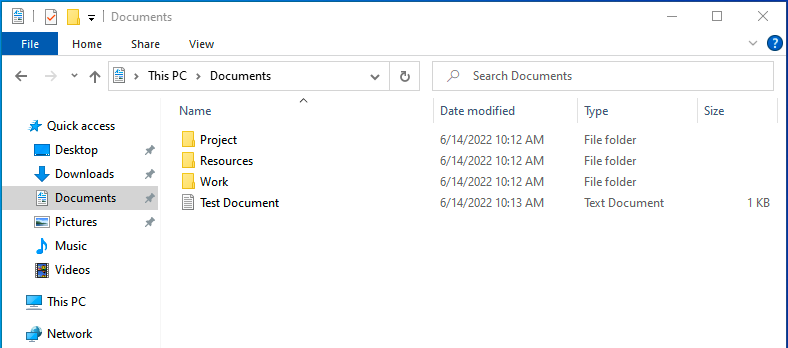
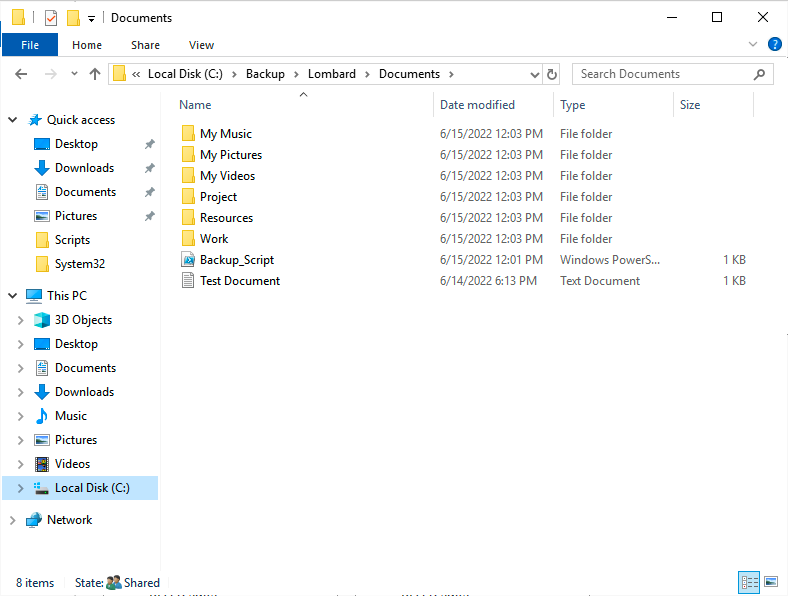
We’re going to create three directories in the Documents folder on our client workstation and create a Test_Document.Txt file that you’re going to copy into the three folders you’ve just created.
Windows 10 doesn’t allow PowerShell scripts to be run by default, unlike Windows Server. We can see this by entering the following command:
PS C:\Users\Administrator> Get-ExecutionPolicy
Restricted
We can see that PowerShell script execution is restricted.
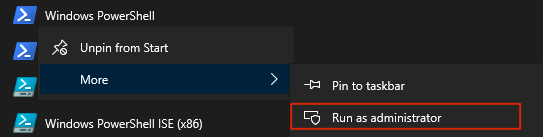
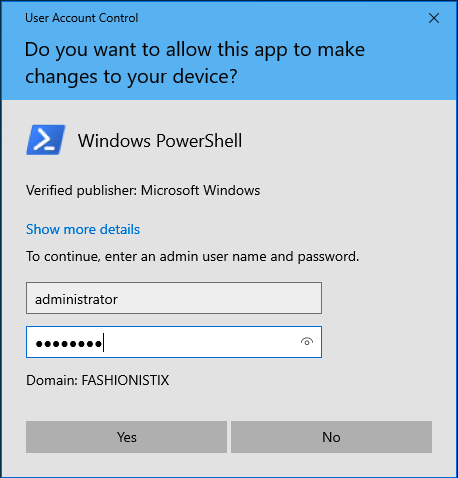
To remove this restriction, we first have to start up the console in Administrator mode:
Authenticate using the administrator account credentials when prompted:
Once you get into the PowerShell console, use the command Set-ExecutionPolicy Unrestricted and click on A for “Yes to all”:
PS C:\Users\Administrator> Set-ExecutionPolicy Unrestricted

Execution Policy Change
The execution policy helps protect you from scripts you do not
trust. Changing the execution policy might expose you to the
security risks described in the about_Execution_Policies help
topic at https://go.microsoft.com/fwlink/?LinkID=135170. Do you want to change the
execution policy?
[Y] Yes [A] Yes to All [N] No [L] No to All [S] Suspend [?] Help
(default is "N"): A
Let’s check that this has worked by re-running theGet-ExecutionPolicy command:
PS C:\Users\Administrator> Get-ExecutionPolicy
Unrestricted
It worked!
Start Creating Your Backup Script
We’re going to use a PowerShell command to copy the contents of the Documents folder from the client workstation to the Backup shared folder on the server. Here’s the command you need to enter on your client workstation:
PS C:\Users\Administrator> Copy-Item -Path C:\Users\lombard\Documents\ -Destination \\Server\Backup\ -Recurse
Let’s update our script as follows so that it will copy our new Lombard folder:
Copy-Item -Path C:\Users\lombard\Documents\ -Destination \\Server\Lombard\ -Recurse
Make sure you save your Script_Backup.ps1 file in the Documents folder on your client workstation:

There we are. I can check on the server that I’ve successfully copied the entire Documents folder into the Lombard shared sub-folder:
And there we have it, our very first backup script.
Now we’re going to see how to run this script every night.
Schedule Script Execution Using Task Scheduler
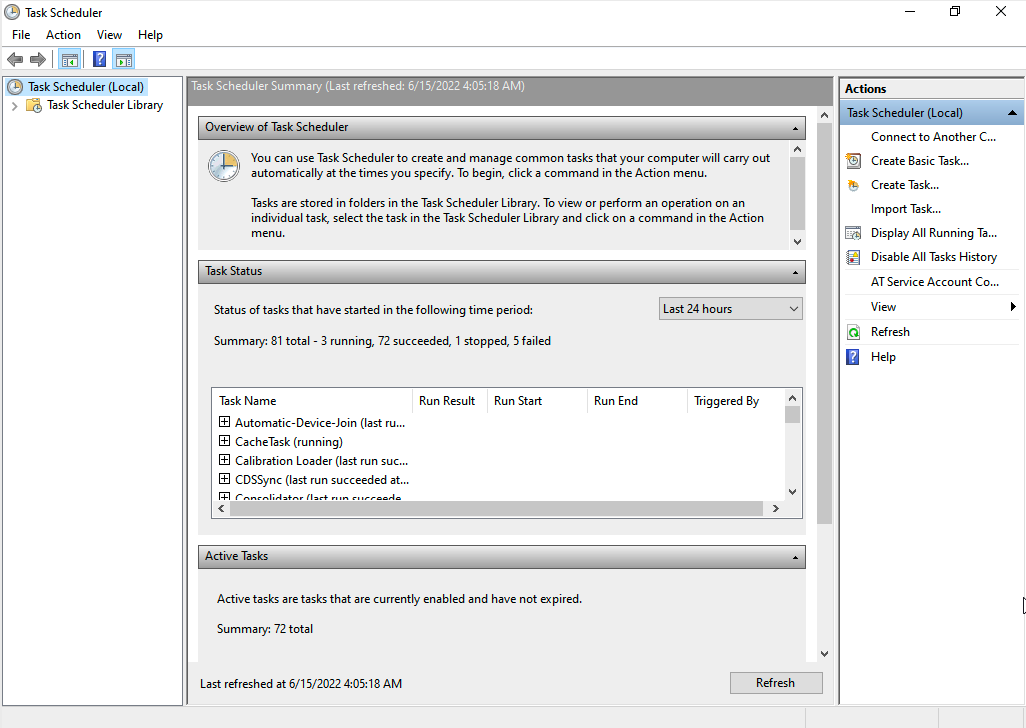
For this next part, we’re going to work with the Task Scheduler tool, which can be found in Windows Administrative Tools on our client workstation.

Here’s our Task Scheduler:
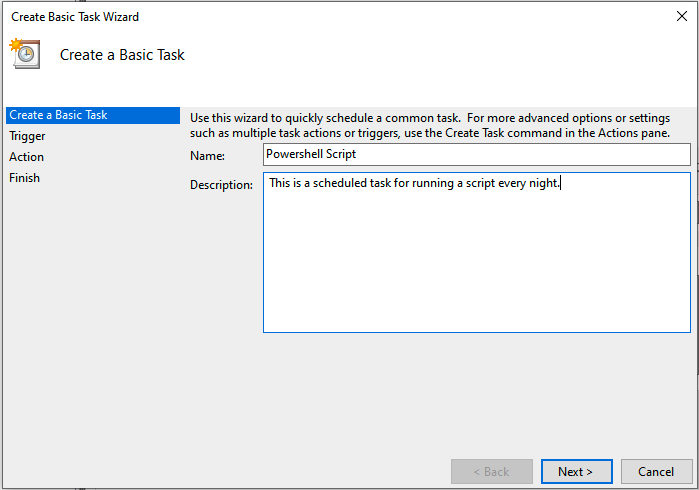
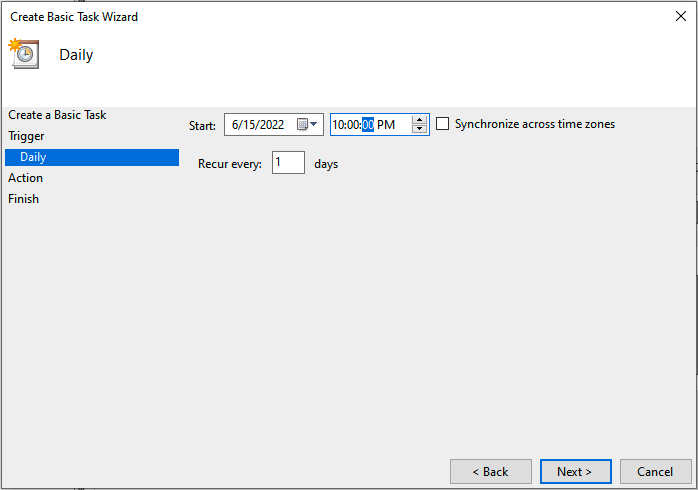
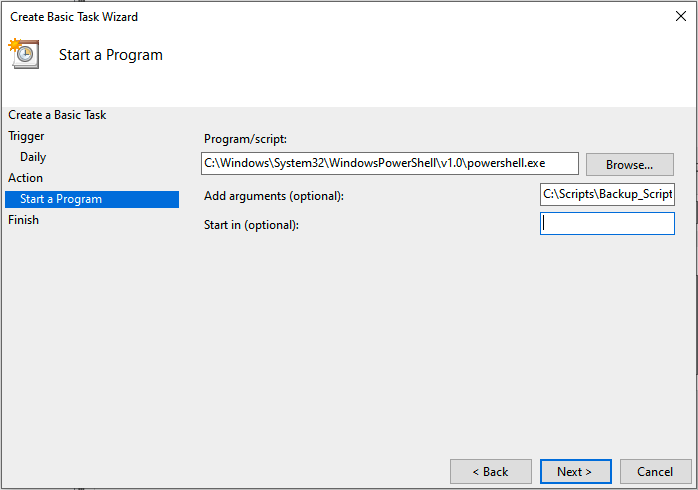
Click on Create Basic Task and fill in the fields as follows to schedule a task that will run every night at 10:00 p.m. You could copy the script we created earlier into C:\Scripts :
We can see that our task has been scheduled and we can run it now by right-clicking on it and selecting Run:
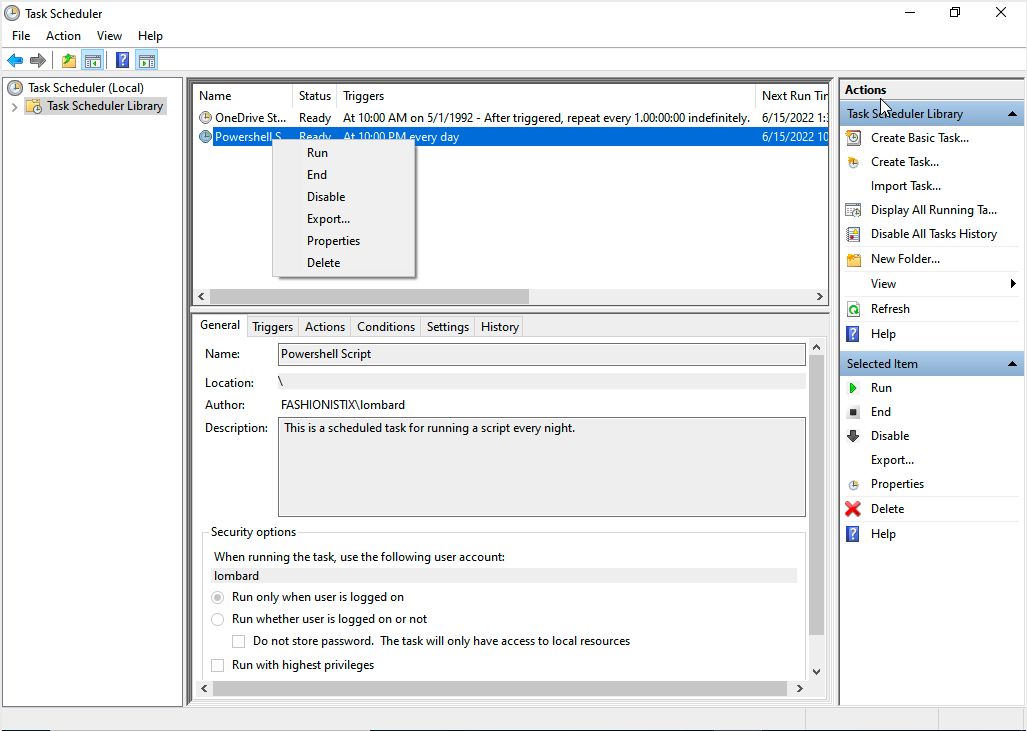
If you delete the contents of the Lombard folder within the Backup shared folder and run the script, you’ll see that all of the files and sub-folders will be copied over to the destination again.

Schedule a Backup Script on a Client Workstation Using a GPO
Since we’re using a Windows Server joined to a domain, we might as well use a GPO (Group Policy Object) to run the script, so let’s do it.
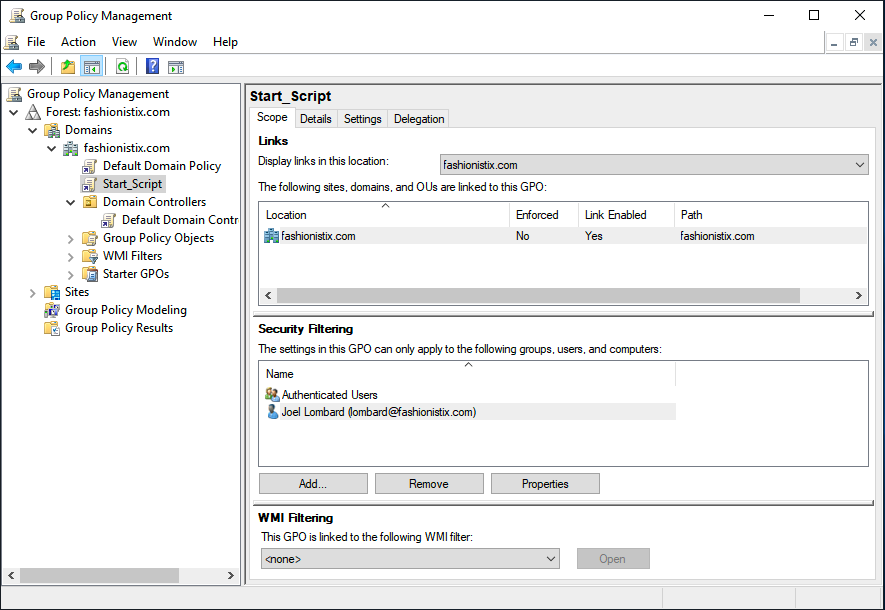
Open the Group Policy Management console on the server:
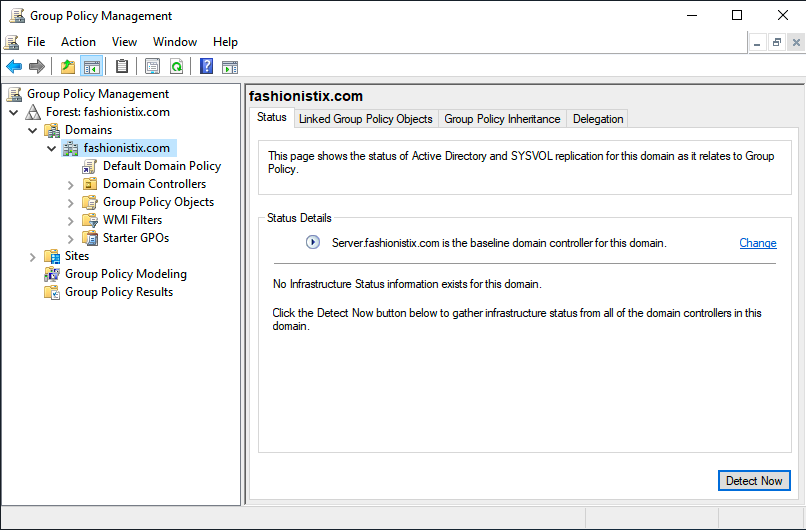
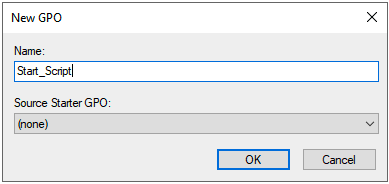
We’re going to create a new group policy object that we’ll call Start_Script :
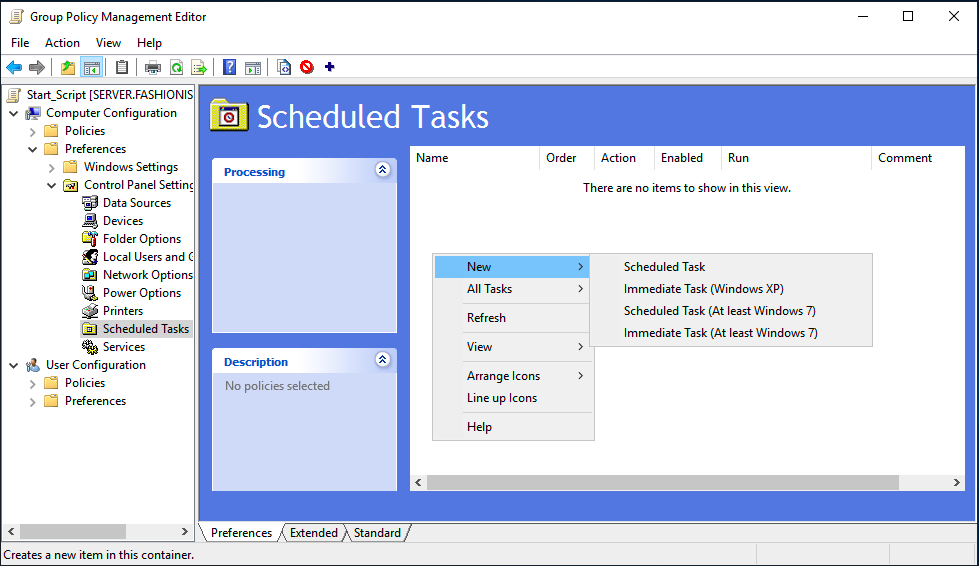
If we want to schedule a task for all users, we’ll configure a scheduled task in the computer configuration. If we want to schedule a task for a particular user, we’ll schedule it in the user configuration:
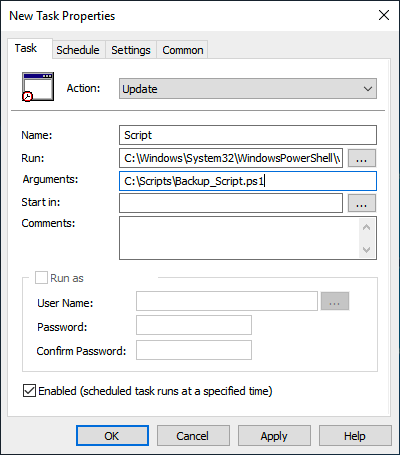
Use the following properties when setting up the scheduled task (you should create a directory called C:\Scripts on the server and copy your Script_Backup.ps1 script into this directory):
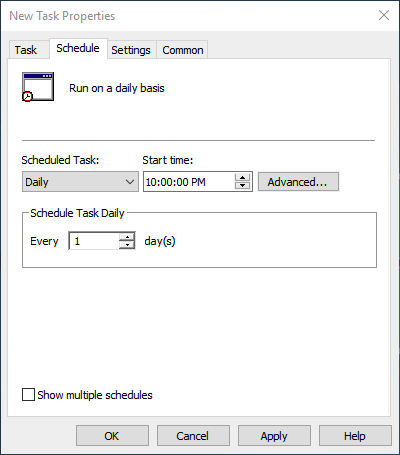
Schedule the task to run every day at 10:00 p.m.:
And don’t forget to add the user (or computer) that the group policy applies to:
Right, you can manually run the scheduled task to test the configuration, but you’ll have to wait until 10:00 p.m. to see if it runs correctly at the scheduled time!
Let’s Recap!
In this chapter, we’ve seen:
how to create a PowerShell script to automate backup tasks.
how to enable and disable PowerShell script execution on a client workstation.
how to use the Task Scheduler tool to run PowerShell scripts at a particular time of day.
how to schedule a backup script on a client workstation using a GPO.
Well, this course is almost finished! I’m delighted to have been your guide in using PowerShell to create backup scripts. I wish you all the best for your continuing adventures in the world of IT!
