Take Your First Steps in AWS
Create an AWS Account
If you want to use Amazon Web Services, you need to create an account. And no, your usual Amazon account that you use to buy things online won’t work!
Although it’s the same company behind the scenes, AWS is a very different service, which requires a separate account.
So, start off by going to the AWS home page, which you might as well save in your favorites now:
Then click on “Create an AWS Account”:

On the next page, you’ll be asked to create your account:
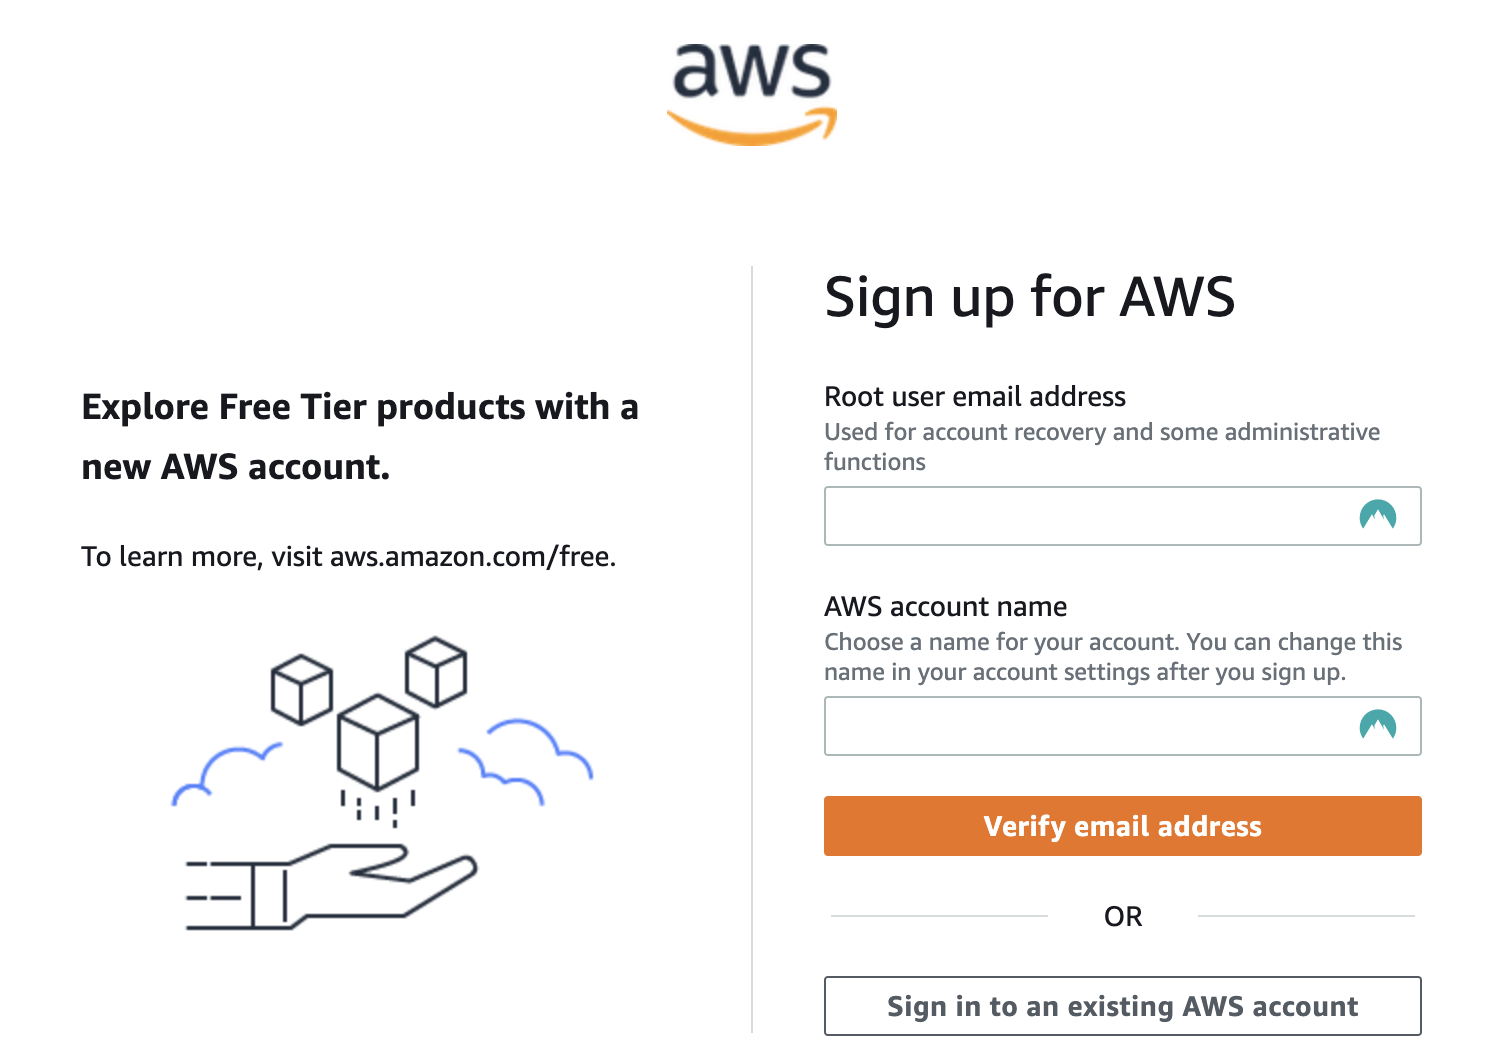
You’ll be reminded that you can use some of the services free of charge for the first 12 months.
Complete the form. You must provide an account name. This doesn’t have to be permanent; you’ll be able to change it later. You could put your own name or your company name if you have one.
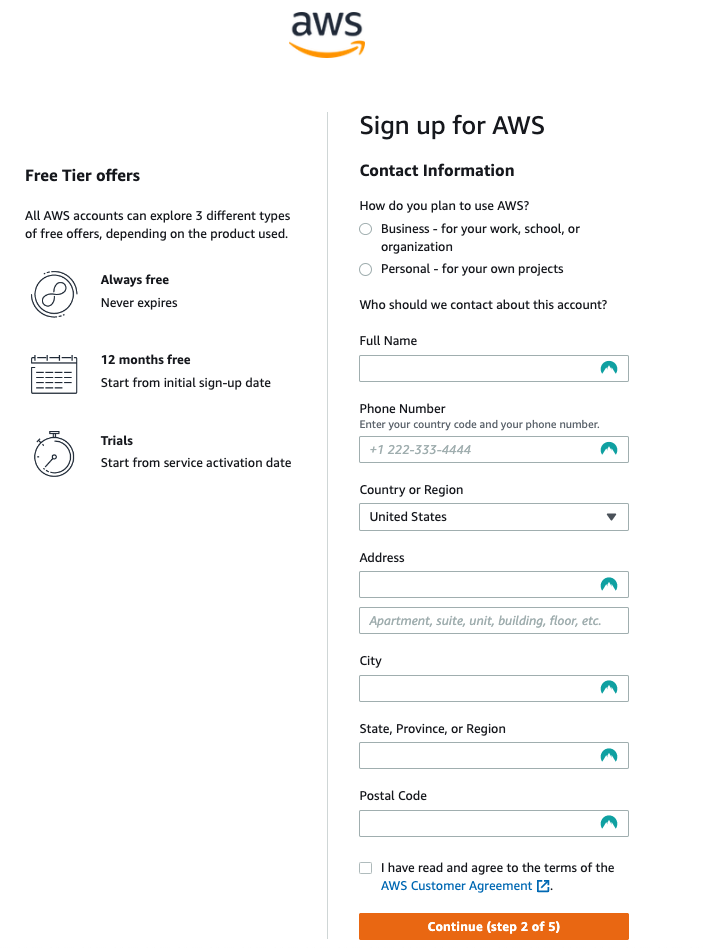
Then you’ll be asked for your personal details. Fill this out carefully, because AWS takes identity verification very seriously indeed. You also need to indicate if you’re a professional user (i.e., you’re signing up on behalf of your company) or a private individual.
As I warned you earlier on, you’ll then be asked for your payment card details:
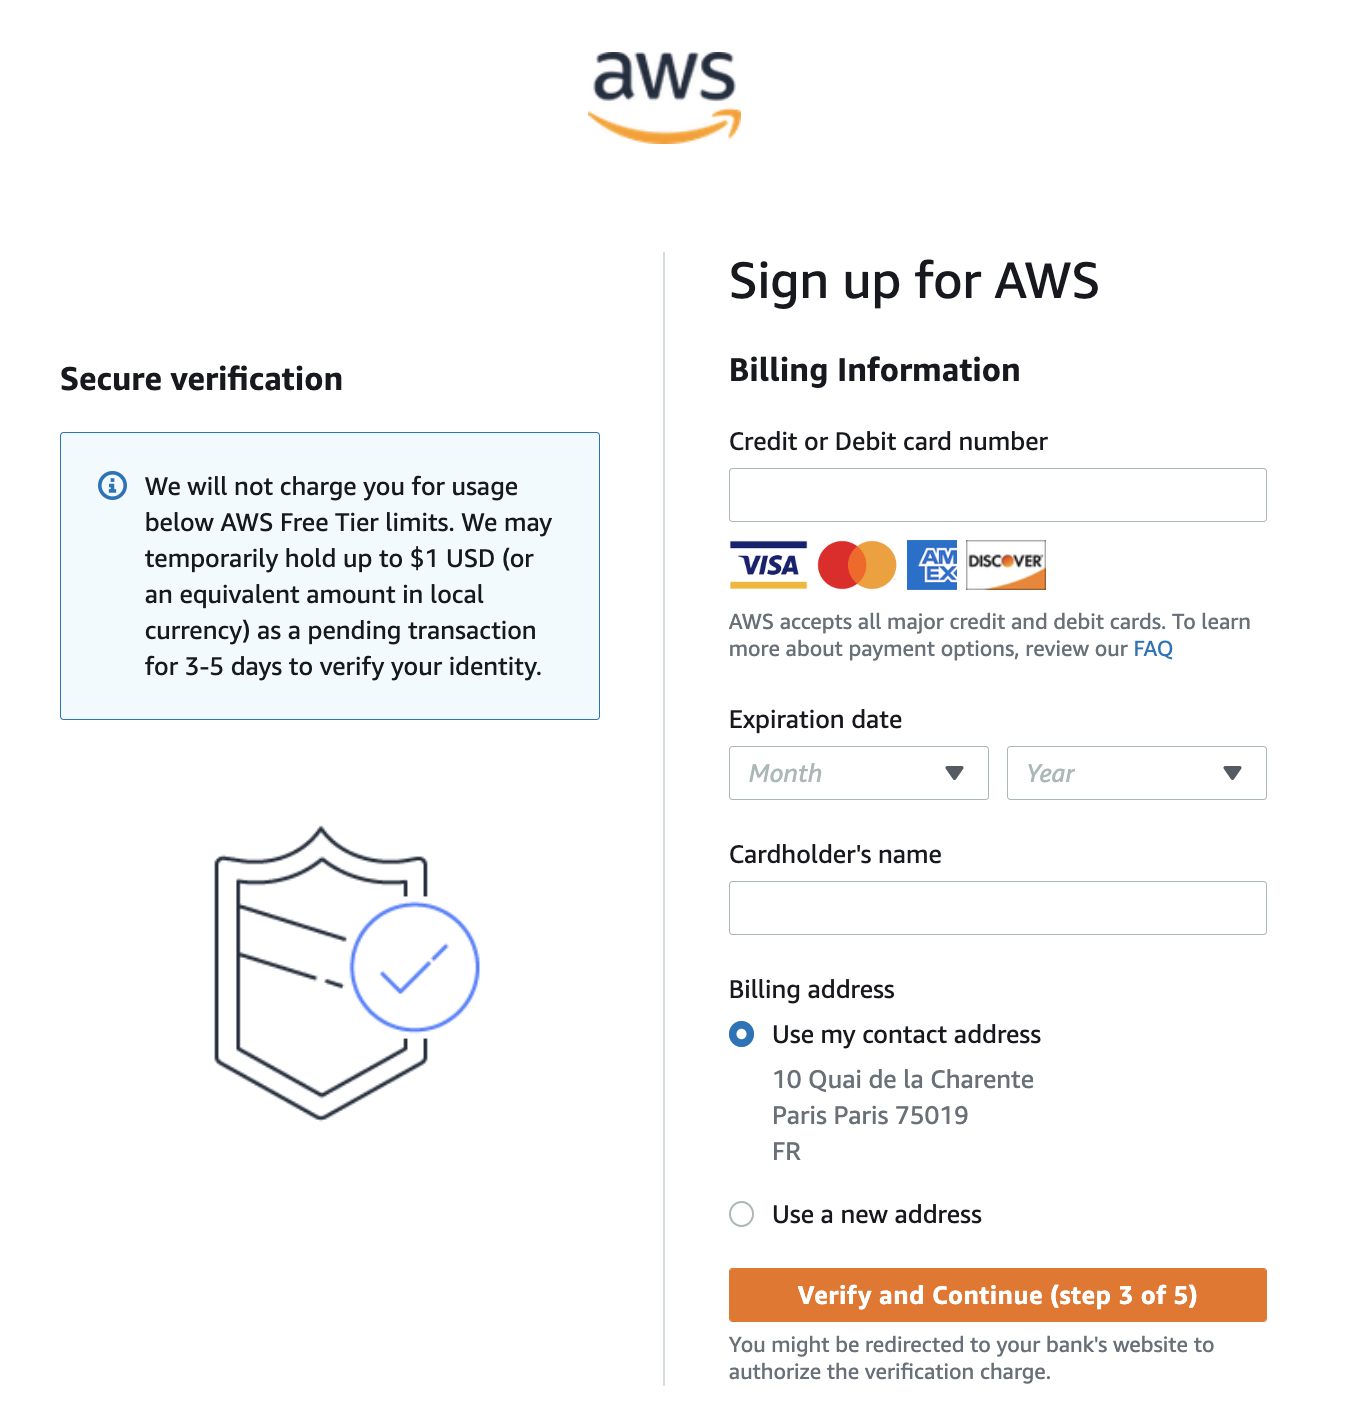
Even if you don’t intend to pay for the service and you want to remain on the free service, you still need to enter your card details.
I know this can be a barrier for many people, but there’s no way around it. It also provides additional security for AWS, because there are some sneaky people who might go around creating dozens of servers and use them to send spam (or worse!).
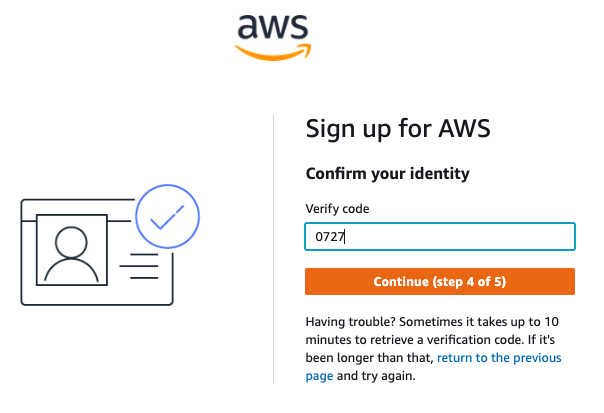
Next, your phone number will be verified. Yep, I told you they don’t take any chances! Provide your phone number and then you’ll receive a four-digit code via SMS:
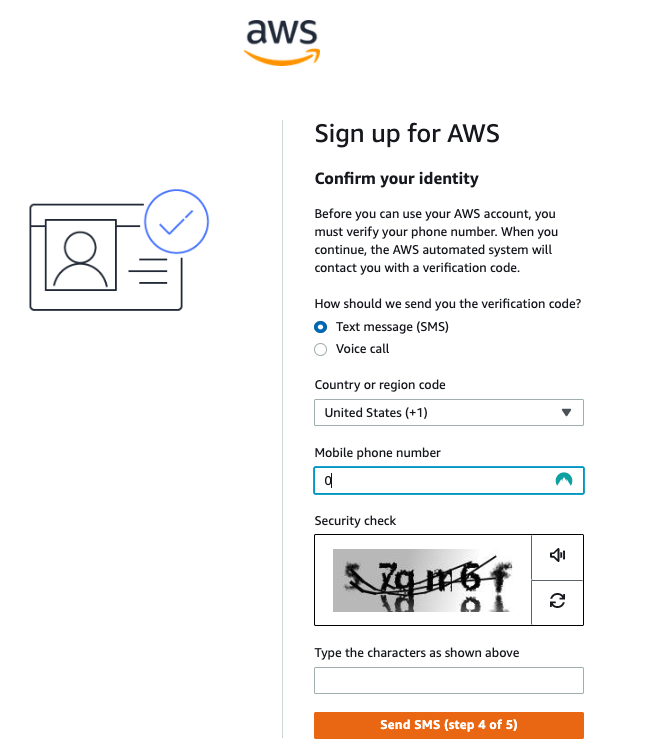
Enter the code you received on the following screen.
You’ll then be asked what level of support you require:
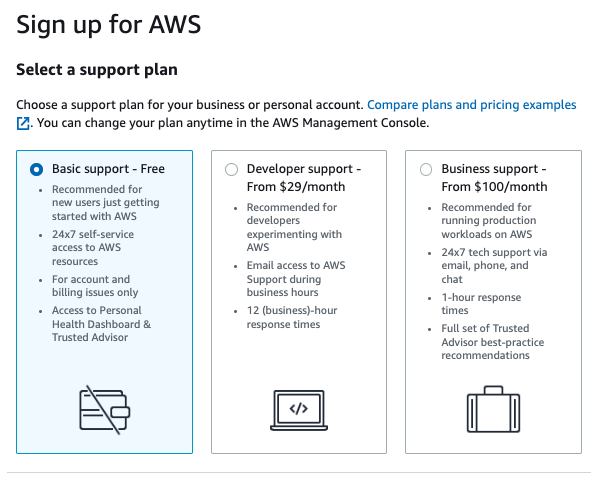
These options are mostly relevant to businesses who might need to get through to the support team at any time. In most cases, if you’re just starting out, you’ll choose the basic plan, which is free.
Phew! Okay, here we are! We’ve finally arrived at the AWS console.

All you need to do now is sign in to the AWS console.
Get to Grips With the AWS Console
The AWS console is where you’ll manage all of your AWS resources (servers and services). It’s a fully-functioning web-based admin interface. So full of functionality that I only know a fraction of it!
To access the console, go to the AWS home page.
Click on “Sign in” at the top right of the page:

AWS Console Home
Once logged in, you’ll land on the AWS console home page:
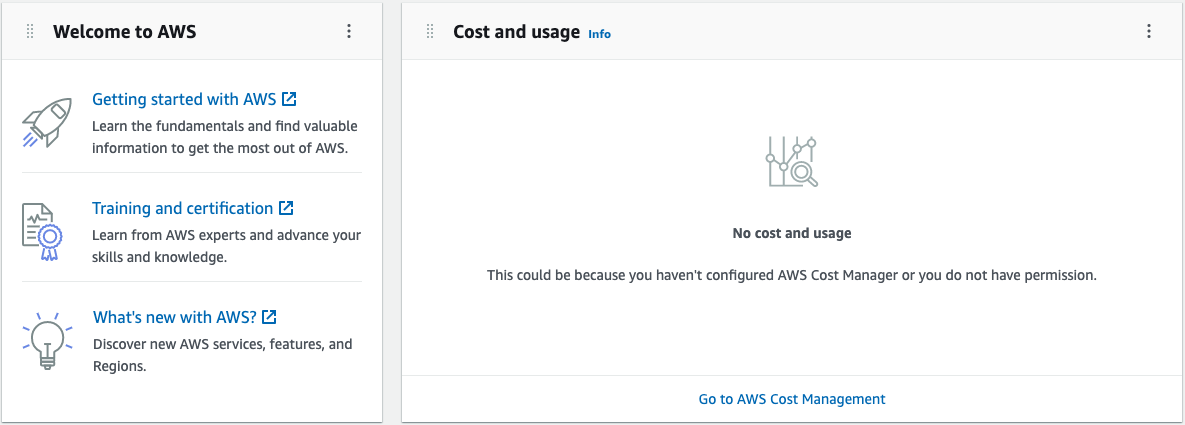
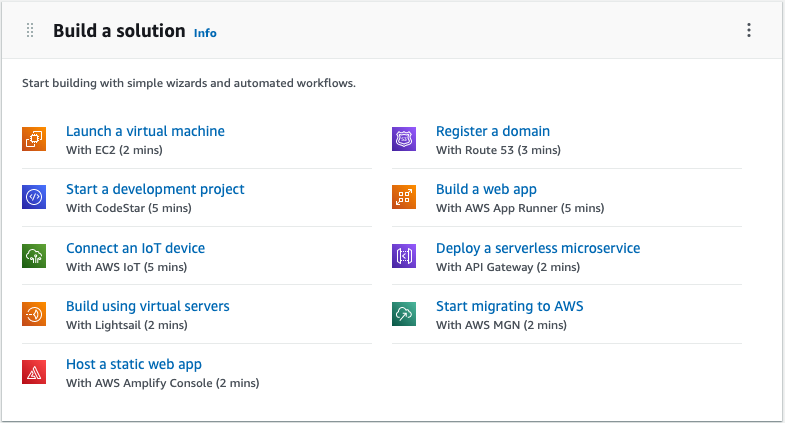
There are various quick-start wizards in the “Build a solution” section. We’re not going to use them here, but if you like, feel free to have a look at some of the suggestions.
Click on the “Services” button to display the list of all services offered by AWS.
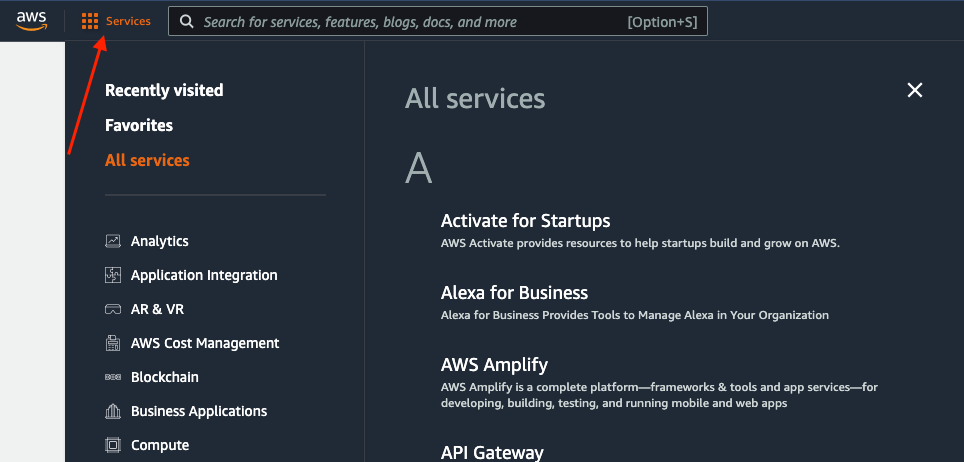
Don’t be scared! Take a deep breath. As I said, don’t even try to understand all of them, there are just too many. Without a shadow of a doubt, the most popular ones are EC2, RDS, S3 and IAM. These are the ones we’ll be exploring on this course.
Let’s go back to the console home page.
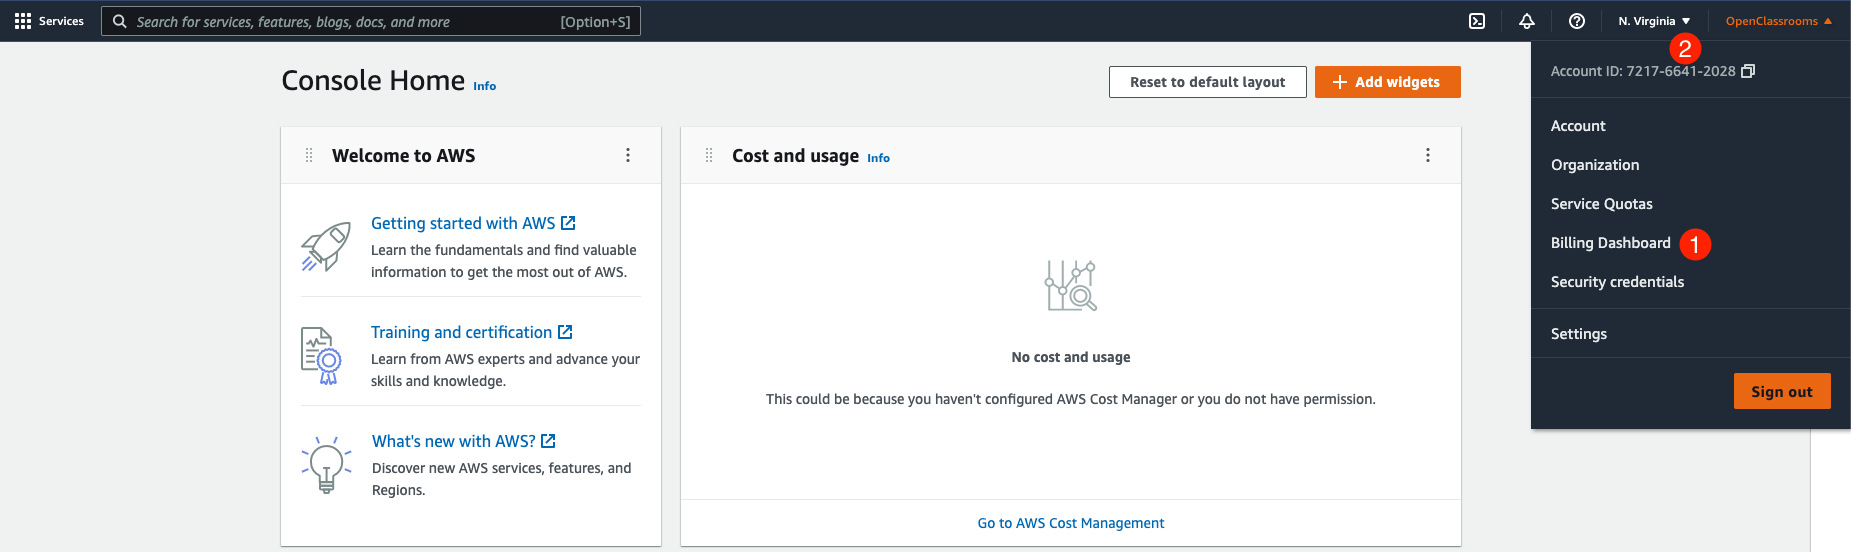
The “Billing dashboard” section (1) gives you your current spending balance and also allows you to define alerts if your spending level goes over a certain threshold. This is very important so you don’t get carried away!
The “Region” section (2), which displays “N. Virginia” on my screenshot, lets you choose which data center will run your services. For example, if I launch a server while “N. Virginia” is selected, my server will start in the N. Virginia data center.
As you can see, if you click on the “Region” menu, there’s a wide selection:
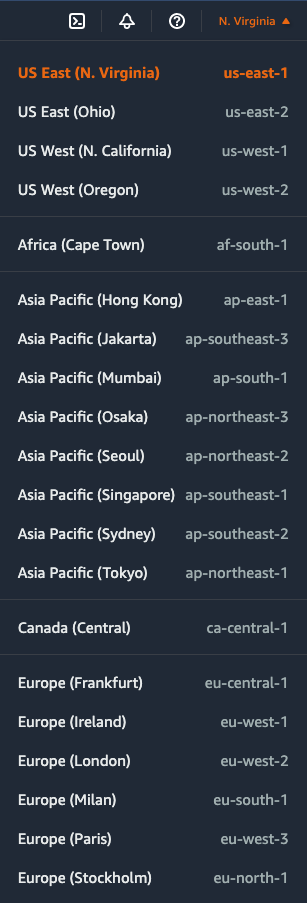
Which region should I choose?
In general terms, it’s best to have your servers running close to you and where your clients are. So, if possible, choose the closest location to where you are.
It’s worth knowing that prices will vary a little from one region to another. Look at the prices for EC2 servers, for example, and change the region on the drop-down menu. The differences are small, but they exist nonetheless.
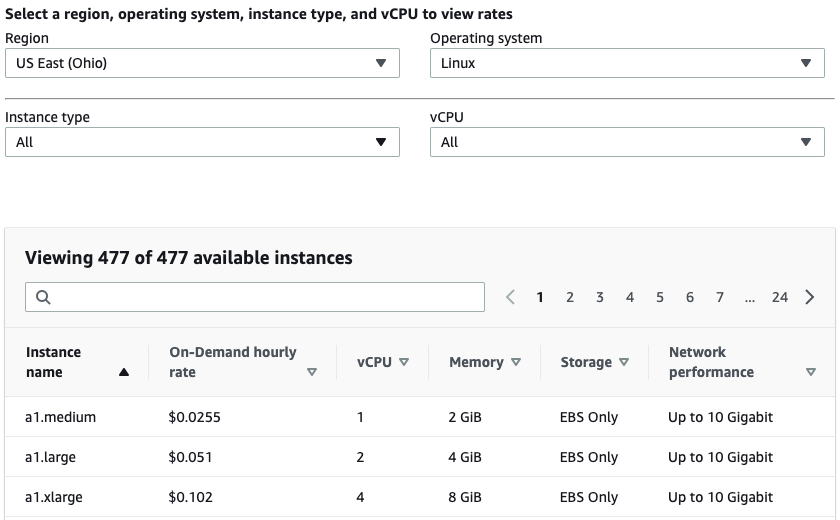
Pricing is on a per-second basis for standard Linux and Windows instances.
Also note that some new services might not become available at the same time in all regions. This isn’t really a concern for us on this course, because the services we’re looking at are already quite mature and available everywhere.
Define Your Budget
So, you’ve created your AWS account, but you’re concerned that AWS is going to clear out your bank account? Don’t worry, there’s a way for you to keep an eye on this.
You can define a budget so you can be notified as soon as you’ve spent a certain amount of money. Because we’re only going to use free AWS elements on this course, it’s unlikely to happen, but you can’t be too careful!
Navigate to the “Billing dashboard” from the top-right menu. The Billing home page will tell you how much you’ve spent in the current month:

If you see any items in this section that are over $0, this means that you’ll need to pay at the end of the month. This shouldn’t happen as long as you stick to the AWS free usage rules.
What’s free usage?
In the first year, you can launch an EC2 server, an RDS server, and you can also store a number of files in S3, among other things, completely free, as long as you follow AWS’s guidelines for free services. You can find details on the full list of free online services.
It’s not an easy read, because AWS’s charging method is quite unusual. They don’t say “One free server,” but “Amazon EC2 750 hours per month.” These 750 hours are calculated based on one small server that is permanently switched on for one month (24 hours x 31 days = 744 hours).
To take part in this course, the free usage will be sufficient.
How can I be notified if I go over the free usage limit?
This is one of the first questions I asked myself!
Go to “Budget” > “Create budget” and choose “Cost” as the “Budget Type.” Give a name to your budget and define the amount. I suggest $1:
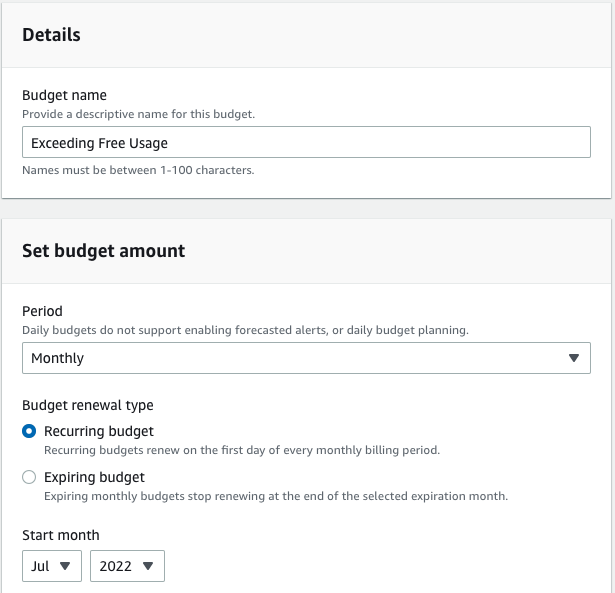
Keep the default budget scope options. They cover all possible types of costs.
This is all well and good, but it’s not quite enough. I imagine you’ll want to be notified by email as soon as you reach your limit. Go back to the previous page and click on “Add alert threshold” to configure this notification:
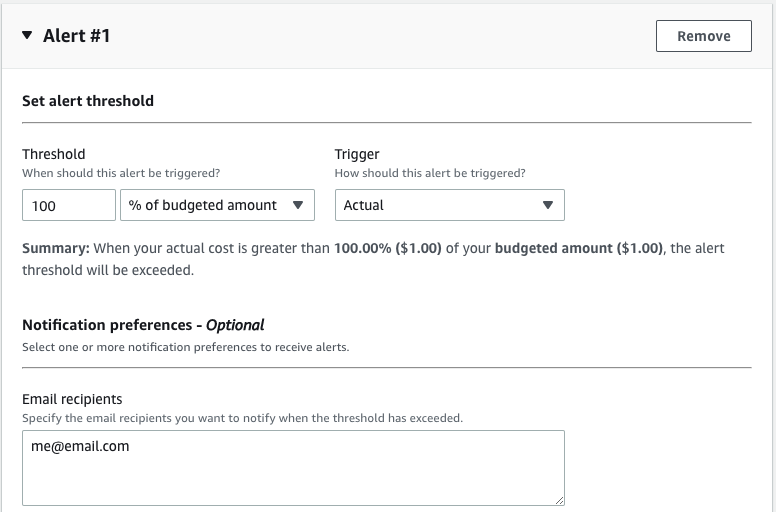
Here, I’ve specified that I should receive an email (to the address I’ve provided) if the actual cost exceeds 100% of the budget. In our case, if it goes over $1.
There’s no need to fill out the other fields, such as “Amazon SNS Alerts.” You can just go ahead and confirm. So, there you have it, your budget has been set, so you can rest easy!
Note that we’ve configured our alerts but not our billing limits. If we exceed the one-dollar threshold we’ve set, we’ll still be invoiced. That’s why you must check the pricing page for each service before using it.
Let’s Recap!
It’s free to create an AWS account and this allows you to access the free tier services.
The AWS console is the main page for the AWS ecosystem. From here, you can access the whole range of services.
Pricing for AWS services depends on which region you select.
AWS services are charged on a pay-as-you-go basis. This is usually based either on usage time or data volumes.
It’s very important to check the service pricing page before using the service.
Now that we’ve set up some safeguards, it’s time to dive into the world of AWS and create your very first server.
