Connect to Your Instance

Now you’ve started your EC2 server, you’ll want to connect to it. We use SSH to do this.
In this chapter, we’re going to see how to connect to our instance. The method differs depending on whether you’re using Mac, Linux or Windows.
Connect to a Linux Instance
For Mac and Linux
Remember the key that you downloaded when you were configuring your server? That’s what we need to use to connect you to the server, so I hope you haven’t lost it!
In my case, the key is a file called aws_key.pem .
You need to put it in the .ssh folder within your home folder:
mv aws_key.pem ~/.ssh
You also need to give read-only permission to our user, otherwise it won’t work. You can do this by using chmod 400:
chmod 400 ~/.ssh/aws_key.pem
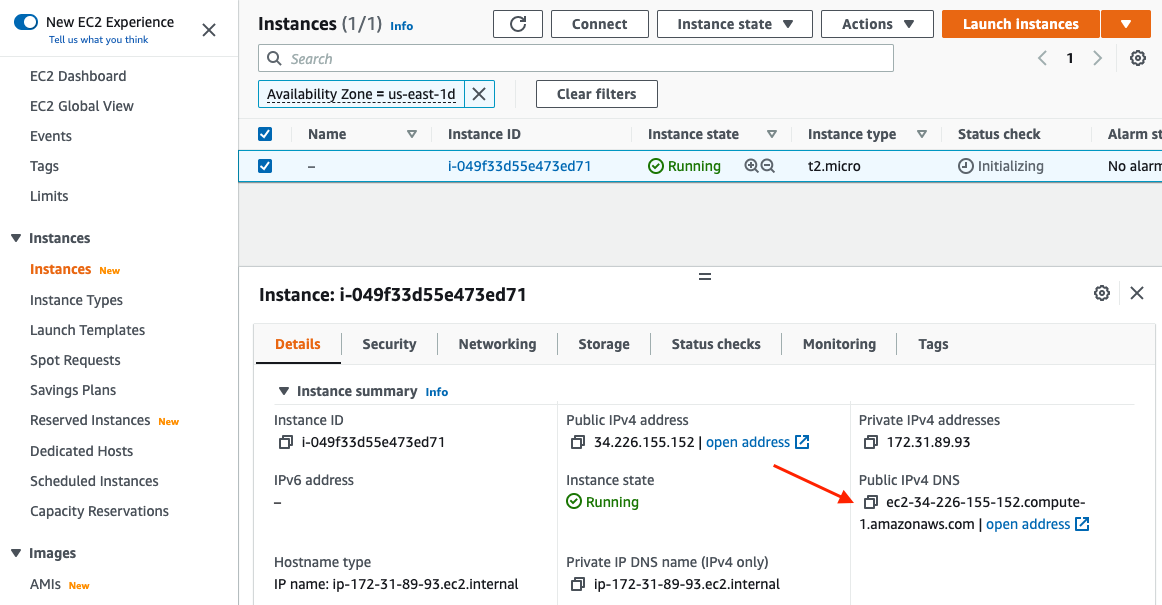
Then, you need to connect to our server with SSH, using our key in the command. You need to know the public IP or DNS for our server to do this. This information can be found by clicking on our server in AWS:

In my case, the command I’ll use to connect will be as follows:
ssh -i "~/.ssh/aws_key.pem" bitnami@ec2-34-226-155-152.compute1.amazonaws.com
Let’s break it down:
-i “~/.ssh/aws_key.pem”: tells it where to find the key we want to use to connect.
bitnami: the name of the user you want to use to connect. This all depends on the type of AMI you’ve chosen, as some are configured differently. It’s rare to connect directly to the root. We usually use a lambda user such as “ubuntu,” then we go to the root if we need to use the command
sudo.ec2-34-226-155-152.compute1.amazonaws.com is the address of our server. We could have just used the public IP here (in my case, it’s 34.226.155.152).
The first time, your machine will tell you that the server is unknown. This is completely normal.
Connect to a Windows Instance
Now let’s suppose that you need to launch a Windows machine on AWS.
During the step where you select an AMI, you can choose “Microsoft Windows Server 2022 Base” and go through the rest of the steps we saw in the previous chapter:
Select instance type
Configure storage
Add tags
Configure firewall rules
Download private key
Now you’re a cloud pro!

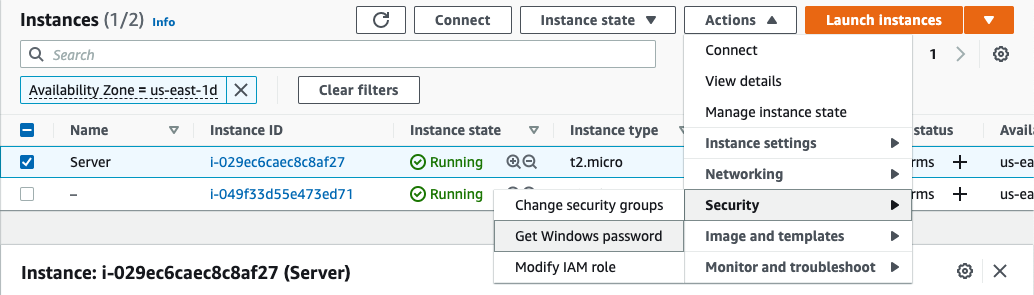
Once your instance is running, you can obtain the password for the admin user account by going to “Actions” > “Security” > “Get Windows Password.”
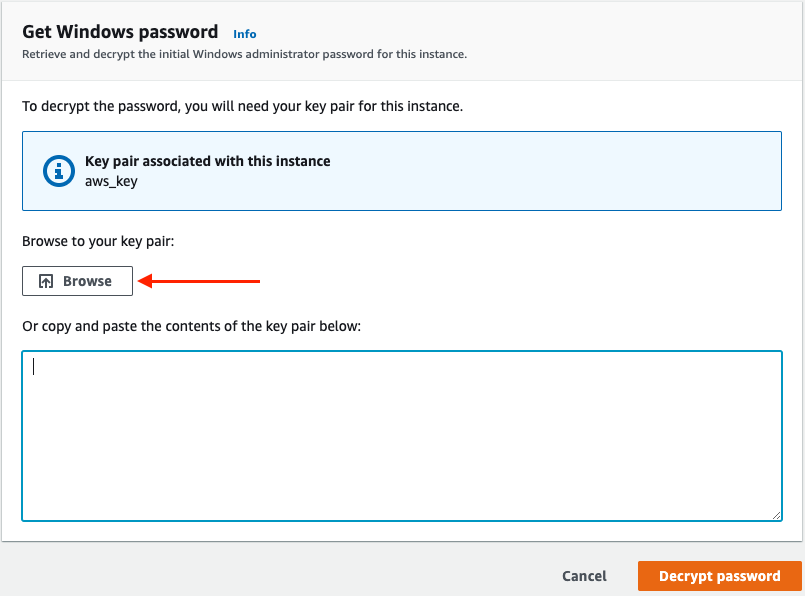
Paste the contents of the private key you used when creating the instance and click on “Decrypt Password.”
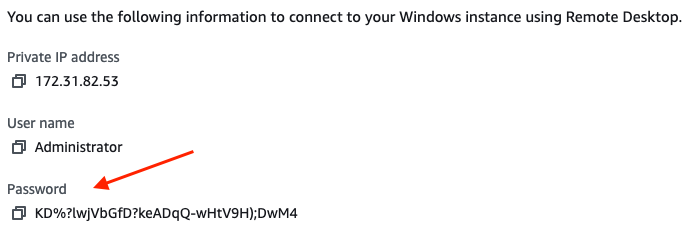
Take a note of the password in your preferred password manager.
Return to the Windows instance details and take a note of the server’s public IP or DNS address.
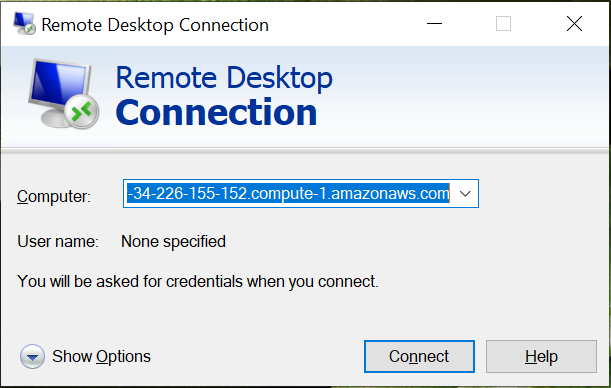
From your workstation, open the “Remote Desktop Connection” tool, enter the public address and click on “Connect.”
Enter “Administrator” in the “Username” field and enter the password that you decrypted earlier.
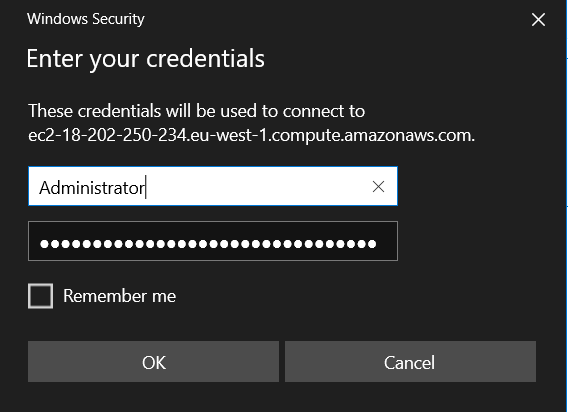
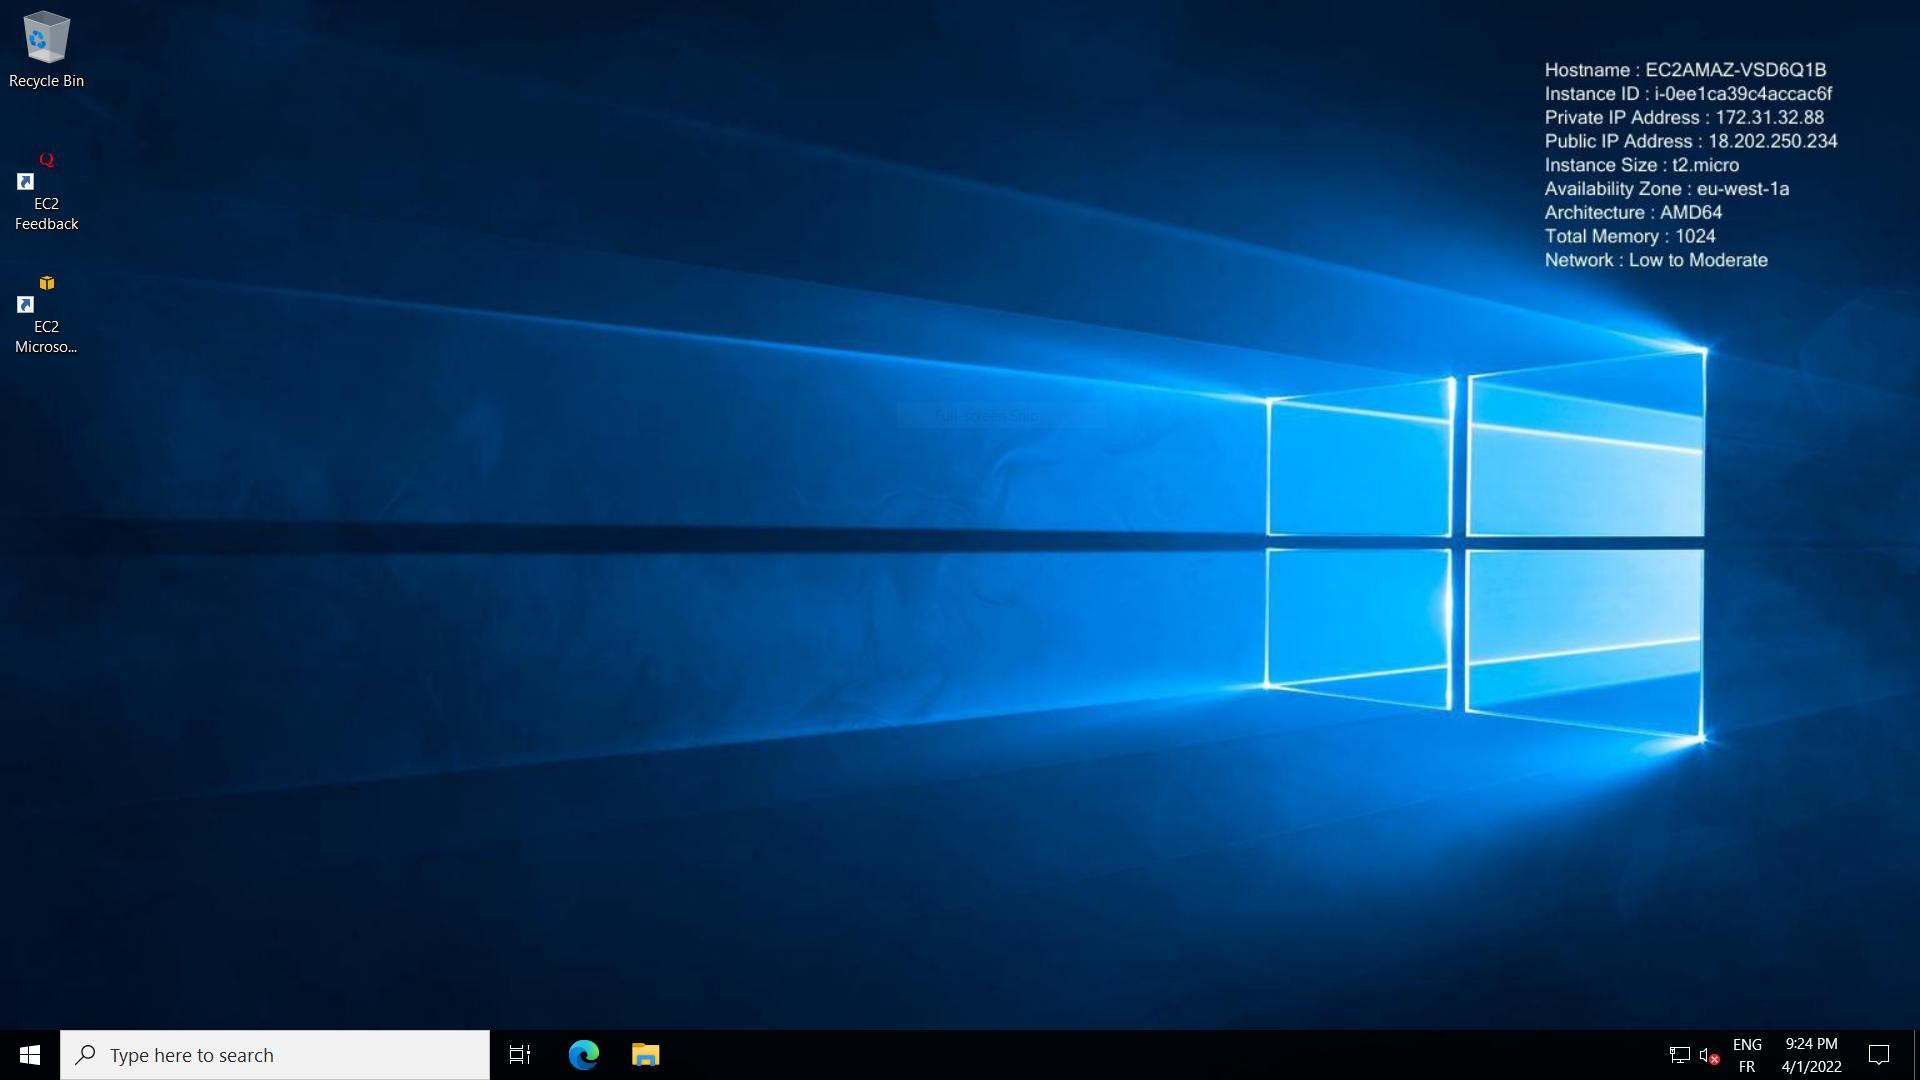
If that all works, you’ll end up on the server.
Let’s Recap!
We need an SSH key to connect to a Linux instance. This key is provided or created when you configure the instance for the first time.
The public IP address of an EC2 instance changes each time the machine is stopped and rebooted.
For a Windows server, the SSH key allows you to decrypt the password for the local administrator.
Now that you understand how to launch instances, let’s focus on IP addressing. Don’t worry, it’s nothing heavy!
