Configure an Elastic IP
Link an Elastic IP to Your Server
Now you’ve launched your EC2 server and you know how to connect to it. Well done!
However, there is a little hitch. If you ever reboot your EC2 server, it won’t be guaranteed to get the same IP address! AWS will just take an available machine when you relaunch your virtual server. It could well be that your server will be somewhere else the next time you reboot!
But will I lose all my data if my server changes?
No, you won’t. Thankfully, your storage (EBS) is held separately and is properly backed up, so you won’t lose any data. No need to worry on that front!
The fact that your server changes its IP address shouldn’t cause you any major problems if you’re just completing testing. However, if you’re using your instance to host a website, you clearly need to keep the same IP address!
This is where “Elastic IP addresses” come in. The name is rather intriguing, I think. These are actually static IP addresses. They don’t change, and they can be assigned to a server:

An Elastic IP address associated with a running EC2 server is free (from the moment you associate a single IP address with the server).
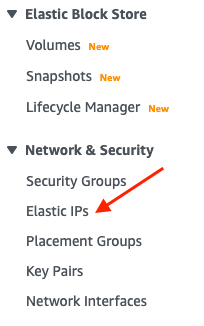
How do we link an Elastic IP address to our instance? It’s really very simple. Go to the “Network and Security” section and then “Elastic IPs.”
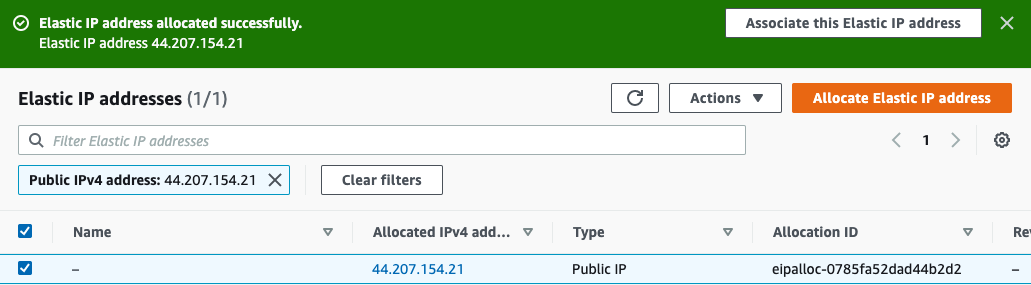
On this page, you shouldn’t be able to see any IP addresses initially. Click on “Allocate Elastic IP address.” You’ll be asked to confirm. Once this is done, you’ll be given a new IP address:
That was easy. Is that all?
No, not quite. Now we need to associate this IP address with our instance. Otherwise, the IP address doesn’t really serve any purpose.
Go to “Actions” > “Associate Elastic IP Address”:
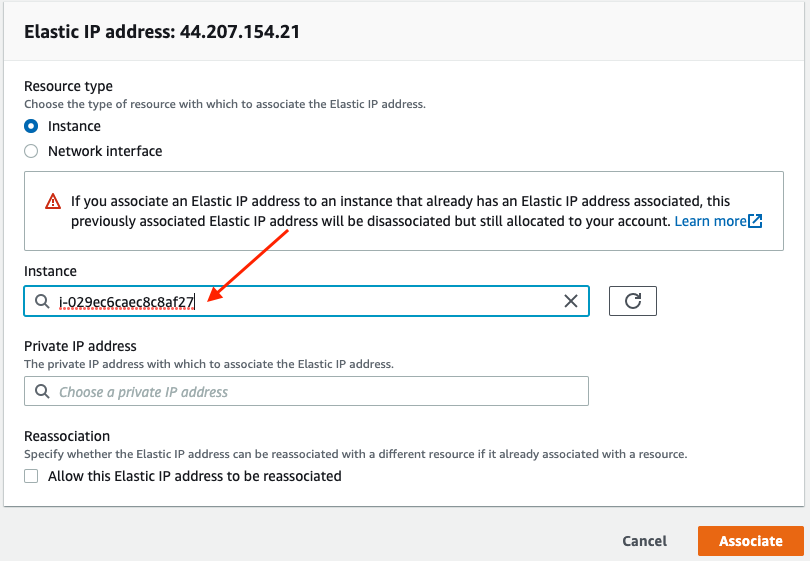
This is where you’ll tell it to associate your Elastic IP address with an instance. In the “Instance” dropdown menu, select the EC2 instance you want to attach the address to.
Once this is done, you should be able to see that your instance is attached to a server:
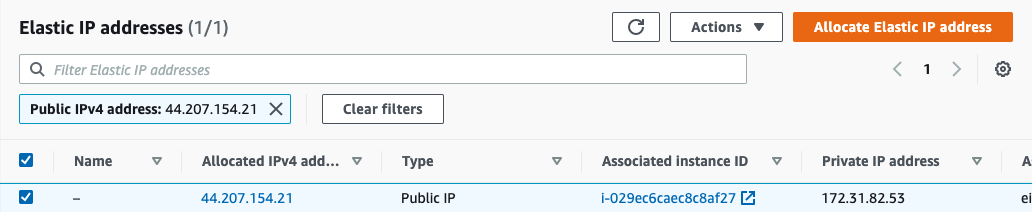
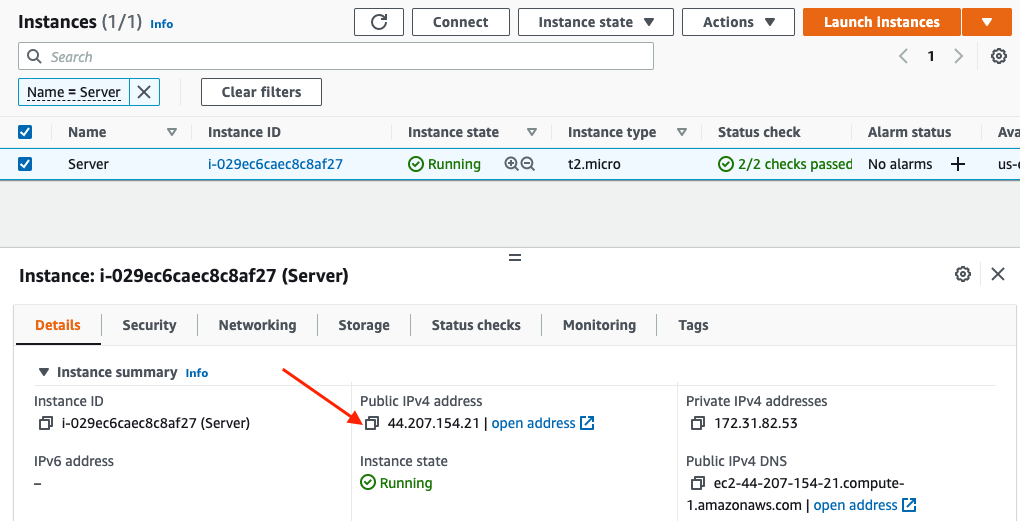
And if you have a look at the list of instances, you’ll see that the server’s IP address and DNS address have changed.
Well done, your server now has a fixed IP address!
Configure Your Domain Name
Now that your server has a static IP address, you can update your domain name and associate it with this address. The instructions will be different depending on the host you’ve selected, but the idea is the same. We need to add a DNS type A record containing the Elastic IP address.
On GoDaddy, for example, open the domain settings page for your domain name and then “Manage DNS.”

Find the type “A” record entry in the “Records” table (or add one if it doesn’t exist) and enter the Elastic IP address in “Value.” You’ll also need to add a name (type @ to put the “A” record on your root domain, or enter a subdomain prefix, such as “www.”) and TTL (how long the server should cache information—the default setting is 1 hour). In my case, the IP address is 44.207.154.21.
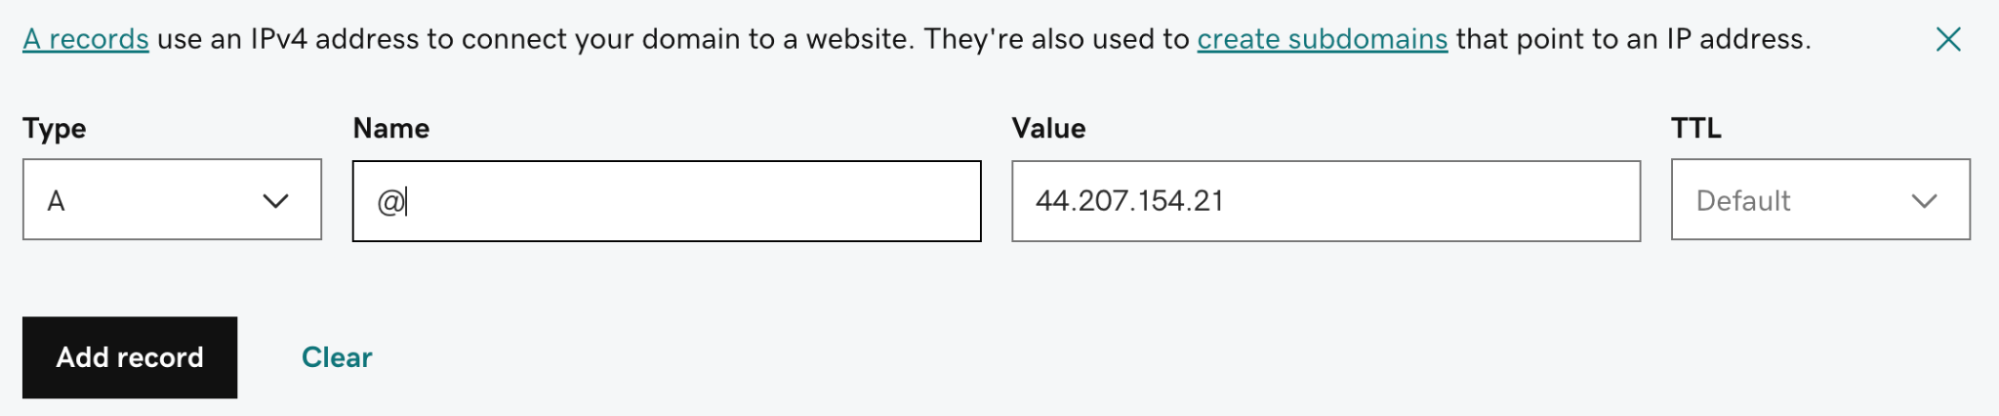
Click on “Add record” to confirm the record.
Your domain name will now use your EC2 instance.
Let’s Recap!
An Elastic IP address is a fixed, public IP address that you can assign to an EC2 instance.
An Elastic IP address can only be assigned to one instance at any time.
We recommend that you associate a domain name to an Elastic IP address to ensure service continuity if the instance needs to be rebooted.
Your server is now properly configured and is happily running in an Amazon data center. But what would happen if one of your libraries broke after applying an update? Is it possible to go back in time? Meet me in the next chapter to find out.
