Launch Your RDS Server
Right, off we go! Let’s see how to launch a database server that is managed entirely in the cloud. That sounds good, doesn’t it?
I’m going to show you how to launch an RDS server using MySQL. If you’re using a different database engine, the process is the same.
Discover the RDS Interface
Navigate to the Relational Database Service (RDS) section on your AWS console. The home page should look like this at first:
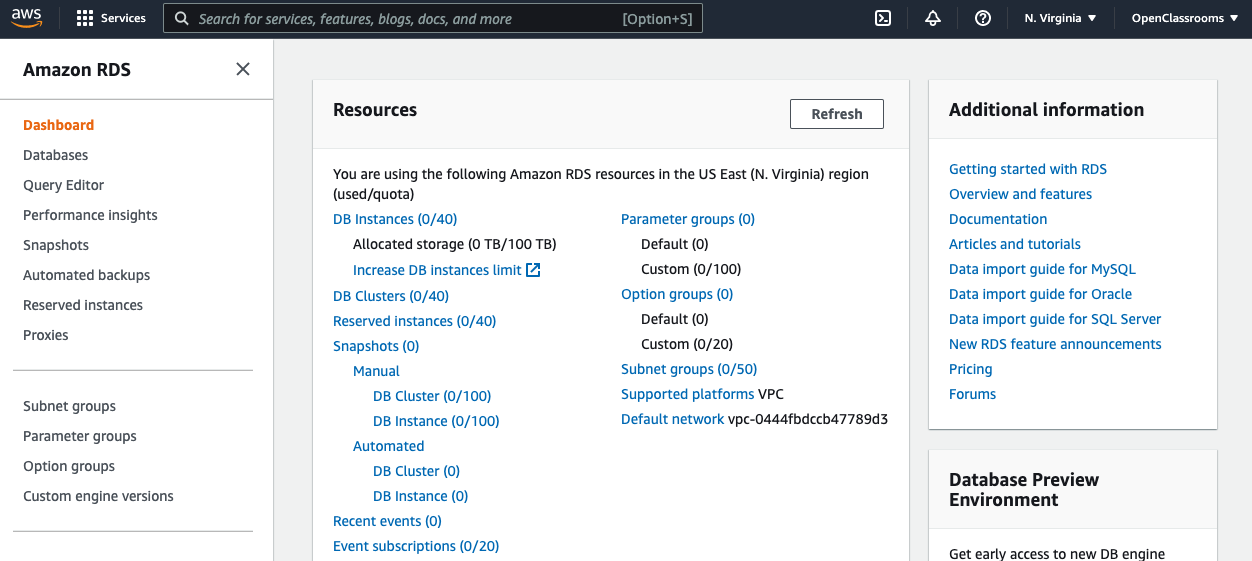
The first thing to note is that there are fewer sub-menus than there are in EC2. Phew!
And actually, you’ll see that this service is a lot less complicated.
Here are two menus you should know about:
Databases: a list of your RDS servers
Snapshots: backups of your database
There are other sections, as you can see. These include subnet groups, parameter groups, option groups, and events, among other things. We can use these to refine our server configuration and monitor server use. Let’s leave that to one side for now.
Launch an RDS Instance
To launch an RDS server instance, navigate to the “Databases” menu. You shouldn’t have any instances running at the moment:

There are two main buttons available:
“Create database”: launches a new server.
“Restore from S3”: restores a server from a previous backup. Why S3? Because some people store their backups on S3, which is Amazon’s file storage system that we’re going to see later.
We’re going to launch a new server. Click on “Create database.”
Select Your Engine
The first thing it will ask us to do is choose a database engine:
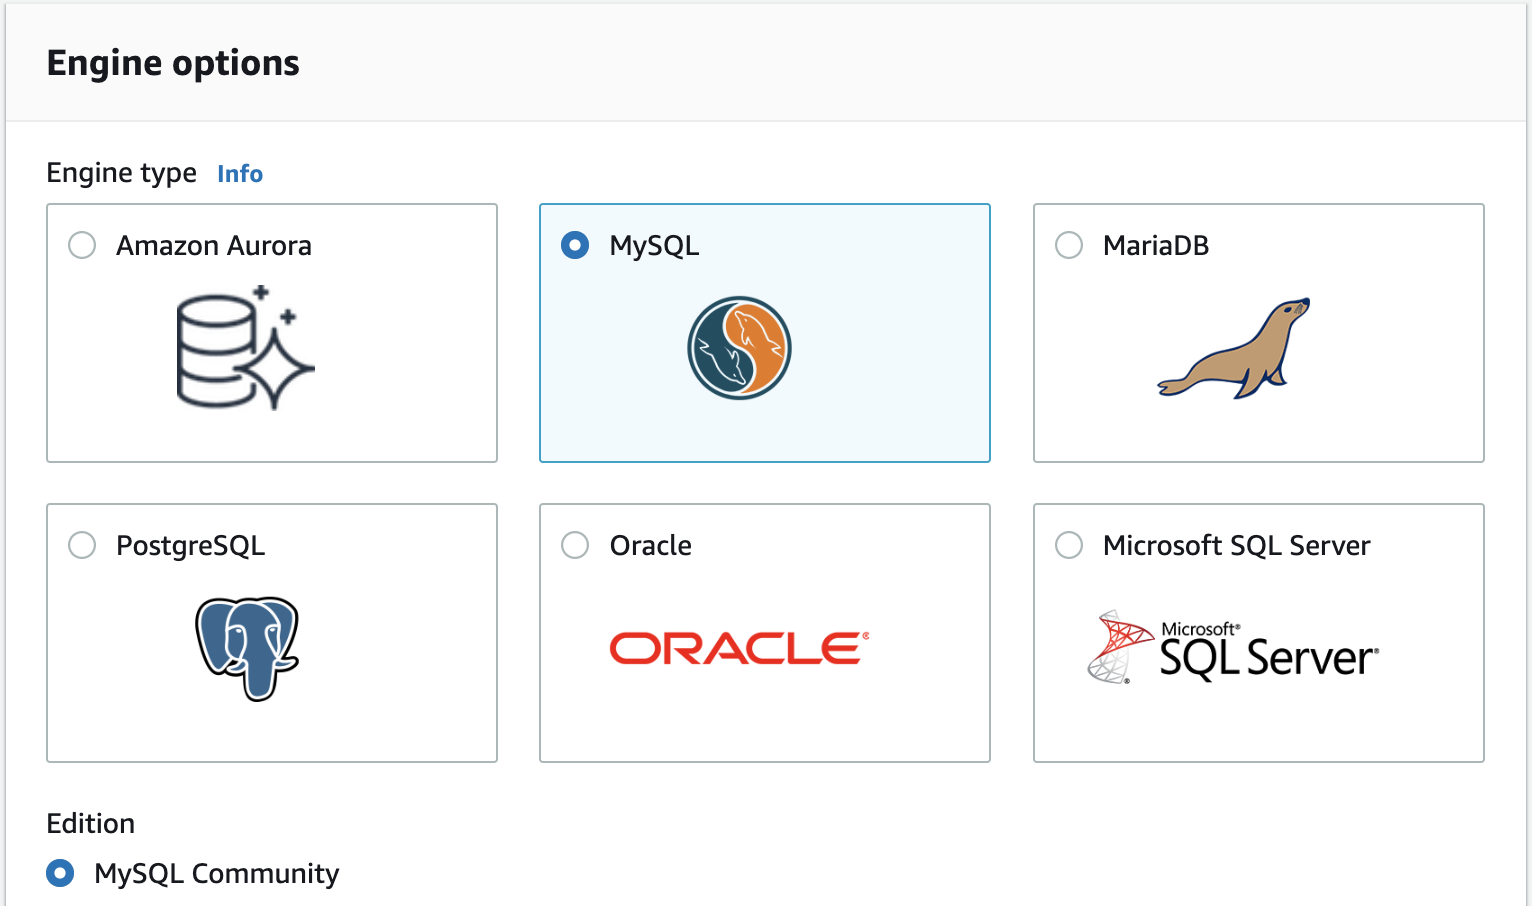
As promised, there’s quite a choice! Aurora is optimized for RDS and compatible with MySQL and PostgreSQL, but it’s not open source and isn’t included with the free tier offer. So, we’re going to use MySQL.
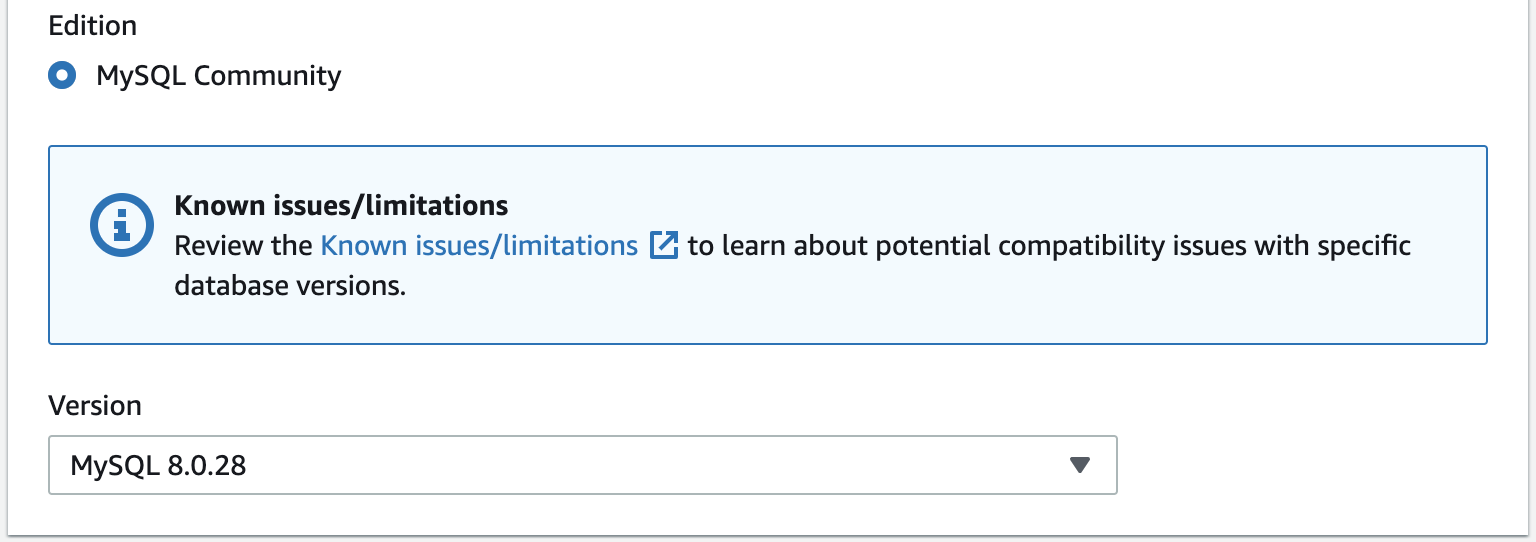
You’ll be asked which version of MySQL you want to use. Unless you have any particular requirements, leave the default values as-is.
Use Case
The next thing you’ll be asked is what you want to do with the database:
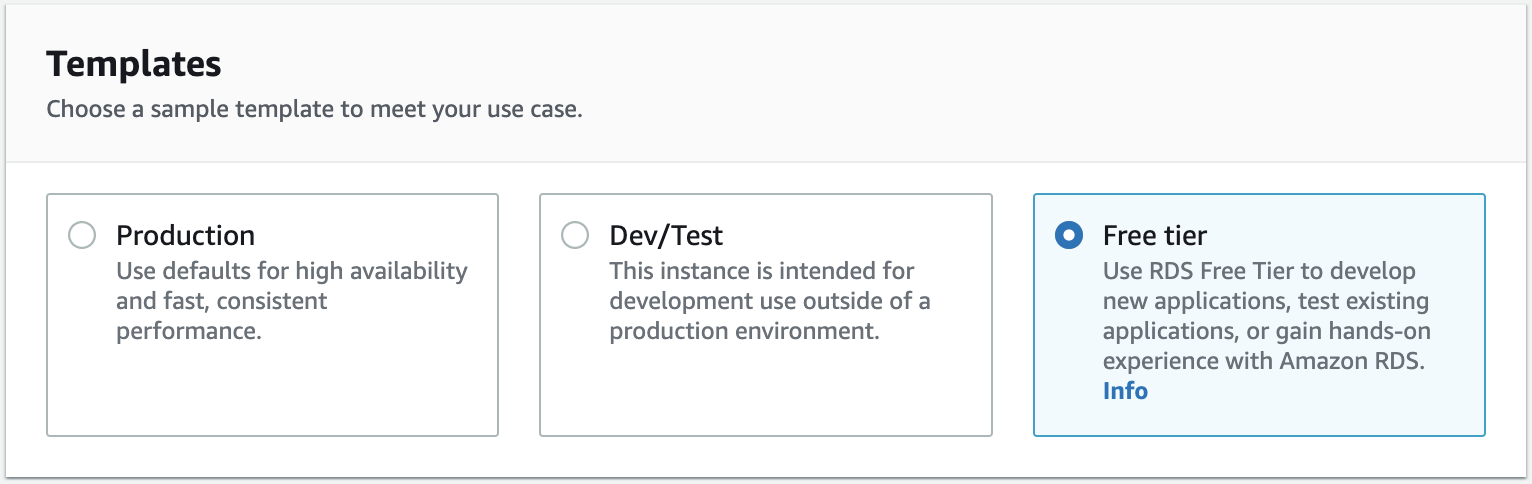
“Production” mode means that you’ll get database replication by default. This is also known as Multi-AZ deployment and includes 1,000 GB of storage. “Dev/Test” mode provides a more modest amount of storage, suitable for testing, with 20 GB of storage.
For our requirements, the free tier option will be just fine.
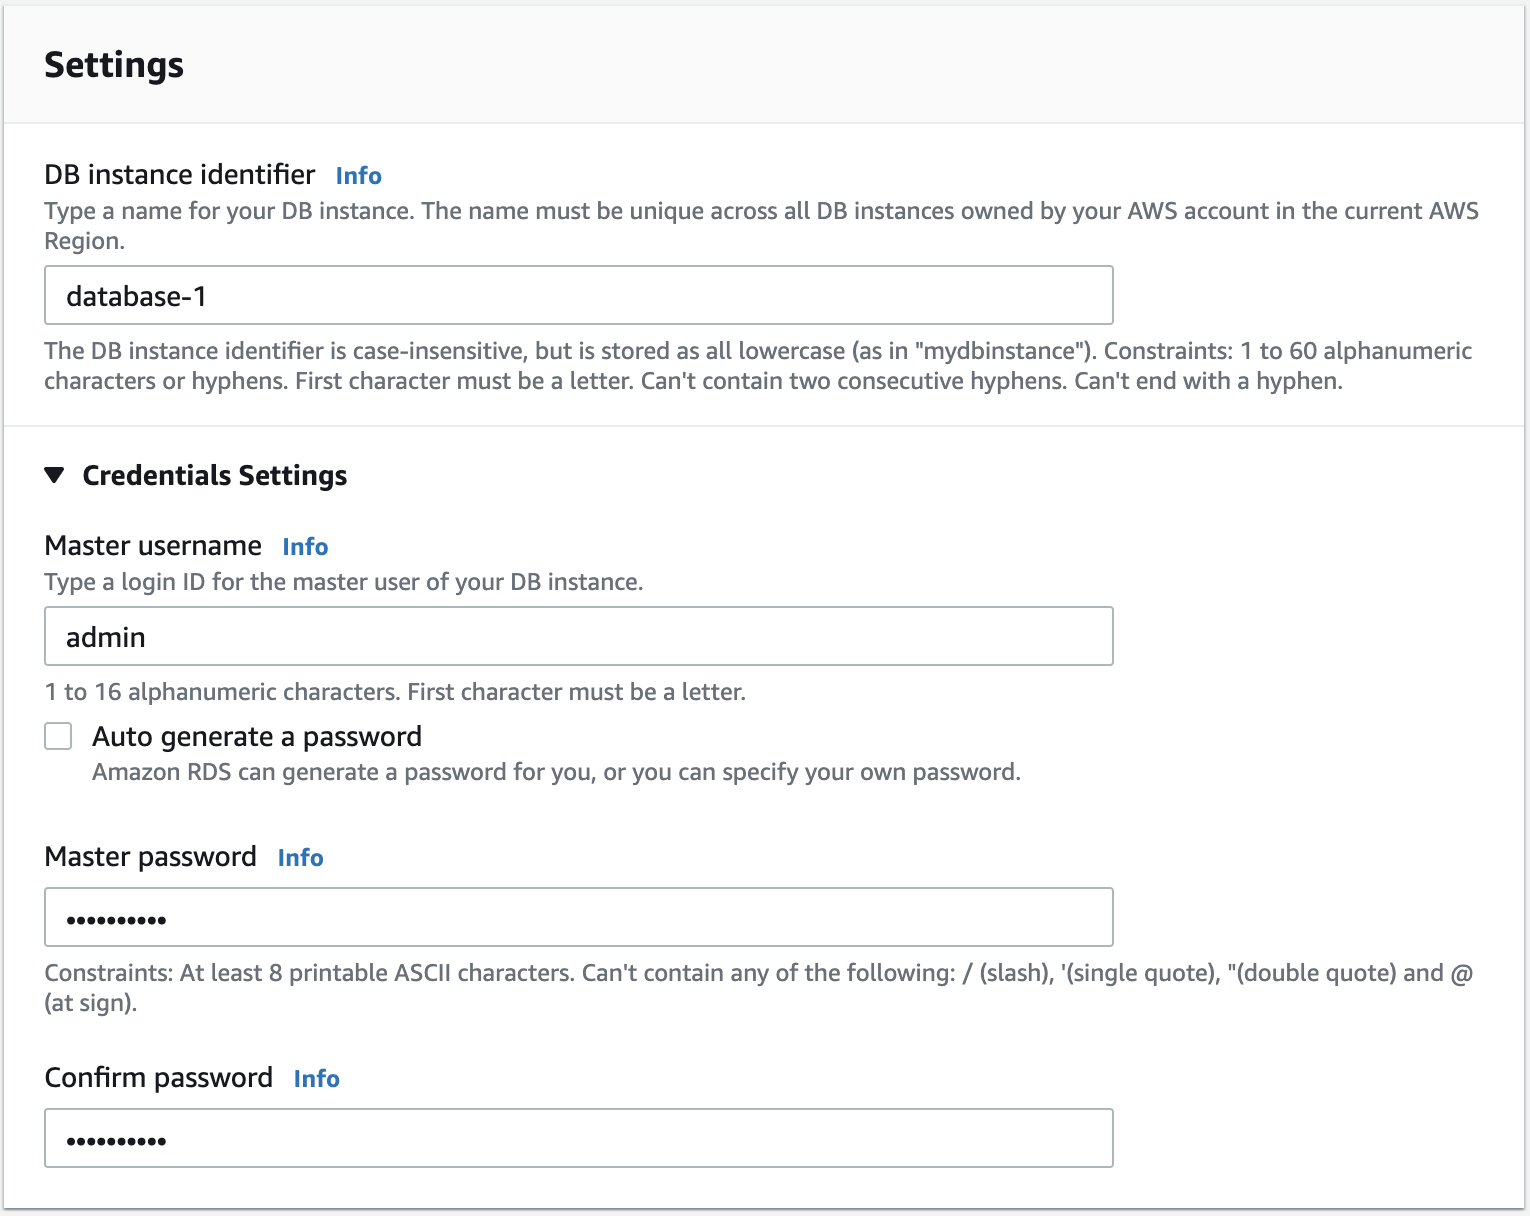
Define Your Instance
Now you need to give your instance a name—you can call it whatever you like. You’ll also need to provide a username and password so that you can connect to the database:
Further down the page, you’ll find a number of other options:
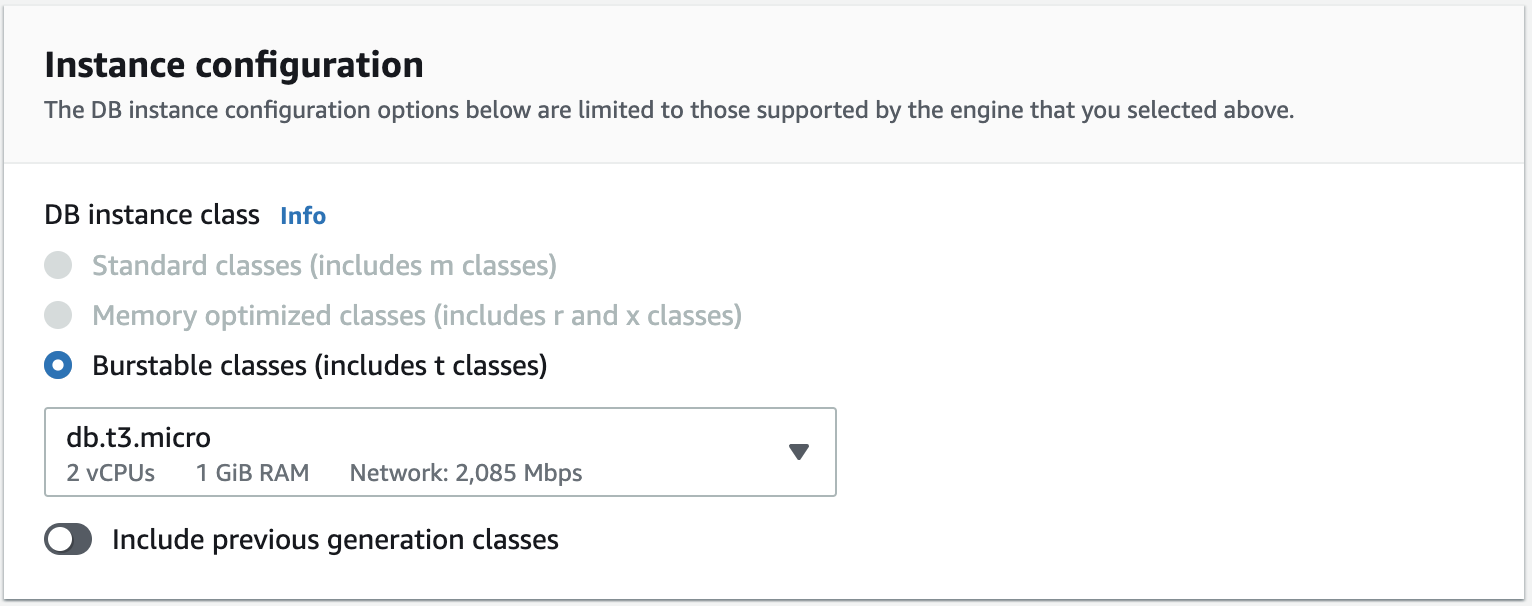
Since we checked the “Free tier” option, AWS doesn’t give us any options, so we’ll get a db.t3.micro instance.
Let’s keep the default storage space suggested.
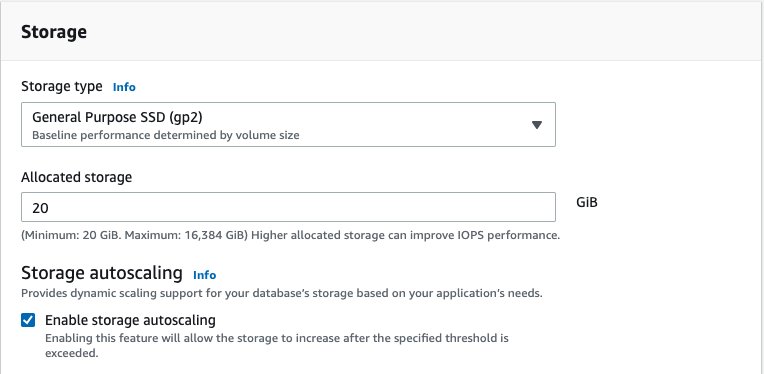
Okay, so now we can move on to the next step.
Set Advanced Parameters
On this new screen, there are also many options to choose from. First, you’ll be asked for the VPC in which you want to launch your server. This is a really important option:
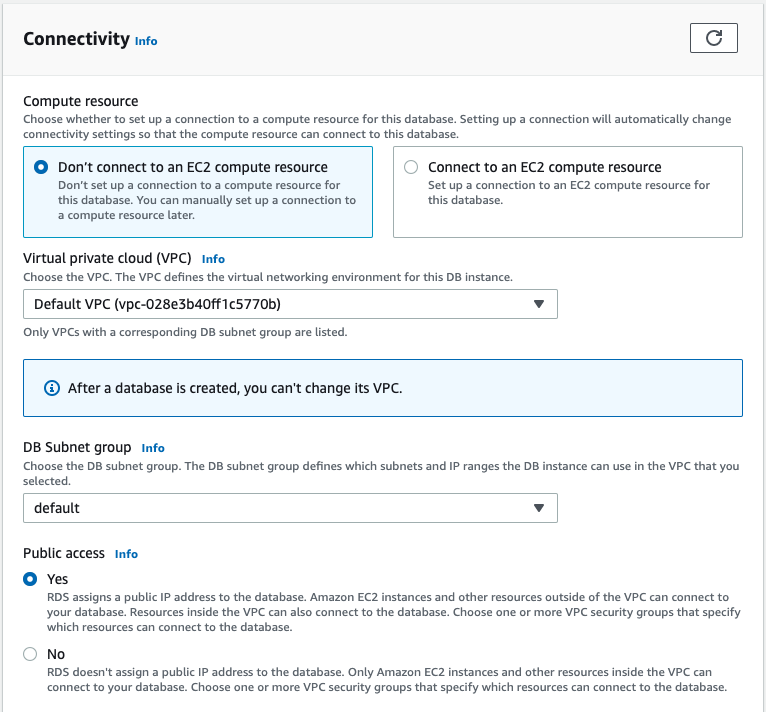
VPC is a subnet that enables you to “group” your servers together so that they can communicate easily and securely.
Amazon has created an image that perfectly illustrates the concept, and I’m just going to be shameless and use it!
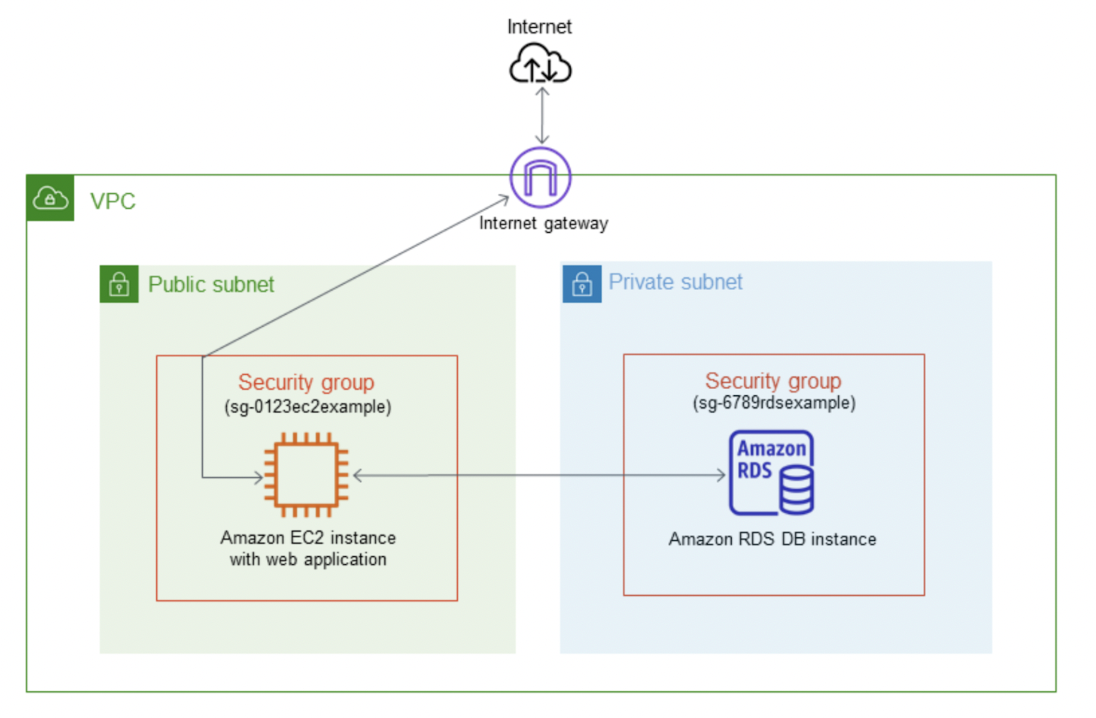
VPC is a subnet that enables you to create a zone where your servers can communicate freely with each other.
If you deactivate “Publicly Accessible” within these options, your RDS server won’t even have a public IP address. This will mean that it simply won’t be accessible from the internet, and that can only be a good thing. You won’t believe the sheer number of people out there whose job it is to search through poorly configured SQL servers that are open to everyone on the net.
For practical reasons, you might of course want to open up access to your SQL server (by selecting “Public access: Yes”). You just need to remember that it’s best to avoid doing this if you can.
Further down this page, you can ask to have an initial database created on your instance. If you don’t do this right now, don’t worry. You can always do it later.
Another option you have is to choose the backup retention period (seven days by default). Backups are performed automatically and saved for seven days by default.
Leave all the other options as they are and click on “Create database.”
Cool, our instance has been launched!
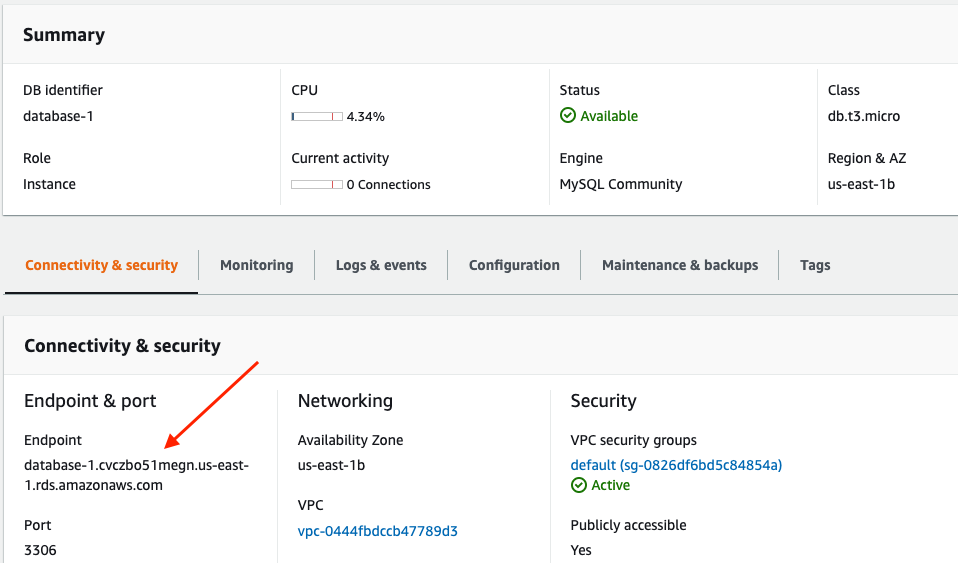
If we go to the “Instances” section within RDS, we can now see that our instance has been launched and is running.

If you click on the name of the instance, you can see all of its details. One of the most useful details here is the instance endpoint (its address). Take note of it, you’ll need it to specify where your SQL server is so that your scripts can connect to it.
Let’s Recap!
When you launch your RDS server, you can choose templates that will preselect certain default configuration options suitable for different uses.
VPC is a subnet that assigns private IP addresses to servers. It enables them to communicate with each other.
In a production environment, you need to avoid exposing an RDS server to the internet. It should only be accessible from its own VPC.
Each RDS server has an endpoint that represents its connection address.
Your instance is now ready to receive some data! It goes without saying that any data storage service must guarantee data availability and integrity. What happens if a rogue SQL query sneaks into the code and manages to erroneously delete thousands of rows? (What do you mean, this has never happened to you?!). Meet me in the next chapter, where we’ll see how to mitigate this risk.
