Use AWS Storage Securely

Maybe you’ve noticed that since starting this course, we’ve been launching EC2 servers, creating databases and uploading S3 files using a single account that we created right at the beginning.
But what happens if you have a team of five people who are all looking after different AWS services? Or even a team of 1,000 people?
Well, of course, sharing your password with them is definitely not a viable solution. You’re the one and only administrator!
To allow various teams to manage these services and resources in a secure way, AWS has created the “Identity and Access Management” service (IAM).
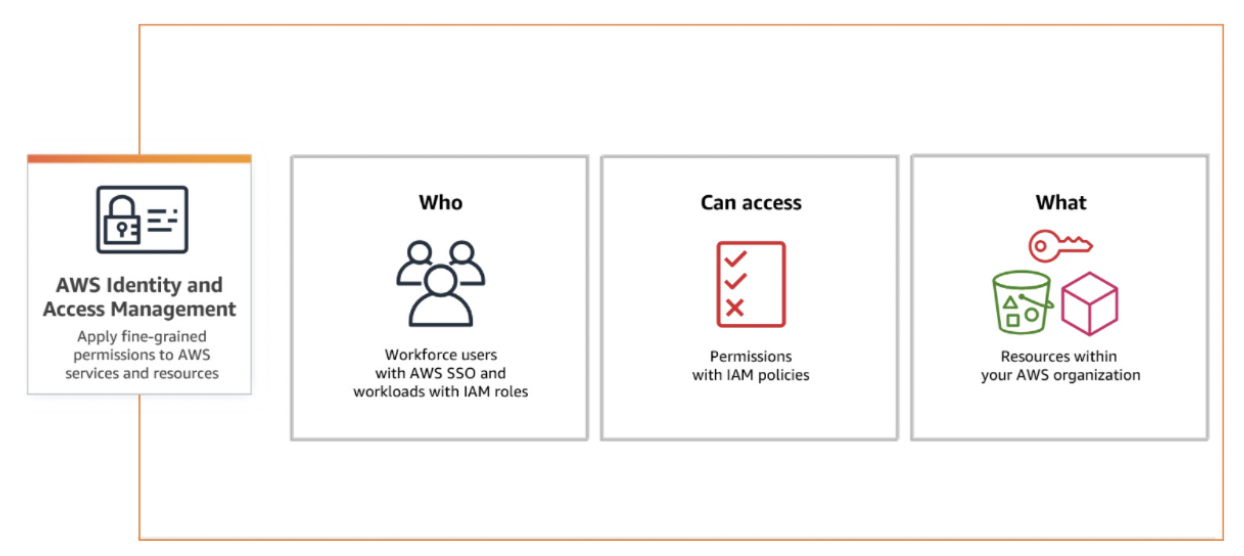
IAM is a central service within AWS that looks after user, group, and role identification and permissions. Before granting permission to perform an action on a resource, such as creating a bucket, AWS will check IAM to ensure that this action is permitted. It’s the real nerve center for AWS security.
Let’s have a look at this service in more detail.
Get to Grips With IAM
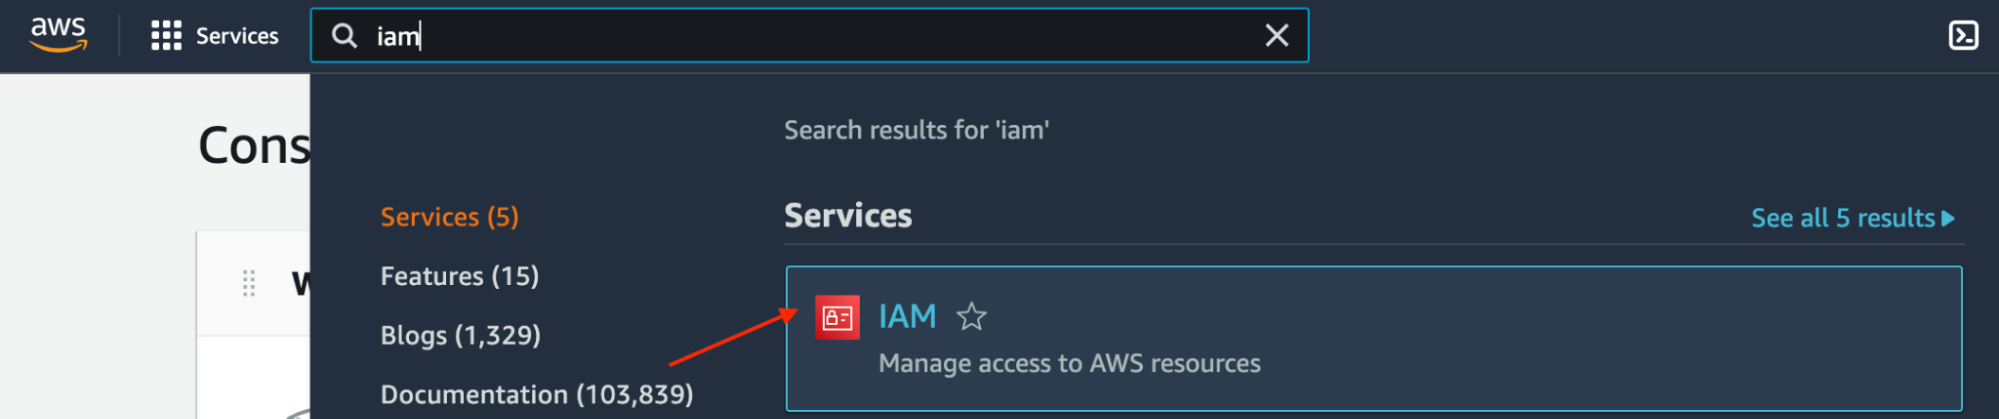
To access the IAM service, why not use the search bar now that you’re more familiar with the AWS console.
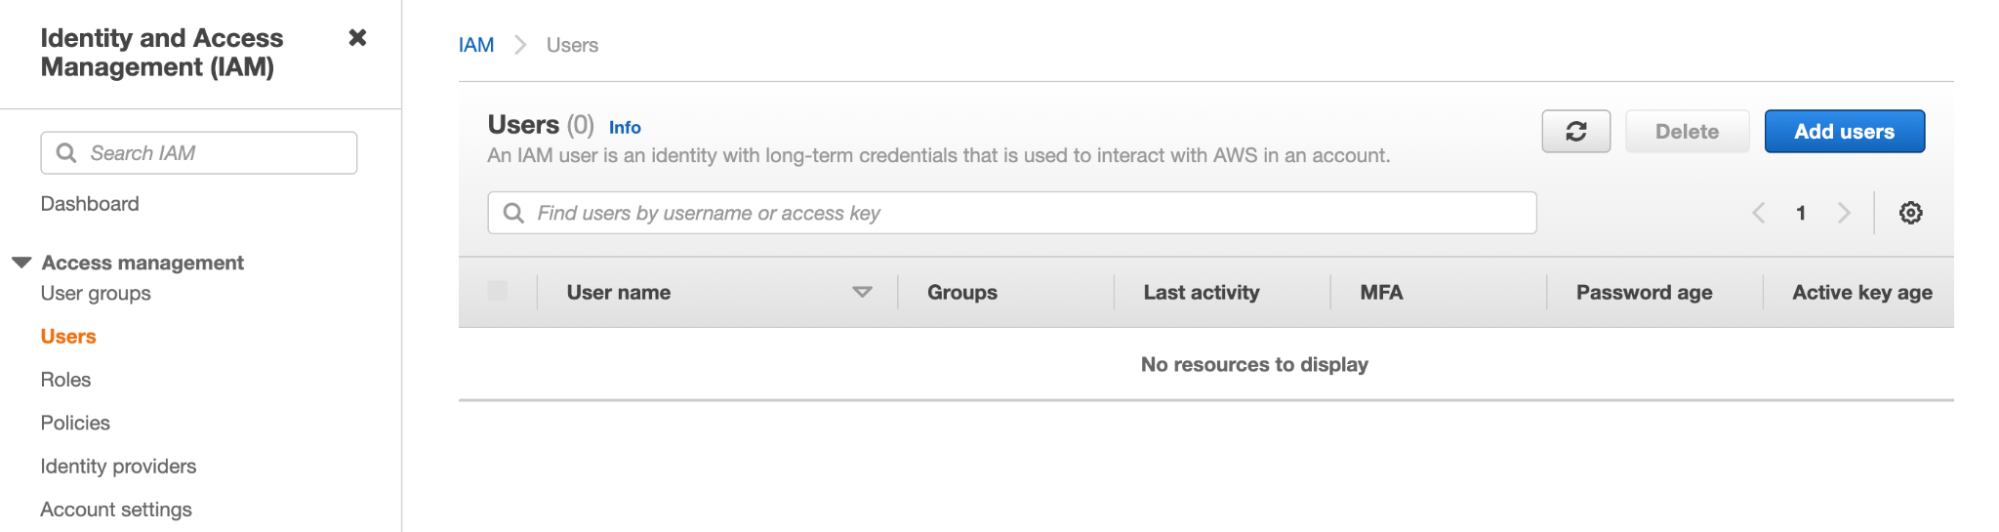
You’ll end up on the IAM dashboard, and this is where you’ll come up against your first security issue.
Help! What do they want from me now? What’s a root user?
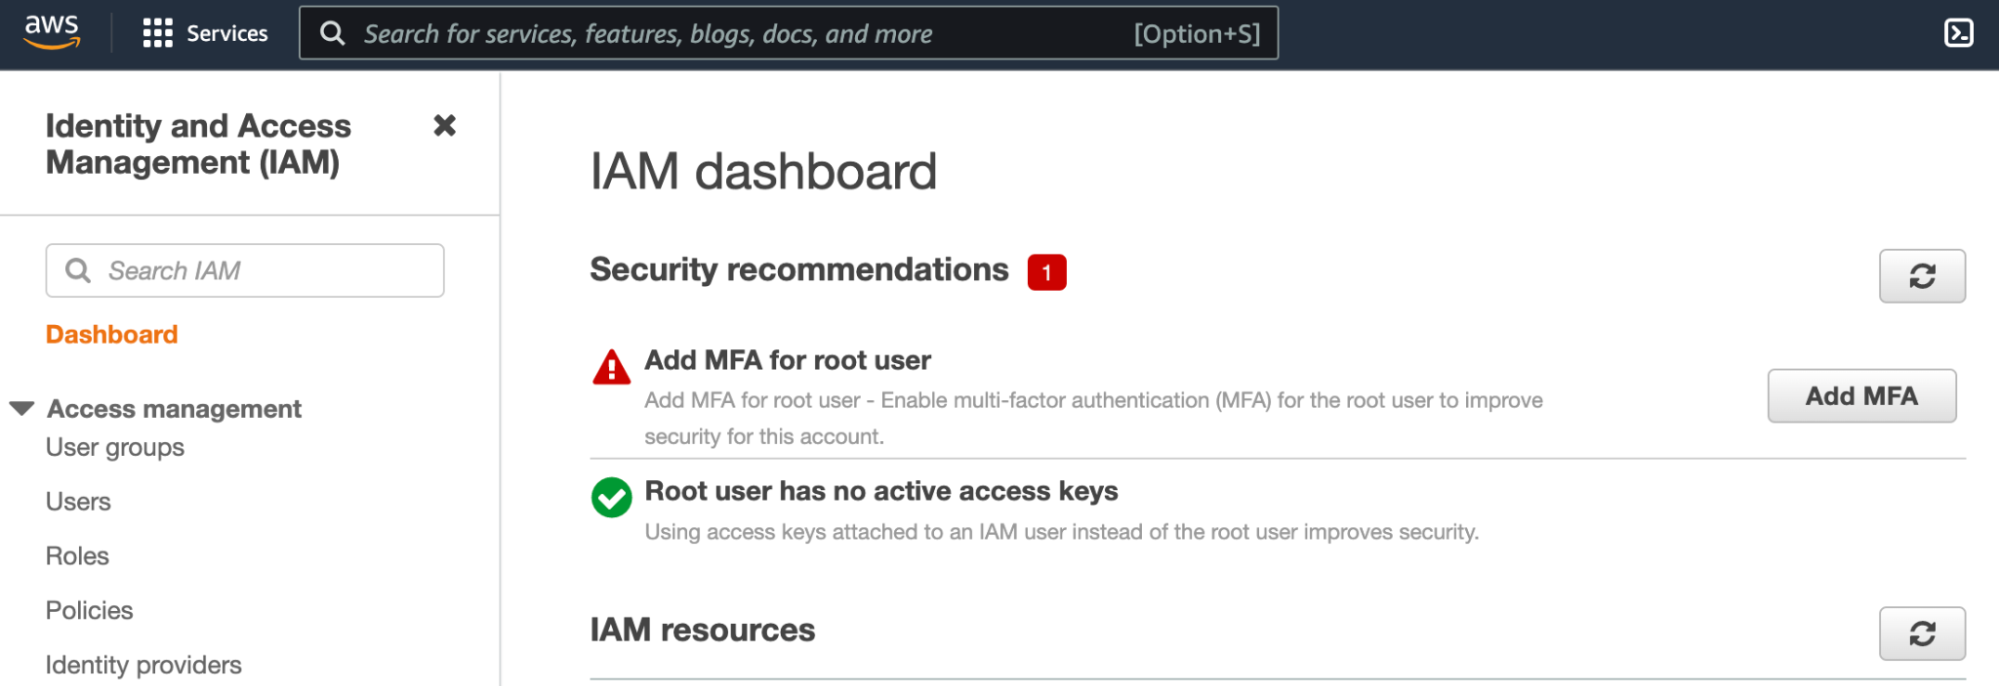
The root user is the one with the email address you used to create the AWS account. This user has full access to all of the services. You’ll see that AWS is trying to persuade you to set up multi-factor authentication (MFA). You know, those codes that are sent as SMS messages to your phone?
On the menu on the left-hand side, we can see some pretty standard menus for the IAM service:
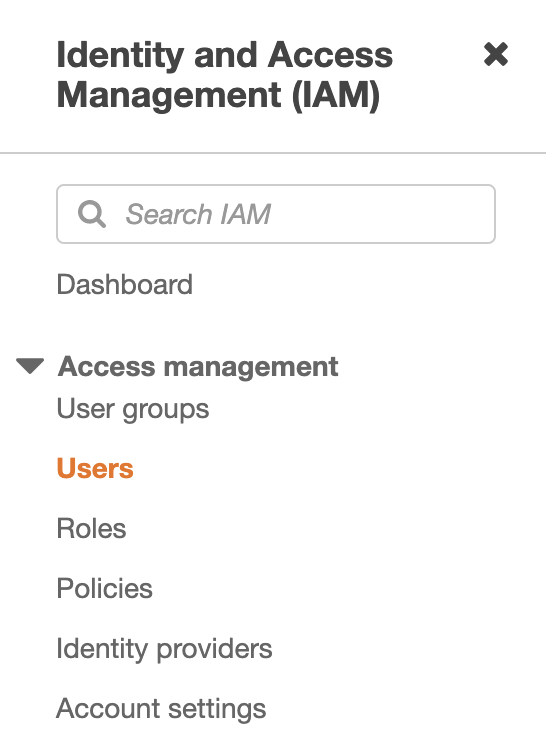
There are three that are of particular interest to us:
Users: this allows us to create, manage, and delete users who will have access to AWS services.
Roles: these are entities with certain permissions that can be assumed when using AWS resources. For example, we can create a role to upload files to S3 and then an EC2 machine can assume this role and inherit its permissions.
Policies: these are permissions assigned to every user within AWS. For example, a system administrator must be able to access the EC2 service, but has no business need to update the invoicing system or the S3 buckets. Permissions can go down to this level and beyond, as we’ll see.
Let’s start off by creating our first IAM user.
Create Your First Users
In the same way that no one is supposed to use the Linux root account, use of the AWS root account should also be strictly limited. So, we’re going to create a dedicated user account for our new colleague, Shaun.
Navigate to the “Users” section within IAM. Click on “Add users”:
Choose a username, e.g., Shaun, and then select the type of access you want to grant him.
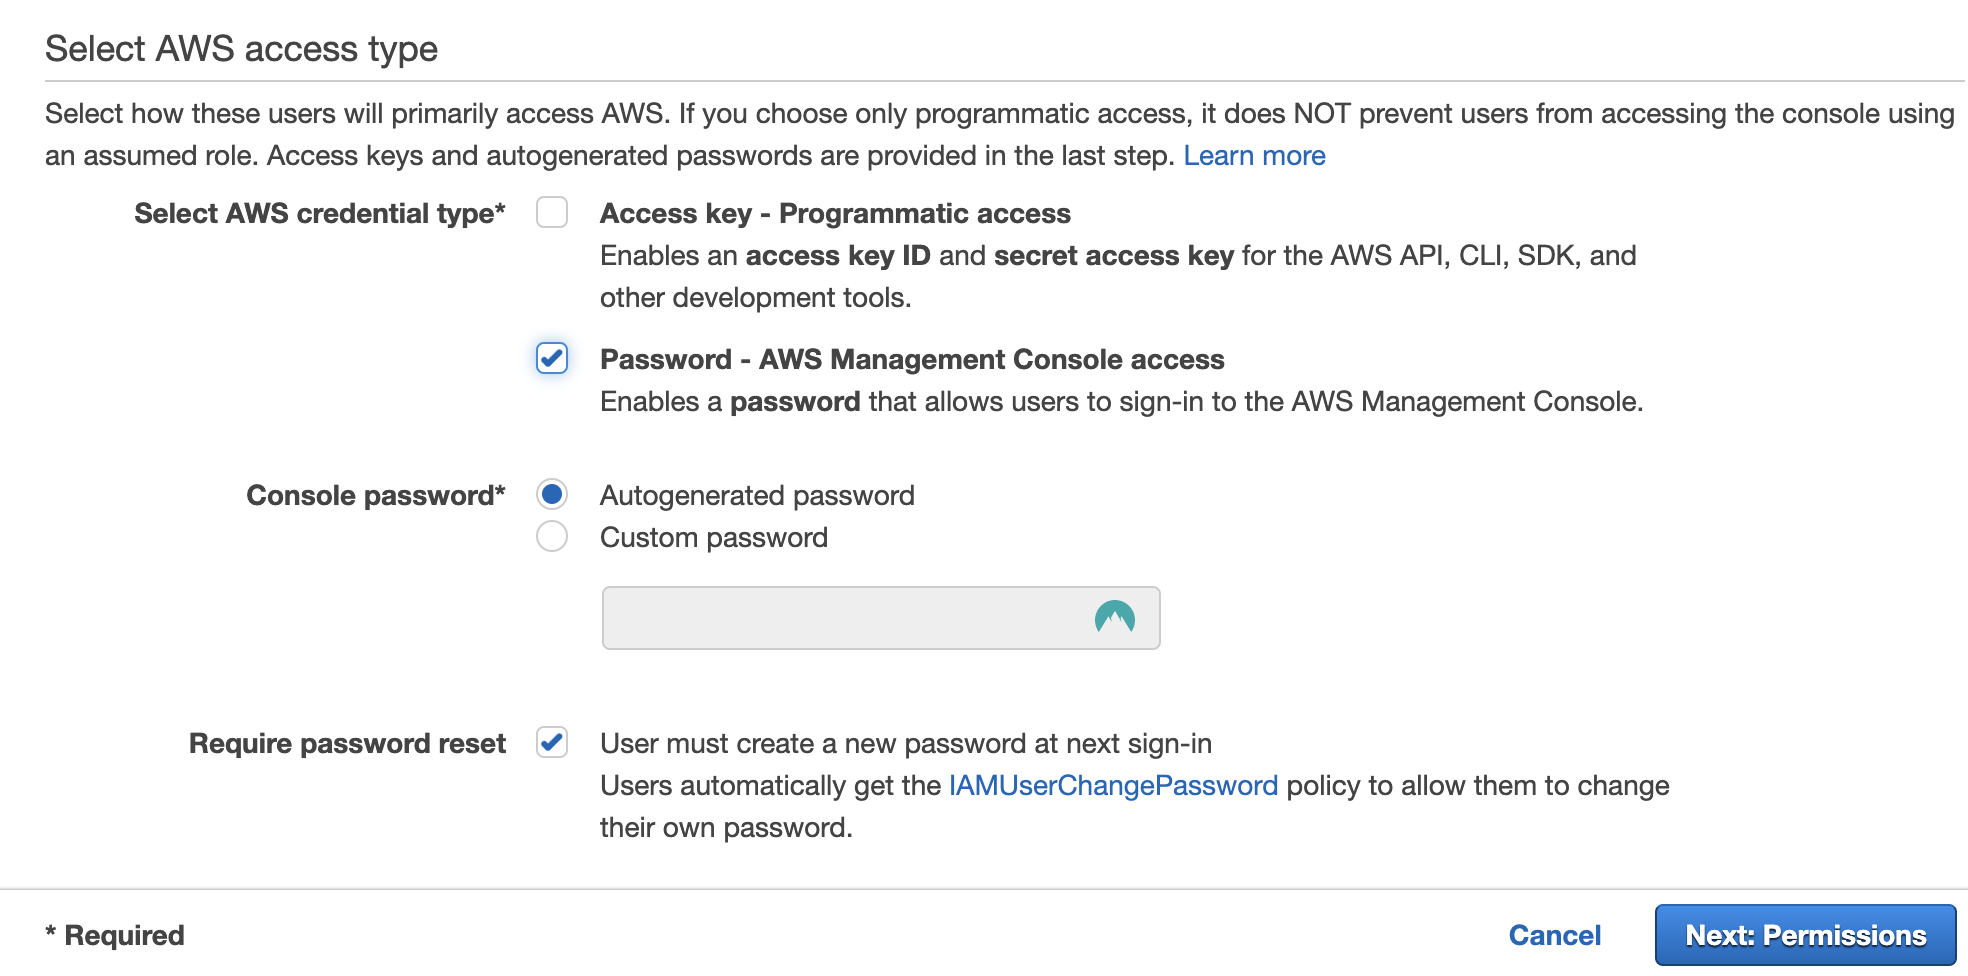
We’re going to choose AWS Management Console access, which is the one we’ve been using on this course. Check the “Console access” password box, then Next.
You’ll then be asked to set the access rights for this user. Let’s assume that Shaun needs to manage all of the S3 buckets.
There are some predefined authorization settings within AWS that will grant these permissions. Click on “Attach existing policies directly” and search for “s3FullAccess.”
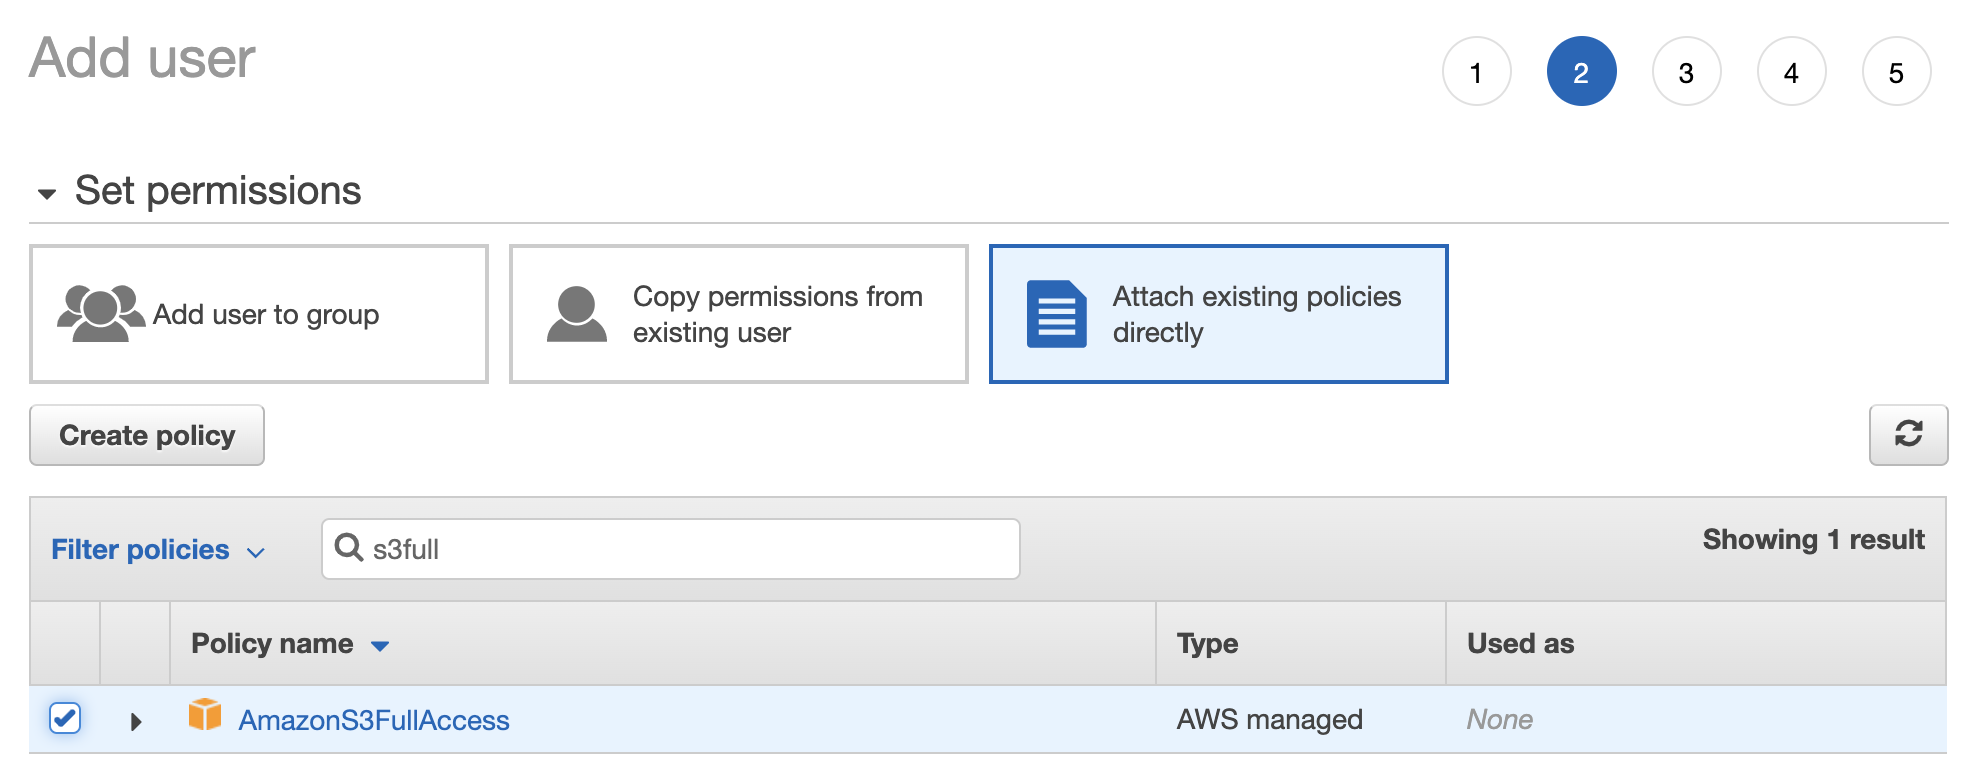
Select the “AmazonS3FullAccess” policy. This will give Shaun permission to do everything on S3, including creating buckets and uploading and deleting files.
Click on “Next” to define tags. This enables you to tag users if you need to. You can leave it as-is and then click on “Next: Review” to get to the review screen.
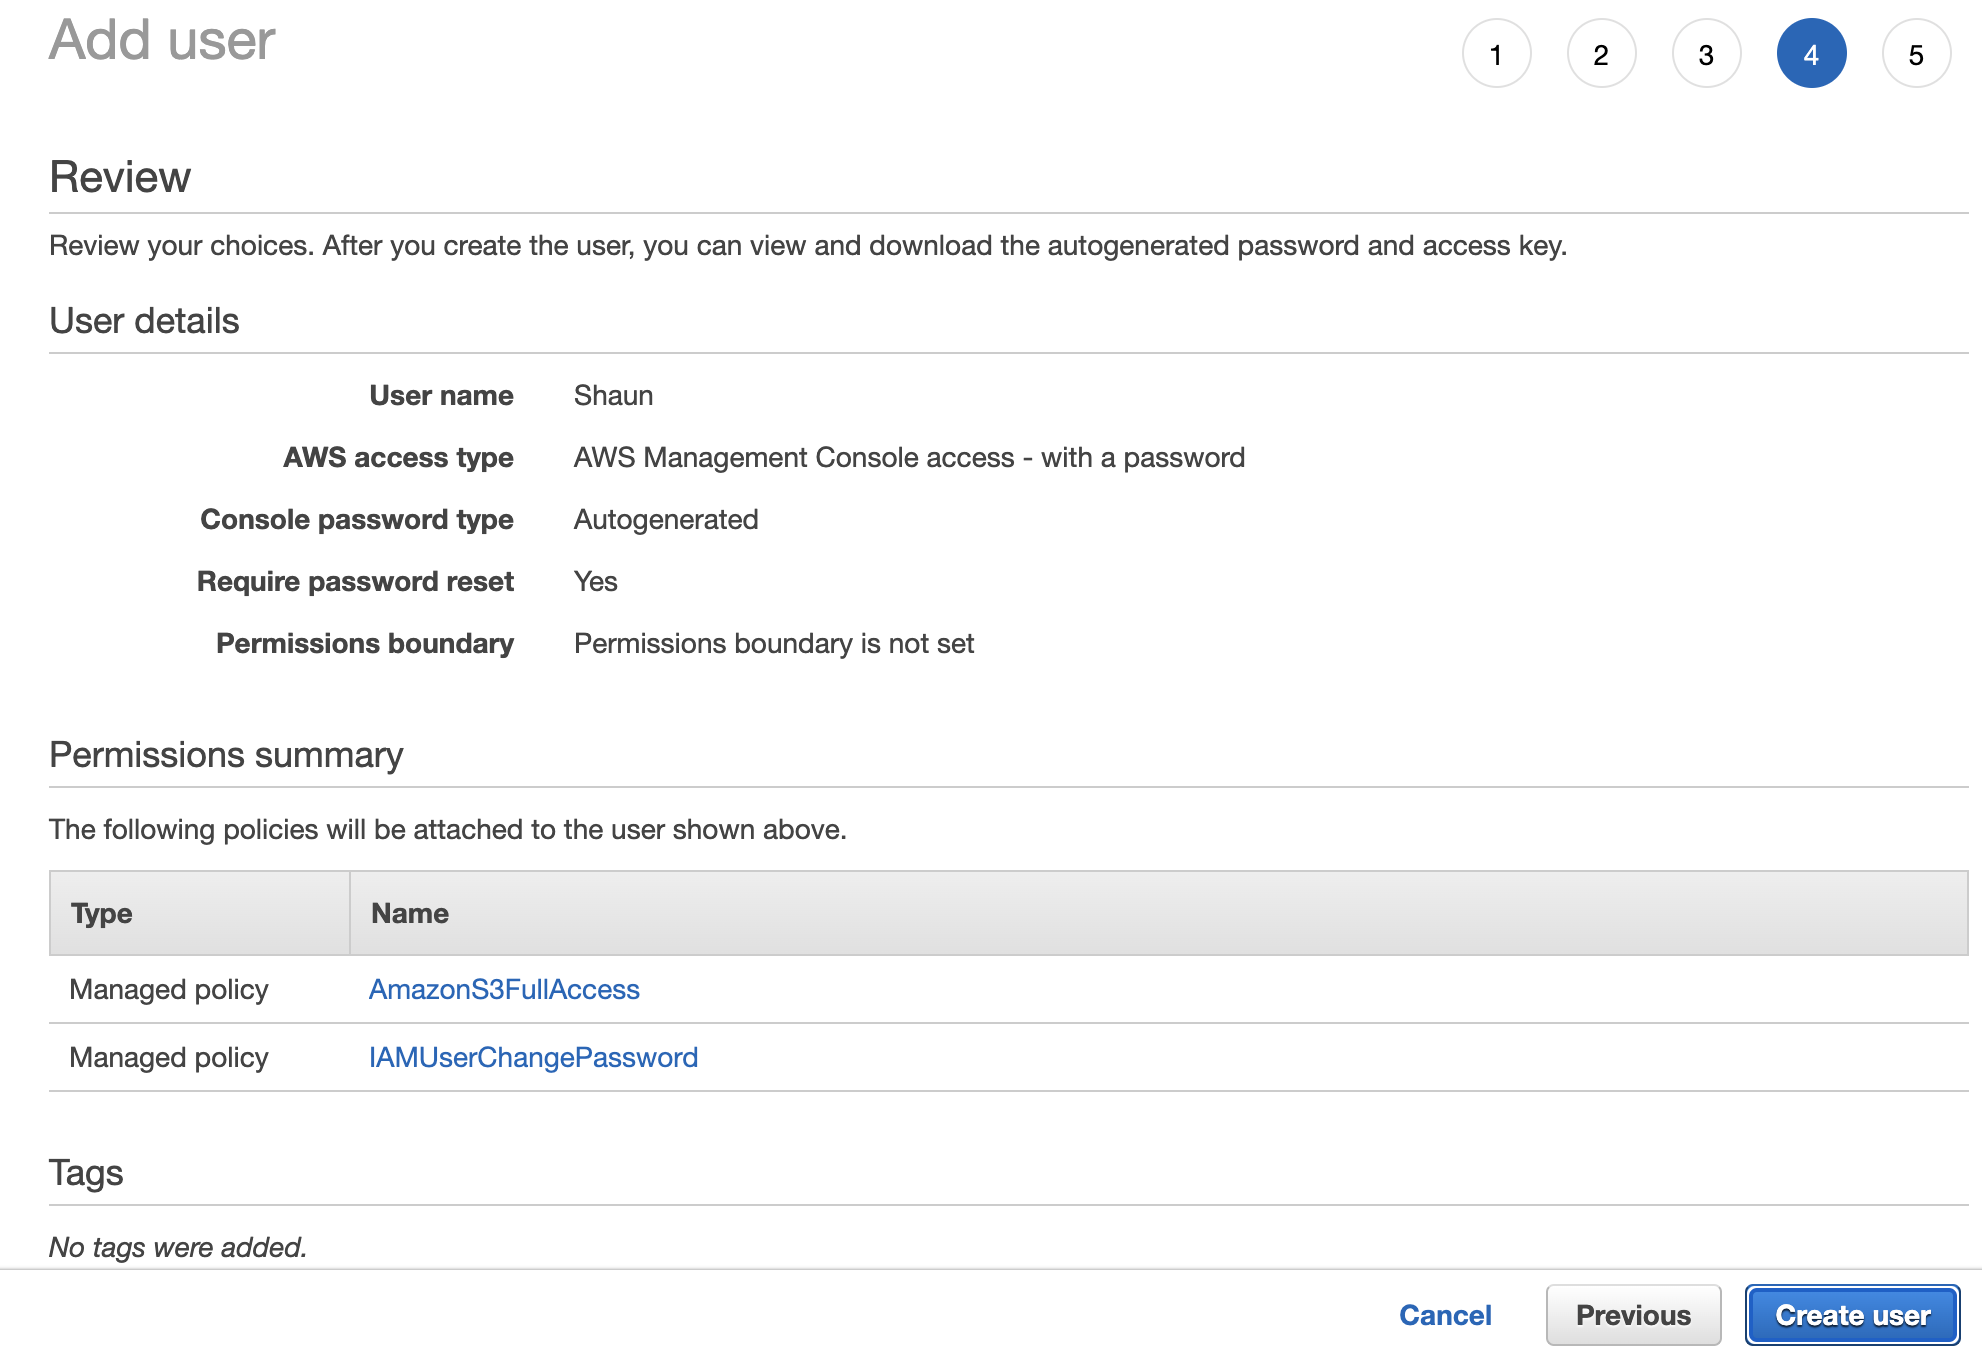
If it all looks good, click on “Create user.”
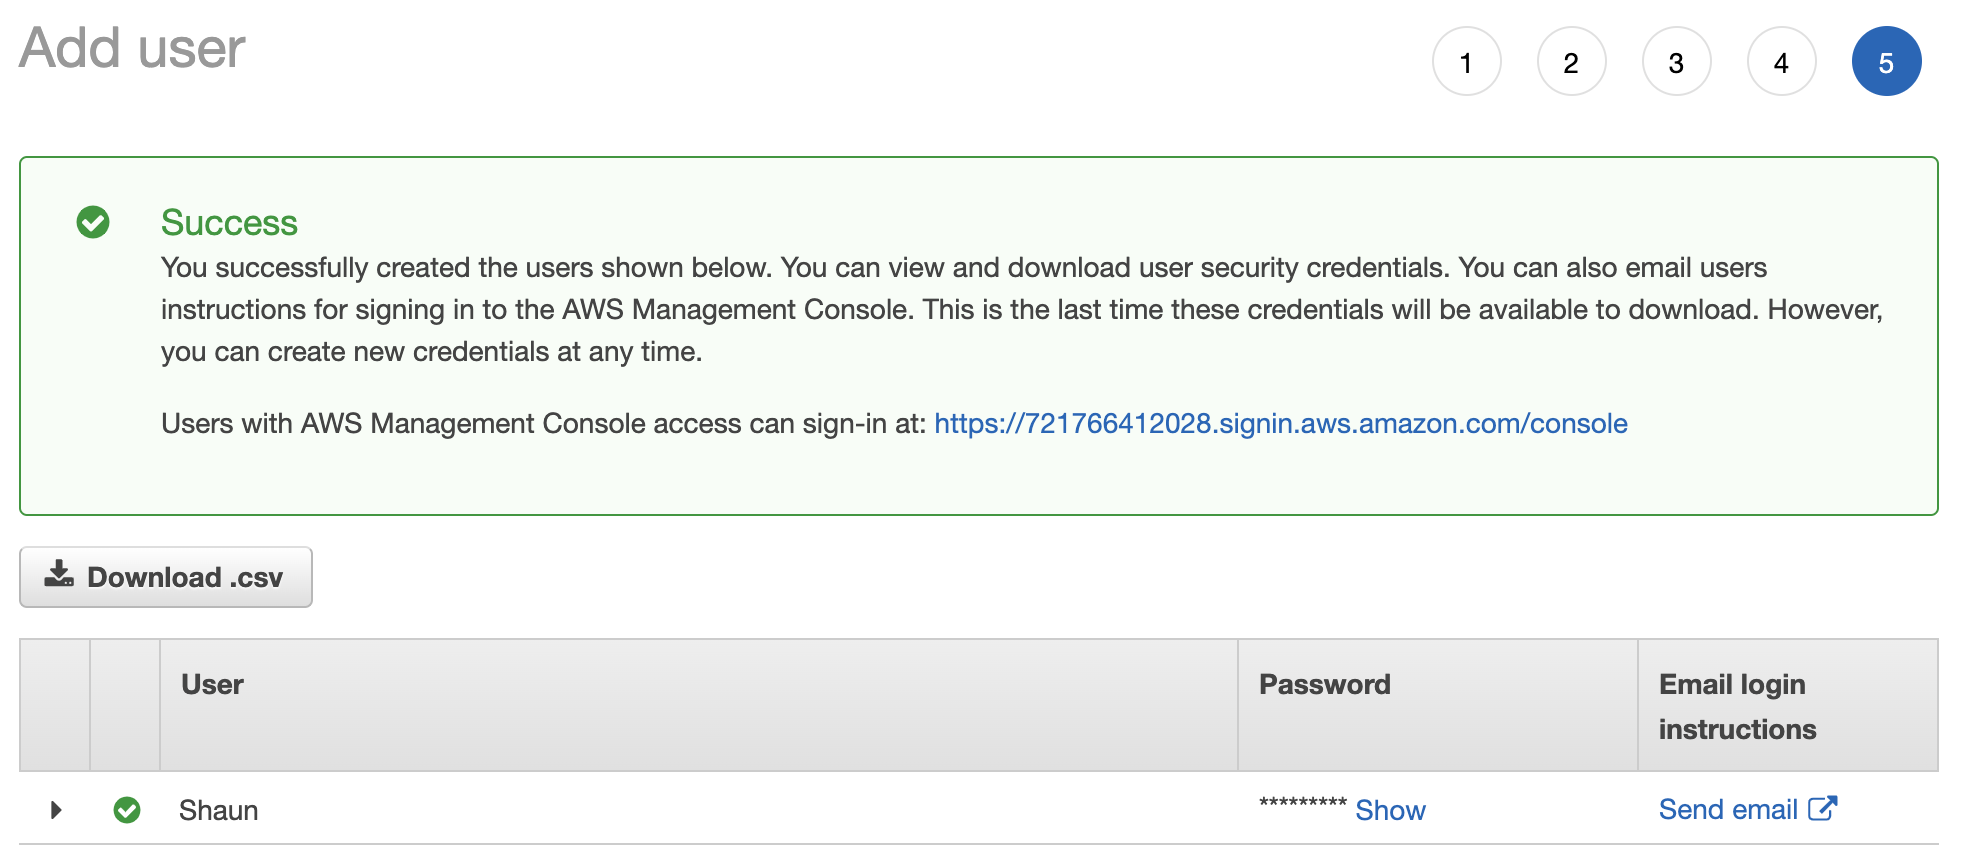
Well done, you’ve successfully created a user. Take a note of the AWS console connection address. This is what you’ll need to send to Shaun along with his password, so that he can access your AWS console.
When he connects for the first time, he’ll be invited to change his password. Once he gets to the console, he’ll be able to manage the S3 service for your account however he chooses.
But if he tries to access any other services, such as EC2, he’ll get some error messages.
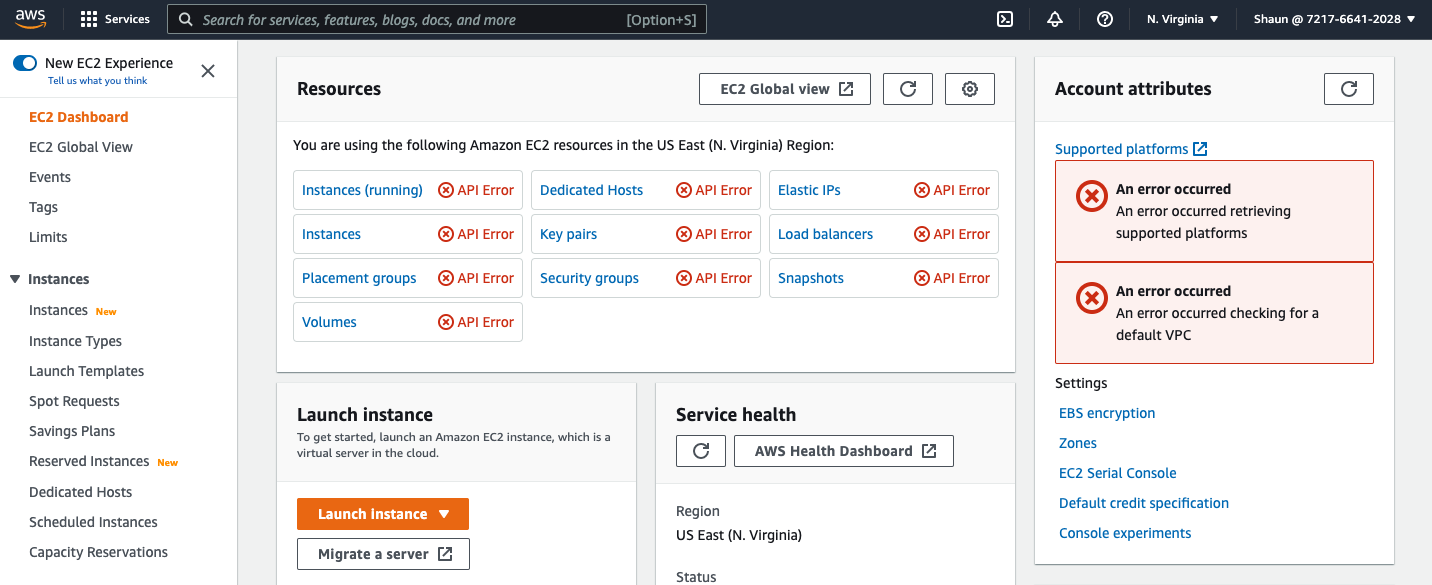
This is obviously a much better solution than letting him use the root account. You have full traceability of user access and Shaun’s access is limited to S3, so he can’t create any servers, for example. But is this granular enough?
What if we wanted Shaun to only be able to read the kevinopenclassrooms bucket and not the mysecretbucket one? How can we do this?
Well, as you might have guessed, we can use IAM policies.
Configure IAM Policies
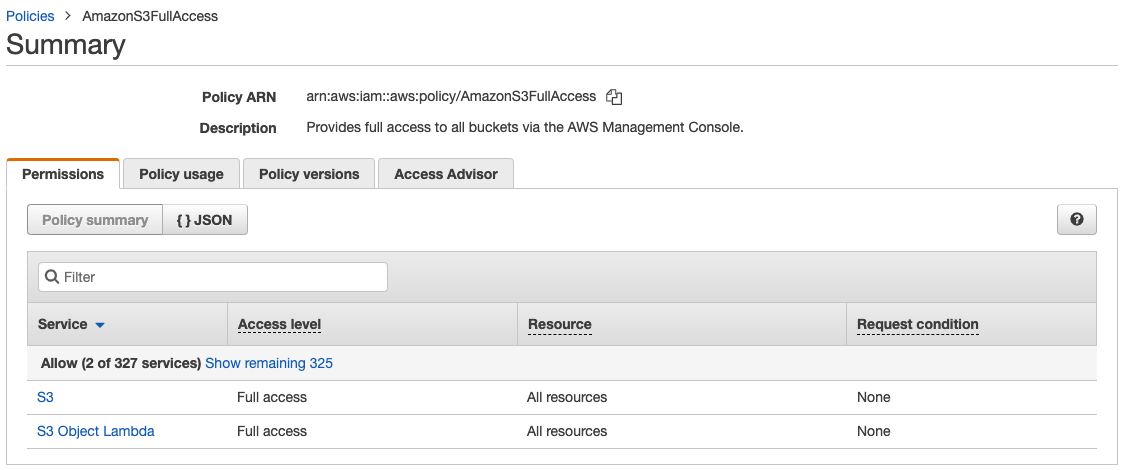
If you go to the “Users” menu within IAM and click on Shaun, you’ll see that he has an IAM policy called “AmazonS3FullAccess,” which initially gives him full access rights within S3.

This is what we call an “AWS managed policy.” We didn’t create it, it already exists within the account and allows you to quickly grant access rights to users.
If you click on the policy, you’ll see that it grants access to two services: S3 and S3 Object Lambda, which we’re going to politely ignore at this stage:
Click on “S3” to see the list of actions that are permitted by this policy:
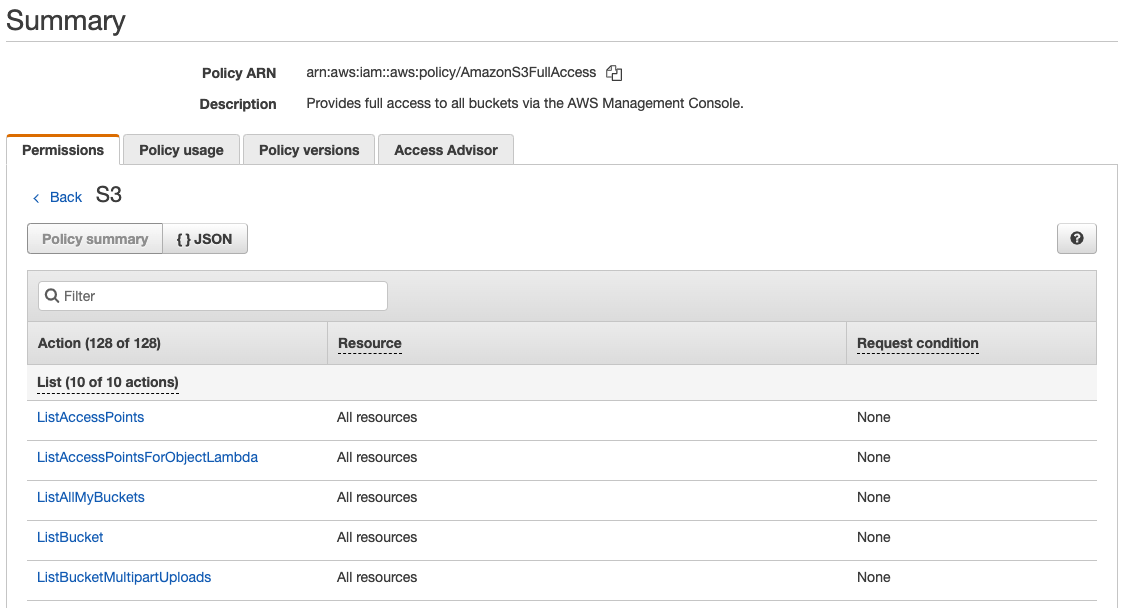
Yep, this isn’t a typo! There are indeed 128 permitted actions (as at today’s date) within the S3 service. EC2 has around 400, and so on. Don’t close the IAM console just yet. You’ll see that within most services, there are three or four key actions you’ll want to know about that come up time and time again.
Let’s try to create our own IAM policy that will limit Shaun’s access to read-only actions within Amazon S3. He can display buckets and read the files, but he can’t create them.
Navigate to the “Policies” menu, ignore the many hundreds of policies created by Amazon, and click on “Create policy.”
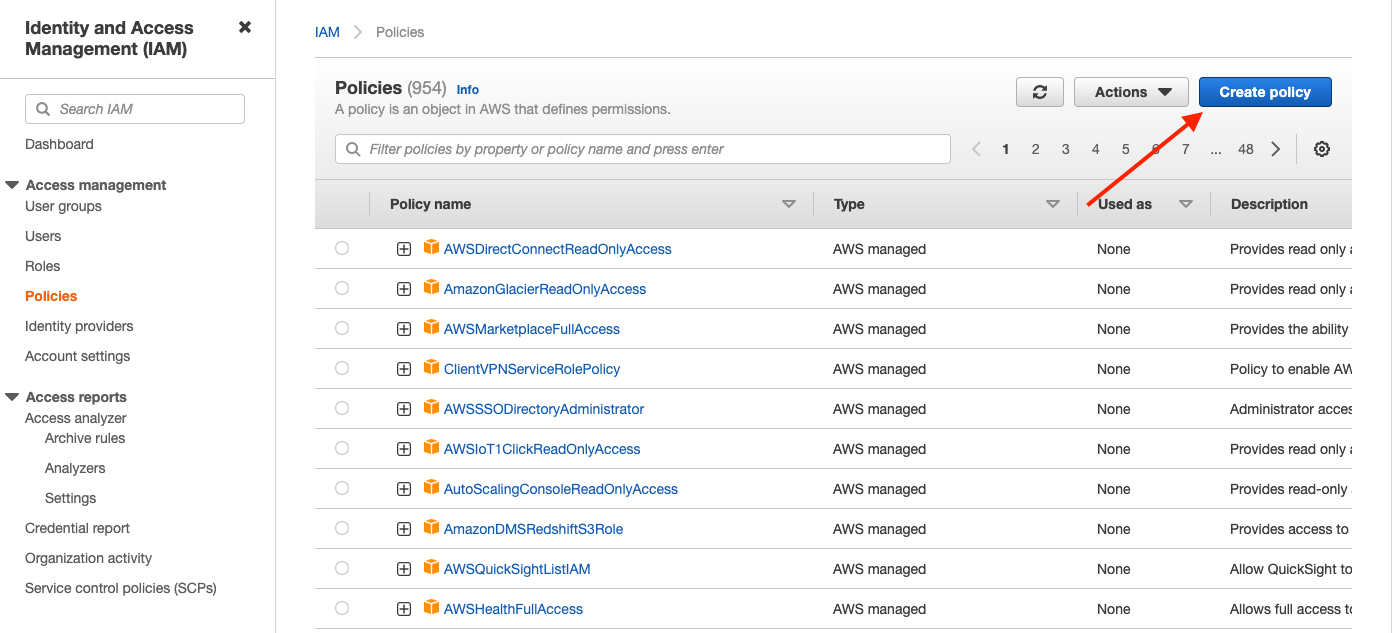
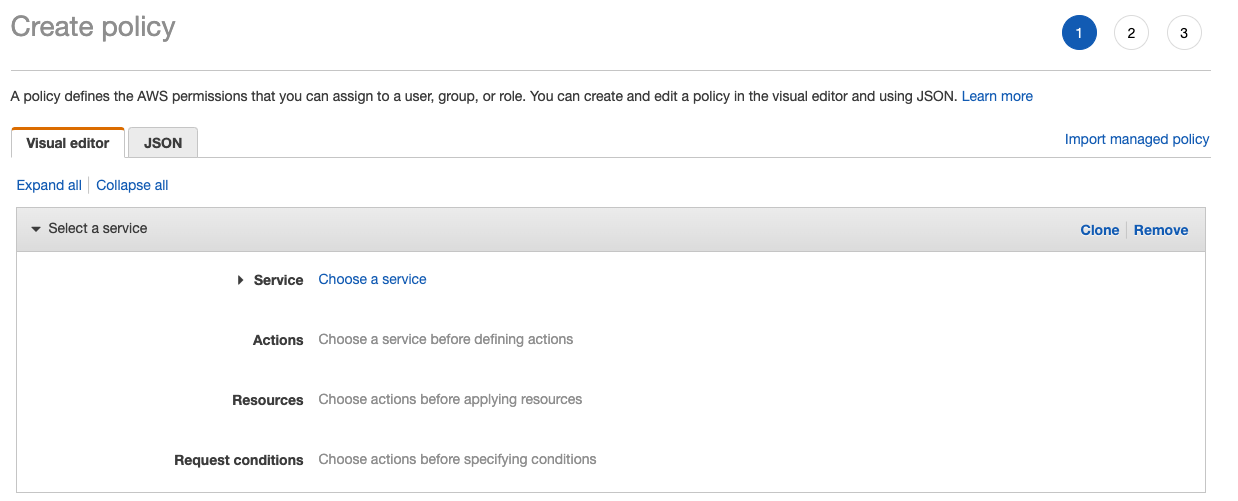
You’ll end up on the IAM policy creation menu.
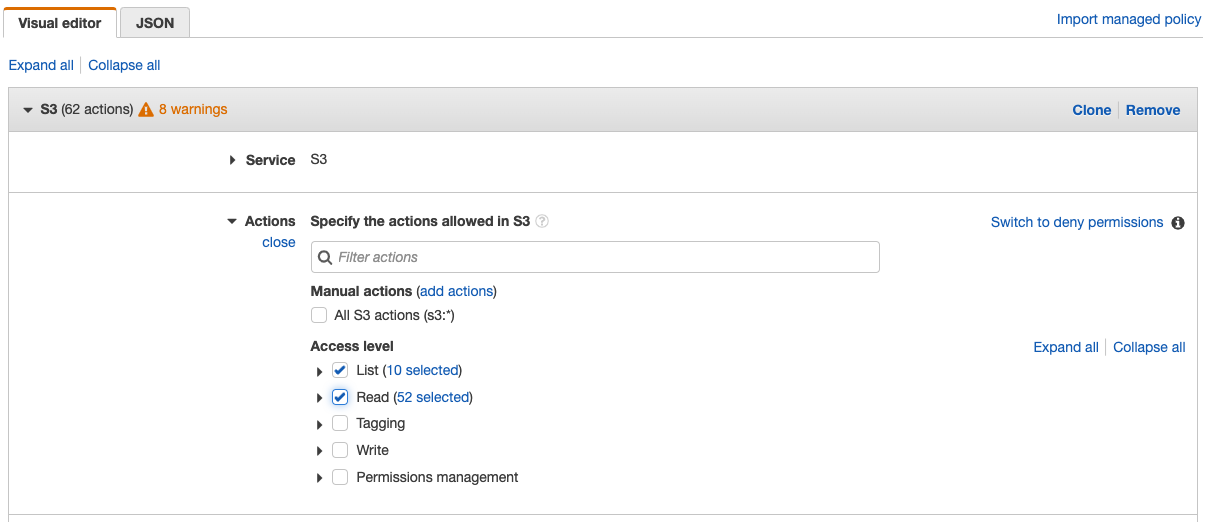
Choose the S3 service, then check the “List” and “Read” access levels. These two options implicitly include all actions needed to list files in a bucket, download them, and so on.
We want to limit access to a single resource, which in our case is an S3 bucket, so expand the “Resources” sub-menu and provide the name of the bucket and the names of the objects.
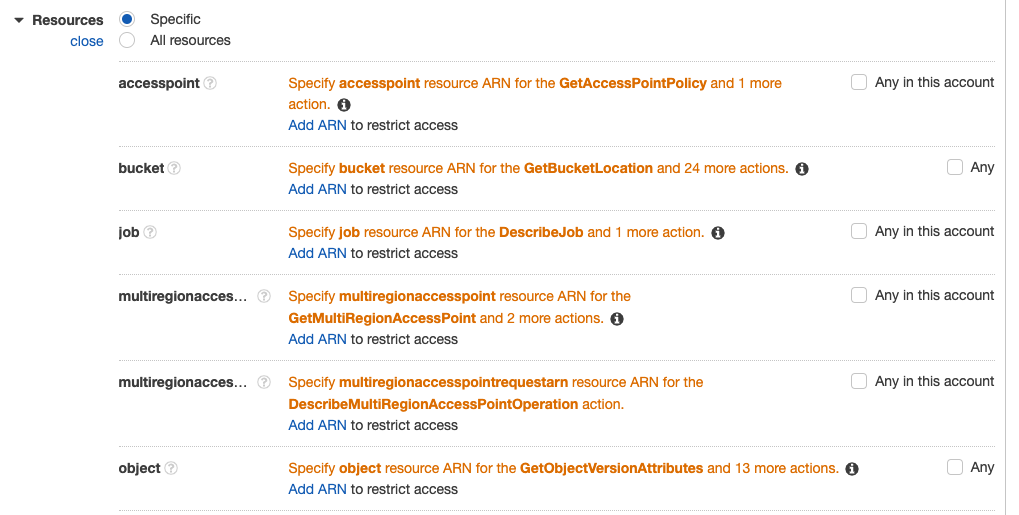
Click on the “Add ARN” button within the “bucket” resource and then enter the name “kevinopenclassroomsbucket.”

An ARN (Amazon Resource Name) is a unique identifier for a resource within AWS.
Next, click on the “Add ARN” button within the “Objects” resource, enter the name “*” and check “Any” object.
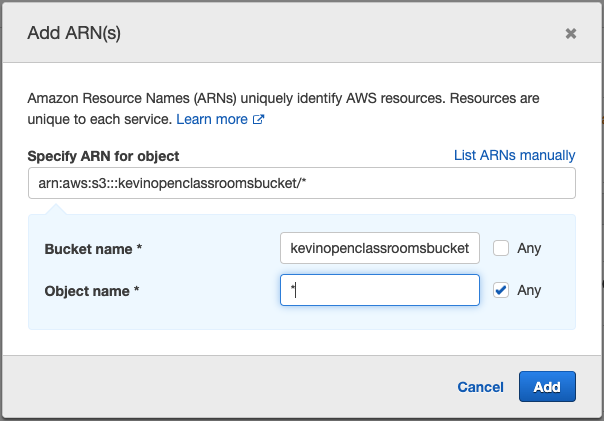
Shaun will then be able to list and read all objects in the kevinopenclassrooms bucket.
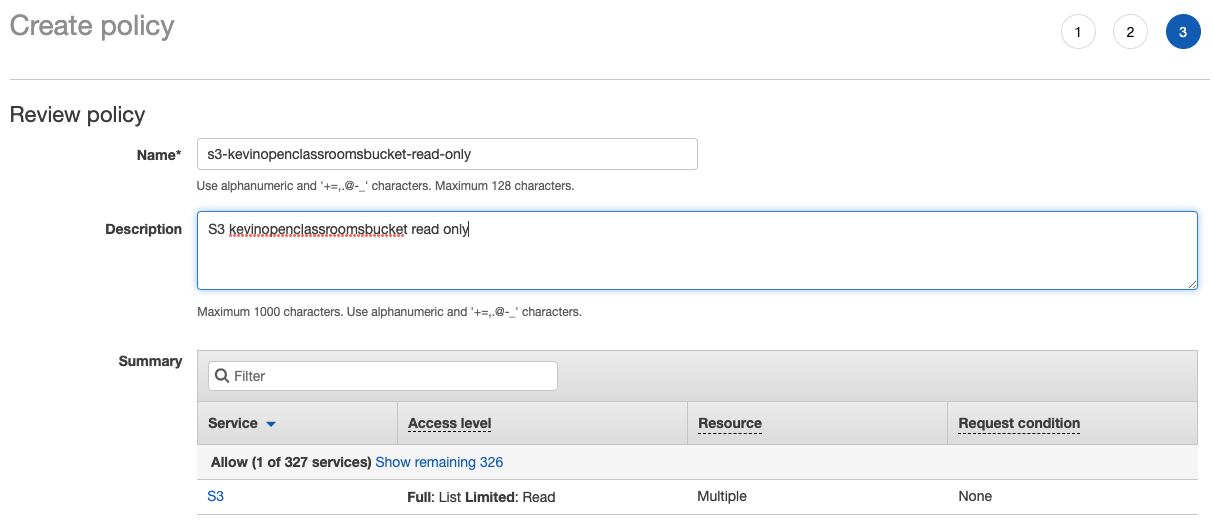
Click on “Next” until you get to the screen where you can provide a name for the policy.
We’re going to name ours s3-kevinopenclassroomsbucket-read-only. Then click on “Create policy.”
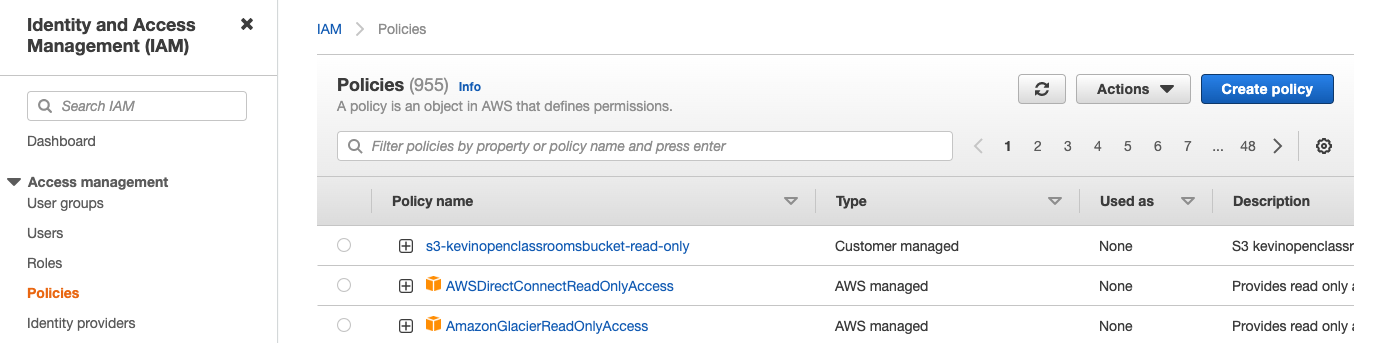
There we are, we’ve created our custom policy. It’s not currently active, however. We need to attach it to Shaun, our user.
To attach this policy to the user, select the policy and then click on “Actions” > “Attach.”
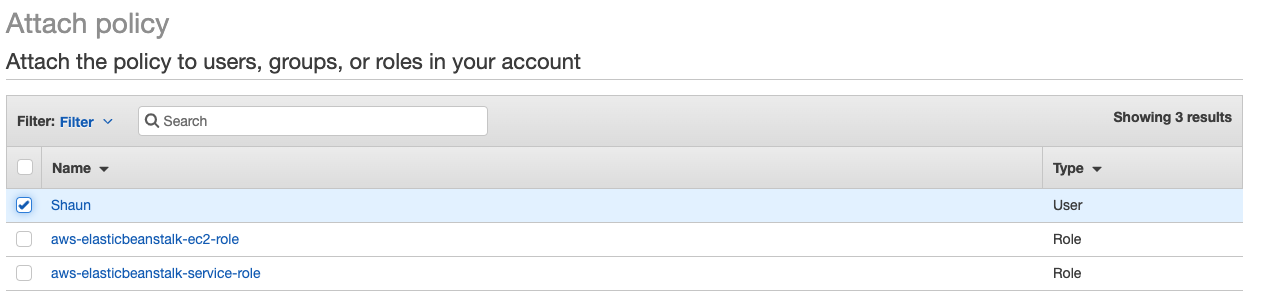
Select our user, Shaun, and then click on “Attach policy.”
If you go to the “Users” menu and display Shaun’s details, you’ll see the new s3-kevinopenclassrooms-read-only policy is now attached to him:
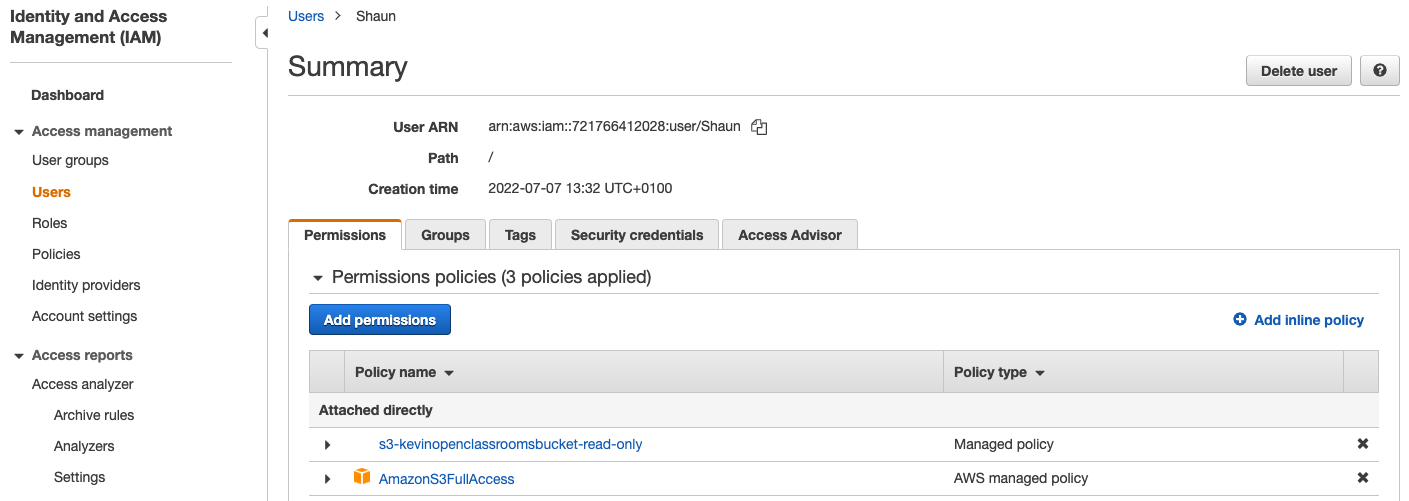
Now that you’ve created a more suitably restrictive policy for Shaun’s role, you can detach the previous AmazonS3FullAccess policy by clicking on the “X” on the right.
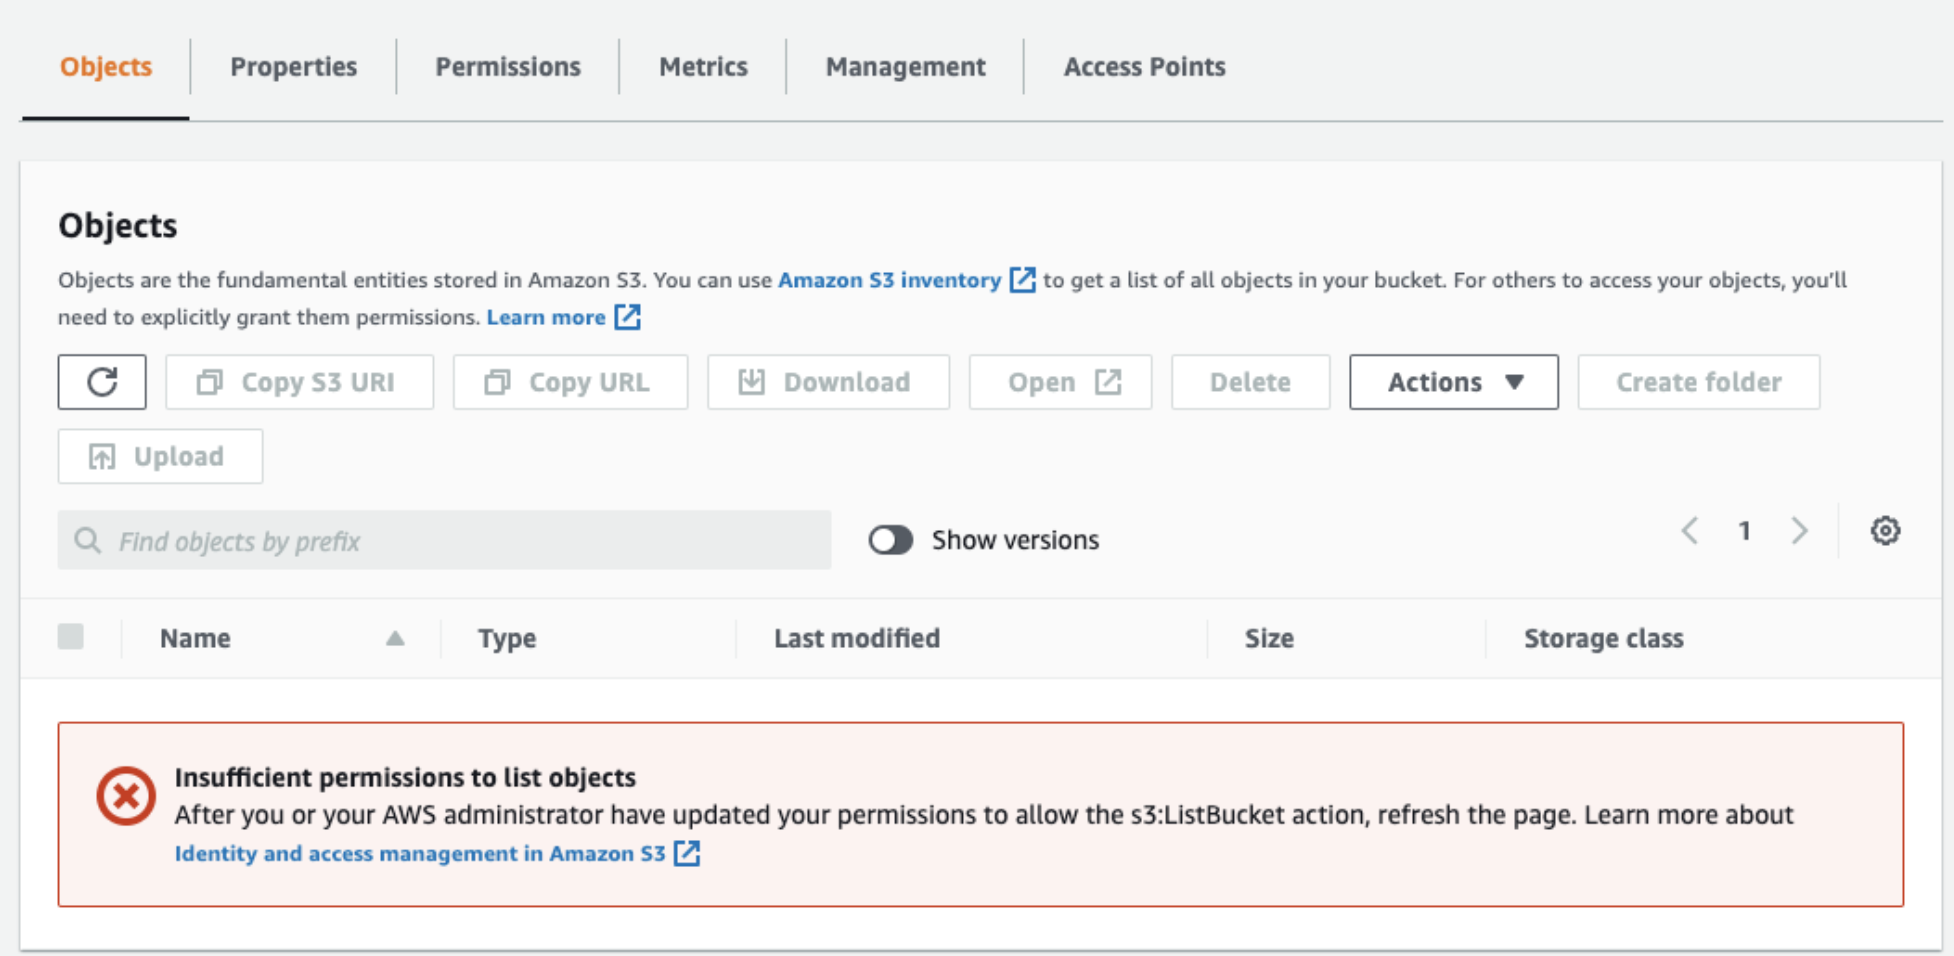
If Shaun tries to access your mysecretbucket bucket using the S3 console, he’ll see the following error message:
Let’s Recap!
The IAM service enables you to manage users and permissions on AWS.
The root user should only be used in exceptional circumstances (e.g., support escalations).
An IAM policy is a set of permissions attached to a user, group, or role, which allows them to perform particular actions within AWS services.
IAM policies that are pre-defined by AWS are a simple way to limit user access rights. However, if you want to be more specific and provide greater security, custom policies are more suitable.
Now we know how to protect our AWS resources, we have everything we need to tackle the subject of access rights on S3.
