Get Your Student Started on Their First Project
Familiarize Yourself with the Project
When you’re working as a mentor, we recommend that you stay one step ahead so that you don’t discover the project at the same time as your student.
Read the project brief, which contains the project instructions, i.e. the mission that the student has to complete to validate their project. It can be found on the first tab of a project page:

Read the project Mentor Guide: This resource is reserved for the mentor—the student should not have access to it. It will provide you with all information regarding the project expectations and assessment criteria. You will find it in the second project tab.

Analyze the Project with Your Student During a Session
Analyzing the project also means taking time to identify the key skills to be developed and trying to measure the student’s room for improvement. Here’s how it could go:
Ask the student to restate what they’ve understood of the project and what’s expected.
Encourage them to make a rough draft of each deliverable.
Divide the project into major steps of the work: for this, you can use the Mentor Guide, which often contains a suggestion of key steps to follow (to be adapted based on the student).
This is also an important moment to identify the soft skills which will be needed to carry out the project: organization, autonomy, speaking in public, writing ability, etc.
We recommend that you show the student the list of courses they can take, and the resources associated with the project that will help them move forward:

Help Your Student Set Goals
The last step of the first mentoring session is crucial: setting goals.
You can think of goals as tools. They guide the student and point them in the right direction from one session to the next. The more precise they are, the more effective they will be. Goals should be included in the session report, for several reasons:
The report is always sent to the student. Listing out the goals allows the student to refer back to them and work independently.
It shows our teams what you’ve done and gives us the information we need to discuss this information with you or your student.
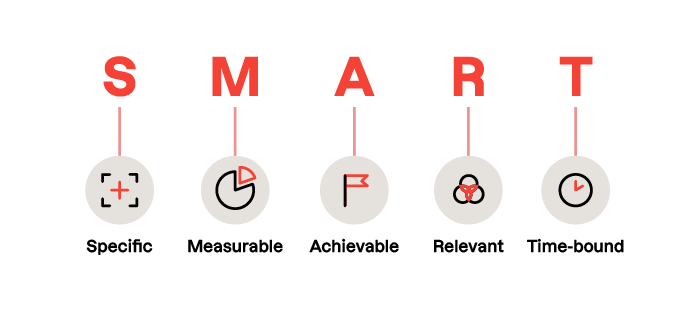
S – Specific: Target a specific skill (or assessment criterion) which the student must work on.
M – Measurable: Quantifiable and/or has specific progress indicators.
A – Achievable: Presents an appropriate difficulty level for the student based on their existing skills and the available time.
R – Relevant: Linked directly to the stage of the current project, allows the student to make as much progress as possible on the project.
T – Time-bound: Define a clear deadline, which is usually the next session.
When setting goals, be sure to involve your student because they are in control of the learning pace:
Work out a provisional schedule together: How many sessions do you have (in theory) to complete this project? How can you divide up the project? Into how many parts? What are the corresponding skills and deliverables?
Ask them what they think is feasible and offer them advice.
Check that they have understood everything correctly. Rephrase if necessary.
Add recommended resources, if necessary.
To summarize, here is the recommended checklist of the main steps to get the student started on a project:
Read through the project mission together.
Explain why this project is part of the path (put it into context).
Identify key skills and deliverables to work on.
Get them to explain the project to you: “What do you think this means?”, and correct them if necessary.
Indicate the relevant courses.
Highlight the project expectations and assessment criteria.
Book in the Next Mentoring Session
Let’s Recap!
To best support your student, stay one step ahead by familiarizing yourself with the project mission, objectives and assessment criteria, which are included in the Mentor Guide.
When you move on to a new project, ask the student to read through the entire project before the first session.
When you start a project, make sure your student understands the project expectations and the types of deliverables they need to produce.
Setting goals is a mandatory step to help guide the student’s work between sessions.
For the last third of this course, we suggest looking at how to run a typical mentoring session: preparation, organization, and the session report.
