There are a number of goals for a discovery session:
getting to know each other.
talking about the student’s motivations.
having them learn about the training program.
explaining what mentoring is and what it isn’t.
laying down good foundations for success.
Talk About Your Experience and Motivations
Start by introducing yourself, tell them:
Where you’re from.
What your specialty is.
About your educational and professional background, and your learning experience.
Why you’re here today: why you became a mentor for OpenClassrooms.
What your role is in the student’s training program.
You are the face of the program and the student’s main point of contact, along with the Student Success Manager. Your role is to guide the student. This conversation is therefore essential to establish your legitimacy and start to build a relationship of trust with the student.
Find Out About the Student’s Expectations
Once you have introduced yourself, ask the student if they have any questions and then let them do the talking. Some students will be more talkative than others. Help your student feel comfortable (this may take time) or help them stay focused on the goal of the session so they don’t get distracted.
Regardless of their background, a student will have goals that you need to identify.
Here are some ideas for making conversation if you need them:
Tell me a bit about yourself.
What were you doing before you started this training program? In what context/organization?
Are you doing anything else at the same time as starting this training program?
What is/are your goal(s) in embarking on this training program? Where do you see it taking you? How do you think you will use your new skills in the future?
What was your main reason for enrolling on this training program?
How do you see yourself using these new skills in a year or two?
On a scale of 1 to 10, with 1 being “absolute beginner” and 10 being “very experienced”, how would you rate your familiarity with the path content (in terms of mastery of the course material, ability to complete projects, etc.)?
Understanding your student’s motivations and the stumbling blocks makes it possible to adapt your approach and offer personalized advice. You will probably need to adapt your mentoring style from one student to the next.
Use this discussion time to agree on the tools you’ll use each week to communicate and to organize the work:
for shorter messages it could be e-mail, Slack messages, etc.
for mentoring sessions it could be the OpenClassrooms videoconference tool or alternatives such as Zoom, or Google Meet if necessary.
for written communication between sessions it could be a shared file, Google Drive, e-mails, Trello, etc.

Go Over the Path Projects Together
We suggest you run through what’s on the path together on the call, to:
understand where you are starting from and where you are going.
identify the projects that will take the most time.
understand the order and interdependence of projects.
see if the student has already mastered some of the project components.
read through Project 1 (or even Project 2, if they are already quite advanced).
set goals for the next session (which will be a classic mentoring session).
Share your screen as you go over the course together. This helps to hold your student’s attention.
The discovery session is not the right time to look at deliverables that the student has gone ahead and finished early. However, if your conversation was quite brief and you have some time left, you can take a look at their work.
Explain the Reasoning Behind Assessments
At this stage of the discovery session, your student will probably need to be reassured about the assessment. Here is some key information:
As an exception, you will assess Project 1 (on certain paths Project 2 as well, it will be specified) but not any of the following projects. An assessor will be responsible for your student’s assessments.
Your task is to check that the student’s work meets the expectations before you let them present their project. If a deliverable is missing, by default, the student won’t be able to complete their assessment.
Your student needs to plan ahead and submit their deliverables to the platform (in .zip format, i.e. a compressed file) 48 hours before the assessment takes place. If this is not done, the assessor has the right to cancel the assessment. This time is needed to look over all of the deliverables in detail.
A student can do as many assessments as necessary.
An assessment that needs to be resubmitted must be assessed by the same assessor. If the project receives a "to be reworked" decision twice in a row, the student may schedule the third assessment with a different assessor.
Validate the Discovery Session
45 minutes later (or 30 minutes if your student is self-funded) you should have set goals for the next session, which will be the first standard mentoring session.
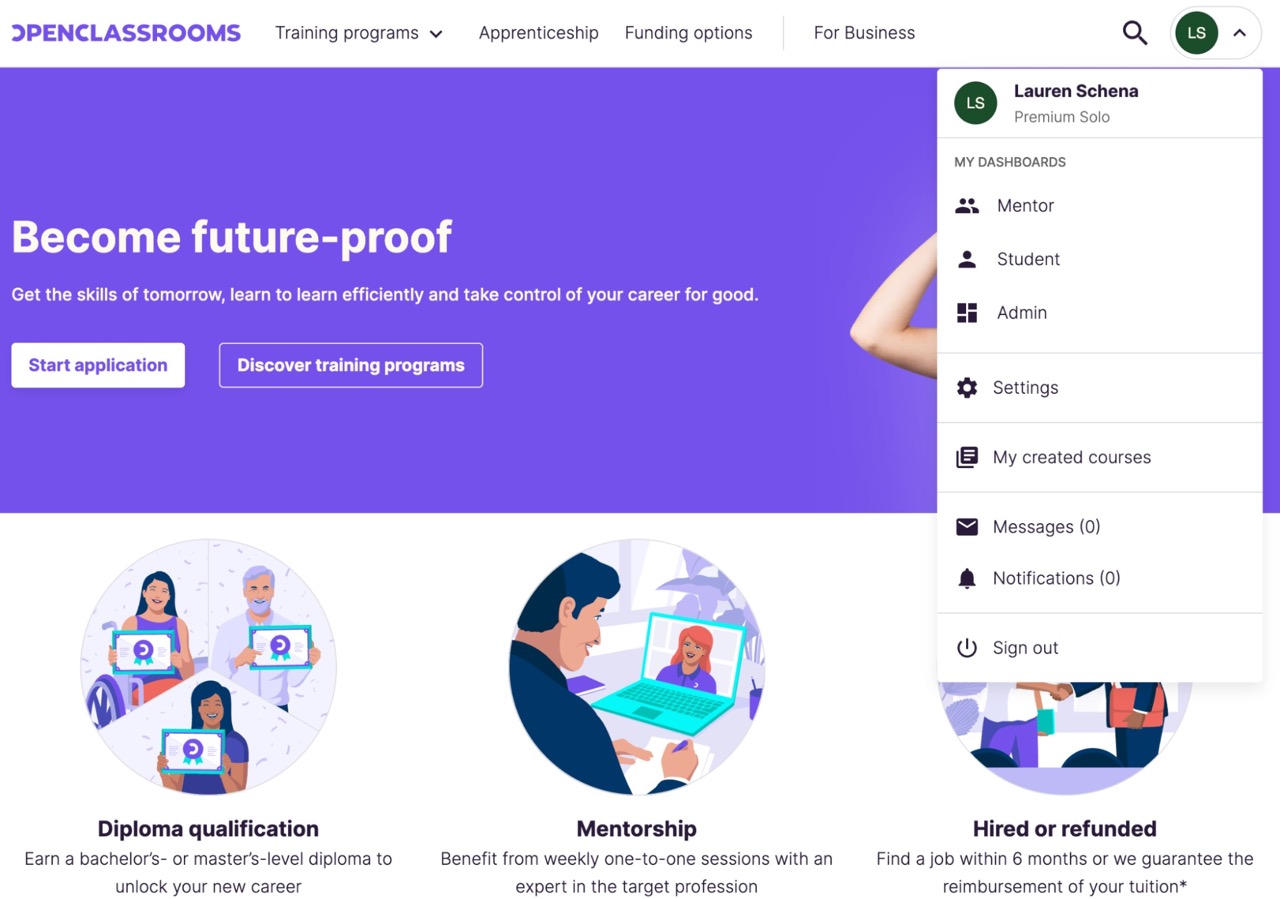
After the discovery session, go to your Mentor dashboard to change the discovery session status:
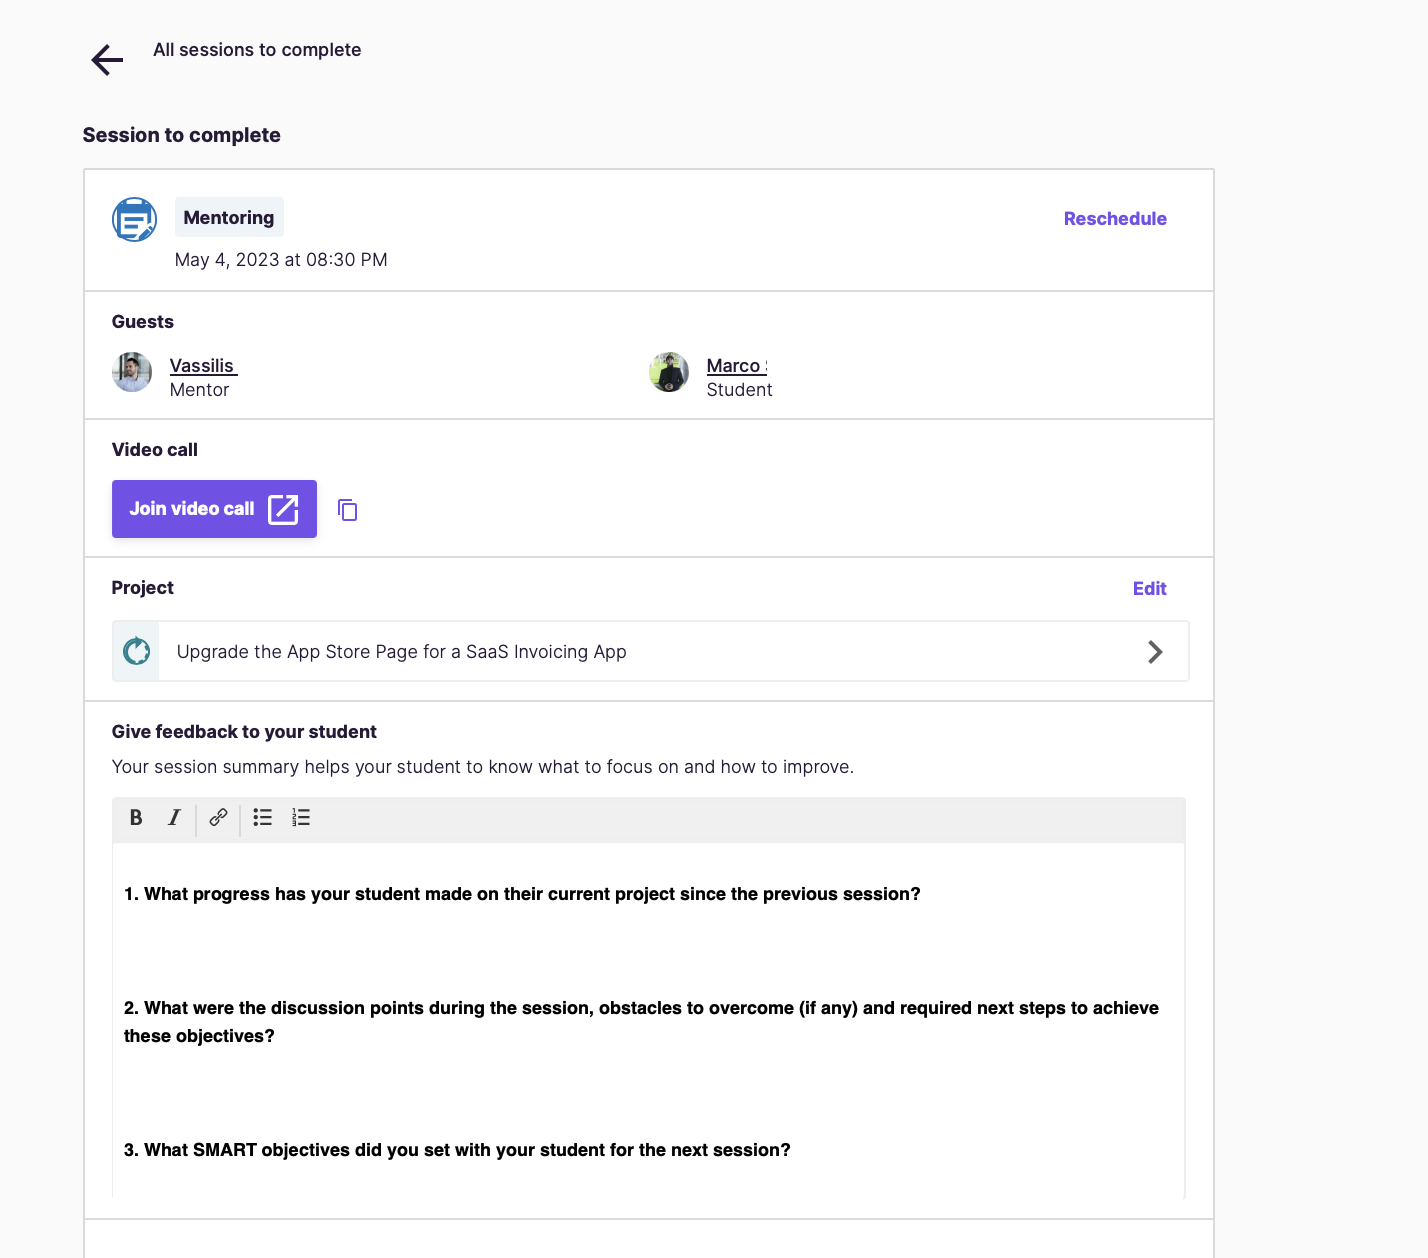
Fill out the session report.
Change the session status to “Confirmed.”
Fill Out the Report
The report is a tool that:
Allows you to guide the student between mentoring sessions. The more detailed they are, the more your student will be able to work independently.
Allows the Student Success Manager to track their progress (and, if necessary, inform their funding body).
We have a specific template for this. Please follow the instructions and fill out all the requested fields:

Under the session report, the “private comment” box can be used to add anything else you think is worth noting. It will be available in the student’s file, and we will have access to it. For example:
“Student made a good start. Has encountered some issues on the path’s digital components, but shows determination!
You can use this box to:
Add more details to the student’s record.
Note down any areas where the student had difficulties.
Note down any doubts or concerns.
Change the Session Status
To validate the session, you need to change its status. In this case, once the session has taken place, you must click on Complete.

Confirming the sessions is a contractual obligation. We have to insist on this because sessions are an integral part of the student’s training record, and keeping this up to date is the mentor’s responsibility. In addition, invoicing is based on these sessions. Without a session report and the session status confirmed, we can’t pay you.
Let’s Recap!
The discovery session is designed to provoke enthusiasm, motivation, and curiosity in your student.
Look over the projects from the training program together, it will help the student plan ahead and start preparing certain things. This is also the right time to look at how the projects complement each other, and to identify your student’s strengths and weaknesses.
Complete the session report and update the session status, it’s essential for the student’s training record and for payment of your invoices.
At the end of the discovery session, set goals for the very first session on Project 1.
Once the discovery session is completed, it’s time to get straight to work! Discover in the next chapter how to kick off a project: the first one.
