Optimize Resource Usage for Your Containers

Once again, a message from Sarah greets you when you open your inbox:
Liam asked us to set up the pre-production infrastructure. I took the opportunity to begin installing performance analysis probes. We need to talk about the resources used by the application…
Sarah raises an essential point: understanding and managing the resources consumed by your containers is key to avoiding overload and inefficiencies that could affect your entire infrastructure. Before you can optimize resource usage, you must first understand which resources are involved. In this chapter, we’ll take inventory of those resources and explore strategies to improve the efficiency of your overall infrastructure.
Identify the Different Resources Used by Your Deployment
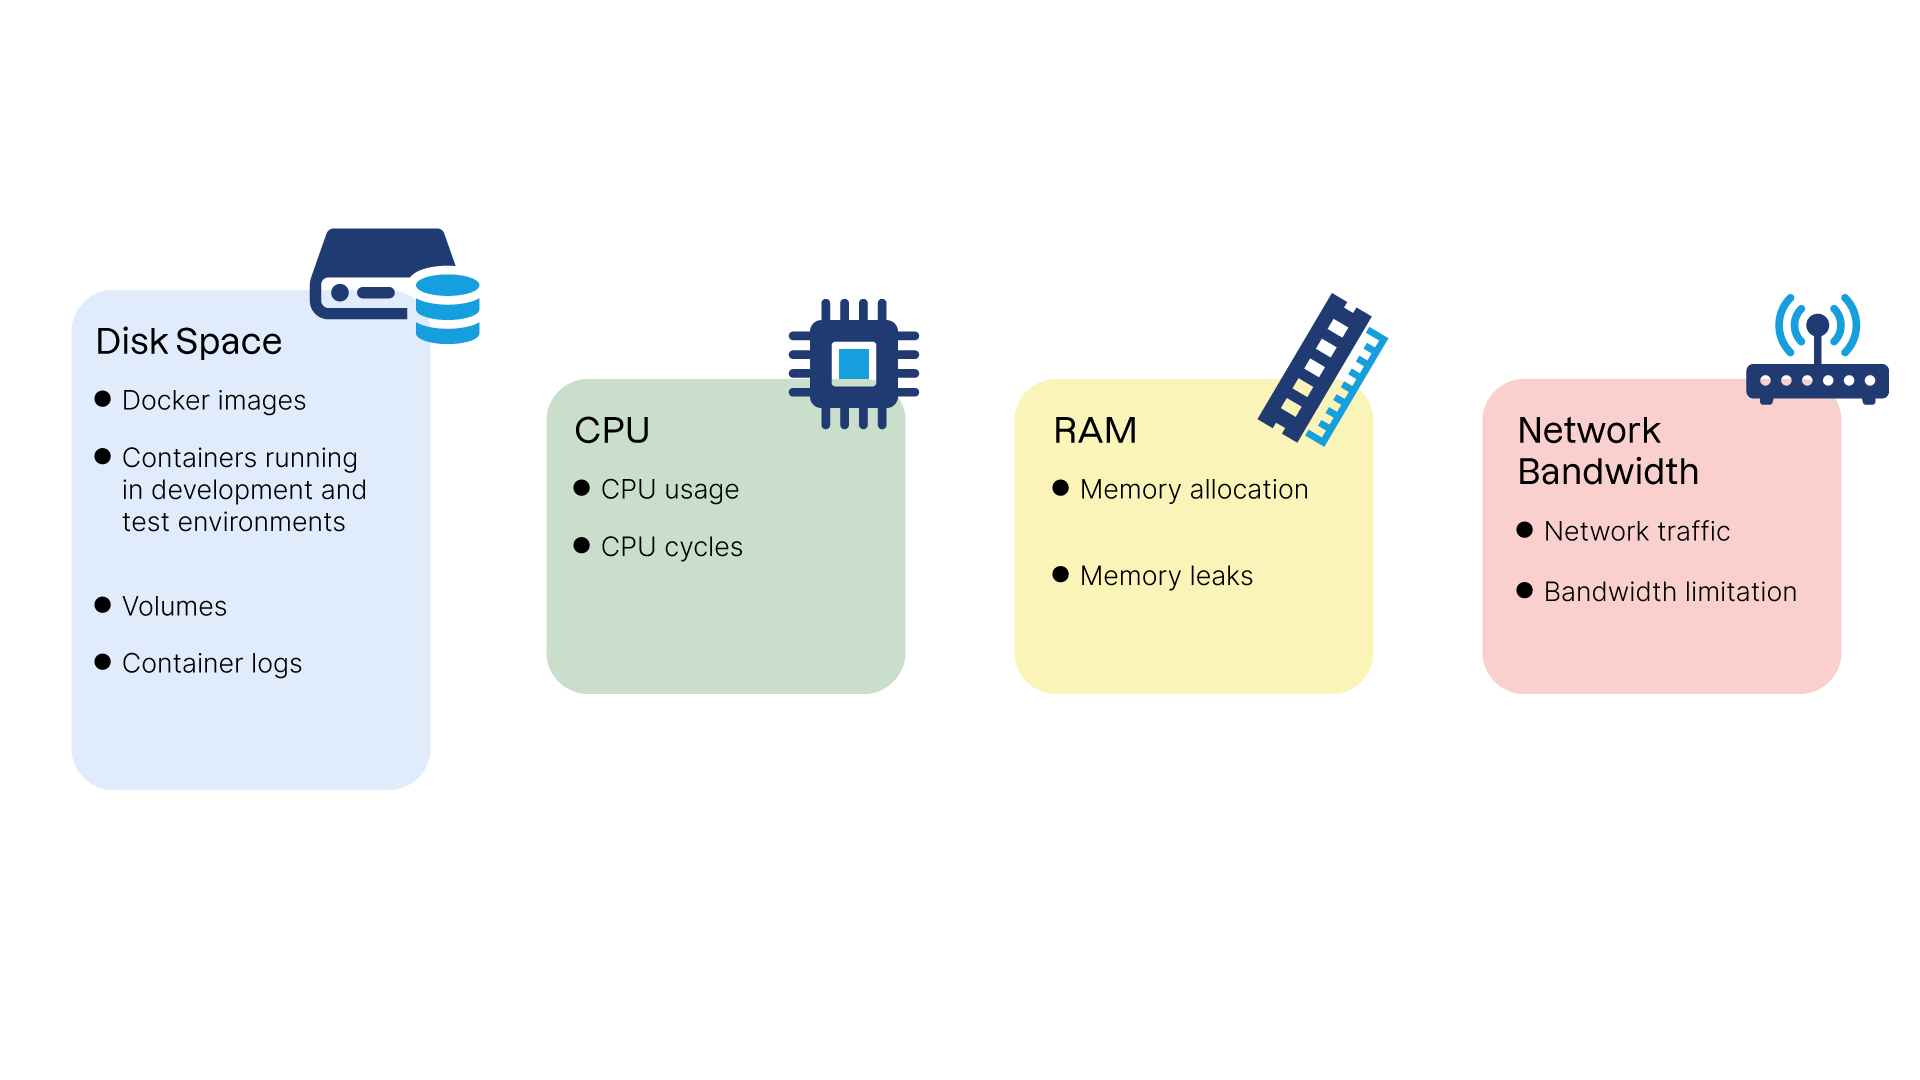
In production, resources are often limited—not only disk space, RAM, and CPU, but also network bandwidth. Managing these resources efficiently is crucial for ensuring the stability and performance of your containerized applications.
Let’s review the main resources used by containers and the potential impact poor management can have on an infrastructure:
Disk space:
Docker images: Images can consume significant disk space, especially if they are large or you keep multiple versions.
Running containers: Containers also use disk space to store data generated during execution.
Volumes: Docker volumes store persistent data and can grow rapidly if unmanaged.
Container logs: Logs can become large over time, particularly if applications generate high-volume logging.
CPU:
CPU consumption: Containers share the host’s CPU resources. Heavy CPU use by one or more containers can degrade the host’s performance.
CPU cycles: Each process inside a container uses CPU cycles. Managing process priorities helps balance CPU load.
RAM:
Memory allocation: Each container consumes RAM on the host. Excessive memory usage can slow down the system or cause crashes if memory is exhausted.
Memory leaks: Applications may leak memory, eventually exhausting available RAM if not detected.
Network bandwidth:
Network traffic: Containers can generate heavy network traffic, potentially impacting performance in bandwidth-limited environments.
Bandwidth limitation: Limiting per-container bandwidth can help maintain stable network performance.
Managing these resources effectively is crucial for the stability and performance of your containerized applications. Your goal is to reduce the technical footprint of your containers and limit the risk of bottlenecks.
Let’s start with our first lever for improvement: reducing disk usage by trimming down your container images.
Reduce the Size of Your Images
Optimizing Docker image size is central to improving infrastructure efficiency and reducing deployment time.
Smaller images take up less disk space, transfer faster over the network, and start more quickly. In this section, we’ll review how Docker image creation works and explore practical methods for reducing image size.
How Layers Work and How They Affect Final Image Size
A Docker image is composed of layers. When an image is modified, only the changed layer is rebuilt, reducing download size during updates.
However, there is an important subtlety: installing a file in one layer and deleting it in another does not reduce the final size of the image! Example:
FROM ubuntu:noble
# Installing NodeJS as a build dependency, e.g., to generate a production version of a JavaScript application
RUN apt-get update && apt-get install -y nodejs
# <install and compile JavaScript application sources>
# Uninstalling NodeJS since it isn't required in the final image
# RUN apt-get remove nodejs
Even if NodeJS is removed from the final environment, the image size remains equivalent to a version that still contains it. Why? Because in a layered filesystem, deleted files are simply marked as removed—not physically deleted.
It’s therefore essential to avoid patterns that create unnecessarily heavy images.
So how do I really delete files?
You have two options: either consolidate operations into a singleRUNinstruction, or use the "multi-stage" image mechanism!
Structure the Dockerfile to Take Advantage of the Cache
The layered structure is also extremely useful for accelerating image build times—if used properly.
Docker caches image layers to avoid rebuilding unchanged steps. To make the most of this cache, follow these best practices:
Order instructions strategically: Place the least frequently changing instructions at the top (
FROM,ENV,COPYof stable configuration files). Place frequently changing instructions (such asRUN) toward the bottom.Minimize the number of layers: Combine multiple operations within a single
RUNinstruction. Example:
# Copy the checksum file
COPY SHA256SUMS ./SHA256SUMS
# Download an executable, verify its checksum, and make it executable—all in one command
RUN wget -O ./my-app https://s3.libra.io/app \
    && sha256sum -c SHA256SUMS \
    && chmod +x ./my-app
Use
ARGfor dependency versions: Build arguments allow you to control exactly when the cache should be invalidated—for example, when updating a specific dependency.
Also note that Docker checks all files in the build context to determine whether a layer should be rebuilt—especially when usingCOPY. Managing your context properly is therefore essential.
Use a .dockerignore File to Exclude Unnecessary Files
The.dockerignorefile lets you exclude files and directories from the build context. This reduces the context size and prevents unnecessary files from being included inCOPYorADDlayers, speeding up builds and reducing final image size.
By excluding unnecessary files—such as version control folders (.git), temporary files, and build artifacts—you reduce the number of files that Docker must process.
Example.dockerignore:
# Ignore irrelevant build directories and configuration files
node_modules
dist
*.log
.git
Clean Up Caches and Temporary Files
Most package managers use local cache directories. While this speeds updates in typical OS usage, it’s unnecessary in container images—since images aren’t updated; they’re rebuilt.
So it’s best to clean these directories during the sameRUNinstruction that uses them:
# Install two dummy packages and clean the apt cache
RUN apt-get update && apt-get install -y \
    package1 \
    package2 \
    && apt-get clean && rm -rf /var/lib/apt/lists/*
Image size is just one aspect of resource management. Let’s now examine the resources used during container execution.
Limit the Resources Used by Your Containers
By setting limits on disk usage, CPU, and RAM, you can prevent resource exhaustion and ensure smooth application behavior.
Prevent Disk Space Exhaustion
To prevent containers from writing excessively to the filesystem, you can mount volumes in read-only mode.
Example in adocker-compose.ymlfile:
services:
  my_service:
    image: my_image
    volumes:
      - /data:/data:ro
This lets the container read data from/datawhile preventing any write operations, reducing the risk of unintended disk usage.
But my container can still write to its internal filesystem!
Correct! To prevent writing inside the container’s own filesystem, you can launch it with the--read-onlyflag. However, using a fully read-only filesystem often introduces operational constraints, so use it carefully.
Limit the Risk of a Runaway Process
As mentioned early in the course, containers rely on Linux kernel technologies, including cgroups.
Cgroups allow you to limit CPU and memory usage. Let’s see how Docker applies these quotas:
In this video, we saw:
Use of the
--cpus=flag indocker runto define CPU quotas.Use of the
--memory=flag to define RAM limits.
Over to You!

Context
Once again, Sarah has anticipated a problem before it becomes dangerous for the project. She has tasked you with reducing the size of the Libra application image to improve deployment times and reduce disk usage on production servers!
Your mission is to apply the best practices described in this course to achieve that goal by selecting the strategies that will reduce the final image size.
Instructions
Refactor the Dockerfile from the previous chapter and reduce the number of instructions when possible.
Check whether the final image size has decreased by running
docker imagesand comparing the size with the previous version.
Summary
Inventory the resources used by your containers—disk space, CPU, RAM, and bandwidth—and evaluate their impact on your infrastructure.
Combine instructions in Dockerfiles and clean temporary files to minimize disk usage.
Set strict CPU and memory quotas to prevent runaway resource consumption and maintain stable performance.
Use read-only volumes to block unnecessary writes and prevent disk exhaustion.
You now know how to optimize your container images and resource usage. Next, let’s explore how to optimize how they’re distributed across your cluster!
