Deploy the Master Image to a New Machine

In this chapter, you will deploy the Windows 11 master image you captured earlier with FOG.
For this part of the course, create a new virtual machine for Windows 11 without attaching an ISO file, since the installation will run directly over the network. Place this new VM on the same virtual network as the deployment server so the two machines can communicate.
Watch the walkthrough for this chapter in this video:
Register a New Machine in FOG
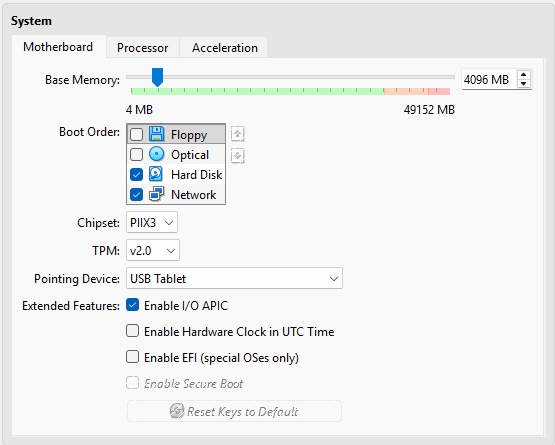
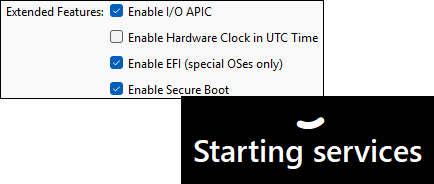
In the VM settings, open the System menu, clear the “Enable Secure Boot” and “Enable EFI” checkboxes, then select “Network” in the boot order without clearing “Hard Disk” this time.
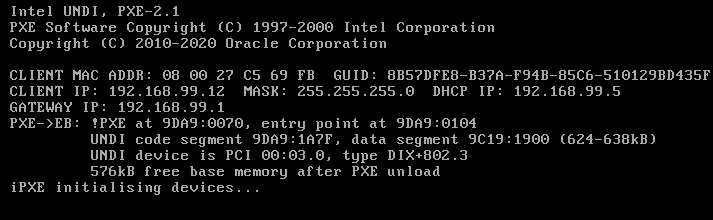
When everything is ready, start the VM you want to deploy. It will boot over the network and receive an IP address from the DHCP service.
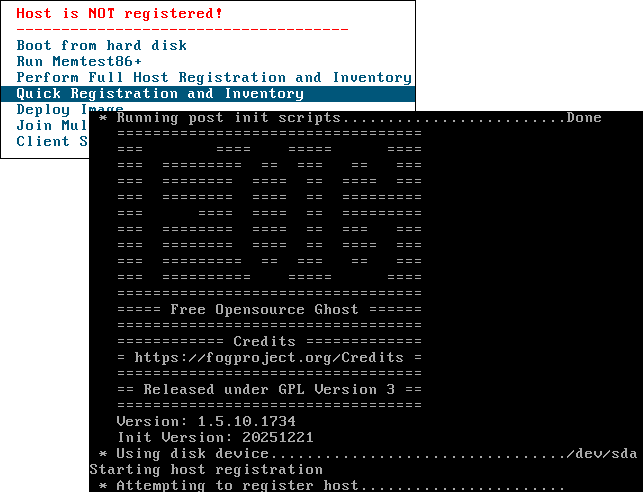
After a few seconds, the FOG PXE menu appears and tells you that the host is not registered.
Use the arrow keys to move down to “Quick Registration and Inventory,” then press Enter. This action registers the machine directly in FOG without requiring you to enter its information manually.
After a few seconds, the machine will restart and try to boot from the network again. Shut it down for now.
Go to the FOG web interface, open the Hosts menu, and list all machines. You will see “PC-01” in addition to the master machine you registered in the previous chapter.
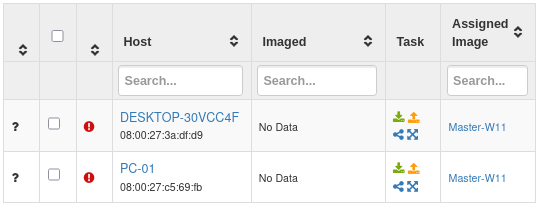
This is the machine where you want to deploy Windows 11, and it has been registered successfully in FOG.
Start the Deployment
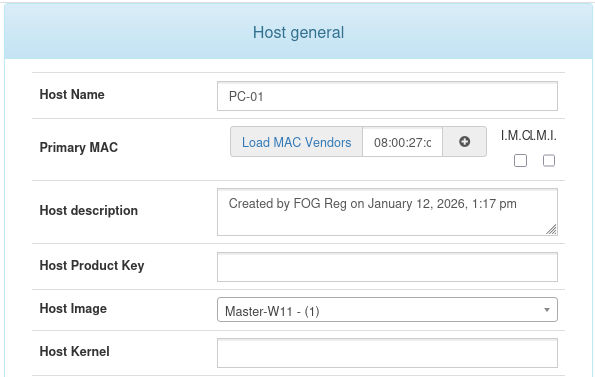
Click PC-01 to open the machine overview (General tab). Remember, you configured FOG to assign the master image automatically to new machines. Verify that “Master-W11” is set in the “Host Image” field.
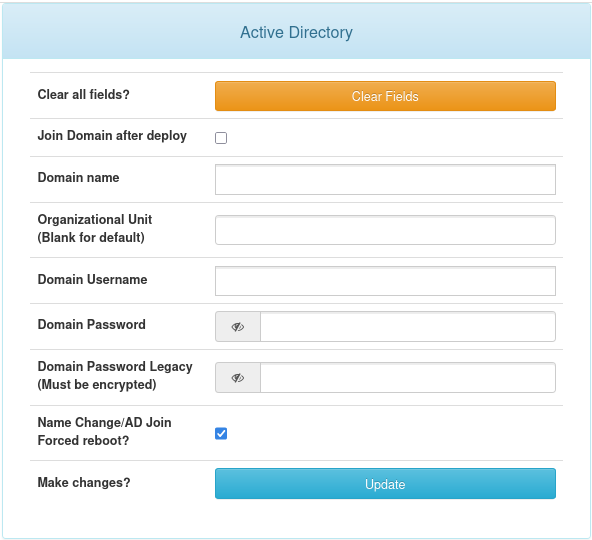
Go to the Active Directory tab. Select the “Force reboot” checkbox and click the “Update” button so the deployed PC is automatically renamed “PC-01” after deployment.
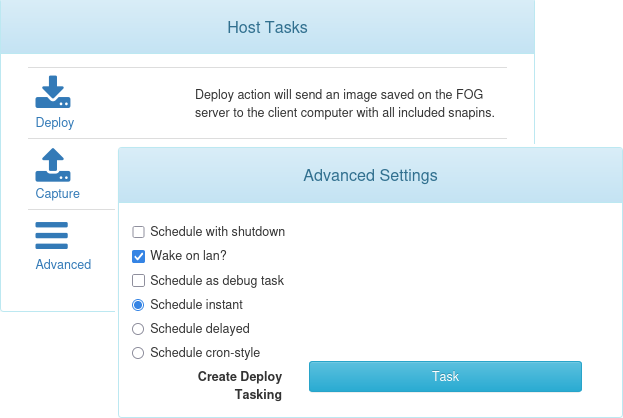
Now go to the “Basic Tasks” tab and click “Deploy.” Do not change the default advanced settings. Just confirm the operation by clicking the “Task” button.
Everything is ready. You can restart the VM to deploy. After another network boot, it will detect the scheduled deployment task and start it.
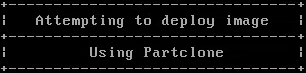
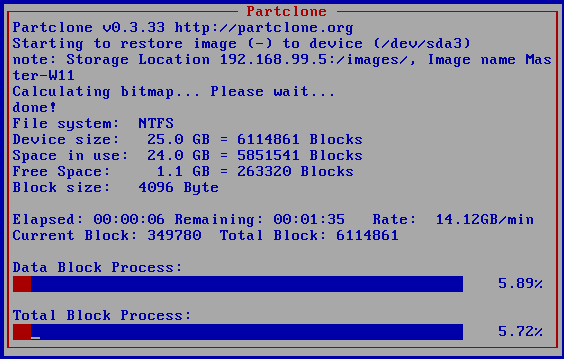
Once again, Partclone handles the process. This time, it copies the master image from the FOG server to the VM hard drive. Wait while the deployment runs, which can take several minutes.
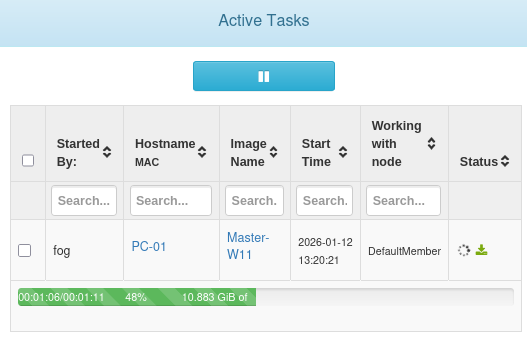
You can monitor the deployment again from the Tasks menu and Active Tasks in the FOG web interface.
Once Partclone finishes, the machine will restart and may stay on the PXE boot screen or show a blinking cursor. This behavior is normal. You disabled some options in the VM settings earlier, but Windows 11 now needs them to boot correctly.
Shut down the deployed VM and return to the System menu to select “Enable Secure Boot” and “Enable EFI.” You can then start the VM again and let the installation continue normally.
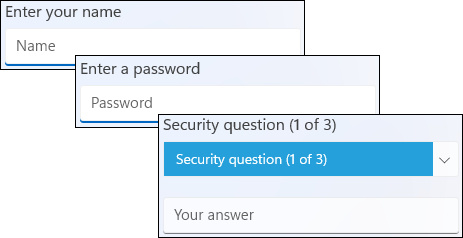
Thanks to the answer file stored on the master machine, almost all of the initial OOBE configuration is completed automatically. The only action left is to create a local account, set its password, and answer the three security questions.
Let the installation continue. The machine restarts automatically to force the new name “PC-01” to apply.
The deployment is complete! You now have a working PC that contains the image from your master machine. 🎉
Let's Recap!
Start the machine over the network to access the FOG PXE menu.
Register the machine with Quick Registration and Inventory for automatic registration.
In the FOG web interface, verify that the machine has checked in and that the master image is assigned in the General tab.
(Optional) In the Active Directory tab, select “Force reboot” to rename the machine and “Join Domain” if it must be added to a domain.
Start a deployment task from Basic Tasks : Partclone then copies the master image automatically to the machine’s disk.
You now know how to capture a reference machine. Next, learn how to automate application installations with Snapins.
