Run the App in Debug Mode
Let’s begin Part 3 of the course by testing what you’ve already built. This chapter aims to show you what Entity Framework has generated for you in your controllers and views, based on the model classes you created. Once you’re familiar with the base code generation for these components, we’ll then work on identifying those elements you need to customize to suit the needs of your data and application.
Debugging the application at this point is pretty simple. Build the project to make sure there are no errors (if there are, correct them), then press F5 to start debugging.
In Part 1, Chapter 3, you registered yourself as a new user for your application. When your app is running, register a new user by clicking the Register link in the upper-right corner, then test the login functionality to ensure it works correctly.
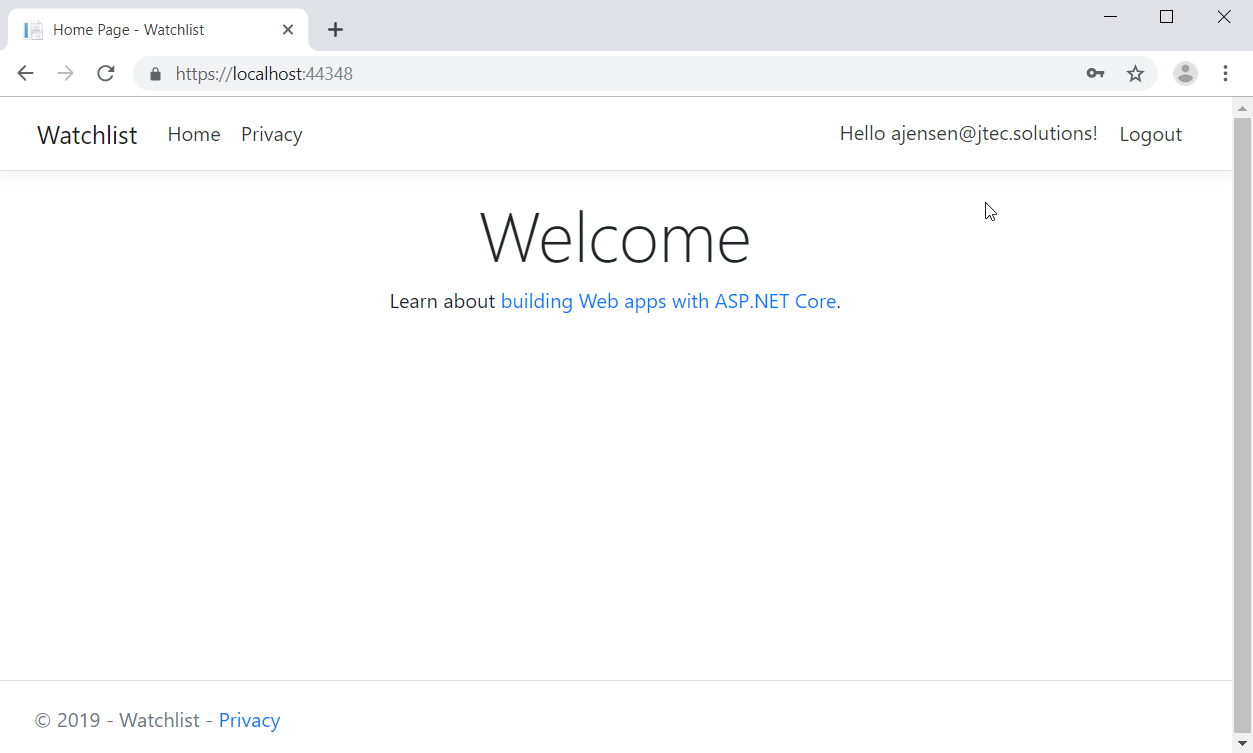
After you successfully log in, you’ll see a screen like this:

There's nothing special here, just the default index page for an MVC application. You’ll notice the greeting at the top-right with the email you used to log in, along with a logout link. The greeting with your email is a link. If you click it, you’ll be taken to an account management page where you can change your password and other personal information. We’re not concerned with that right now, but I wanted to make sure you knew it was there.
You’re now logged in, and the app is ready for testing. So where should you start? Considering the screen you’re seeing, that might be difficult to answer. Let’s identify some obvious things to test.
Identify Necessary Customizations
The first thing you might notice when thinking about what to test and how to do it while you’re looking at your application’s home page is that there is nothing to navigate the user to their personal watchlist, or to any of the pages you scaffolded for managing the movies in the database. So you might want to consider adding some menu items. Let’s take care of that now.
There’s no need to shut down the app for this. Any changes you want to make to views can be done while the app is running. If you want to make changes to the controller or model code, however, you have to stop debugging and go back to a regular development state.
You can find all of the menu navigation code in the layout view for your app: Views > Shared > _Layout.cshtml. At about line 31 in this file, just below the invocation of the _LoginPartial partial view, you’ll find an HTML list of anchor tags that comprises the two menu items on your navbar: Home and Privacy. Insert two new menu items in between them. Call the first one My Watchlist and let it navigate to the index method of the WatchlistController. Call the second one Movies and let it navigate to the index method of the MoviesController. When you're done, your list should look something like this:
<ul class="navbar-nav flex-grow-1">
    <li class="nav-item">
        <a class="nav-link text-dark" asp-area="" asp-controller="Home"
        asp-action="Index">Home</a>
    </li>
    <li class="nav-item">
        <a class="nav-link text-dark" asp-area=""
        asp-controller="Watchlist" asp-action="Index">My Watchlist</a>
    </li>
    <li class="nav-item">
        <a class="nav-link text-dark" asp-area="" asp-controller="Movies"
        asp-action="Index">Movies</a>
    </li>
    <li class="nav-item">
        <a class="nav-link text-dark" asp-area="" asp-controller="Home"
        asp-action="Privacy">Privacy</a>
    </li>
</ul>
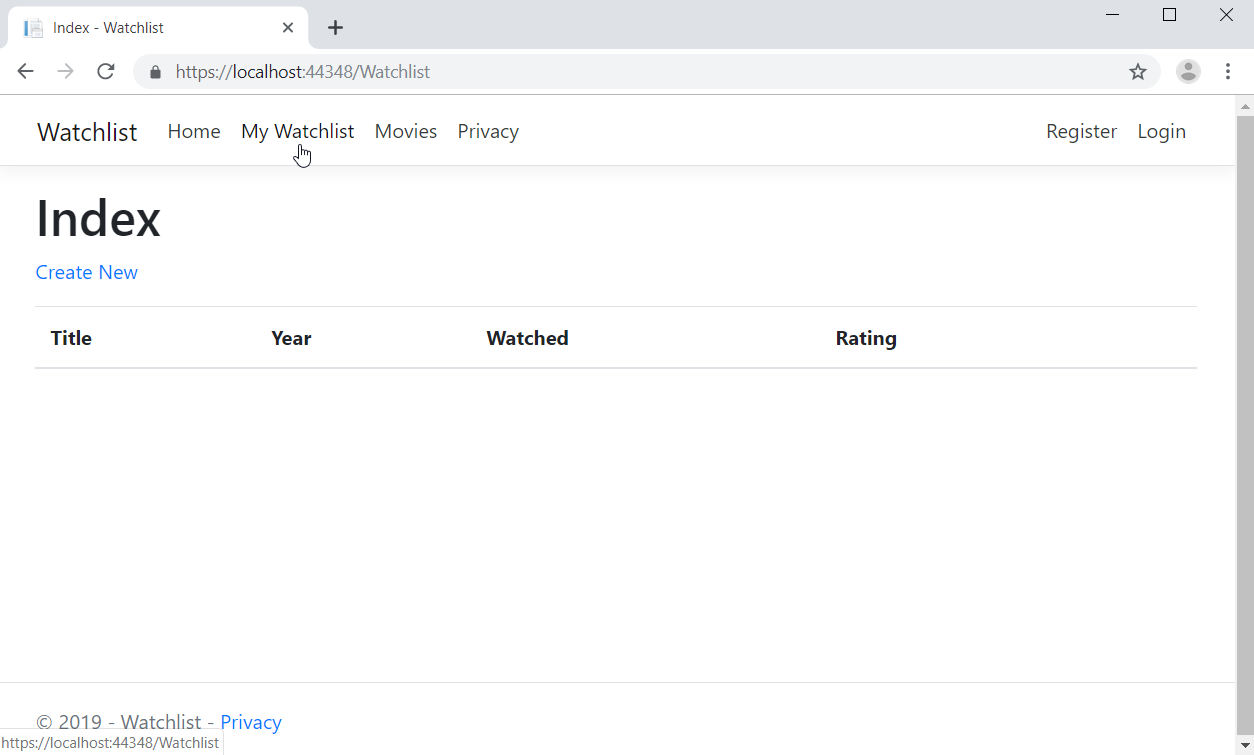
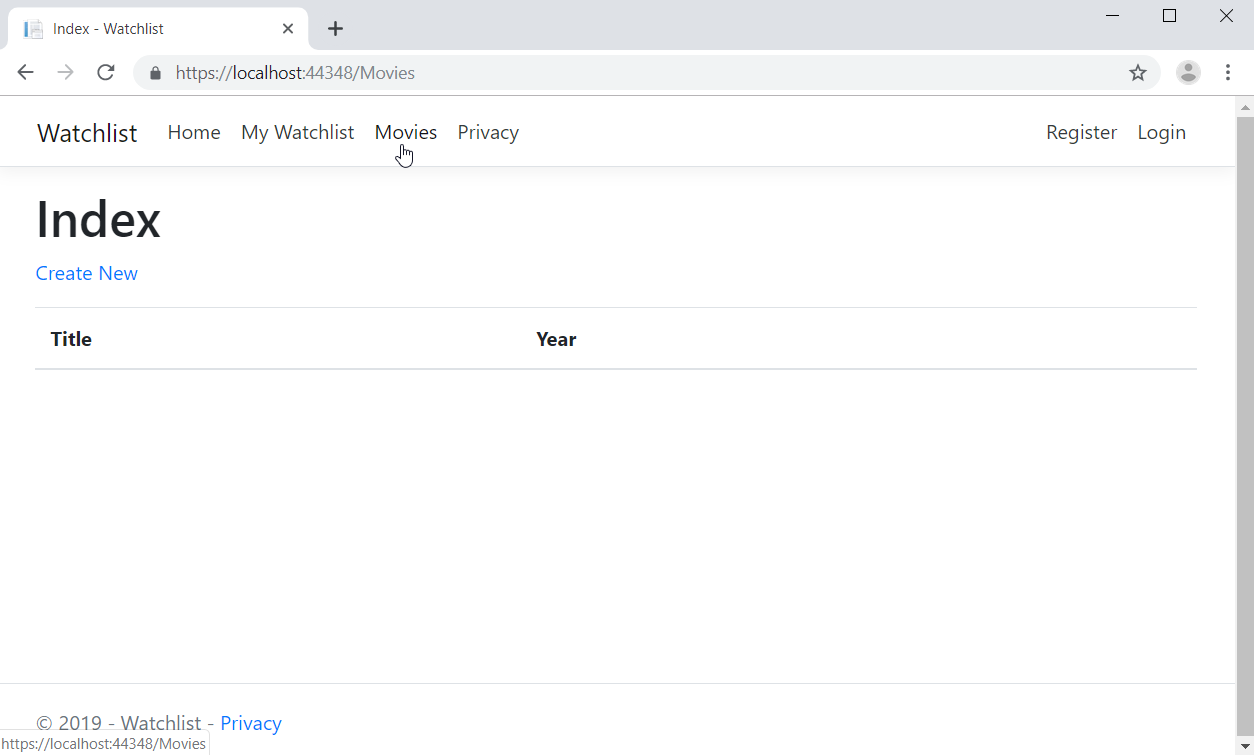
Now save your work and refresh the page in your browser. You should see your new menu items on the navbar. Test the menu items by clicking each one and verify that they all work as you expect them to. Since you haven’t entered any data yet, there’s not much to see, but if the following two images match the screens you see for My Watchlist and Movies, respectively, you’re on the right track.


Exercise
In the Movies index page, you’ll notice a Create New link under the heading Index at the top of the page. (This is also present in the Watchlist index page, but we’ll change that one later.)
Take a few minutes to add some of your favorite movies to the database using the Create New link in the Movies index page. This will bring up the Create page for Movies. Pay attention to how the page allows you to enter the information. Are there any changes you think you should make? Is there any way to make it more error-proof, or easier for the user? How would you like this page laid out and formatted if you were making a perfect-for-you page for entering movies into the system. Write these ideas down on a sheet of paper and set them aside. You’ll come back to them in the next chapter.
Now do the same for the Edit, Details, Delete, and Index pages.
One More Change, Just for Fun
Now let’s consider a matter of convenience. Would it make sense to have the app automatically take the user to their watchlist upon a successful login? There’s not any point sending them back to the landing page. They are most likely using the app to interact with the watchlist anyway, so let’s go ahead and add that capability, then run the app again. Since the necessary code is in a controller, you need to close the app. Do this by closing the app browser window or by clicking the stop button in the Visual Studio toolbar.
Now open the HomeController and look at the index method. You can add a simple check here to redirect the user if they are logged in when the home page is requested. Consider the following addition to the code:
public IActionResult Index()
{
    if (User.Identity.IsAuthenticated)
    {
        return RedirectToAction("Index", "Watchlist");
    }
    return View();
}
The additional code takes advantage of the static user object provided by the controller. It looks at the IsAuthenticated boolean property of the user object’s identity property. If the user is logged in, they are considered authenticated, and this property will be true. Therefore, if the property is true, you can redirect the user to the index method of the Watchlist controller.
Let's Recap!
In this chapter, you’ve tested much of your app’s functionality:
You’ve registered a new user, logged in with the new account, and added several movies to the database.
You’ve also used the other CRUD pages for movies and noted certain design and formatting changes you might want to make later.
In the next chapter, we’re going to make those changes happen.
