Create a Custom Error Page on Spring Security
Customize Your Spring Security Error Page
Customizing your Spring Security error pages is important because you don’t want your exception handlers to reveal too much information about your web application - like framework or database information. The Spring Security exception handlers use specific error codes, and a hacker may use this knowledge to target specific code libraries! The harder it is for hackers to tailor an attack for your web application, the better because they will most likely look for a more accessible web application to break.
That said, let’s look at what happens when you log in as a user and try to get on the admin page. To do that, run your web application and use the basic Login Form to log in as the user with the USER role. For example, with User:springuser and Pwd: spring123.
Now route to localhost:8080/admin to go to the admin page designated for the ADMIN role. You should see a very typical Spring Security error page:
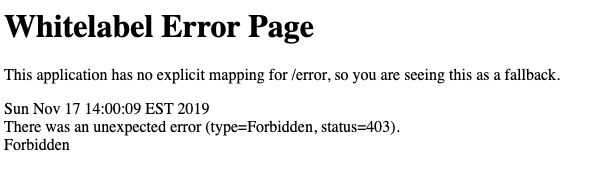
As you can see, you get the typical Spring Security 403 access denied page. This exception is thrown when users try to get on a page they are not authorized to see. This page reveals that you are using Spring Security default safeguards and role-based access.
So let’s customize this bad boy and give the hackers a run for their money!
Make an Error Page for Unauthorized Users
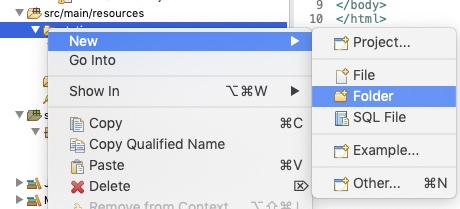
First, set up a custom error page HTML file. Go to the src/main/resources folder. Right-click on the static folder -> New -> Folder.
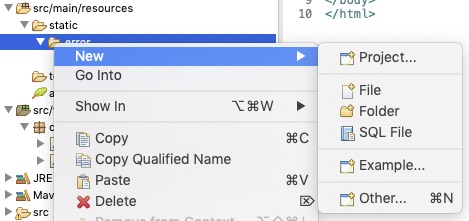
Name that folder error. This is where you can put your error files. Now right-click in the error folder -> New -> Other.
In the wizard, type in HTML, and choose HTML File:
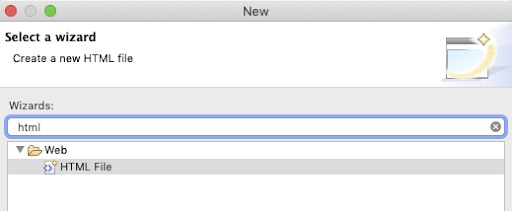
Note: If you do not have web tools installed, the HTML template may not show up. You can copy/paste the code below and customize it for your error page. You can also go to Help -> Eclipse Marketplace and install Eclipse Web Developer Tools.
Click OK, and for the File name, type in 403.html, and click Finish.

Now you can edit the title and put your message in the body:
<!DOCTYPE html>
<html>
    <head>
        <meta charset="UTF-8">
        <title>You are Denied!</title>
    </head>
    <body>
    You know you can't access the admin page, vermin!
    </body>
</html>
Let's save it and execute the web application. I’ll log in as Spring user and then type in /admin in the URL to see if I can access it. NOPE! You should see your new error page. 🙂
When you set up a static HTML page with the Spring Security error code in the name, Spring Security automatically overrides the default Access Denied page from the exception handler. However, you should always test your customized error pages thoroughly. One thing about overriding the preconfigured security is that you don’t want to lessen the amount of security you provide the web app.
Fantastic work so far! You just saw how you can evade the web app monsters by adding custom error pages so they don’t know that your client application is a Spring app using Spring Security. If you're feeling fancy, go ahead and create an error page for the 401 and 404 error codes. 😉
Let’s Recap!
Spring Security has default error pages when handling exceptions.
Replace the 401, 403, and 404 error codes with a custom HTML file.
Create an HTML file using Eclipse in your resources folder.
Add a title and body with a descriptive sentence to alert your user of why they got the error page.
Name your HTML error pages with the error code number.
Spring Security automatically looks for an error code page before using the default pages.
So next, you have a quiz on all the cool stuff we created. When you've completed that, I will see you in the next lesson, where you'll learn how to put all this together with advanced techniques in customizing some of Spring Security's default security configurations.
