Prepare a Windows 11 Master Image

In an IT environment, saving time during deployments is essential, whether you work in a small business, a larger company, or even a personal lab.
In this first chapter, we will briefly explore the concepts of master image creation and deployment, then start building a Windows 11 master image starting with installing the operating system all the way through the switch to Audit mode.
Explore the Concepts of Master Image Creation and Deployment
Master Image Creation
Master image creation is the process of creating a preconfigured system image, often called a master image or reference image. This image contains:
A ready-to-use operating system;
The essential applications users need;
Configuration settings tailored to the work environment.
The goal is to ensure fast, consistent installation across multiple devices without configuring each workstation individually, while reducing errors and time spent on repetitive setups.
In short, it is the creation of a ready-to-use machine template that you can later deploy to different computers. Not bad, right? 😃
Deployment
Deployment refers to the stage where the system image you created is installed on multiple computers.
To deploy a master image, you can create a customized ISO that can be used in a virtual lab or on bootable media such as a USB drive. That is the method we will explore in this course.
In business environments, dedicated tools are usually preferred for mass deployment so you can avoid physical media. Here are a few examples of tools and services:
SCCM (MECM): advanced deployment and update management
MDT (Microsoft Deployment Toolkit) combined with WDS (Windows Deployment Services): tools specialized in automated network deployment
FOG Project: an open-source solution for cloning and deploying images across multiple workstations
SmartDeploy, Clonezilla, Acronis: third-party solutions for business use
Deployment can be fully automated, allowing the image to be installed with no human intervention. That is especially useful in business environments where hundreds of workstations must be configured quickly and efficiently.
So if I understand correctly, deployment is the logical next step after master image creation? 🤓
Exactly. Ten points to Gryffindor!
Now that you understand these concepts, let’s jump in and start preparing a Windows 11 master image.
Start the Windows 11 Installation and Switch to Audit Mode
To follow this course, you will need an original Windows 11 ISO to install the master image: Windows 11 Enterprise evaluation.
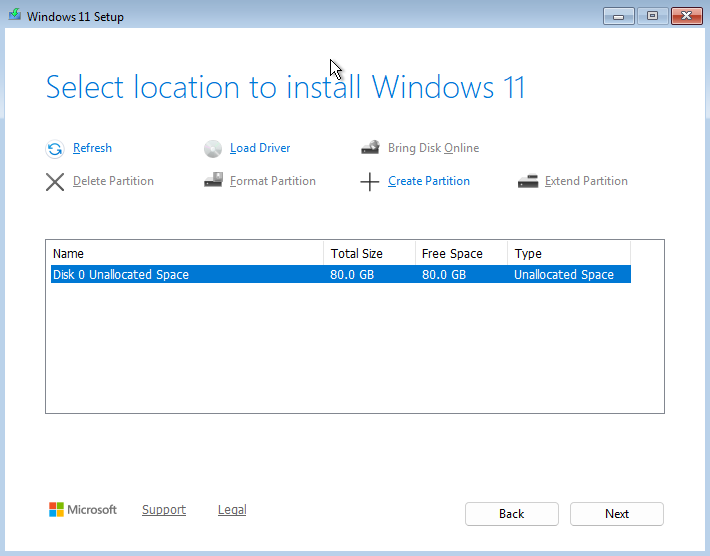
Start the Windows 11 installation on a new virtual machine that will serve as your reference machine. Stop at the screen where you choose the Windows 11 installation location.
To avoid issues during the final master image creation stage that can occur with some tools, especially MDT, we will create a suitable partition layout on the disk of our master image.
For more information, see the official Microsoft documentation: UEFI/GPT hard drive partitions.
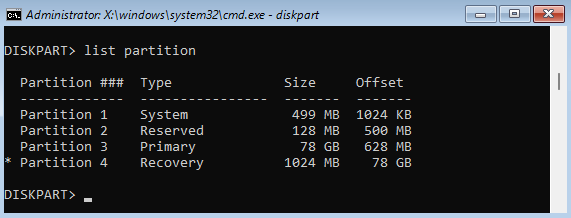
Here are the partitions we will create on the master image, along with their size and purpose:
EFI - 499 MB: contains the essential files needed to start the system, including the files required by UEFI, the firmware built into the motherboard
MSR - 128 MB: lets Windows reserve disk space for certain partition management operations
System - all remaining free space: the partition where Windows will be installed
Recovery (WinRE) - 1024 MB: contains the recovery environment that gives access to troubleshooting and reset options
For this, we will use Diskpart, a built-in Windows command-line tool used to manage disks and partitions.
From the command line?! 😨
Yes, because these precise changes cannot be made graphically. But do not worry, I will guide you through them. 🙂
On the master image, press Shift + F10 to open Command Prompt.
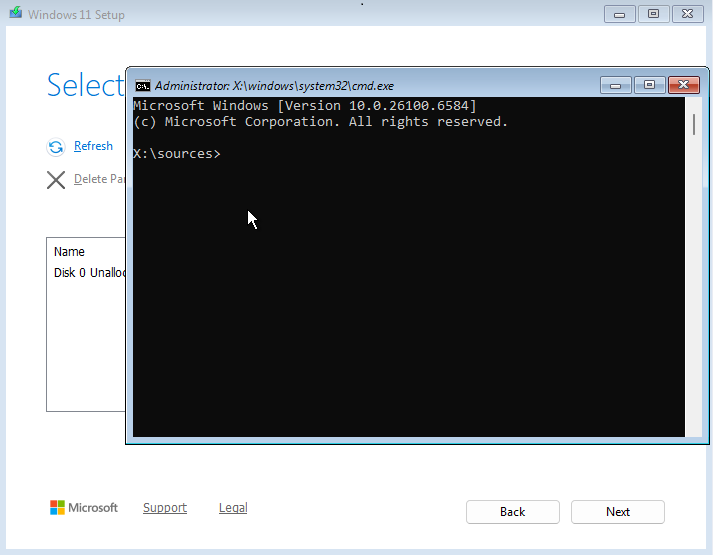
Type
diskpartand press Enter to run the tool.
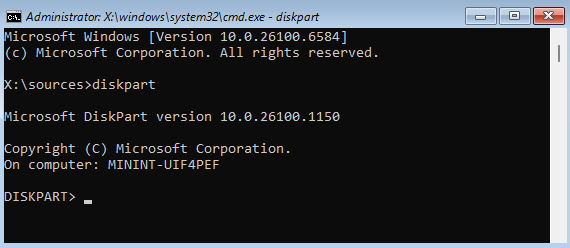
Select disk 0 on your master image:
select disk 0
Convert the disk to GPT, a modern partitioning scheme that can handle large-capacity disks:
convert gpt
Create the first partition, the EFI partition:
create partition efi size=499
Format this partition as FAT32, a universal file system that limits file size to 4 GB:
format fs=fat32 quick
Create the MSR partition, which does not need to be formatted:
create partition msr size=128
Create the primary partition that will contain the system, without specifying a size so it takes all remaining space on the disk:
create partition primary
This time, format the partition as NTFS, a more modern file system that supports files up to 16 TB:
format fs=ntfs quick
Assign the letter "C" to this partition so you can identify it:
assign letter=C
Shrink the system partition to free up 1 GB:
shrink desired=1024
Create the recovery partition, which will use all remaining disk space, or 1 GB:
create partition primary
Format this partition as NTFS for reliability:
format fs=ntfs quick
Mark this final partition as the recovery partition by using the ID recognized by Windows:
set id=de94bba4-06d1-4d40-a16a-bfd50179d6ac override
Make sure your partitions are correct:
list partition
Exit Diskpart with the command
Exitand close Command Prompt. Back on the Windows 11 installation location screen, click Refresh to refresh the view and display your partitions.
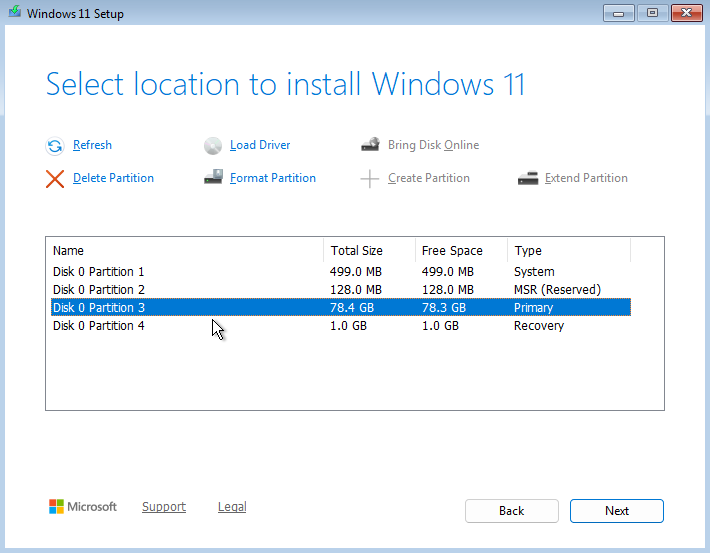
Select the line that contains the primary partition and click Next to start installing the system on the reference machine disk.
The Windows 11 installation will take a few minutes, and the machine may restart automatically during the process.
At the first initial setup screen, also called OOBE, where you are asked to choose the country or region, do not continue the installation.
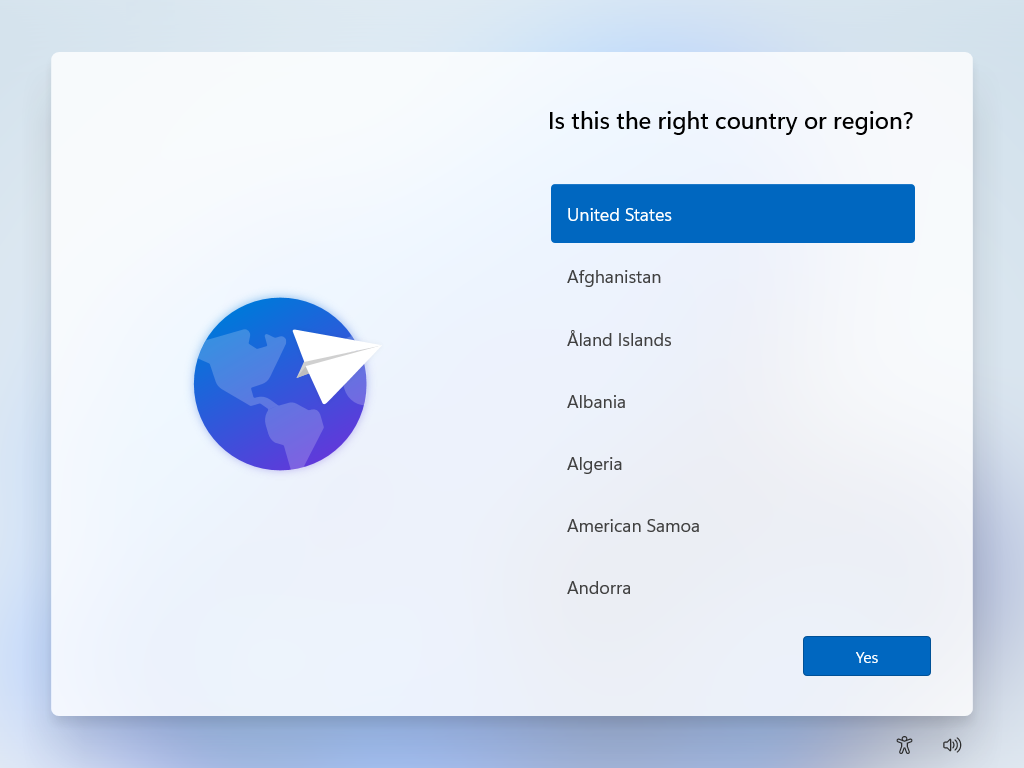
This is the right time to switch the machine to Audit mode so you can customize the master image by using the built-in Windows Administrator account. Audit mode lets you make all required changes without restrictions and also helps you bypass OOBE, which is not useful on a master image.
To do that, on the master image, press Ctrl + Maj + F3 on the keyboard at the same time. The machine will restart and sign in to the local Administrator account without requiring a password.
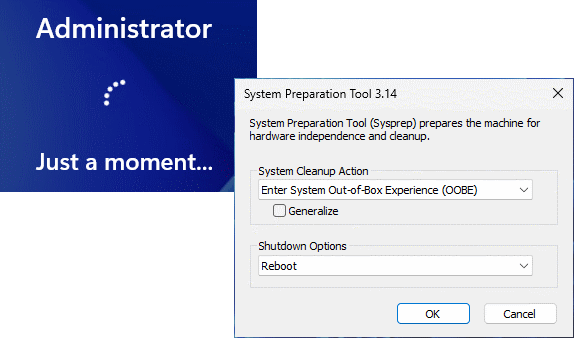
Once you are signed in, you will see the System Preparation Tool window, Sysprep, which we will use later in this course. ClickCancel every time this window appears.
The first stage of the master image creation process is complete. You are now ready to customize your master image.
Let's Recap!
A master image is a ready-to-use machine template that contains an operating system and customizations tailored to your needs.
Master image creation and deployment are closely related, but they refer to different stages of the process:
Master image creation: creating a standardized system image with an operating system, applications, and optimized settings to keep devices consistent across a fleet
Deployment: installing that image on multiple machines, often in an automated way with infrastructure management tools or solutions, to speed up rollout while minimizing manual work
Depending on the Windows 11 master image capture method you choose, you may need to partition the hard drive manually with Diskpart.
The first step in creating a master image is to perform a fresh Windows 11 installation on a model machine.
In the next chapter, we will customize your master image so it perfectly matches your users’ needs.
