Generalize Your Master Image

In this new chapter, we will finally use the system preparation tool I already mentioned: Sysprep. 😉
It will help us generalize the image of our master, meaning it will make the Windows installation independent from the machine it was created on so it can adapt during deployment to different machines.
Use Sysprep
Sysprep is a native Windows tool used to prepare an operating system for deployment. Its main purpose is to generalize an installation by removing computer-specific information such as unique identifiers (SIDs), hardware-specific configuration, or device-specific drivers.
This stage of the master image creation process is very important. It ensures that the master system image can be used on other machines with different hardware configurations, and that each machine receives its own unique identifier so there are no conflicts or compatibility issues.
Sysprep will be used from the command line. On your master image, open Command Prompt and move to the folder that contains Sysprep:
cd C:\Windows\System32\Sysprep
You will run Sysprep with the following options:
/generalize: removes computer-specific information so the system image can be used on other machines without conflicts/oobe: configures Windows to display the first-run experience at the next startup/shutdown: shuts down the master image after Sysprep finishes running/unattend: specifies the path and name of an XML answer file to automate Windows configuration at the next startup
Remember that my XML answer file is named "unattend" and is stored at the root of C:. Adjust the path and file name to match your own configuration. If you are not using an answer file, you do not need the/unattendoption.
Here is the full command:
sysprep.exe /generalize /oobe /shutdown /unattend:C:\unattend.xml
Sysprep will keep running until the master image shuts down.

If Sysprep encounters an error, it will not be able to generalize the image and will stop, prompting you to check a file for more information.
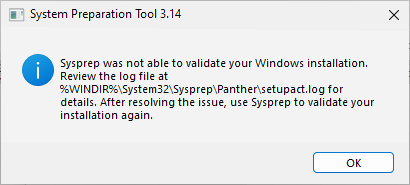
This file is namedsetuperr, and you can find it inC:\Windows\System32\Sysprep\Panther. Fix the detected error and run Sysprep again. Use this link to help identify the issue: Most common Sysprep startup errors.
Disable Boot from Disk
Later, the master image will need to boot from physical media, or from the network only if you use a deployment server such as FOG or WDS.
To do that, and to avoid handling mistakes, you may need to configure the boot order or disable Secure Boot in UEFI, the firmware built directly into the computer’s motherboard.
If you are using a virtual machine, these options are easy to manage in the virtual machine settings under the System menu.
Here is an example of how to configure the master image in VirtualBox:
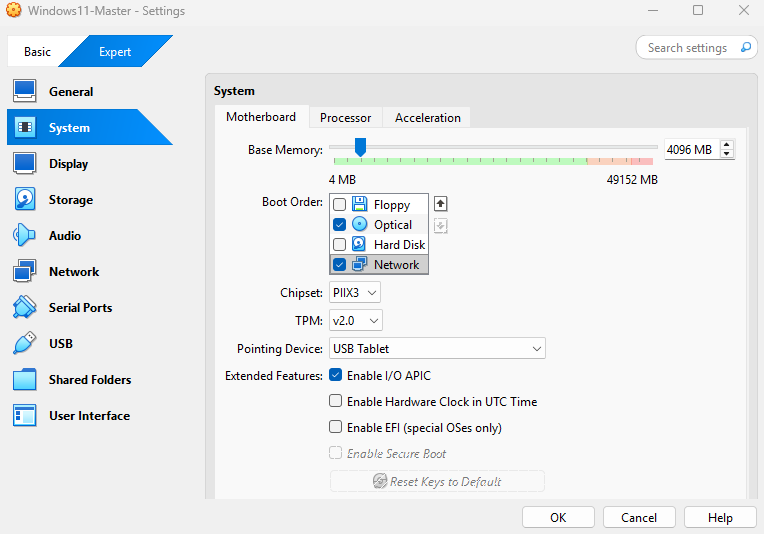
This configuration lets you:
Disable Secure Boot;
Disable EFI to return to a traditional BIOS mode;
Disable booting from the storage disk;
Enable booting from the network in addition to the optical drive.
Your master image is now ready. In the next chapter, we will move on to the final stage of the master image creation process: capturing the master image so it becomes a deployable system image.
Let's Recap!
Sysprep is the native Windows tool used to prepare a system for deployment.
The generalization step for a master image is very important. It consists of:
Making the image compatible with multiple hardware configurations;
Removing the master image’s unique security identifier (SID) so a new one is generated during each deployment and conflicts are avoided;
Returning the machine to OOBE at the next startup;
Specifying an answer file (optional).
If Sysprep throws an error, check the setuperr log file located in
C:\Windows\System32\Sysprep\Pantherto identify the problem.Once generalization is complete, the master image must not boot again from its storage disk until the reference image has been captured, so it remains intact.
Your master image is ready to be captured. In the next chapter, we will create the final system image and make it deployable.
