Customize Your Master Image

In this chapter, you will continue to prepare your Windows 11 master image by customizing the system to match your needs.
Disable BitLocker Encryption
Once you are in Audit mode, the first essential step when preparing a Windows 11 master image is to disable automatic BitLocker encryption to avoid later issues with Sysprep.
BitLocker is a Windows feature that encrypts a hard drive to protect data against unauthorized access. In short, it is a digital lock that helps secure your files if the computer is lost or stolen.
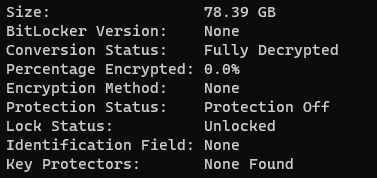
Open Command Prompt or a PowerShell console on the master image to check the current encryption status by entering this command:
manage-bde -status
On the encryption status line, if you see "Encryption in Progress" or "Encrypted," enter this command to stop the process and decrypt volume C:
manage-bde -off "C:"
Depending on how much of the volume is already encrypted, this step can take more or less time. Check the encryption status regularly with the first command until the line shows "Fully Decrypted."
Once the disk is decrypted, you can continue customizing your master image.
Update the Operating System
The second step is very simple: install all available updates for the operating system.
Updating a master image improves security, compatibility, and saves time during deployment.
Use the Run shortcut Windows + R ("control update"), or go toSettings> Windows Update and search for updates.
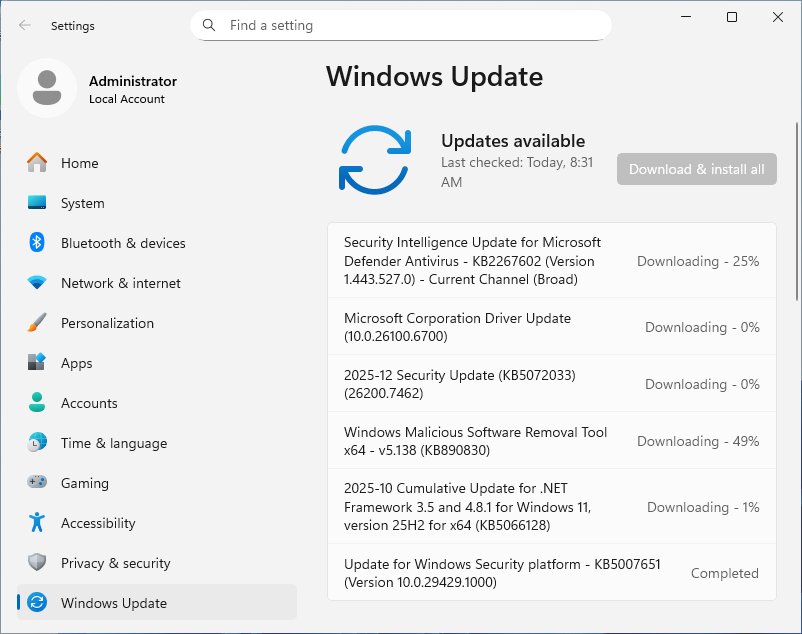
Install all available Windows 11 updates.
If an update requires a restart to apply, that is not a problem. The machine will automatically return to Audit mode.
Install the Required Applications
Next, install the software you need or apply the required configuration changes on the machine.
If your company uses system deployment tools such as FOG or MDT/WDS, or software management and deployment tools such as WAPT, PDQ Deploy, or Ninite, you can install software automatically after deployment. In that case, you do not need to do anything on the master image for this step.
For this course, I will simply install three applications: Google Chrome, WinSCP et Putty. I will download them from their respective official websites and install them manually.
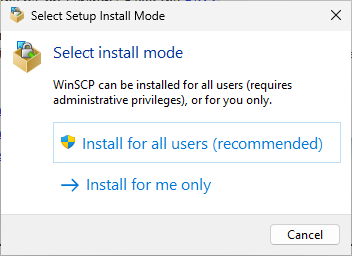
If the installer asks you to choose an installation mode, select the option for all users.
Make sure the software installation folders are inC:\Program FilesorC:\Program Files (x86)so they remain available to all users after the master image is deployed.
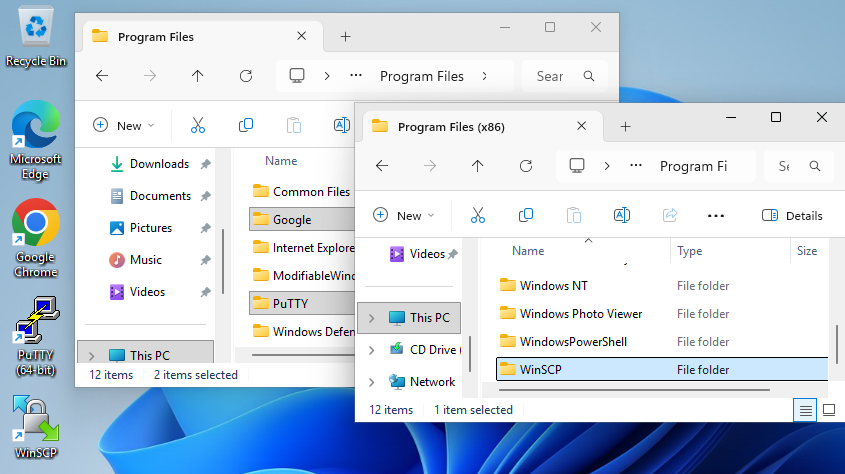
Some applications install by default inAppdataand will only be available under the Administrator profile, so it is better not to install them on a master image.
That is it for the applications. Ready for the next step? 🙂
Configure the System
Now let’s move on to configuring the master image.
It is important to point out now that not every configuration change you make can be preserved exactly as-is during deployment.
The system preparation process resets many settings, which can remove some custom configurations such as user preferences, desktop appearance, icons, custom shortcuts, VPN settings, service activation, or file associations. So do not be surprised if a setting you configure on the master image later returns to its default value after deployment.
If the future deployed machines will be joined to a domain, that is not a major issue because you can manage the user and computer environment directly with Group Policy.
To illustrate this course, I will make just one small change that will remain after deployment: adding a rule to the local Windows firewall to allow incoming ping requests to this machine.
To save time, we will do this with the following PowerShell command:
New-NetFirewallRule -DisplayName "Autoriser ICMP" -Direction Inbound -Protocol ICMPv4 -Action Allow
This command creates a new rule that allows inbound ICMP traffic, the network protocol used when you ping a device to verify that it is reachable.
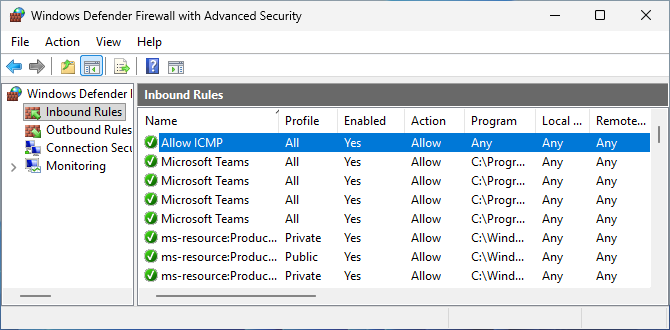
If you prefer to manage the firewall through the graphical interface, open Windows Defender Firewall with Advanced Securityeither from the Start menu search bar or by pressing Windows + R and running wf.msc.
My new inbound traffic rule is now visible.
Before moving on, take the time to clean the system thoroughly and remove unnecessary files or applications, such as downloaded files and items in the Recycle Bin.
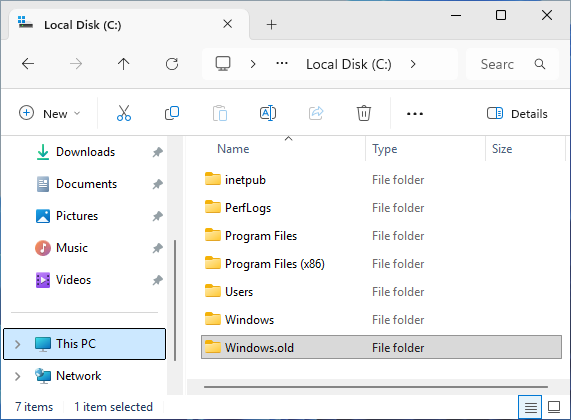
It is also important to delete the Windows.oldlocated at the root of driveCeven if it is empty, because it can cause blocking issues that only appear during deployment.
In the rest of this chapter, I will show you an optional step: using an answer file.
Use an Answer File (optional)
A Windows answer file, also called unattend, is an XML file used to automate Windows installation and configuration without manual intervention, which is especially useful for repetitive installs.
Here are a few examples of how it can be used:
Installing the system to disk: partitioning, setup language, and more
Joining a domain during deployment of a new machine
Running commands or scripts to add, remove, or modify applications, services, or settings for the system, network, security, or applications
Customizing the initial OOBE configuration: language, keyboard, user account creation, and whether location services are accepted or declined
To create or edit an answer file, you need Windows System Image Manager (WSIM), a utility included in the Windows Assessment and Deployment Kit (ADK), which contains many tools used to prepare and support deployments in a professional environment.
ADK can be installed on any Windows machine. It is not necessarily needed on the master image itself. You can find it on the official Microsoft website: Windows ADK.
For this course, I suggest using a preconfigured answer file that we will store on the master image.
It will let you bypass the entire initial OOBE process except for creating a local user account. Download this file to your master image, you do not need to modify anything 🙂: unattend.xml
Here is what the provided file looks like in WSIM, the Windows setup management tool used to manage answer files:

On the left are the components that make up a Windows 11 system image. In the center is the answer file, and on the right are the properties of the customized components.
Once it is ready, the answer file can be added to an ISO or directly to a master image. In that case, it remains stored in the final master image.
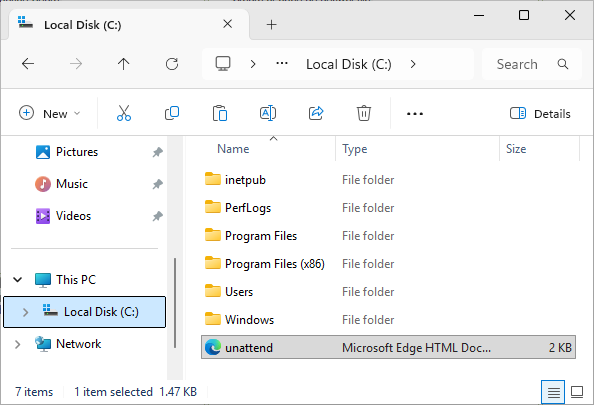
Place the downloadedunattendfile in the root of driveCon the master image. This makes it easier to manage and helps avoid access issues with default folders such asDesktop,Documents, andDownloads.
You have now finished customizing your master image.
Let's Recap!
The customization stage adapts the system image to the specific needs of the organization or its users.
This stage includes:
Decrypting the disk to avoid generalization issues;
Applying security updates and system fixes;
Installing the required tools, services, and applications outside the Microsoft Store;
Configuring system preferences as needed;
Deleting the
Windows.oldfolder from drive C;Optionally using an answer file to automate interactions during deployment.
Now that your master image is configured the way you want, it to be let’s move on to a key step: making it universal through generalization.
