Configure a Windows Deployment Server

A deployment server plays an essential role by automating the installation and distribution of operating systems or software across multiple machines, ensuring faster, more consistent, and more reliable rollouts.
In this chapter, you will set up a Windows deployment server with WDS and MDT.
Explore MDT and WDS
To manage deployments, Microsoft provides MDT and WDS, two complementary solutions that optimize operating system distribution across multiple machines.
MDT is a free tool that lets you create custom Windows images and manage deployment. It includes a graphical interface and automated scripts to handle:
creating custom Windows images
automating deployment with task sequences
integrating drivers and applications
advanced configuration through answer files.
WDS, on the other hand, is a Windows Server service that deploys operating systems over the network. It works in PXE (Preboot Execution Environment) mode, which lets client machines boot over the network and launch an installation without a physical machine.
Its main features include:
deploying Windows images over the network
reducing installation time across multiple machines
supporting PXE boot for installations without physical media.
Using MDT and WDS together simplifies and speeds up Windows deployment in a professional environment. Each tool plays an important role in the process: WDS handles network boot, while MDT manages deployment customization and automation.
Install and configure Windows Deployment Services
On the future deployment server, we will install the WDS role, which will act as the PXE server responsible for storing and distributing boot images, responding to client requests, and starting Windows installation over the network.
Find the steps in this video:
For a faster installation, I recommend this PowerShell command:
Install-WindowsFeature -Name WDS -IncludeManagementTools
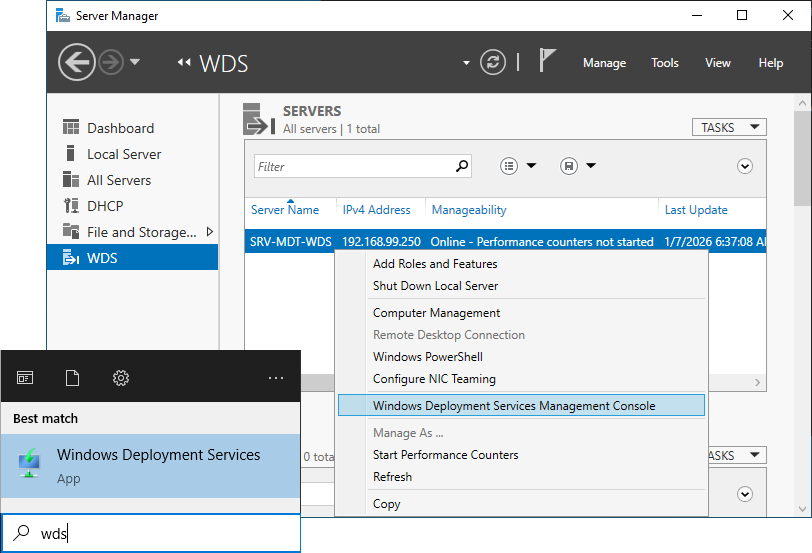
Once the role is installed, you will find its management console in the "Start" menu or through Server Manager.
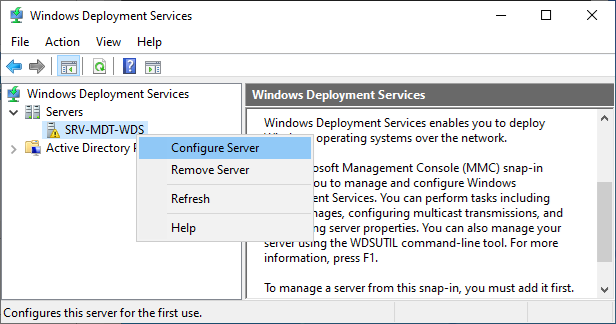
A warning in the console tells us the services are not configured. To fix this, right-click the server name in the left pane and select "Configure Server".
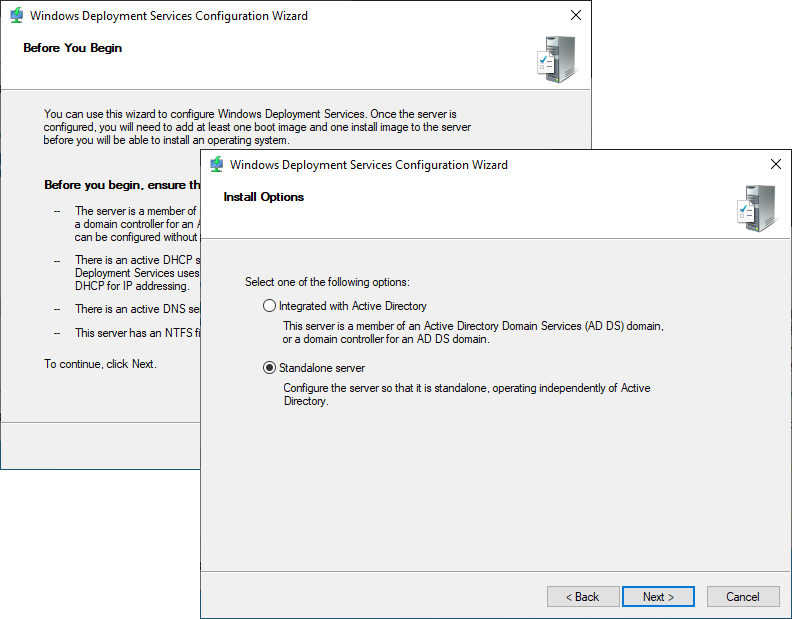
The first wizard window gives you a few recommendations to ensure the service works correctly. Click "Next". Select "Standalone server" in the next step.
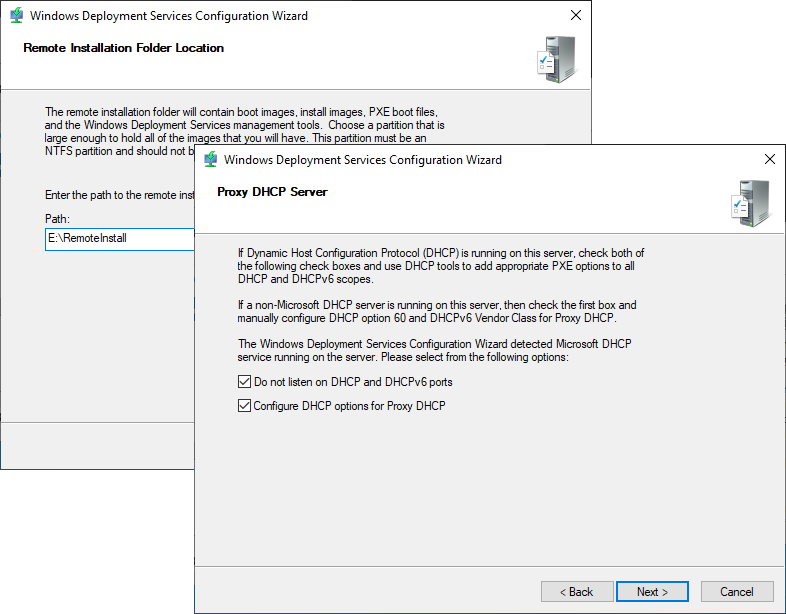
Set the WDS path to E:\RemoteInstall. Make sure both checkboxes are selected in the DHCP Proxy Server window.
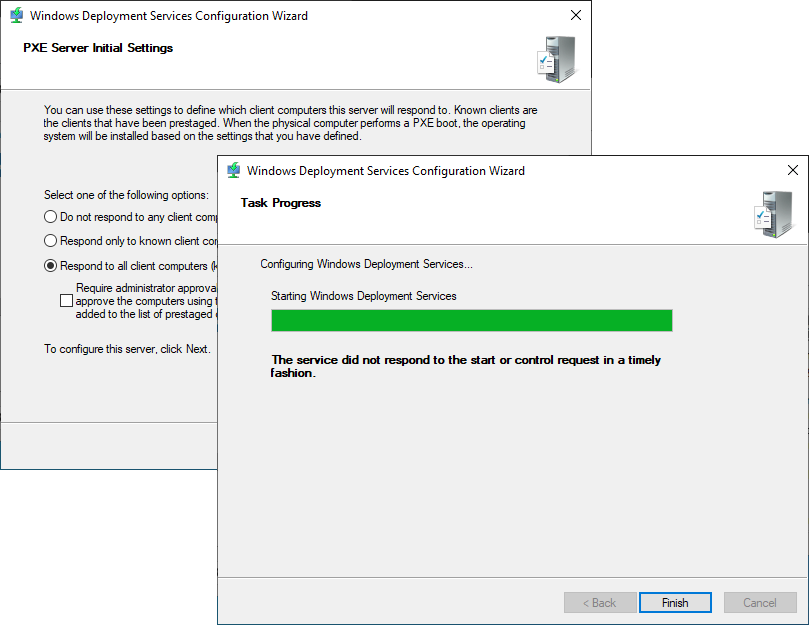
Select the "Respond to all client computers" option so the PXE server handles requests from every machine, then finish configuring the server.
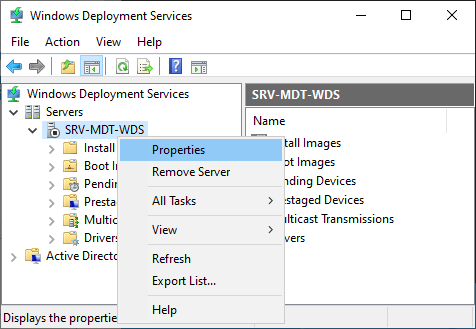
We are going to change a few server properties. Right-click its name in the left pane, then select Properties.
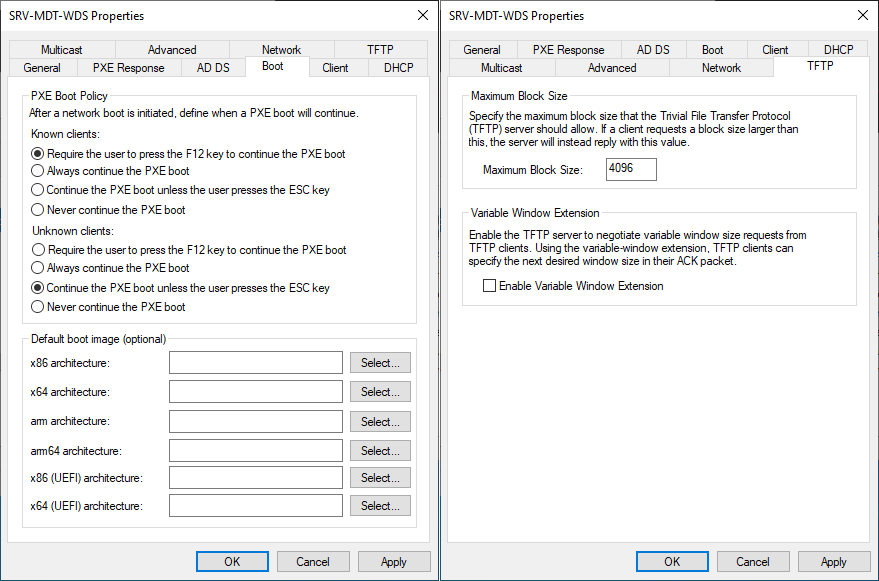
Go to the "Boot" tab and select "Continue the PXE boot unless the user presses the ESC key" in the Unknown clients section. In the TFTP tab, set the maximum block size to 4096 and clear the "Enable Variable Window Extension" checkbox. Click OK to save your changes.
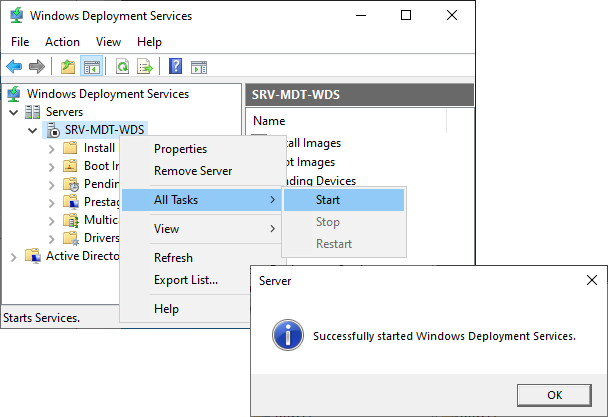
We can now start WDS. Right-click the server name, select "All Tasks", then "Start".
WDS is ready. We will come back to it a little later. For now, let us install the deployment tools on our server 🙂
Install and configure the deployment tools
We are going to install three essential tools to build a Windows deployment server:
ADK (Assessment and Deployment Kit): This is a collection of tools used to prepare and deploy Windows. It includes utilities such as DISM to manage system images.
WinPE (Windows Preinstallation Environment): This is a temporary lightweight operating system that acts as a preinstallation platform. It is designed to boot a PC and run deployment or recovery tools before Windows is installed.
MDT: This is our main tool for managing, customizing, and automating Windows deployment by creating task sequences.
Install ADK and WinPE
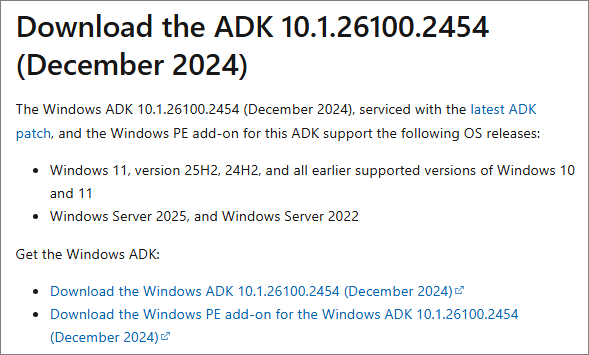
From the official Microsoft website, download the latest version of Windows ADK and its Windows PE add-on: Windows ADK | Windows PE
Run the adksetup file first. The installation does not require any special configuration. Leave the default options selected and simply click Next until the end.
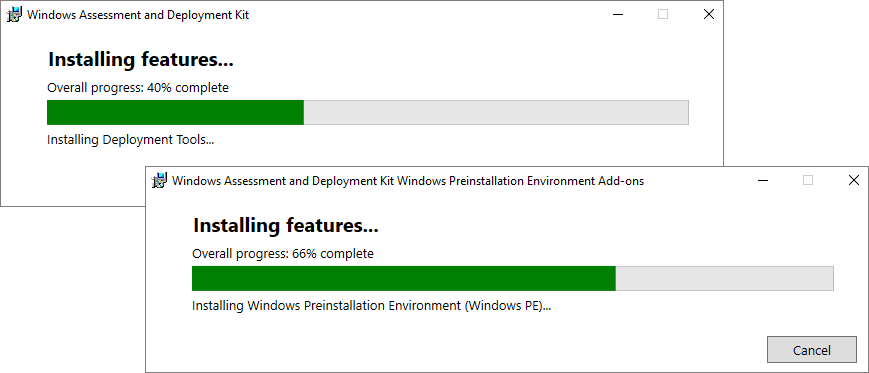
Then run adkwinpesetup to install the WinPE add-on.
That is it for those two tools. Easy, right? 😀
Install and configure MDT
Find the steps in this video:
Run the MicrosoftDeploymentToolkit_x64 file to install MDT. Installation is simple and fast: click Next until it finishes.
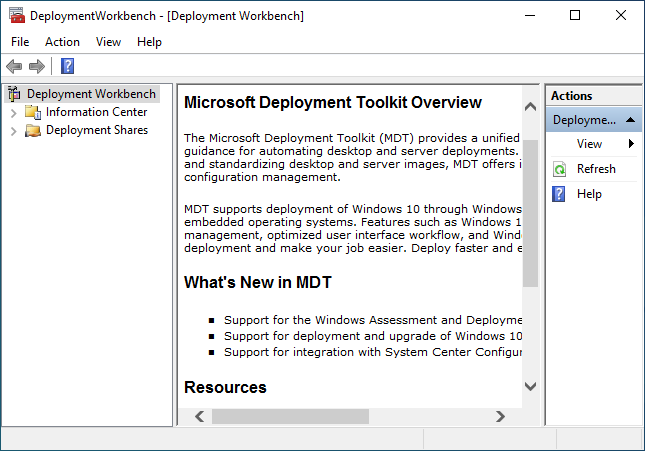
MDT is managed through the Deployment Workbench console, which you will find under the letter "M" in the server Start menu or through the search bar.
Before you start configuring MDT, make sure the ADK and WinPE tools are properly linked to it.
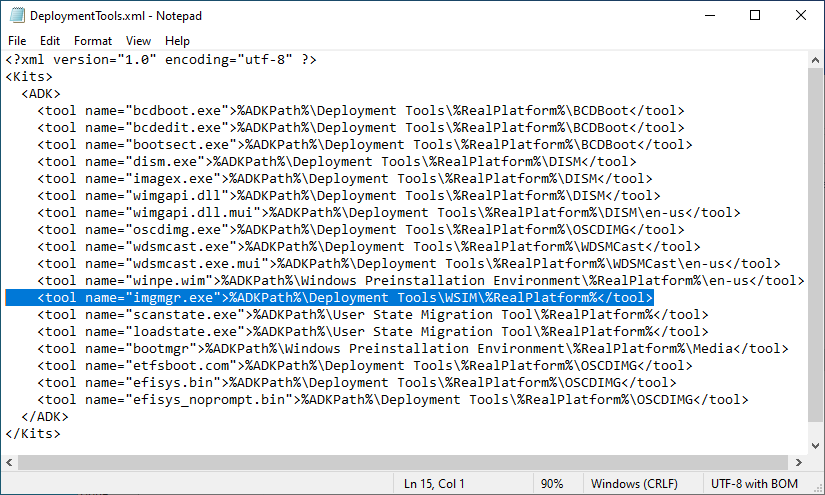
Use Notepad to edit the DeploymentTools.xml file in C:\Program Files\Microsoft Deployment Toolkit\Bin (right-click the file and select "Edit").
Find the line “tool name=imgmgr.exe”, which represents WSIM, the wizard used to manage answer files.
Between “\WSIM” and “</tool>”, add “\%RealPlatform%”. Then save and close the file.
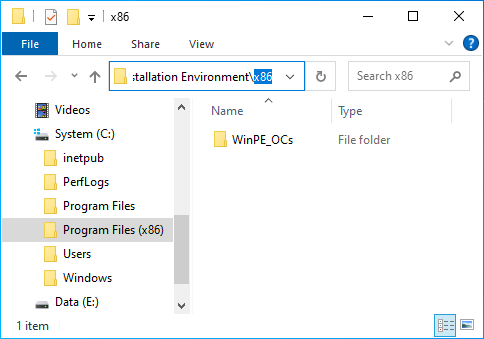
Then go to C:\Program Files (x86)\Windows Kits\10\Assessment and Deployment Kit\Windows Preinstallation Environment.
Create a folder named “x86” and, inside that x86 folder, create another folder named “WinPE_OCs”.
We can now move on to MDT configuration. To use MDT, you first need to create a Deployment Share. The Deployment Share is a shared folder that will contain all the resources required for deployment.
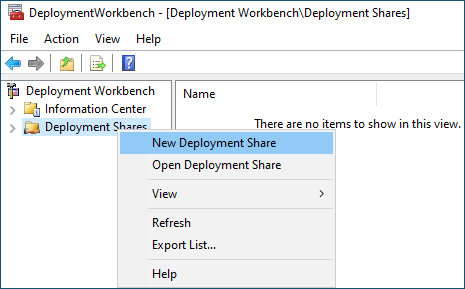
In the Deployment Workbench console, right-click Deployment Shares and click New Deployment Share.
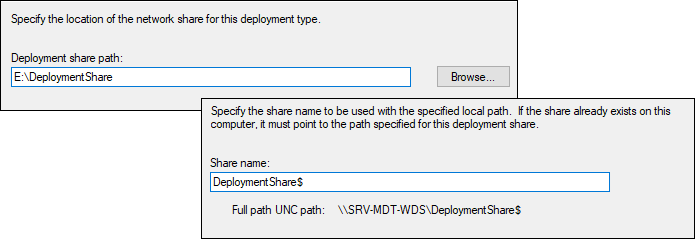
Set the path on the server E: drive where the MDT shared folder will be created. Leave the default share name, which will be “DeploymentShare$”.
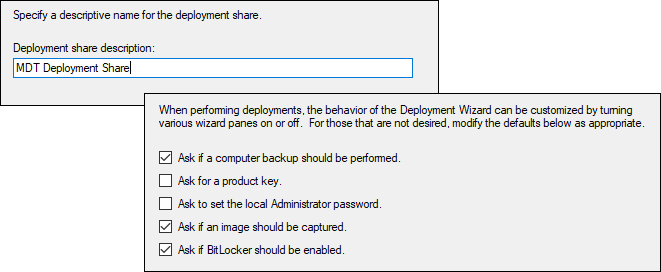
Enter an optional description for this share. The next window lets you enable or disable certain options that are offered during deployment through MDT. Leave the default values as they are.
In the summary window, make sure your settings are correct, then create the Deployment Share. Click Finish when it is done.
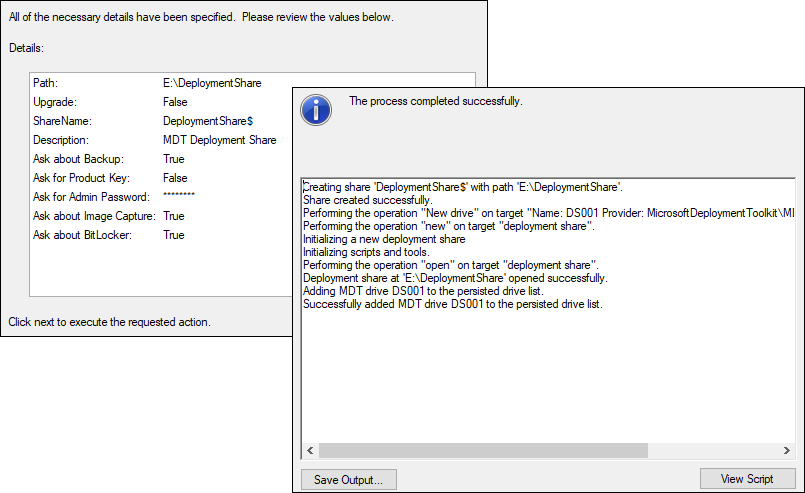
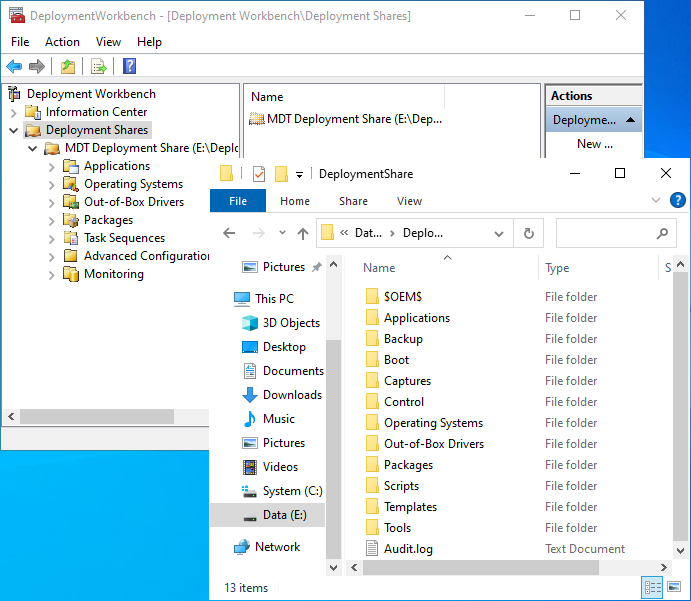
Your MDT share has now been created. You can view the different menus in the Deployment Workbench console and the share content in E:\DeploymentShare.
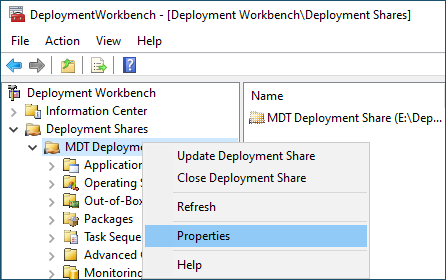
To finish configuring the share, right-click its name and open Properties.
In the General tab, clear the "x86" checkbox.
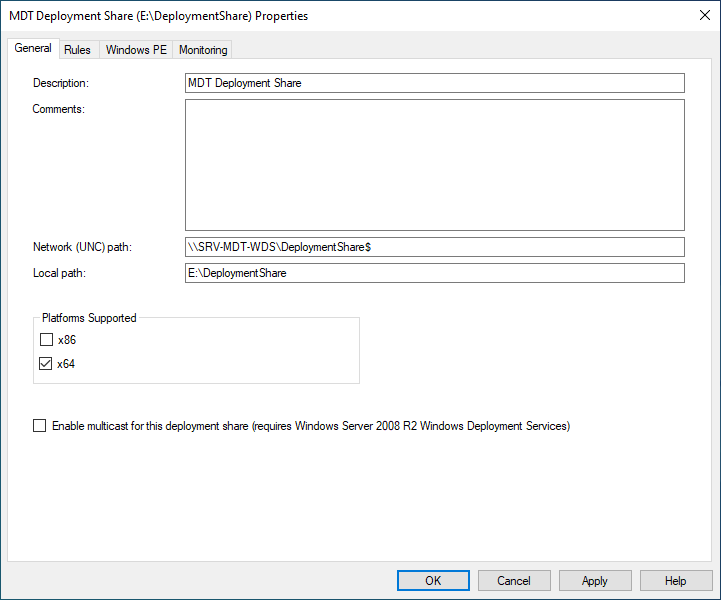
In the Windows PE tab, select the "x64" platform, then clear the "Generate a Lite Touch bootable ISO image" checkbox. Click OK to save the changes.

Your deployment server is now configured.
See you in the next chapter to prepare MDT for deploying Windows 11 to a new ready-to-use machine.
Let's Recap!
MDT (Microsoft Deployment Toolkit) is a free tool that lets you create and customize Windows images, automate deployment with task sequences, and configure answer files.
WDS (Windows Deployment Services) is a Windows Server service that makes network-based deployment easier by using PXE boot to install Windows without physical media.
MDT and WDS complement each other to enable optimized enterprise deployment over the network.
To work correctly, MDT requires the ADK (Assessment and Deployment Kit) and WinPE (Windows Preinstallation Environment) tools. Windows ADK includes essential deployment tools, while WinPE provides the preinstallation environment used during deployment.
MDT is configured and managed through the Deployment Workbench console.
All files required for deployment through MDT are stored in a Deployment Share, a shared folder available over the network.
Your server is ready to host deployments. Great job! Let us move on and prepare MDT to deploy Windows 11 like a pro.
